

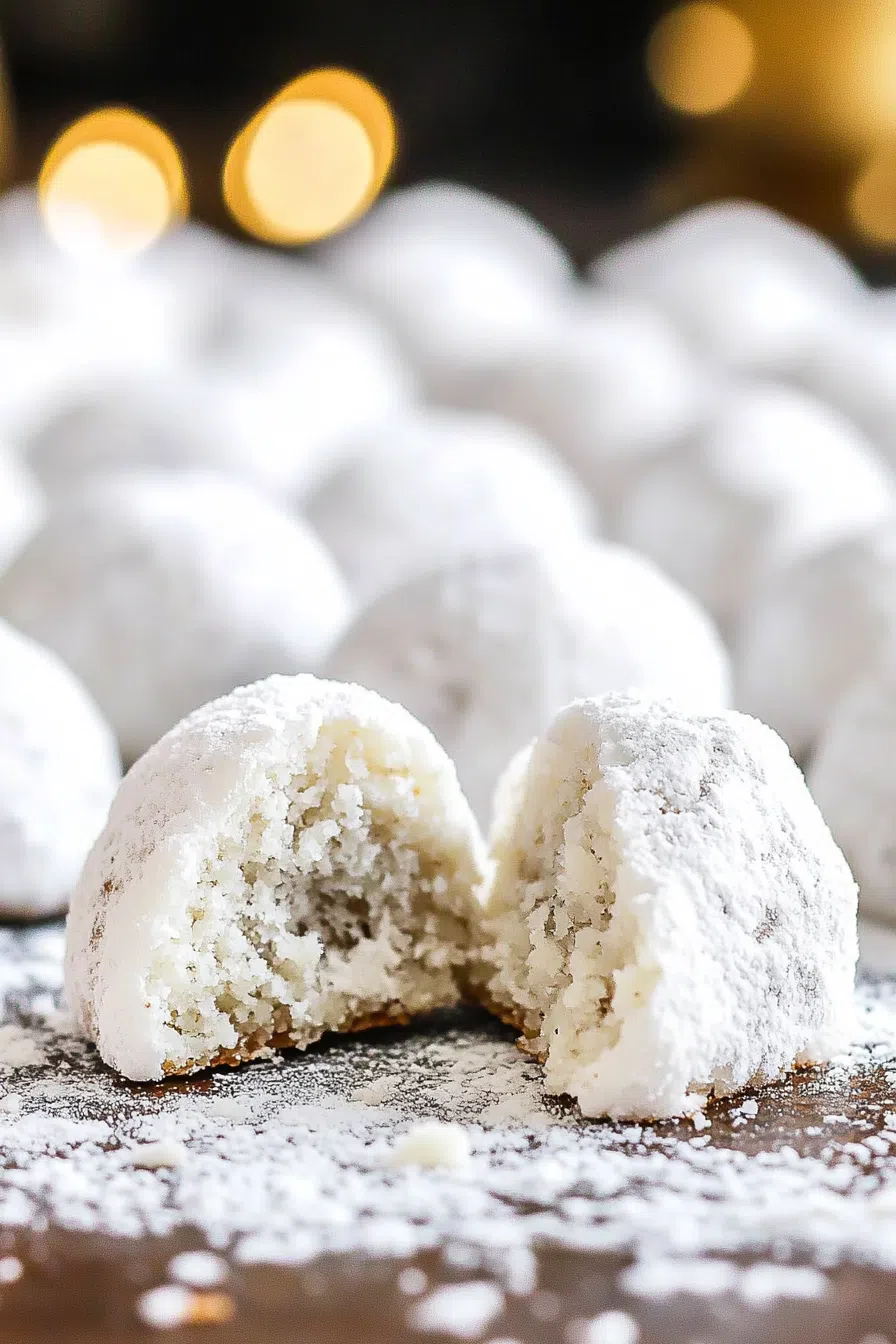
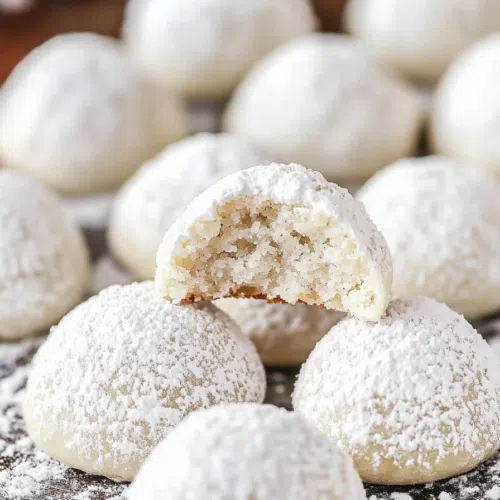
Flour, butter, walnuts, and powdered sugar come together in this melt-in-your-mouth Russian Tea Cakes recipe. Sweet, nutty, and perfect for holidays!
Okay, full disclosure… I didn’t grow up calling these Russian Tea Cakes. In my house, they were “snowballs,” and they showed up every single year without fail. Usually dusted in way more powdered sugar than anyone needed—especially me at age eight, face-first in a plate of them.


My grandma made these every holiday season. Her kitchen smelled like toasted nuts and vanilla, and there was always this faint powdered sugar cloud hovering over everything. My cousins and I used to dare each other to eat one without making a powdered sugar mess. Spoiler: it’s impossible. You will end up wearing it. And honestly? That’s half the fun.
I’ve been making this same Russian Tea Cakes recipe ever since. It’s one of those feel-good, tastes-like-childhood recipes. You know the kind, right? When you take one bite and suddenly it’s 1995 and you’re sitting cross-legged on a shaggy carpet watching VHS tapes while eating cookies off a paper plate? Yeah, that.
Why You’ll Love This Russian Tea Cakes Recipe?
Let me tell you, these aren’t your average cookies. They’ve got that old-school charm but with flavors that never go out of style. Here’s why they’re always a hit in my house:
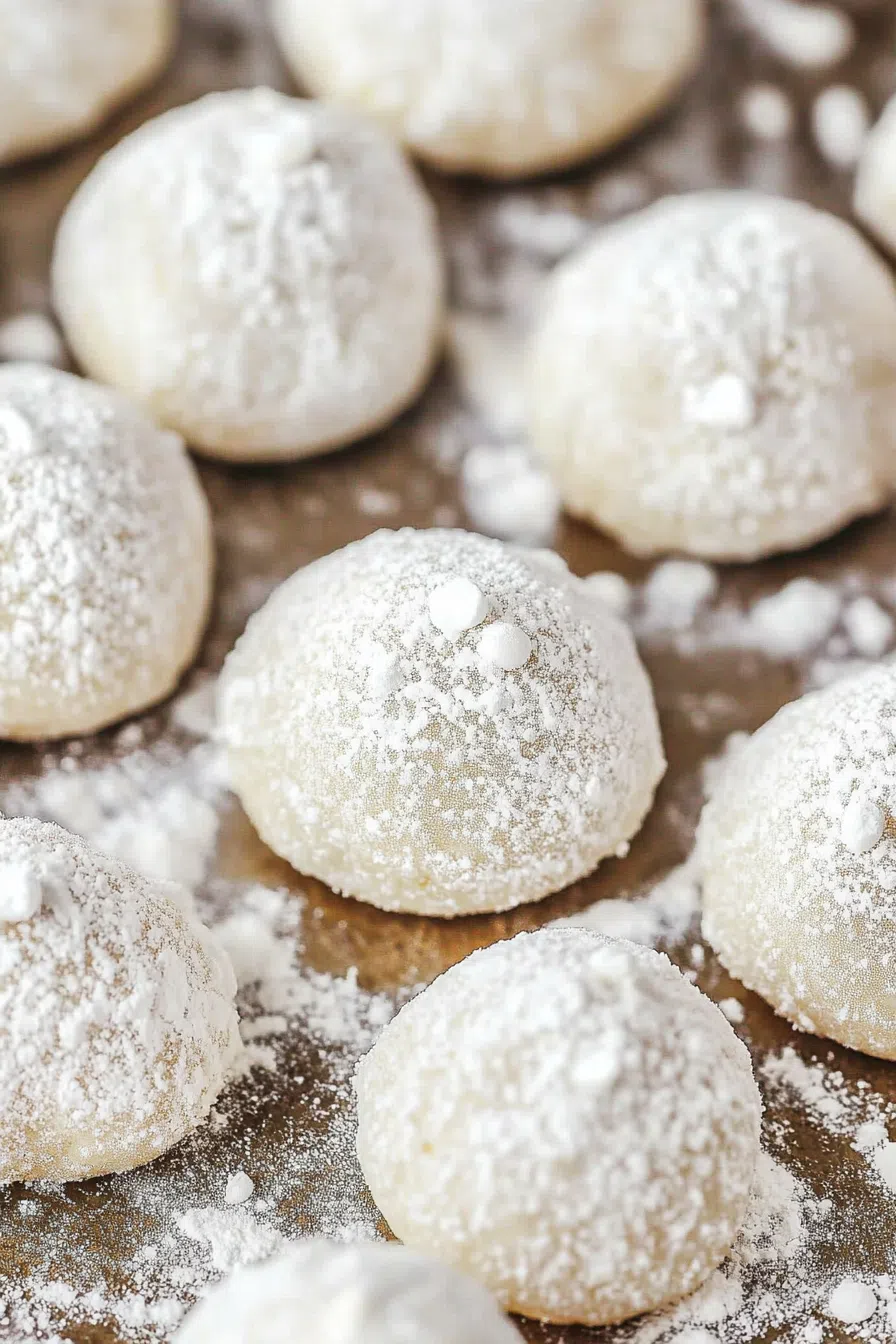
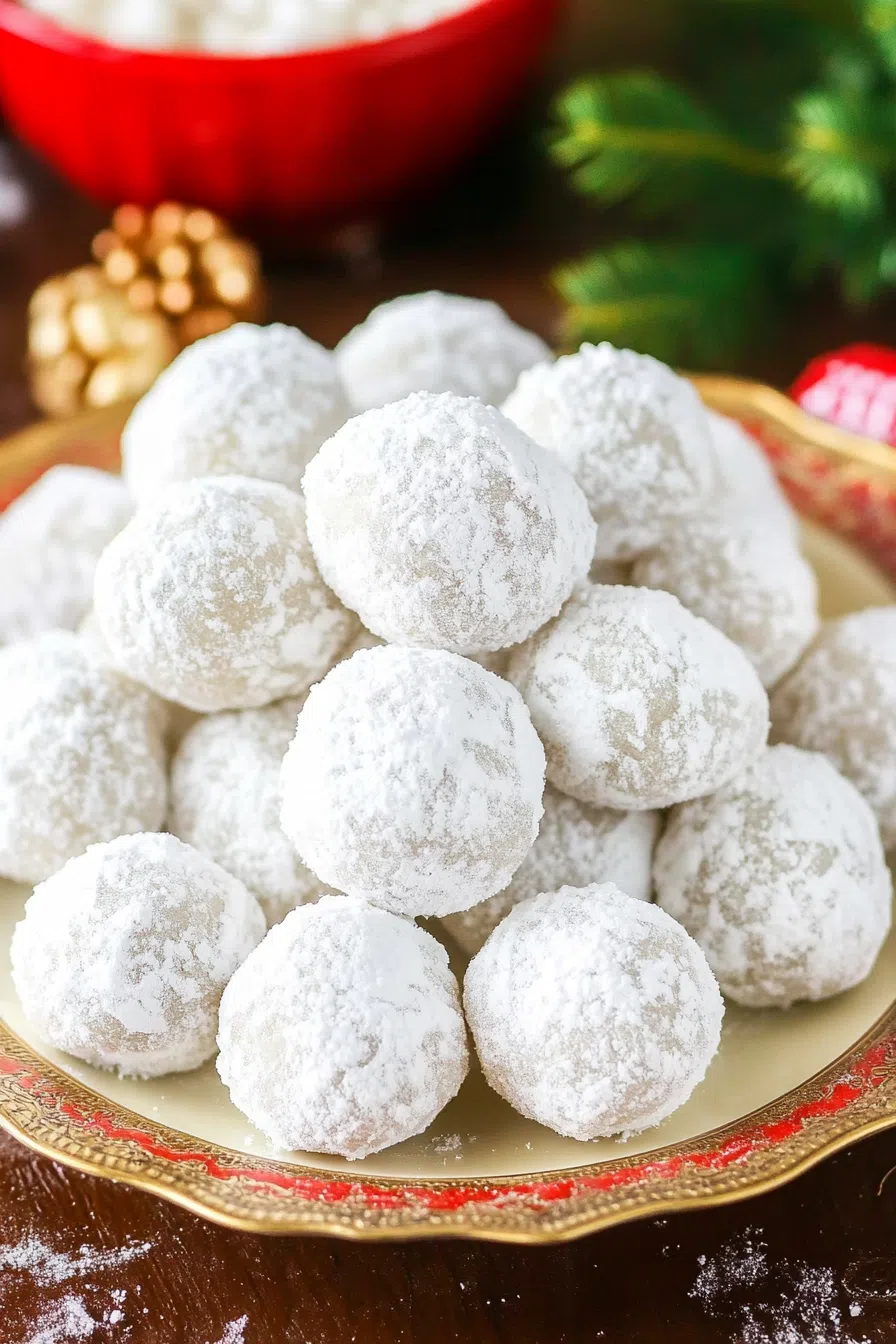
- They’re simple but fancy. I mean, they look like little snowballs! That dusting of powdered sugar gives off serious “I’m fancy” vibes… even though they’re the easiest cookies I make.
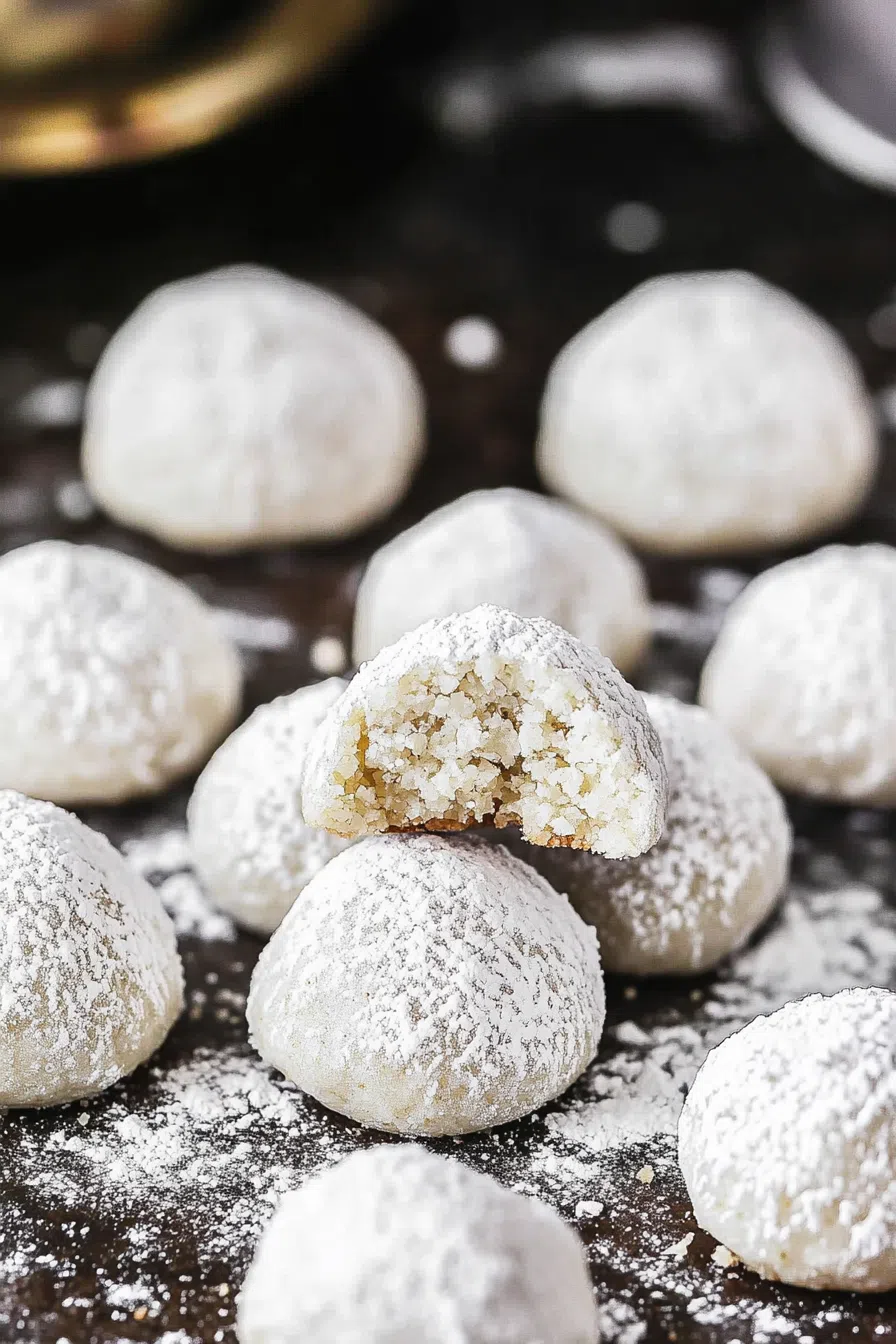
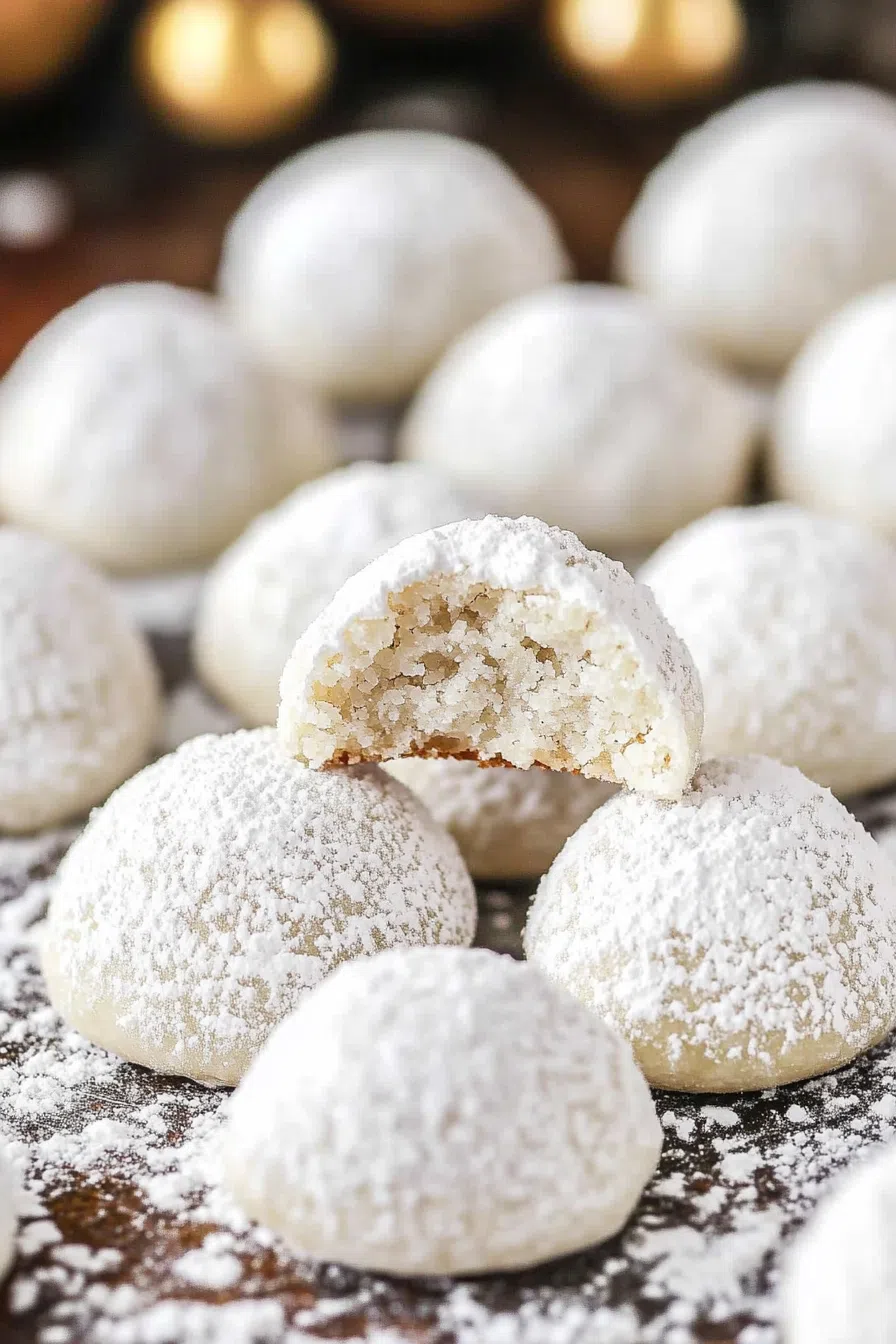
- They melt in your mouth. Like, gone in seconds. They’re tender and crumbly with just the right amount of buttery goodness.
- Perfect for gifting. Pop a few in a tin, tie a ribbon around it, and suddenly you’re the star of the cookie exchange.
- Nostalgia on a plate. I’m convinced these cookies have magical powers. One bite and you’re instantly transported to a simpler time. Or maybe that’s just me?
Ingredient Notes:
Let’s talk ingredients. You don’t need much for these Russian Tea Cakes, but a little attention to detail makes them even better.
- Unsalted Butter (½ pound): Room temp, people! Don’t nuke it in the microwave or you’ll get weird melty spots. You want that butter soft, not soupy.
- All-Purpose Flour (2 cups): Good ol’ regular flour. Nothing fancy. Sift it if you’re feeling extra, but I usually don’t bother (grandma didn’t, so why should I?).
- Walnuts (1 cup, toasted and chopped): Toast them! I cannot emphasize this enough. Toasting brings out a deep, nutty flavor that makes these cookies sing.
- Powdered Sugar (½ cup in the dough + 2 cups for rolling): You’ll be rolling these cookies in powdered sugar twice. Yes, twice. First roll while they’re warm so it sticks. Second roll when they’re cool for that snowy effect.
- Vanilla Extract (1 teaspoon): The real stuff if you can. If you can’t? No judgment here.
- Salt (¼ teaspoon): Just enough to balance the sweet.
How To Make Russian Tea Cakes?
No fancy mixers or gadgets needed. Just a bowl, a spoon, and a little love (and maybe some music if you’re like me and bake with a playlist blasting).
Step 1: Preheat and Prep
Get that oven going at 400°F. Line a baking sheet with
Step 2: Toast the Nuts
Spread those walnuts out in a dry pan over medium heat. Give them a shake every now and then until they smell amazing and look golden. Five minutes, tops. Don’t walk away unless you like burned nuts.
Step 3: Mix the Dough
Cream the butter, ½ cup powdered sugar, and vanilla together until smooth and fluffy. Use a hand mixer or do it old-school with a wooden spoon if you’re looking for a workout.
Step 4: Add the Dry Stuff
Toss in the flour and salt. Stir until combined. It’s gonna look crumbly at first—that’s fine! Just keep going until you get a dough.
Step 5: Fold in the Nuts
Chop those walnuts nice and fine (but not powdery), and gently fold them into your dough. Channel your inner grandma and do this with your hands if you want!
Step 6: Roll ‘Em
Scoop out tablespoons of dough and roll into little balls. They don’t have to be perfect. Mine never are, and guess what? No one notices once they’re covered in powdered sugar.
Want To Save This Recipe?
Step 7: Bake
Pop them in the oven for 12-15 minutes. You’re looking for lightly golden bottoms. Don’t overbake! You want tender, not crunchy.
Step 8: Sugar, Baby
While they’re still warm, roll them in powdered sugar. They’ll be sticky and messy and totally worth it. Once they cool? Roll them again. It’s like giving them a cozy sugar blanket.
Storage Options:
Honestly, these don’t last long at my place (thanks to my husband’s midnight cookie raids), but if you do have leftovers…
- Room Temp: Keep them in an airtight container. They’ll stay fresh for about a week.
- Freezer: Yup, you can freeze them! Baked or unbaked dough. Baked ones last up to 3 months. I wrap them in layers so they don’t stick.
Variations and Substitutions:
Baking is like jazz—improv is totally welcome.
- Nuts: Swap the walnuts for pecans, almonds, or hazelnuts. Or go nut-free if allergies are a thing.
- Flavored Extracts: Try almond extract instead of vanilla for a more intense flavor. Or do half and half!
- Zest It Up: Add lemon or orange zest for a bright twist.
- Gluten-Free: Use a 1:1 gluten-free flour blend. I’ve done it and honestly couldn’t tell the difference.
What to Serve with Russian Tea Cakes?
They’re great on their own, but if you’re feeling fancy…
- Coffee: Classic combo. Dunk if you dare.
- Hot Cocoa: Extra marshmallows, because why not?
- Tea: Earl Grey or Chai works wonders with the sweet nuttiness.
Frequently Asked Questions:
Why did my cookies spread too much?
Sounds like your butter was too soft or warm. Chill the dough a bit next time.
Can I make these ahead of time?
Absolutely! Bake and freeze them. They’re best fresh, but they hold up great.
Are Russian Tea Cakes and Mexican Wedding Cookies the same?
Pretty much! Different names, same buttery, sugary magic.
Now It’s Your Turn!
If you’ve never made Russian Tea Cakes before, you’re in for a treat. They’re easy, nostalgic, and pretty much scream “holidays!” But honestly? I make them year-round, no shame. They’re too good to save for December.
Give ‘em a try and tell me what you think! Got a fun twist? Share it below—I love hearing how other people put their spin on old-school classics.
Until next time… happy baking, friend!
Keep the Flavor Coming – Try These:


Russian Tea Cakes Recipe
Ingredients
- 2 c all-purpose flour
- 1/2 pound unsalted butter at room temperature
- 1 c walnuts toasted and coarsely chopped
- ½ c confectioners' sugar powdered sugar, plus 2 c more for rolling cookies
- 1 teaspoon vanilla extract
- ¼ teaspoon salt
Instructions
- Preheat your oven to 400°F (200°C). Line a baking sheet, with parchment paper or a silicone liner.
- Take a skillet. Place the walnuts in it over medium heat. Toast them for 5 minutes tossing them frequently until they become fragrant and turn a golden color. Then roughly chop the walnuts.
- In a bowl use an electric hand mixer to blend the butter at room temperature, ½ cup of powdered sugar and the vanilla extract until you achieve a smooth mixture.
- Add the all-purpose flour and salt to the butter mixture. Stir until the dough is well mixed and there are no streaks of flour left.
- Gently fold in the chopped walnuts so that they are evenly distributed throughout the dough.
- Shape the dough into balls that are 1 inch in diameter. Place these balls onto the baking sheet making sure to leave at least 1 inch of space between each ball.
- Bake in your preheated oven for about 12 to 15 minutes. Until the cookies have set and their bases have turned lightly golden in color.
- Once you remove the cookies from the oven while they are still warm roll them in sugar by placing them in a bowl, with sugar. Let them cool slightly on the baking sheet.
- Once cooled to room temperature roll each cookie again in sugar so that they are fully coated. After you have made the Tea Cakes make sure to store them in a sealed container. They will remain fresh for a week.
Notes
I’m Bitty, owner of nodashofgluten.com, where I share simple, delicious recipes for all tastes, including gluten-free. Check out my “About Me” page for more info!

4 Responses
What if I want to store them for a longer period of time can I keep them longer?
Absolutely, Luisa! For longer storage, keep your Russian Tea Cakes in an airtight container. They’ll last up to 3 weeks at room temperature, 1 month in the refrigerator, or 3 months in the freezer. Just thaw them at room temperature when you’re ready to enjoy. Happy baking!
I made these today. I exchanged the walnuts for organic toasted pepitas. I have a family member that is allergic to nuts. They turned out great!
Sooo delicious. A new favorite at my house.
Turned out great!