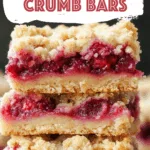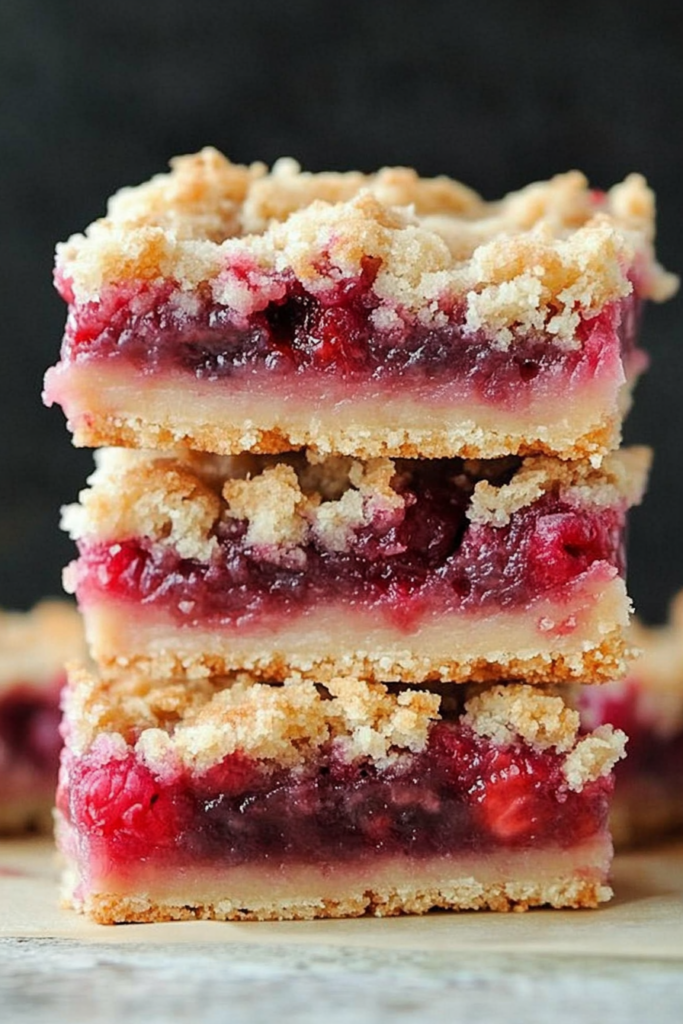
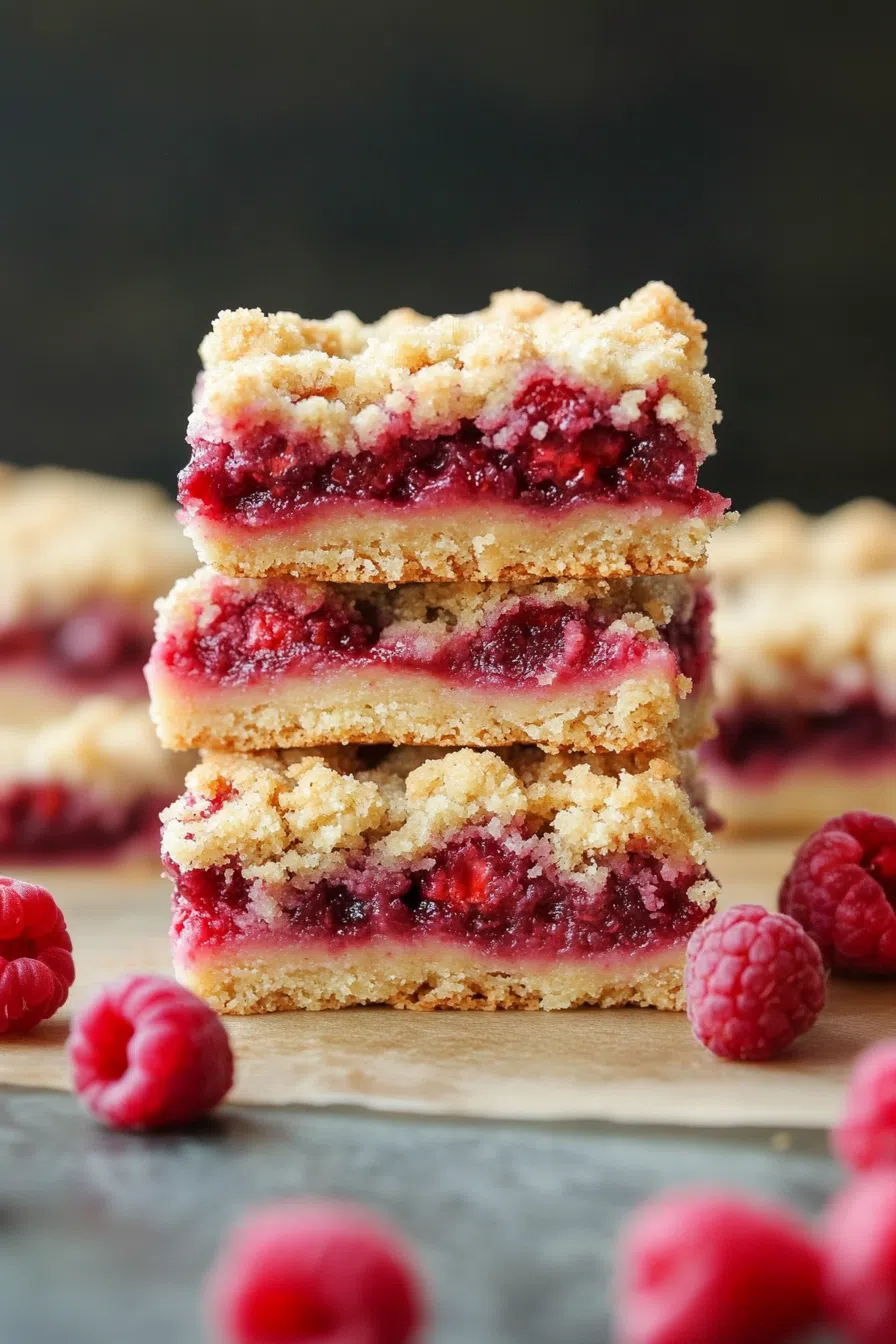
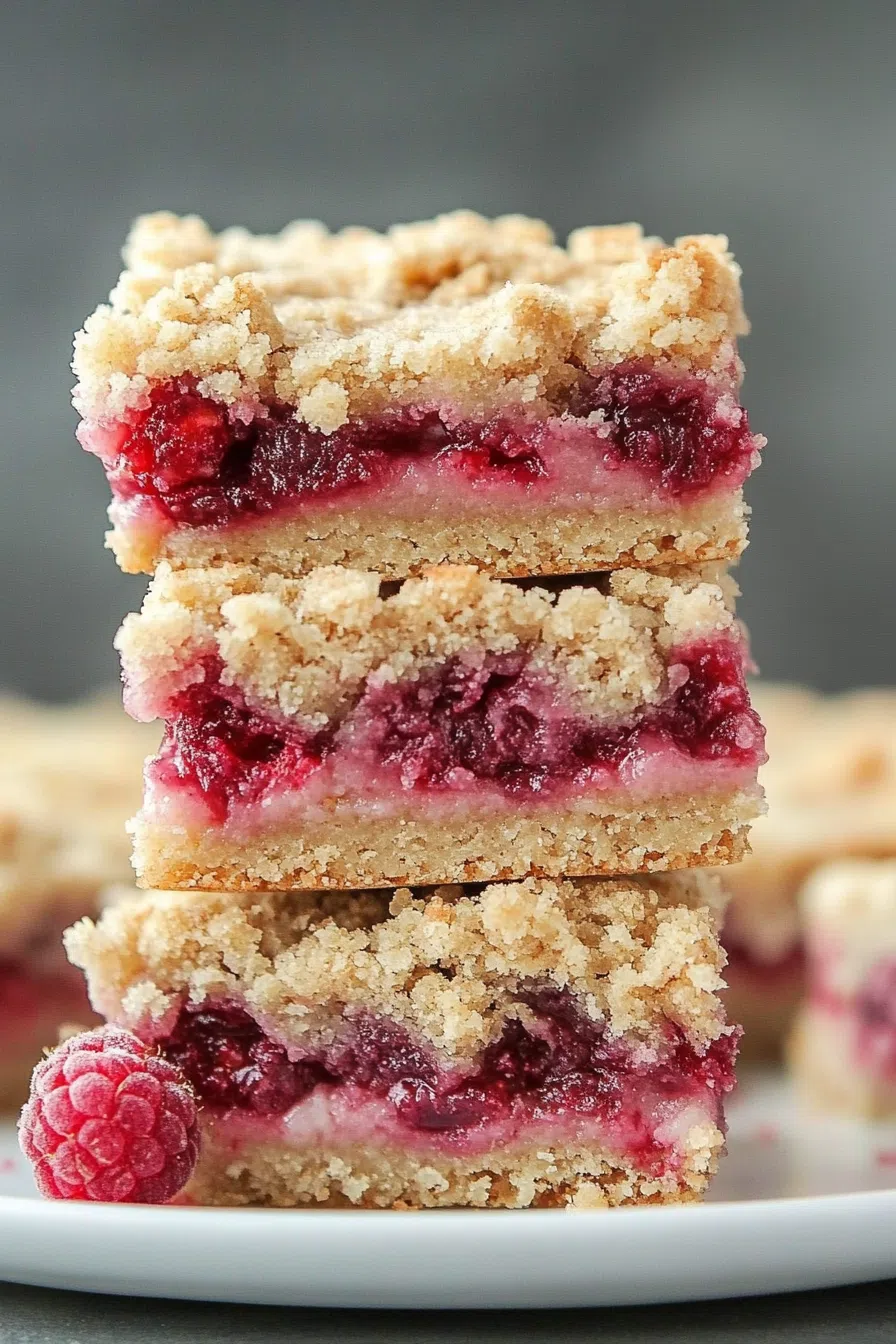
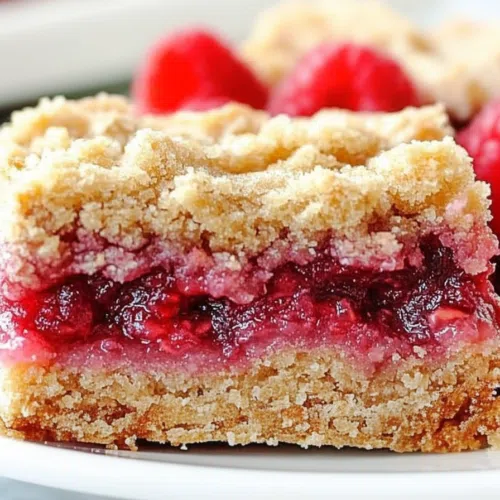
These Raspberry Crumb Bars are made with oats, flour, brown sugar, butter, and raspberry jam. A buttery crumb and fruity center make these bars an easy go-to dessert!
You know how there’s always that recipe you end up making on repeat because it’s just too easy and everyone asks for it again and again? Yeah, for me, it’s these Raspberry Crumb Bars.


I remember the first time I made them. It was a Saturday afternoon, I was knee-deep in laundry, and suddenly I realized we had company coming over in two hours. Classic me, right? My pantry was a random mishmash of things—half a bag of oats, some raspberry jam (the fancy kind I was saving for something), and a stick of butter I had to fight my kids for (they’re obsessed with butter toast). But somehow, these crumb bars came together in like, 15 minutes. And I’m telling you—everyone thought I’d been baking all day. My sister-in-law even called them “bakery quality,” which is probably the best compliment I’ve ever gotten on dessert.
Moral of the story? These bars are a lifesaver. And now they’re my secret weapon. Well, not so secret anymore.
Why You’ll Love This Raspberry Crumb Bars Recipe?
So, here’s why these bars are about to be your new favorite thing:
- They’re stupid easy. Like, mix stuff in a bowl easy.
- You probably have everything on hand. No wild ingredients, just basics.
- That jammy center? Sweet, a little tangy, and perfect.
- They freeze like a dream. So make a double batch. Future you will thank you.
- Everyone loves them. Kids, grandparents, that friend who’s gluten-free (okay, maybe not them—but hang tight, I’ve got a variation for that).

Ingredient Notes:
Before we dive in, let me give you the lowdown on the ingredients. Spoiler alert: nothing fancy, but it’s how you use them that makes magic happen.
- All-Purpose Flour: Just your standard bag of flour. Don’t overthink it.
- Baking Soda & Salt: These do the heavy lifting in terms of flavor and texture. Salt in dessert? Trust me—it’s like adding a little sass.
- Rolled Oats (Old-Fashioned): Not quick oats. You want that chewy texture. Think hearty and rustic.
- Light Brown Sugar: I pack mine so tight I sometimes have to whack it out of the cup. It adds a warm, molasses-y sweetness.
- Unsalted Butter: Room temp is key here. If you forgot to soften it, join the club—pop it in the microwave for 10 seconds at a time.
- Raspberry Jam: I like seedless because I’m picky like that. But if you love the crunch of seeds, go for it. I won’t judge.

How To Make Raspberry Crumb Bars?
Step 1: Preheat and Prep
Crank your oven up to 350°F. Line an 8-inch pan with foil, and make sure you leave some hanging over the sides like little handles. You’ll thank yourself later when you can just lift the bars out. Spray the foil or butter it up. Whatever works.
Step 2: Dry Ingredients First
Grab a big bowl and toss in your flour, baking soda, and salt. Give it a whisk like you know what you’re doing (even if you’re not entirely sure). Then add the oats and brown sugar. Pro tip? Squish the sugar clumps with your fingers. It’s oddly satisfying.
Step 3: Butter Time
Add that softened butter and get your hands dirty. I mean, you can use a pastry cutter, but honestly, fingers do a better job. You’re going for a crumbly, sandy mixture that sticks together when you pinch it.
Step 4: Build That Base
Take about two-thirds of your oat mixture and press it into the bottom of your pan. Press hard! Think of it like packing a snowball.
Step 5: Spread the Jam
Spoon that raspberry jam right on top. Leave a little edge around the sides because it can get messy if it oozes. Unless you’re into oozing, then live your best life.
Step 6: Crumb Topping
Want To Save This Recipe?
Crumble the rest of your oat mixture over the jam. Scatter it like you’re sprinkling fairy dust (or, you know, just toss it on there). Lightly press it down.
Step 7: Bake It
Pop the pan in the oven for about 35 minutes. You’ll know they’re done when they’re golden and your kitchen smells like happiness.
Step 8: Cool Completely
This part is hard. I know. But let them cool all the way before cutting or they’ll fall apart. I learned that one the hard way.

Storage Options:
Once they’re cooled, you can store these beauties in an airtight container on the counter for up to three days. They’re best the day after, in my humble opinion, when the flavors have had time to get cozy. If you want to freeze them, go for it! Wrap them up tight, and they’ll be good for about three months. Perfect for those “oh no, I forgot I promised dessert” moments.
Variations and Substitutions:
Feeling adventurous? Try one of these swaps:
- Different Jams: Strawberry, blueberry, even fig. Go nuts!
- Add Nuts: Walnuts or pecans in the topping? Yes, please.
- Gluten-Free: Use GF oats and a 1:1 gluten-free flour blend. Easy peasy.
- Lemon Zest: Add a little to the crust for some zing. Because why not?
What to Serve with Raspberry Crumb Bars?
- Coffee or Tea: Classic combo. Dunk ‘em if you dare.
- Vanilla Ice Cream: Warm up a bar and throw a scoop on top. Heaven.
- Yogurt Parfait: Crumble one over Greek yogurt with berries for a fancy breakfast (or dessert in disguise).
Frequently Asked Questions:
Can I double this recipe?
Totally! Use a 9×13 pan and add 5-ish minutes to the bake time.
Do I need to refrigerate them?
Nope. Room temp is fine, but if it’s super hot where you are, you might want to chill them a bit.
Can I use quick oats?
Sure, but they’ll be softer. I personally like the chewiness of old-fashioned oats better.
So… are you ready to make these Raspberry Crumb Bars? I mean, you could be eating one in about an hour if you start now. And if you do, I wanna hear about it! Tag me, send me a pic, or just drop a comment. I’m always here for a good crumb bar success story.
Keep the Flavor Coming – Try These:

Raspberry Crumb Bars
Ingredients
- 1 cup All-Purpose Flour
- 1/4 teaspoon Baking Soda
- 1/4 teaspoon Salt
- 1 cup Rolled Oats Old Fashioned
- 1/2 cup Light Brown Sugar firmly packed
- 1/2 cup Unsalted Butter softened
- 3/4 cup Raspberry Jam seedless variety may be preferred
Instructions
- Oven Preparation: Begin by preheating the oven to 350 degrees Fahrenheit. Line an 8-inch square baking dish with aluminum foil, leaving a 2-inch overhang on two opposite sides to facilitate easy removal of the bars after baking. Once lined, apply a light coating of grease to the foil.
- Dry Ingredient Mixture: In a large mixing bowl, combine the all-purpose flour, baking soda, and salt, whisking them together thoroughly. Add the rolled oats and light brown sugar to the mixture. Utilize clean fingertips to break up any clumps of brown sugar, ensuring an even consistency.
- Incorporating Butter: Add the softened unsalted butter to the dry ingredients. Use your fingertips to blend the butter into the mixture until it is uniformly moistened. This mixture will form both the base and the topping of the bars.
- Assembling the Base: Transfer approximately 2 cups of the oat mixture into the prepared baking dish. Press down firmly to create an even and consistent base layer.
- Adding the Raspberry Layer: Spread the raspberry jam evenly over the oat base, maintaining a margin of about 1/4 inch from the edges to prevent the jam from seeping out during the baking process.
- Final Layer and Baking: Sprinkle the remaining oat mixture over the raspberry layer and press down gently to form a crumbly top. Bake in the preheated oven until the surface turns golden brown, approximately 34 to 38 minutes.
- Cooling and Serving: Remove the bars from the oven and allow them to cool completely in the dish. This step is vital for the bars to set properly. Once cooled, use the foil overhang to lift the bars out and cut them into desired sizes. Store the bars in an airtight container.
Notes
I’m Bitty, owner of nodashofgluten.com, where I share simple, delicious recipes for all tastes, including gluten-free. Check out my “About Me” page for more info!