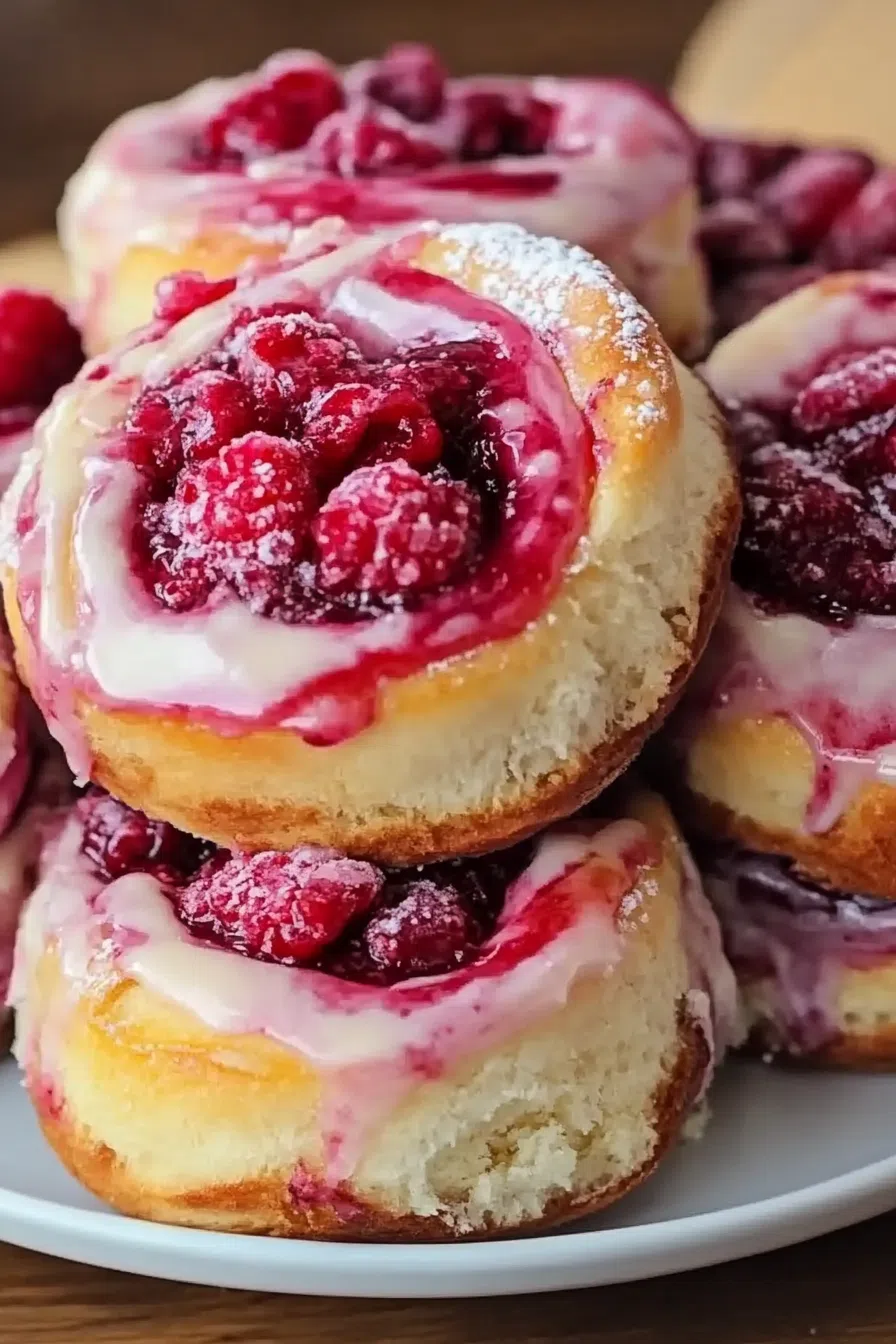
Soft dough, tart raspberries, and rich cream cheese swirl together in these Raspberry Cheesecake Swirl Buns—pure breakfast bliss.

Remember it later!
Planning to try this recipe soon? Pin it for a quick find later!
Remember it later!
Planning to try this recipe soon? Pin it for a quick find later!
Okay, so full confession—this recipe wasn’t planned. I had big dreams of a quiet morning, a reheated croissant, and coffee I didn’t have to microwave twice. But then I found a forgotten bag of raspberries in the freezer and a half-used block of cream cheese sitting lonely in the fridge. Something clicked. Something chaotic and beautiful.
I started mixing. Rolling. Swirling. Before I knew it, I was knee-deep in flour, my kid was asking if it was already snack time (it wasn’t), and my kitchen looked like a flour bomb had exploded. But the smell? Oh my goodness. It was like walking into a cozy café in some dreamy European village. And when I pulled that pan of Raspberry Cheesecake Swirl Buns out of the oven, all golden and gooey, I knew this recipe wasn’t just a happy accident—it was the moment. You know the one.
Here’s a quick peek at what’s inside:
Table of content
Why You’ll Love This Raspberry Cheesecake Swirl Buns Recipe?
-
They’re soft. Like, soft-soft. That kind of pillowy, buttery dough you want to curl up inside.
-
The raspberry swirl is tart and juicy, not overly sweet, which means it balances the rich cream cheese like a dream.
-
Cream cheese glaze? Come on. It melts into every swirl and makes you forget about every other pastry in your life.
-
They’re oddly therapeutic to make. There’s something grounding about kneading dough and watching it rise slowly while life rushes around you.
Honestly, these aren’t just buns—they’re a mood. A vibe. A sweet little reminder to slow down.
Ingredient Notes:
This dough is dreamy. The filling is jammy. The icing is a soft pillow of sweet. And here’s how we build the magic:
-
Whole milk: Warm it, but don’t scald it. Just enough to say, “Hey yeast, wake up.”
-
Yeast + sugar: Like peanut butter and jelly. One feeds the other. And it makes the dough rise like a champ.
-
Butter + eggs: This combo gives you that rich, tender texture. Don’t rush it—room temp is key.
-
Frozen raspberries: Straight from the freezer. Don’t even think about thawing them.
-
Cornstarch + sugar: Thickens that filling without turning it into soup.
-
Cream cheese: Use the block, full-fat version. You know better.
-
Powdered sugar, milk, vanilla: Glaze essentials. Think drizzle, not frosting.
How To Make Raspberry Cheesecake Swirl Buns?
Step 1: Mix the dough
In a mixing bowl, stir warm milk, yeast, and a bit of sugar. Wait for the froth—like a tiny science fair in your kitchen. Add butter, eggs, vanilla, and more sugar. Mix in the flour until the dough’s soft but holds together. Knead until your arms feel like you earned these buns.
Step 2: Rise and reflect
Grease a bowl, plop the dough in, and let it rise. Take a moment to sip coffee or text that friend you’ve been ghosting. Dough likes warm vibes. Give it about two hours.
Step 3: Make the swirl
Toss frozen raspberries with sugar and cornstarch. It’ll look like a crimson mess, and that’s exactly what we want.
Step 4: Roll it out
Roll your dough into a rectangle. Doesn’t have to be perfect—neither are we. Spread the raspberry mess on top. Roll it up like a giant cinnamon roll. Slice into 12 pieces. They will not all be the same size. That’s fine. That’s life.
Step 5: Rise again
Place the rolls in a greased dish and let them puff up for another 90 minutes. It’s not a fast bake. It’s a slow joy kind of thing.
Step 6: Bake time
Into the oven at 350°F for about 28–32 minutes. Your kitchen will smell like raspberry heaven. People will hover. Ignore them.
Want To Save This Recipe?
Enter your email below and we'll send the recipe straight to your inbox.
Step 7: Glaze it good
Whisk cream cheese, powdered sugar, milk, and vanilla into a dreamy glaze. Drizzle over warm buns. Let it melt into every swirl. Lick the spoon.
Step 8: Pause and enjoy
Sit down. Eat the best one first. Close your eyes. Smile.
Storage Options:
-
Fridge: Keep covered for up to 3 days. Reheat gently, like you’d want someone to reheat you on a cold morning.
-
Freezer: Freeze individual buns. Thaw overnight. Warm and glaze again, if needed.
-
Make ahead: Shape and refrigerate the night before. Bake fresh in the morning like the brunch wizard you are.
Variations and Substitutions:
-
Swap berries: Blueberries, strawberries, even diced peaches—if it’s juicy, it works.
-
Add lemon zest: Into the glaze or dough for a brighter bite.
-
More cheesecake vibes? Swirl a bit of sweetened cream cheese into the filling before rolling.
-
Add nuts: Chopped pecans or almonds in the filling? Yes, please.
What to Serve with Raspberry Cheesecake Swirl Buns?
-
Coffee. Always coffee. Black or creamy—your call.
-
Scrambled eggs or fruit salad for balance (and to pretend this is a well-rounded breakfast).
-
Mimosas. Just saying.
Frequently Asked Questions:
Can I make these ahead of time?
Yes! Shape them, cover, and chill overnight. Let them warm up on the counter while your oven preheats.
Can I use jam instead of frozen raspberries?
Absolutely. Just spread it thin and skip the cornstarch.
Do I have to make the glaze?
No, but… come on. It takes 2 minutes and makes everything magical.
Raspberry Cheesecake Swirl Buns are more than a sweet treat—they’re a whole experience. Soft, gooey, slightly messy, and unapologetically indulgent. They don’t ask for perfection. They just want to be made, shared, and savored.
So if your Saturday needs a little joy (or your Tuesday, or literally any day), make these. Your kitchen will smell like heaven. Your heart might feel a little fuller. And hey—if you eat one standing up in your pajamas with glaze on your chin, I promise you’re doing it right.
Can’t wait to hear what you think.
Remember it later!
Planning to try this recipe soon? Pin it for a quick find later!
Remember it later!
Planning to try this recipe soon? Pin it for a quick find later!
Keep the Flavor Coming – Try These:
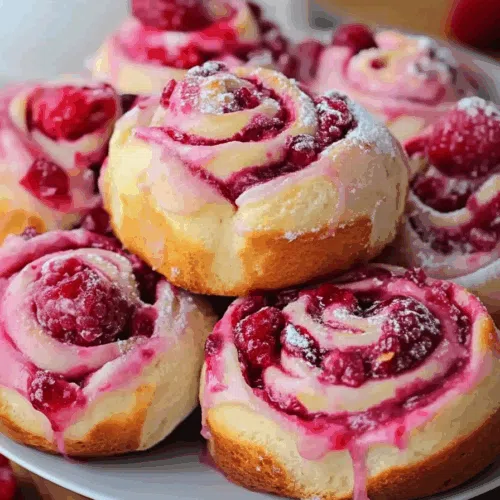
Raspberry Cheesecake Swirl Buns
Ingredients
Dough:
- 1 c 240ml whole milk, warmed to about 100°F (38°C)
- 2/3 c 135 grams granulated sugar, divided
- 1 and 1/2 tbsp 14 grams Platinum Yeast from Red Star (2 standard-size packets)*
- 1/2 c 113 grams unsalted butter, softened to room temperature and cut into 4 pieces
- 2 large eggs at room temperature
- 1/2 tsp pure vanilla extract or vanilla bean paste
- 1/2 tsp salt
- 4 and 1/2 c 563 grams all-purpose flour or bread flour (spooned & leveled), plus more as needed
- 2 tsp canola vegetable, or olive oil for bowl (or use nonstick spray)
Filling:
- one 10-ounce package about 2.5 c or 300 grams frozen raspberries (do not thaw)
- 1/3 c 67 grams granulated sugar
- 1 tsp cornstarch
Cream Cheese Icing:
- 4 ounces 113 grams full-fat brick cream cheese, softened to room temperature
- 1 c 120 grams confectioners’ sugar
- 1 tbsp 30ml whole milk or heavy cream
- 1/2 tsp pure vanilla extract or vanilla bean paste
Instructions
Let's make the dough:
- In a mixer combine milk, 2 tablespoons of sugar and yeast. Let it sit until it becomes foamy.
- Add the remaining sugar, softened butter, eggs, vanilla and salt to the mixture. Mix everything together until well combined.
- Slowly add in the flour. Continue mixing until the dough comes together and becomes slightly sticky.
- Knead the dough for 5 minutes either, in the mixer or by hand on a surface.
Now for the first rise:
- Grease a bowl. Place the kneaded dough into it. Cover it up. Let it rise until it doubles in size (2 hours).
While waiting for the dough to rise prepare the filling:
- In a bowl toss raspberries with sugar and cornstarch.
Once the dough has risen:
- Roll out the dough into a rectangle shape.
- Spread your raspberry filling evenly over the rolled-out dough.
- Roll up the dough tightly.
- Cut this rolled-up dough into 12 rolls.
- Place these rolls into a greased baking dish.
Now for another round of rising:
- Cover up your rolls again. Allow them to rise until they become puffy (90 minutes).
When you're ready to bake:
- Preheat your oven to 350°F (177°C).
- Bake your rolls for 28 to 32 minutes. Until they turn lightly browned.
While your buns are baking let's make some icing:
- In a bowl beat cream cheese together with confectioners' sugar, milk and vanilla extract until you get smooth consistency
Once your buns are, out of oven:
- Spread this creamy icing over warm buns.
- Savor the taste of your baked Raspberry Cheesecake Swirl Buns!
Notes

I’m Bitty, owner of nodashofgluten.com, where I share simple, delicious recipes for all tastes, including gluten-free. Check out my “About Me” page for more info!


