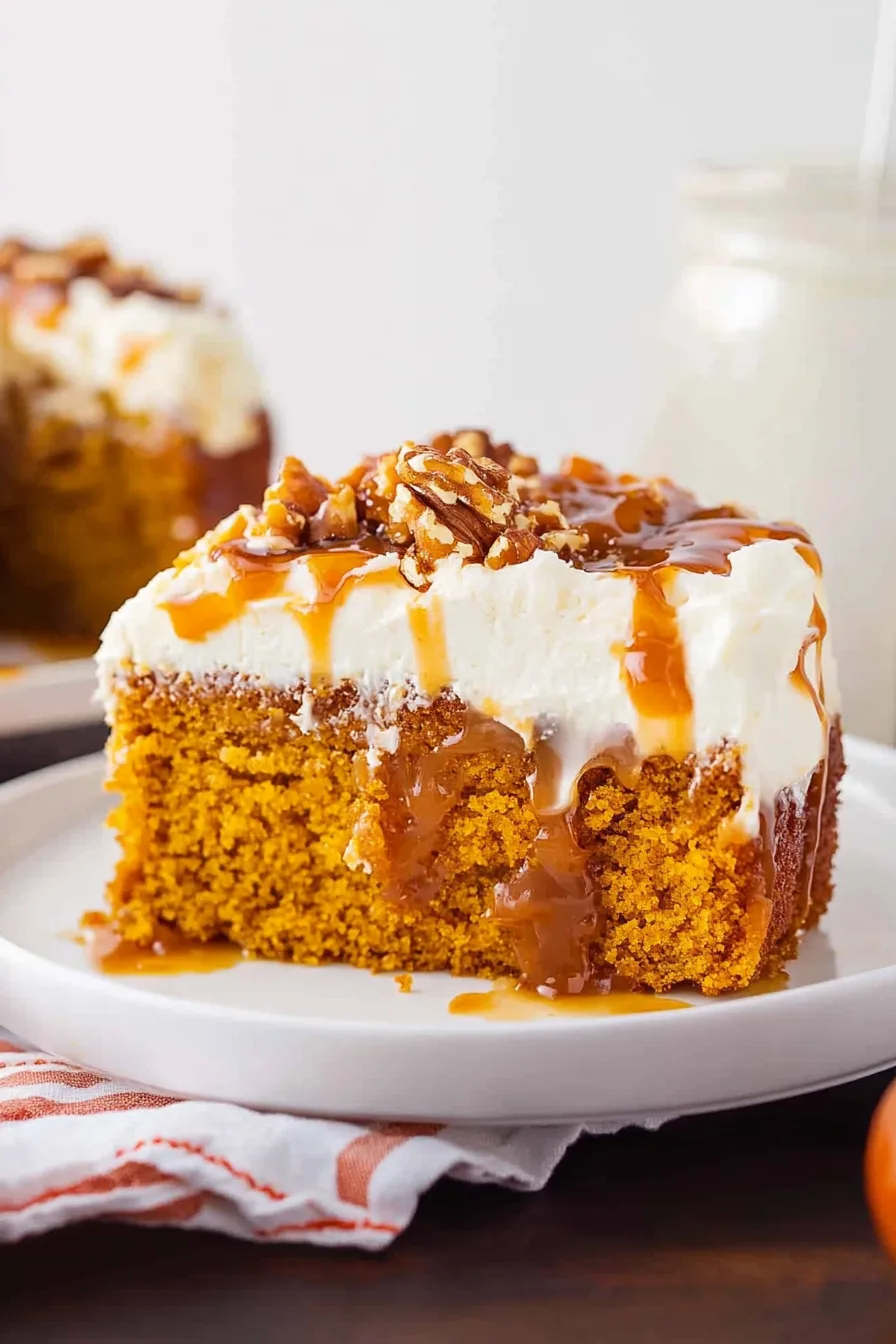
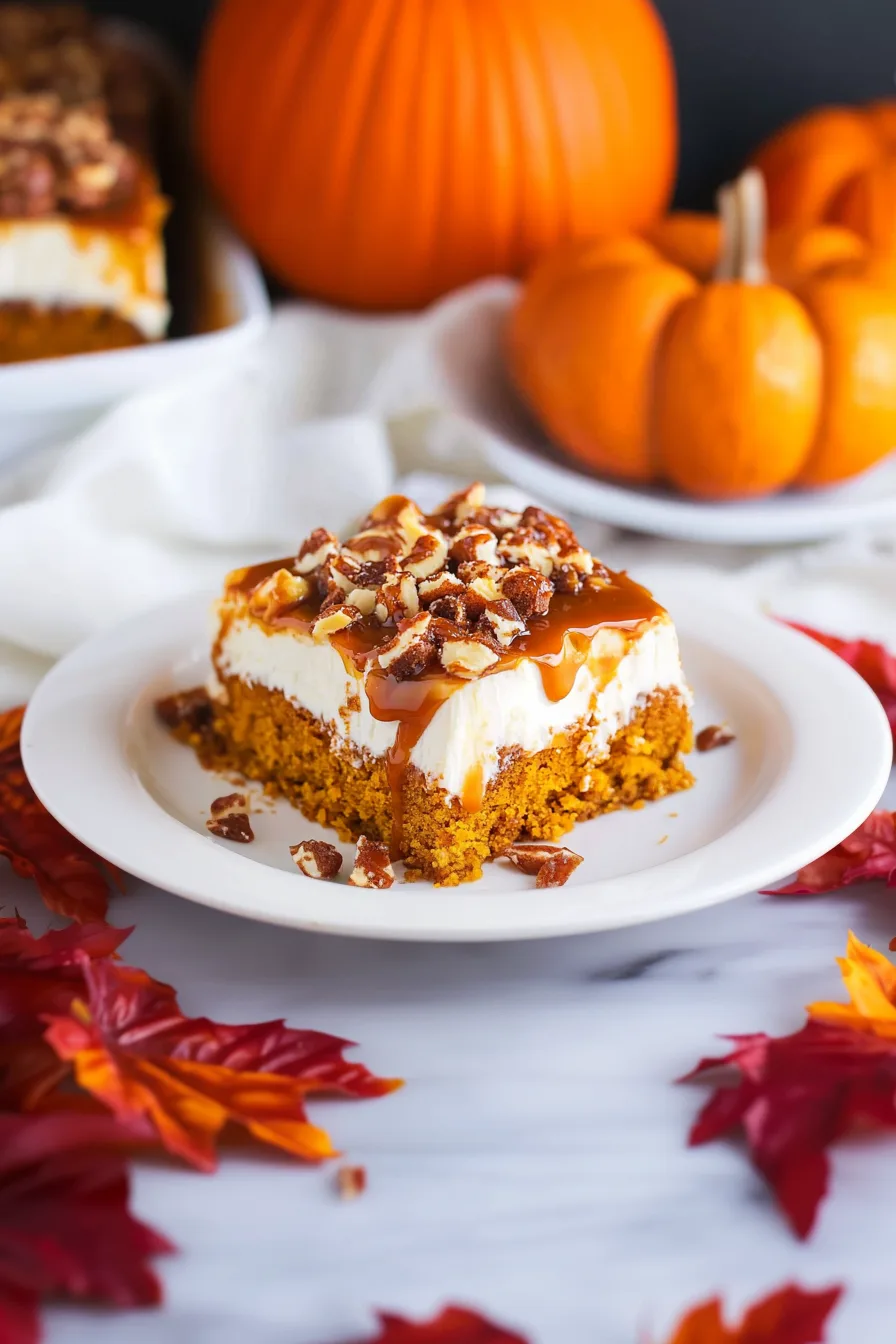
Pumpkin puree, yellow cake mix, pumpkin spice, caramel, condensed milk, Cool Whip, and toffee bits—Pumpkin Poke Cake made simple.


Pumpkin Poke Cake wasn’t something I grew up eating. Honestly, poke cakes in general weren’t a thing at my house—my mom was more of a “dump cake” type, and anything with the word “poke” in it probably sounded like too much work. But a couple of years ago, I was at a fall potluck (you know the kind—folding tables, paper plates, kids running wild in the backyard), and someone brought this ridiculous-looking pumpkin cake. It had caramel dripping down the sides, whipped topping piled on top, and crushed candy sprinkled everywhere. I thought, “Okay, this might be over the top.”
One bite later? I was a believer. It was moist in a way regular cakes just aren’t, with pumpkin spice running through the crumb and this gooey caramel-condensed milk thing happening that made it almost taste like tres leches cake had a fall fling. I asked for the recipe, and when the lady told me it started with a boxed yellow cake mix, I just about laughed out loud. That’s the secret? A box cake, a can of pumpkin, and a few extra steps? Since then, Pumpkin Poke Cake has become my “don’t worry, I’ll bring dessert” move. And every time I do, there’s not a single slice left.
Why You’ll Love This Pumpkin Poke Cake Recipe?
I mean, look, there are a lot of pumpkin desserts out there. Pumpkin pie (classic), pumpkin bread (cozy), pumpkin cheesecake (fancy). But Pumpkin Poke Cake? It’s the middle ground. Easy enough for a Tuesday night if you’re craving something sweet, but impressive enough that your aunt will ask if you picked it up from a bakery. The caramel drizzle and Cool Whip topping make it look like you went the extra mile, when really you just poked some holes in a cake and poured stuff over it. It’s also a cake that doesn’t get dry after a day—if anything, it gets better, because the caramel and condensed milk sink in deeper. Ever had leftovers that actually taste better than day one? That’s this cake.
Ingredient Notes:
Here’s the rundown, with a little commentary from someone who has definitely made a few mistakes along the way:
-
Yellow Cake Mix – Don’t stress over brands. Pick the one you usually grab, it’ll work.
-
Pumpkin Puree – Double-check the can. If it says “pumpkin pie filling,” put it back. Trust me.
-
Pumpkin Spice – The little jar of autumn. If you don’t have it, just shake in some cinnamon, nutmeg, and cloves. Close enough.
-
Caramel Ice Cream Topping – The kind you drizzle over sundaes. Sticky, sweet, and dangerous.
-
Sweetened Condensed Milk – If you’ve never baked with it before, prepare to fall in love. It’s like dessert glue.
-
Heath Toffee Bits – I don’t know who invented these little crunchy bites of heaven, but they deserve a medal.
-
Cool Whip – Say what you want about whipped topping, but it holds up beautifully on this cake. (Homemade whipped cream works too, but it won’t last as long in the fridge.)
How To Make Pumpkin Poke Cake?
Step 1: Bake the base.
Make the yellow cake mix like the box tells you, but stir in pumpkin puree and pumpkin spice. Already smells like fall, right? Bake it in a 9×13 pan.
Step 2: The good stuff.
While the cake is in the oven, mix together caramel sauce and sweetened condensed milk. It’s rich, sweet, and yeah, you’ll want to lick the spoon. Go ahead, I won’t judge.
Step 3: Poke and soak.
Pull the cake from the oven and, while it’s hot, poke holes all over with a fork, straw, or the handle of a spoon. Then pour that caramel-milk mixture right over the top. It’ll sink in and turn your cake into something halfway between a poke cake and a tres leches situation.
Step 4: The waiting game.
Let the cake cool completely. This part’s rough, especially if you’ve got family hovering around asking, “Is it ready yet?” But trust me, if you try to top it now, you’ll regret it.
Step 5: Top it off.
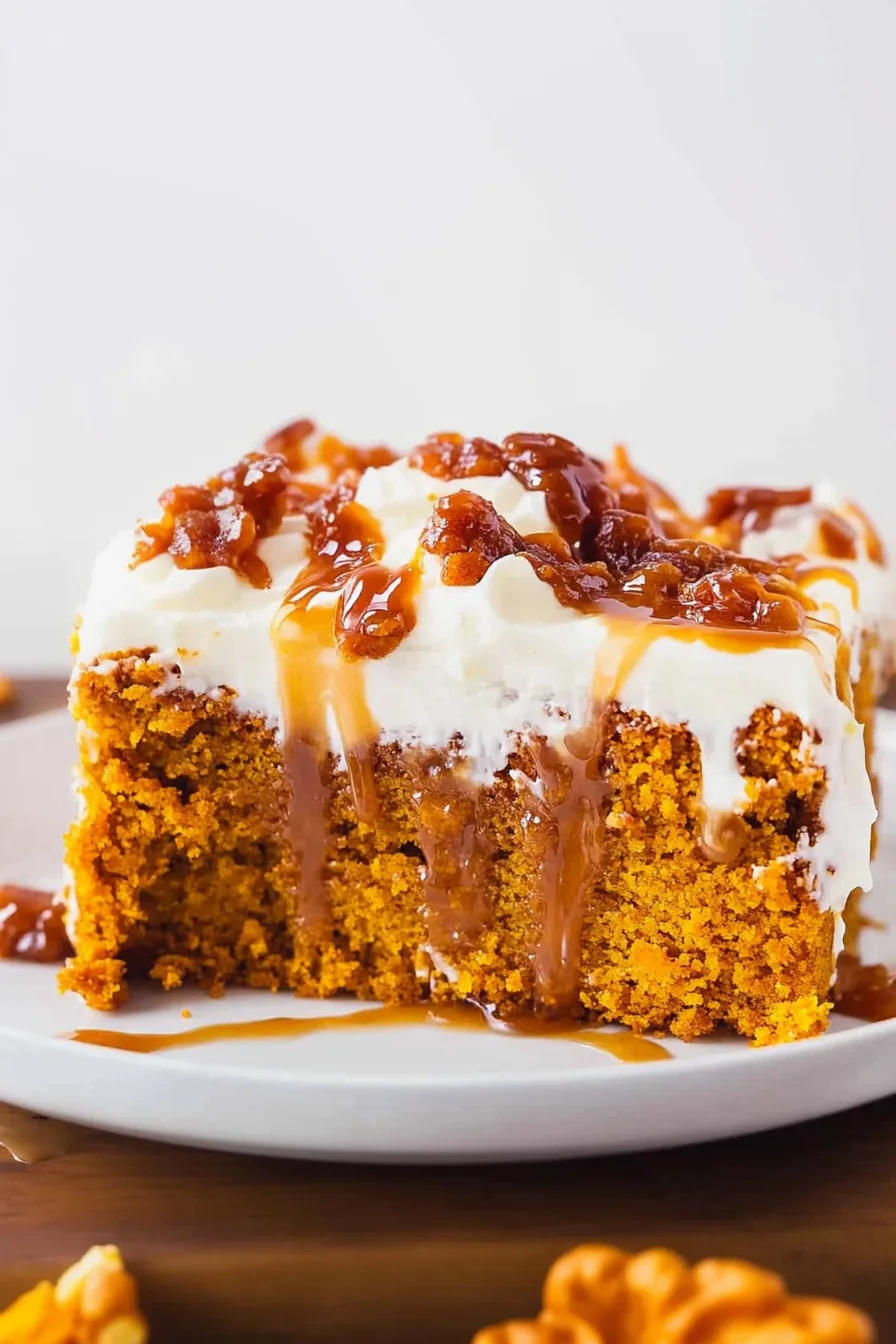
Once cool, sprinkle half the toffee bits, spread a thick layer of Cool Whip over the top, then finish with the rest of the toffee bits. Add more caramel if you’re feeling extra. (I always am.)
Step 6: Chill out.
Refrigerate at least 4 hours, overnight if you can stand it. That chill time makes everything set perfectly. The first bite the next day? Unreal.
Storage Options:
Pumpkin Poke Cake was practically made for leftovers. Cover it and stick it in the fridge, and you’ll get 4–5 days out of it. Honestly, it might even be better the second or third day because the sauce has time to really soak into the cake. Freezing? Totally doable, but freeze it before adding the Cool Whip topping. Add the topping fresh when it’s thawed so it doesn’t look sad and deflated.
Want To Save This Recipe?
Variations and Substitutions:
Want to play around? Here are a few ways to mix things up:
-
Swap yellow cake mix for spice cake mix if you want more punch.
-
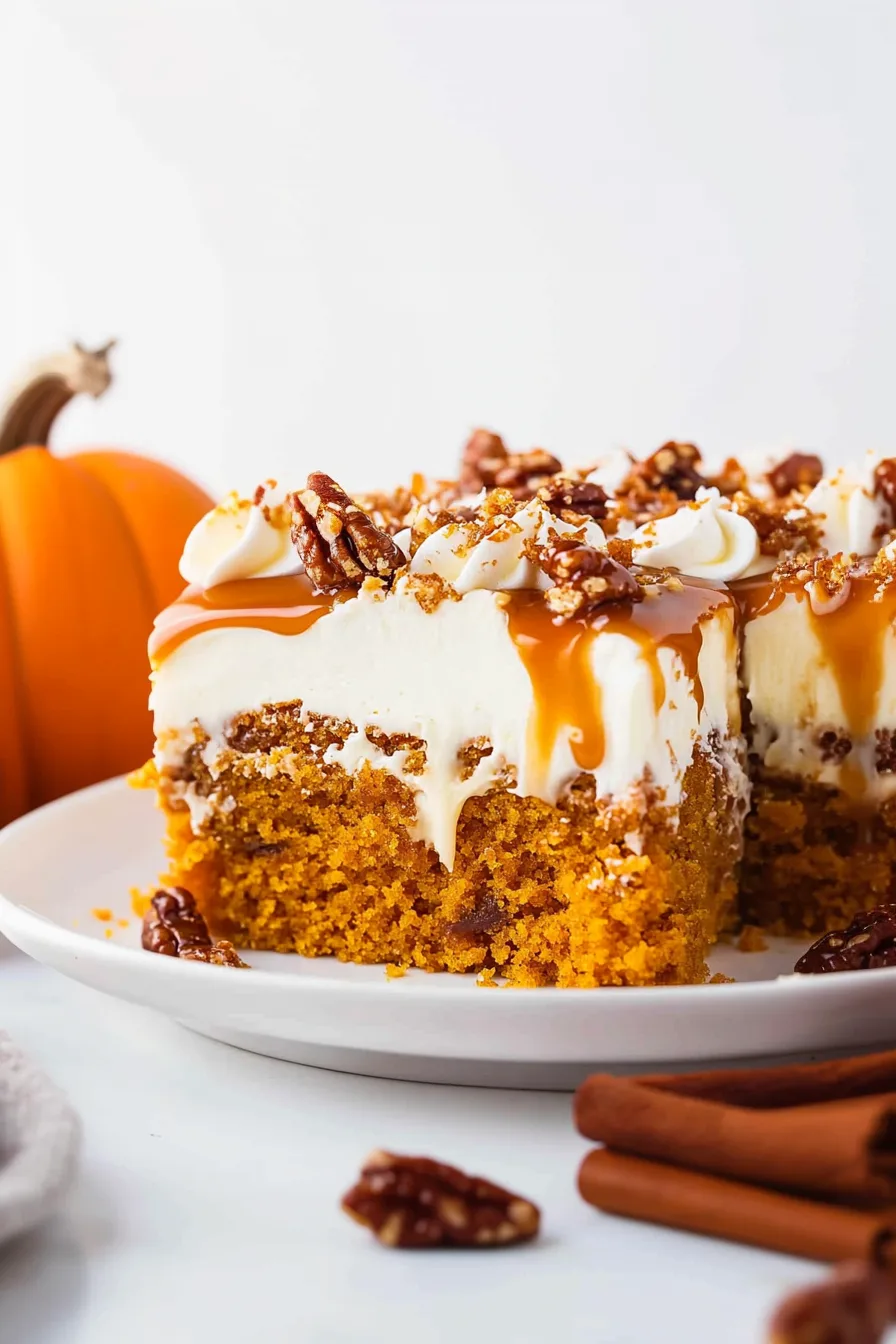
Trade the Cool Whip for cream cheese frosting if you’re feeling decadent.
-
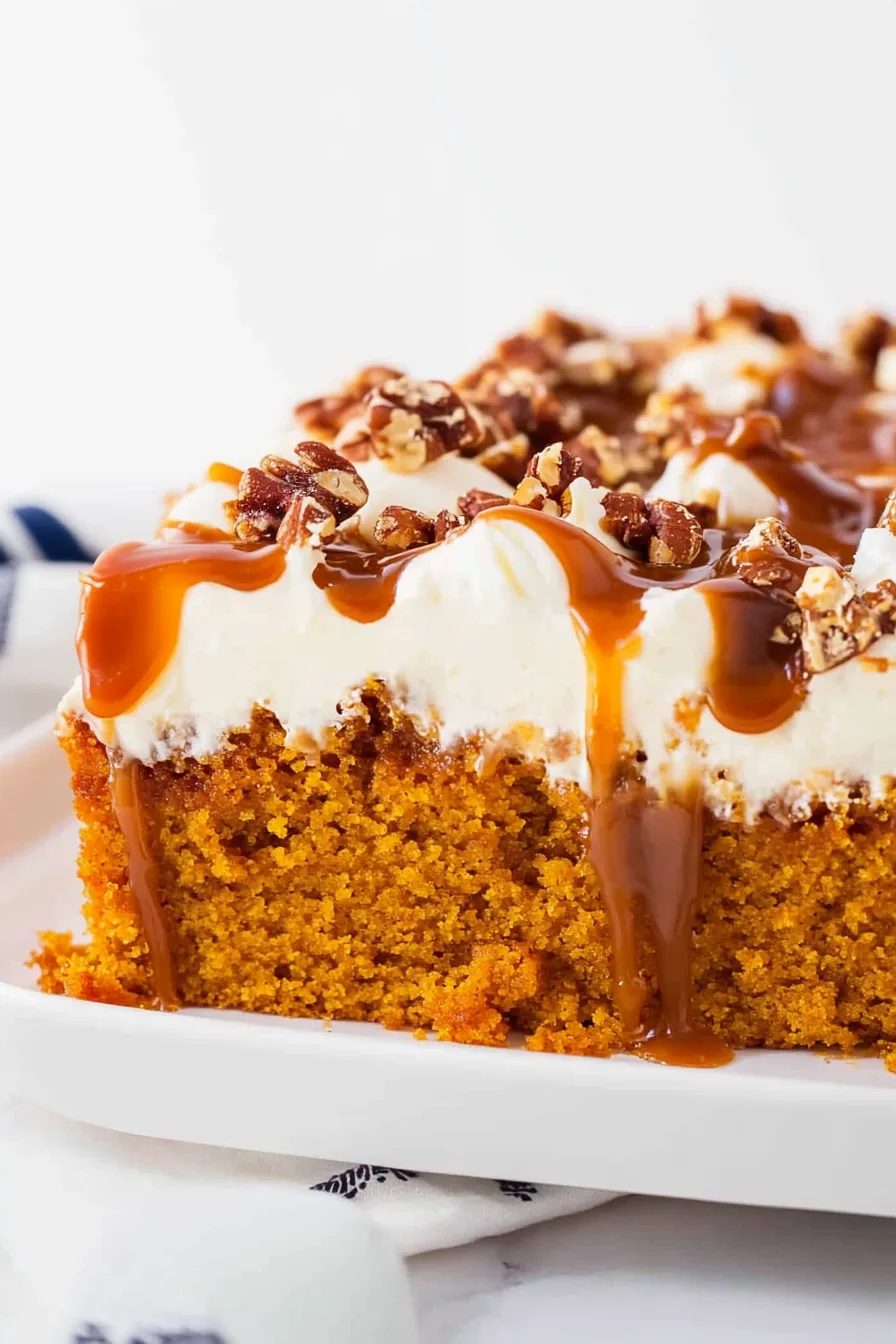
Add a handful of chopped pecans or walnuts to the topping for crunch.
-
Use butterscotch sauce instead of caramel if that’s your thing.
What to Serve with Pumpkin Poke Cake?
This cake doesn’t need much, but here’s what I like:
-
A hot mug of coffee or tea to cut the sweetness.
-
A scoop of vanilla ice cream if you’re going all out.
-
A glass of apple cider (spiked or not, no judgment).
-
Fresh fruit on the side if you’re trying to trick yourself into thinking this counts as balanced.
Frequently Asked Questions:
Can I make this cake ahead of time?
Yes, and you should. It actually tastes better the next day.
Do I have to use Cool Whip?
Nope, but it does make things easier. Homemade whipped cream works if you’re serving it same day.
Can I freeze Pumpkin Poke Cake?
Yes—just freeze it before topping. Add the whipped layer and candy bits after thawing.
Pumpkin Poke Cake is cozy, a little messy, and the kind of dessert people remember. It’s the one you bring to a party and then end up scribbling the recipe on napkins because everyone’s asking for it. So tell me—are you eating it straight from the fridge like I do, or do you sneak a piece warm before it even chills?
Keep the Flavor Coming – Try These:


Pumpkin Poke Cake
Ingredients
Cake Base:
- 1 box yellow cake mix plus ingredients required on the package
- 1 cup pumpkin puree
- 1 teaspoon pumpkin spice
Filling:
- 1 12.25 oz jar caramel ice cream topping
- 1 14 oz can sweetened condensed milk
Topping:
- 1 cup Heath toffee bits
- 1 8 oz tub Cool Whip
Instructions
Prepare the cake.
- Preheat the oven according to the cake mix instructions. In a large mixing bowl, prepare the yellow cake mix as directed on the package. Stir in the pumpkin puree and pumpkin spice until evenly incorporated. Pour the batter into a greased 9×13-inch baking pan. Bake as instructed on the cake mix package until a toothpick inserted in the center comes out clean.
Prepare the filling.
- While the cake is baking, combine the caramel topping and sweetened condensed milk in a medium bowl. Stir until well blended and smooth.
Poke and fill the cake.
- Once baked, remove the cake from the oven. While still hot, use the handle of a wooden spoon, straw, or fork to poke holes evenly across the surface of the cake. Pour the caramel-milk mixture over the cake, ensuring it seeps into the holes. Allow the cake to cool completely.
Add the topping.
- Sprinkle half of the toffee bits over the cooled cake. Spread the Cool Whip evenly across the surface, then sprinkle with the remaining toffee bits. For additional flavor, drizzle extra caramel sauce over the top, if desired.
Chill before serving.
- Cover the cake and refrigerate for at least 4 hours, or preferably overnight, to allow the flavors to meld. Slice and serve chilled.
Notes
I’m Bitty, owner of nodashofgluten.com, where I share simple, delicious recipes for all tastes, including gluten-free. Check out my “About Me” page for more info!