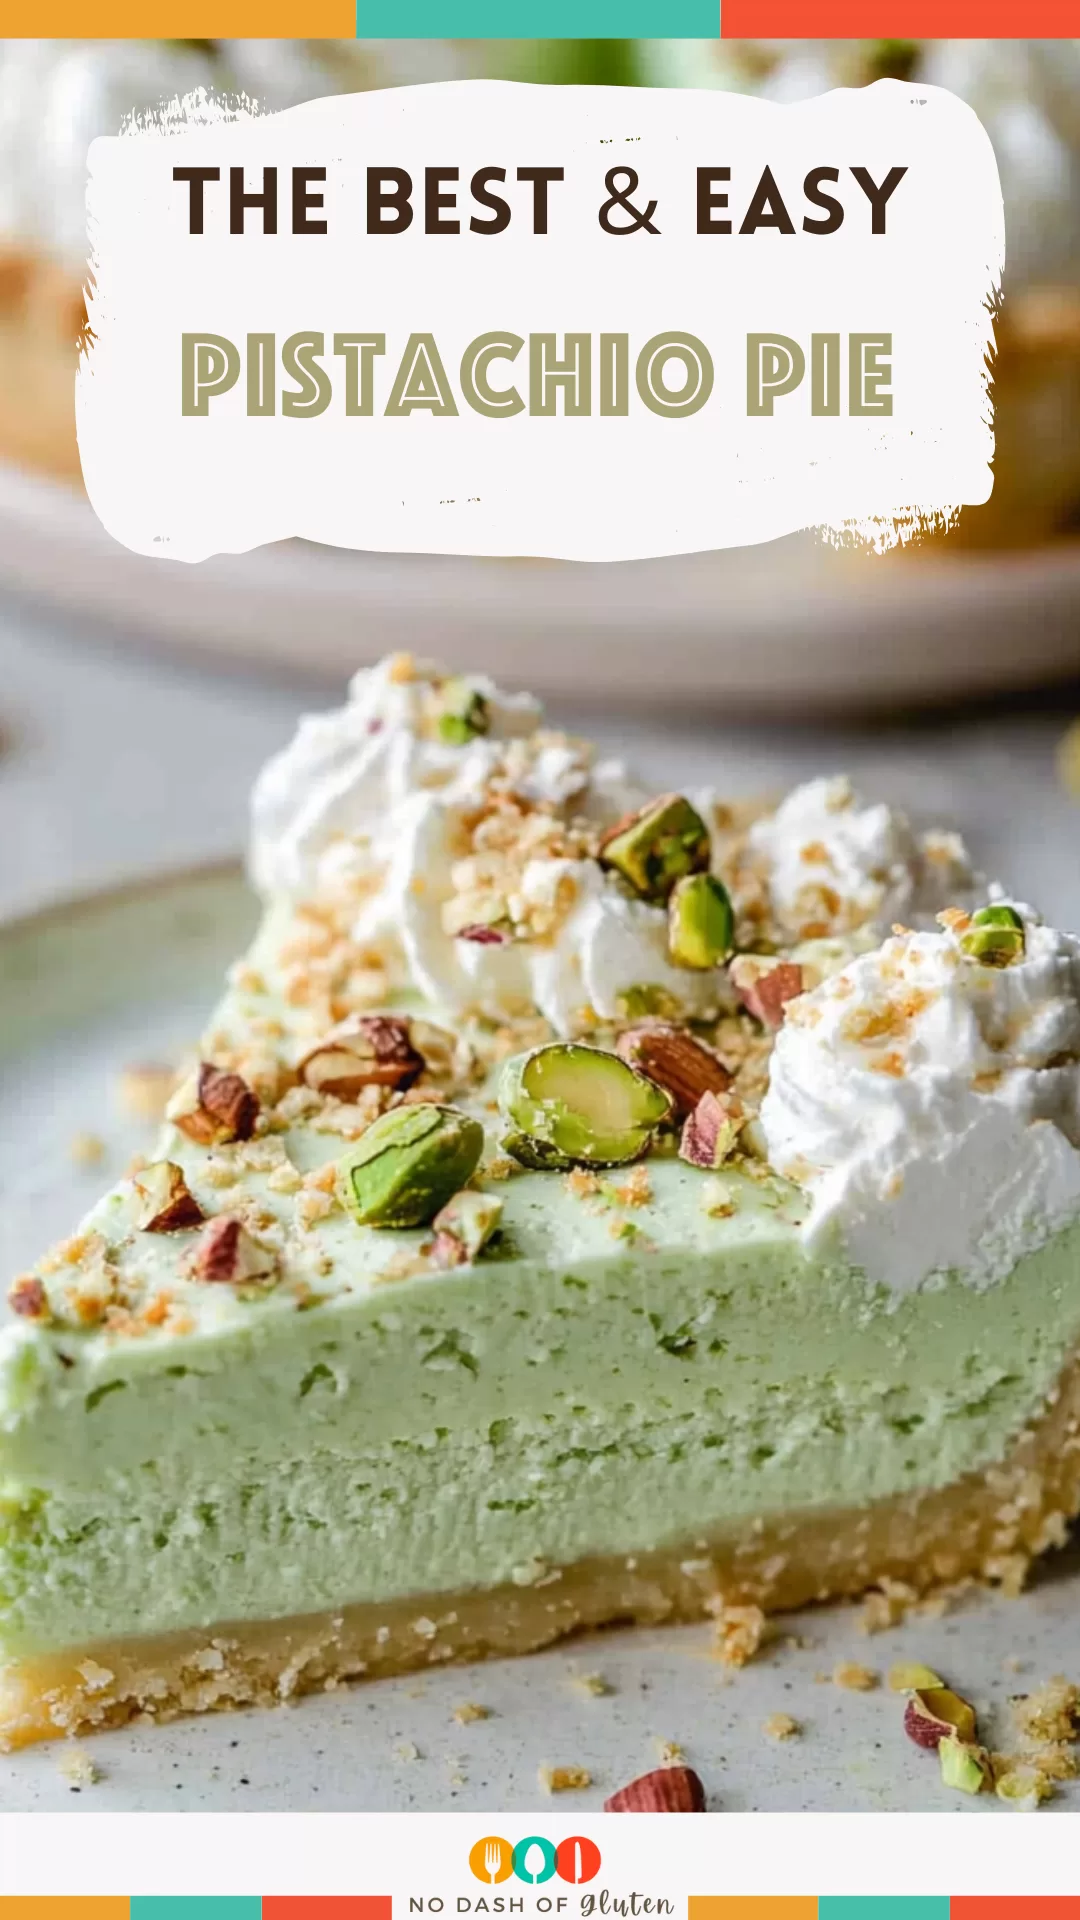
Cream cheese, pistachio pudding, crushed pineapple, and marshmallows come together in a buttery Nilla Wafer crust for this no-bake Pistachio Pie.

Do you ever taste something that instantly transports you back in time? For me, Pistachio Pie does just that. The first time I made it, I was in my grandmother’s kitchen, a place where laughter and the scent of freshly baked treats were constants. She had a way of turning simple recipes into moments that felt… well, magical.
It was a hot summer afternoon, and we needed a dessert that wouldn’t require heating up the house. Grandma rummaged through her pantry, pulled out a box of pistachio pudding, and said, “Let’s make something green and happy.” By the time the pie had chilled, we were sitting on the porch, forks in hand, savoring every creamy bite. Now, every time I make this pie, it feels like she’s right there with me, smiling and telling me to add more marshmallows.
Why You’ll Love This Pistachio Pie Recipe?
- No Bake, No Fuss: Perfect for when you want dessert but can’t be bothered with the oven.
- Crowd-Pleaser: That creamy, tangy, nutty goodness? Everyone loves it—kids, adults, even the picky eaters.
- Vibrant and Fun: The green color adds a playful touch that’s perfect for spring picnics, St. Patrick’s Day, or any day you need a little cheer.
- Versatile: You can dress it up with extra toppings or keep it simple. Either way, it’s delicious.
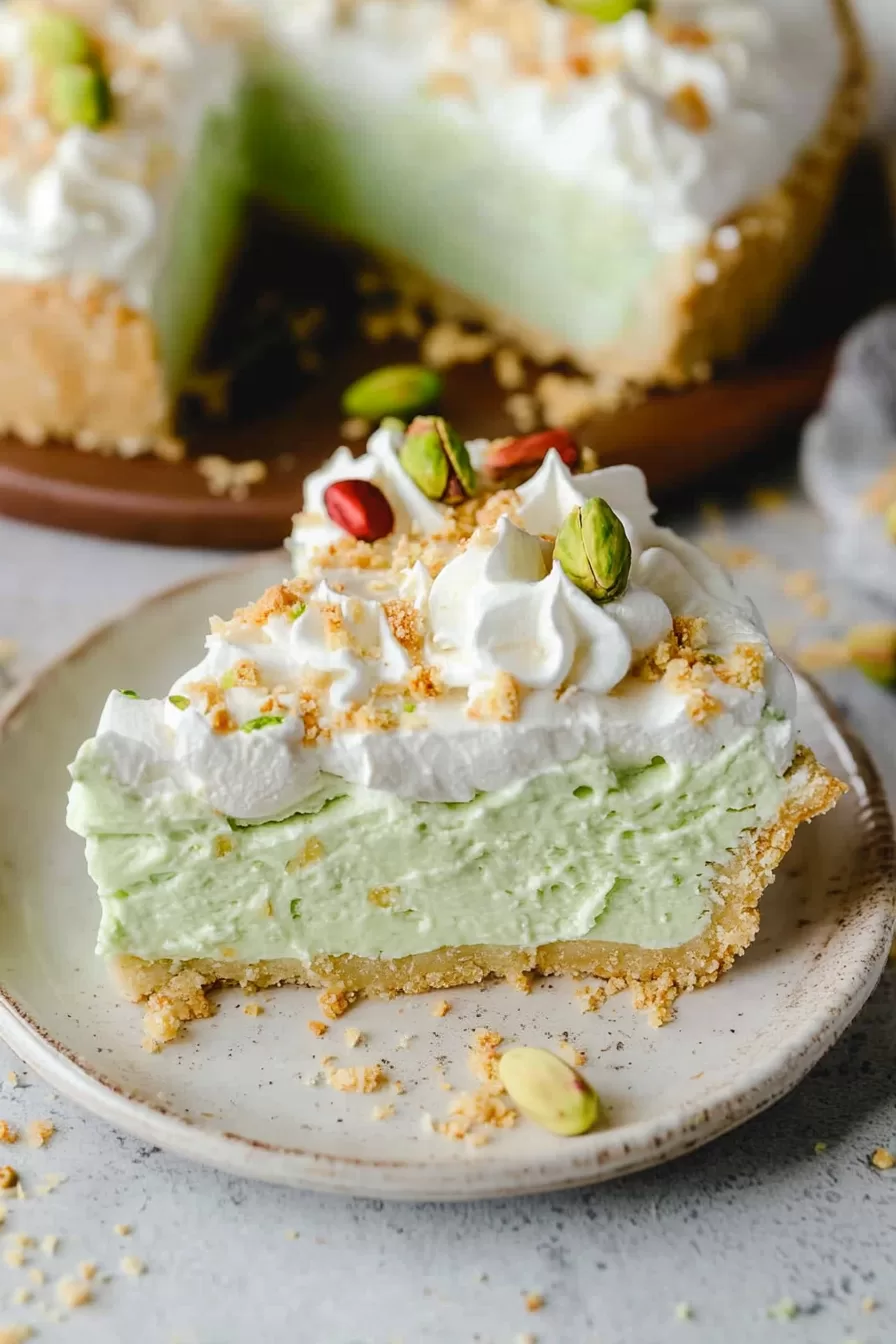
Ingredient Notes:
Here’s the breakdown of what makes this Pistachio Pie so irresistible:
- Cream Cheese: This is your pie’s foundation. Make sure it’s softened so it blends smoothly into that velvety filling.
- Instant Pistachio Pudding: The star of the show! Its nutty flavor and cheerful green hue bring the pie to life.
- Crushed Pineapple: Adds a sweet tanginess and keeps the filling light and moist. Don’t skip the juice—it’s essential!
- Mini Marshmallows: These little guys add a fun, chewy texture. My grandma always said, “The more, the merrier!”
- Cool Whip: Makes the filling fluffy and oh-so-light. If you’re feeling fancy, homemade whipped cream works too.
- Nilla Wafer Crust: Sweet, buttery, and a little crunchy—this crust is the perfect base for all that creamy goodness.
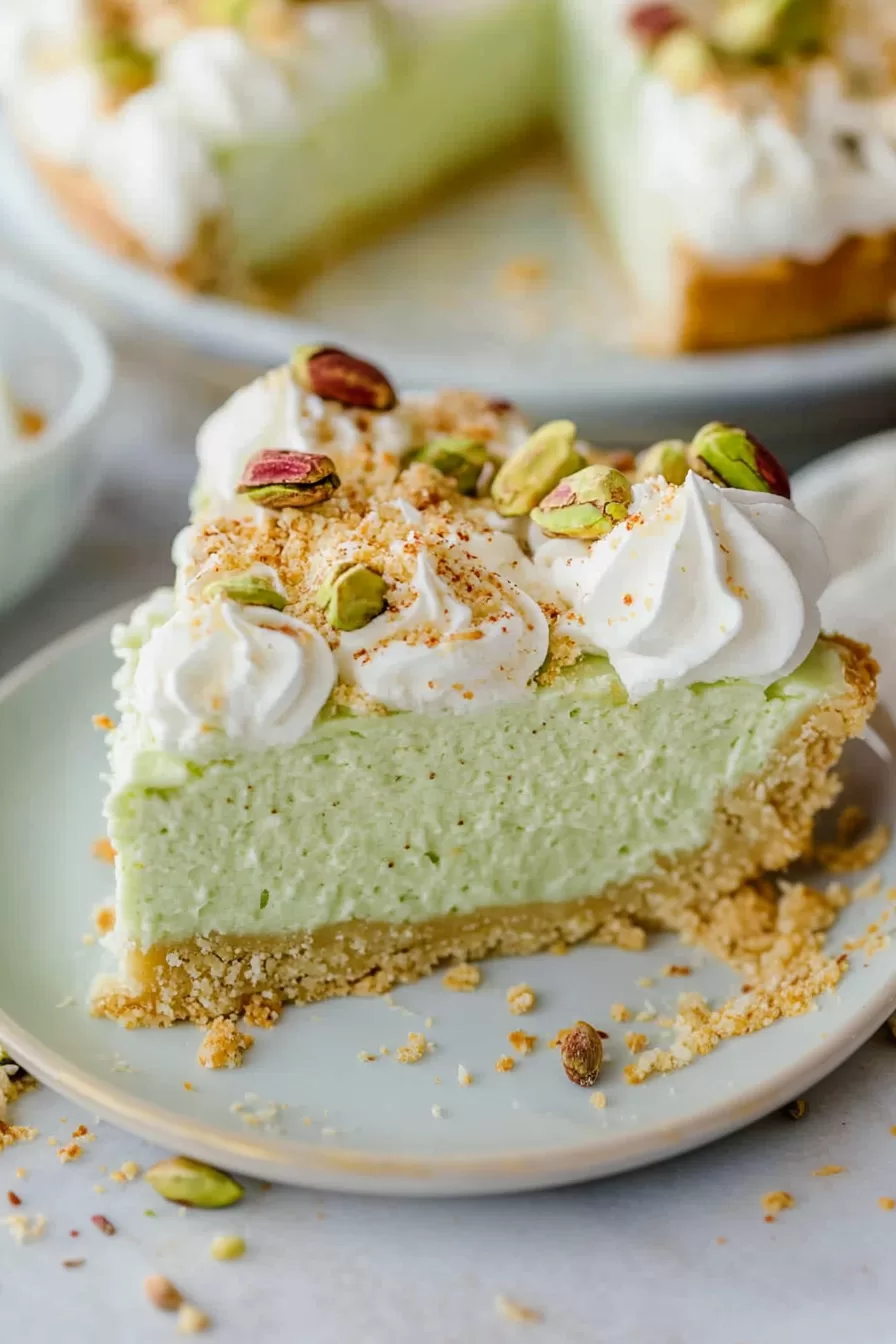
How To Make Pistachio Pie?
Step 1: Mix the Base
Start by beating the cream cheese and pistachio pudding together. The goal is a smooth, fluffy mixture that’ll make you want to grab a spoon and dive in right away.
Step 2: Add the Pineapple
Pour in the crushed pineapple—juice and all—and give it another mix. It’s like adding a tropical breeze to your dessert.
Step 3: Fold in the Marshmallows
Gently fold in those colorful (or plain) mini marshmallows. They’re the little bursts of happiness in every bite.
Step 4: Fluff It Up
Now comes the Cool Whip. Fold it in carefully to keep the filling airy and light.
Step 5: Assemble the Pie
Spread the filling into your pre-made Nilla Wafer crust. Smooth it out like you’re frosting a cake—minus the stress.
Step 6: Chill and Garnish
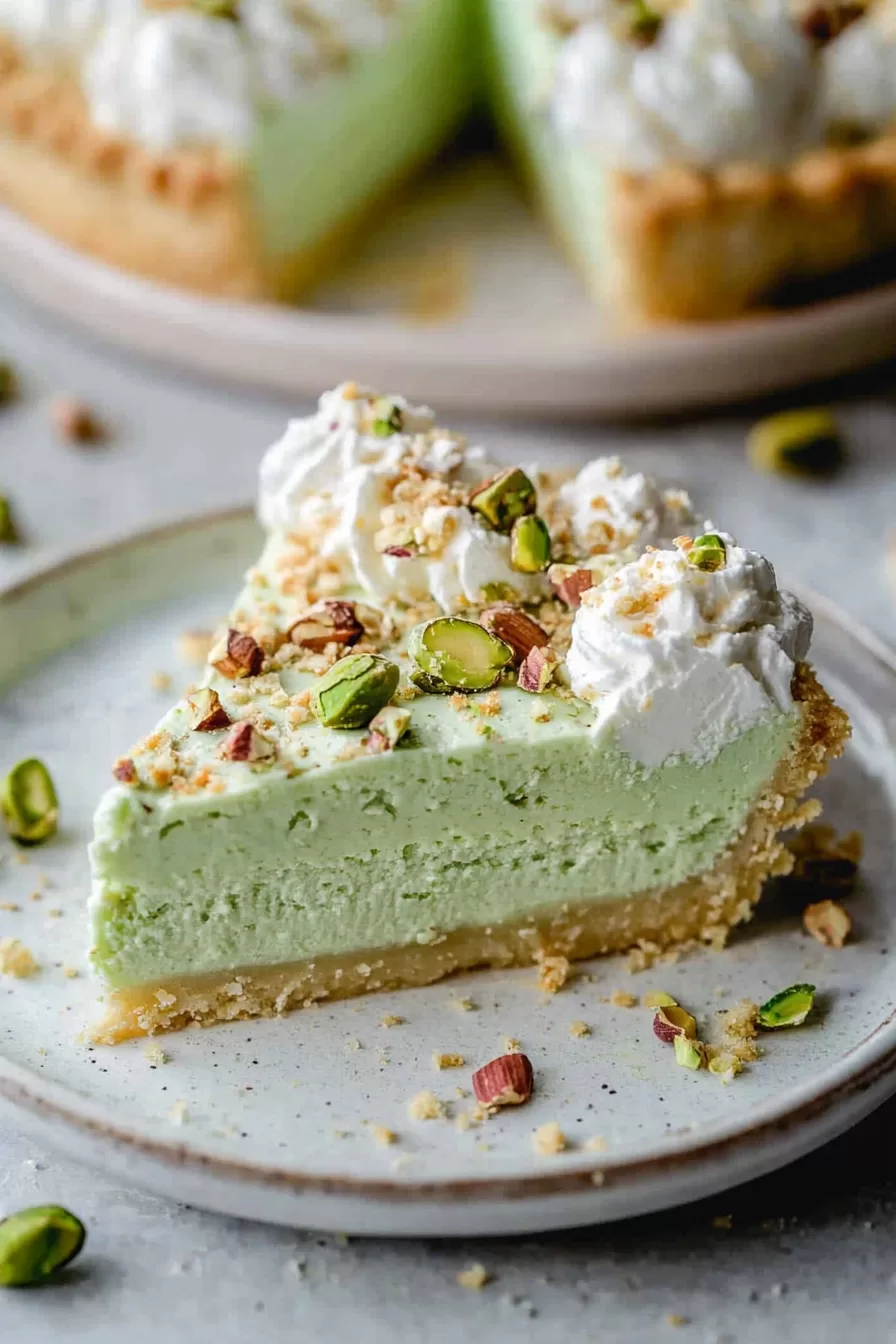
Refrigerate the pie for at least two hours. Before serving, sprinkle on some crushed pistachios or a dollop of whipped cream for that extra touch.
Want To Save This Recipe?
Enter your email below and we'll send the recipe straight to your inbox.
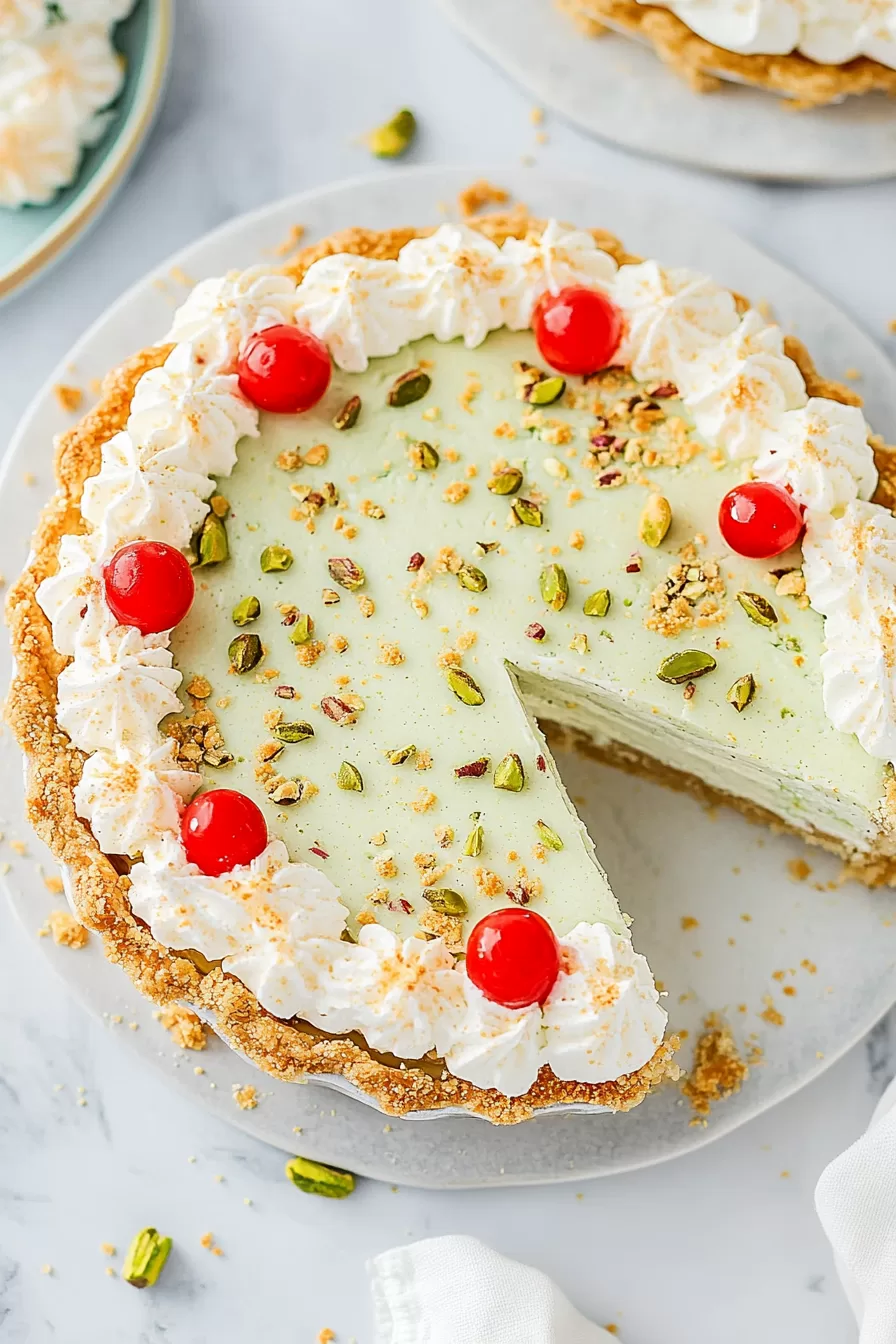
Storage Options:
- Fridge: Keep your pie in the fridge, tightly covered. It stays fresh for up to three days (if it lasts that long!).
- Freezer: Need to save it for later? Freeze it for up to a month. Just thaw in the fridge before serving.
Variations and Substitutions:
Feeling creative? Here are a few ways to switch things up:
- Nut-Free Version: Swap pistachio pudding for vanilla pudding and add green food coloring.
- Different Crusts: Try graham cracker, Oreo, or even a pretzel crust for a salty-sweet vibe.
- Extra Add-Ins: Toss in some chopped nuts, shredded coconut, or mini chocolate chips.
- Whipped Cream Upgrade: Use fresh whipped cream for a homemade touch.
What to Serve with Pistachio Pie?
This pie is a treat on its own, but here’s how you can take it to the next level:
- Hot Drinks: Pair it with coffee or tea for a cozy finish.
- Fruit Salad: The fresh, juicy flavors balance out the pie’s richness.
- Chocolate Sauce: A drizzle of chocolate never hurt anyone, right?
Frequently Asked Questions:
Can I make this pie ahead of time?
Absolutely! It’s actually better the next day as the flavors meld together.
Can I use a homemade crust?
Of course! A graham cracker or shortbread crust would work beautifully.
Can I substitute the Cool Whip?
Yes, homemade whipped cream is a great alternative. Just make sure it’s stabilized if you’re prepping in advance.
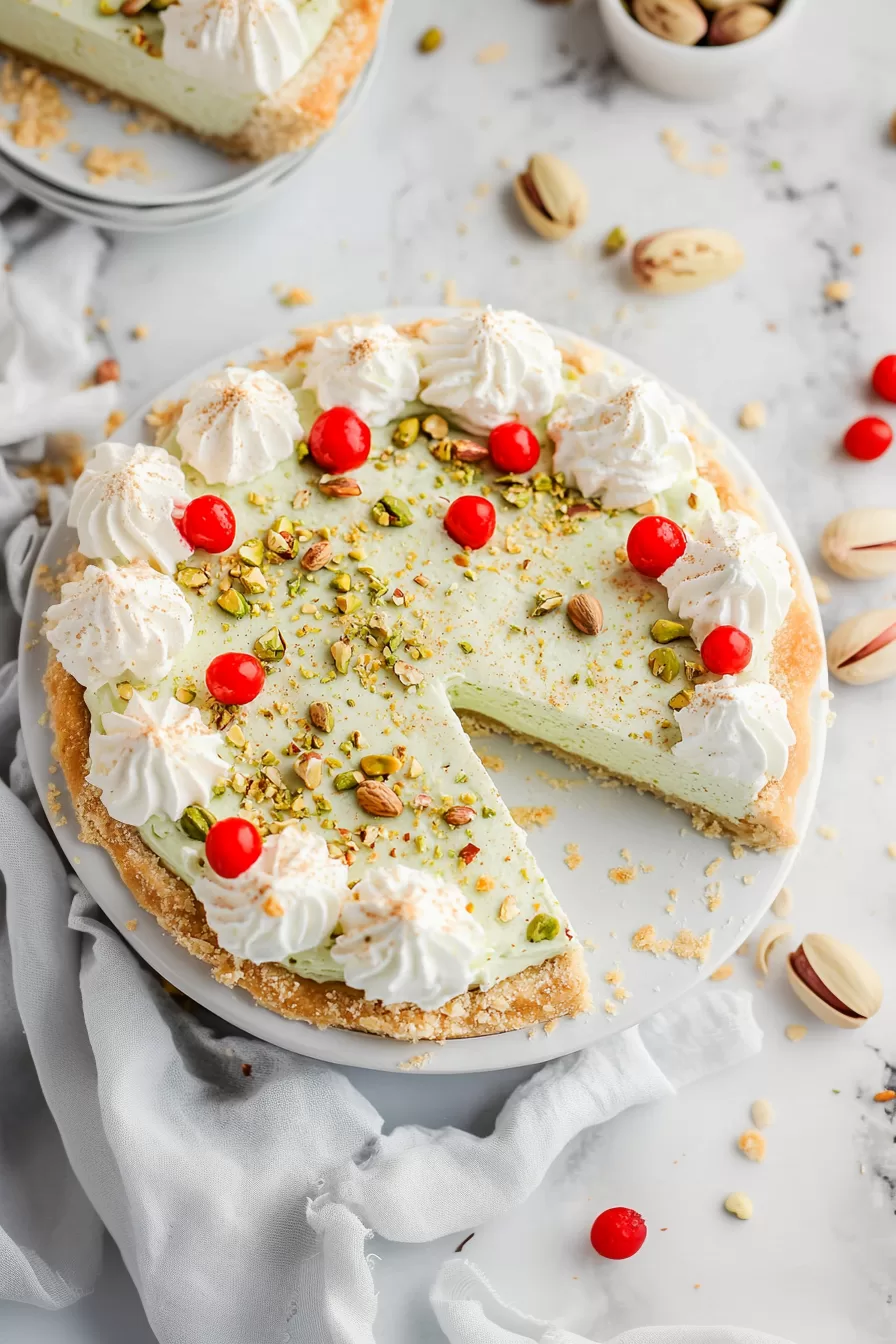
There you have it—a Pistachio Pie that’s as easy as it is delicious. Whether you’re sharing it with family, bringing it to a party, or just treating yourself, this pie is sure to bring a smile. Give it a try, and let me know—did it become your new favorite too?
<Remember it later>
Planning to try this recipe soon? Pin it for a quick find later!
<Remember it later>
Planning to try this recipe soon? Pin it for a quick find later!
Keep the Flavor Coming – Try These:
Pistachio Pie
Ingredients
- 8 ounces Cream Cheese softened
- 1 small box instant Pistachio Pudding
- 1 20- ounce can crushed pineapple with juice, not drained
- 1 cup miniature marshmallows colored or white
- 1 small 8-ounce tub of Cool Whip whipped topping
- 1 pie crust Nilla Wafer crust used here
Instructions
- Combine the cream cheese and instant pistachio pudding in a bowl beating them together until they become fluffy.
- Next incorporate the pineapple with its juice into the mixture. Beat it again.
- Gently fold in the marshmallows.
- Now add the Cool Whip whipped topping. Carefully fold it in.
- Spoon this concoction into a pie crust of your choosing that has been prepared beforehand.
- Place it in the refrigerator to chill for two hours before serving. If desired you can sprinkle some crushed pistachios or your preferred toppings on top.
- Once chilled savor a slice of this Pistachio Pie. It's best enjoyed when served cold.
Notes

I’m Bitty, owner of nodashofgluten.com, where I share simple, delicious recipes for all tastes, including gluten-free. Check out my “About Me” page for more info!


