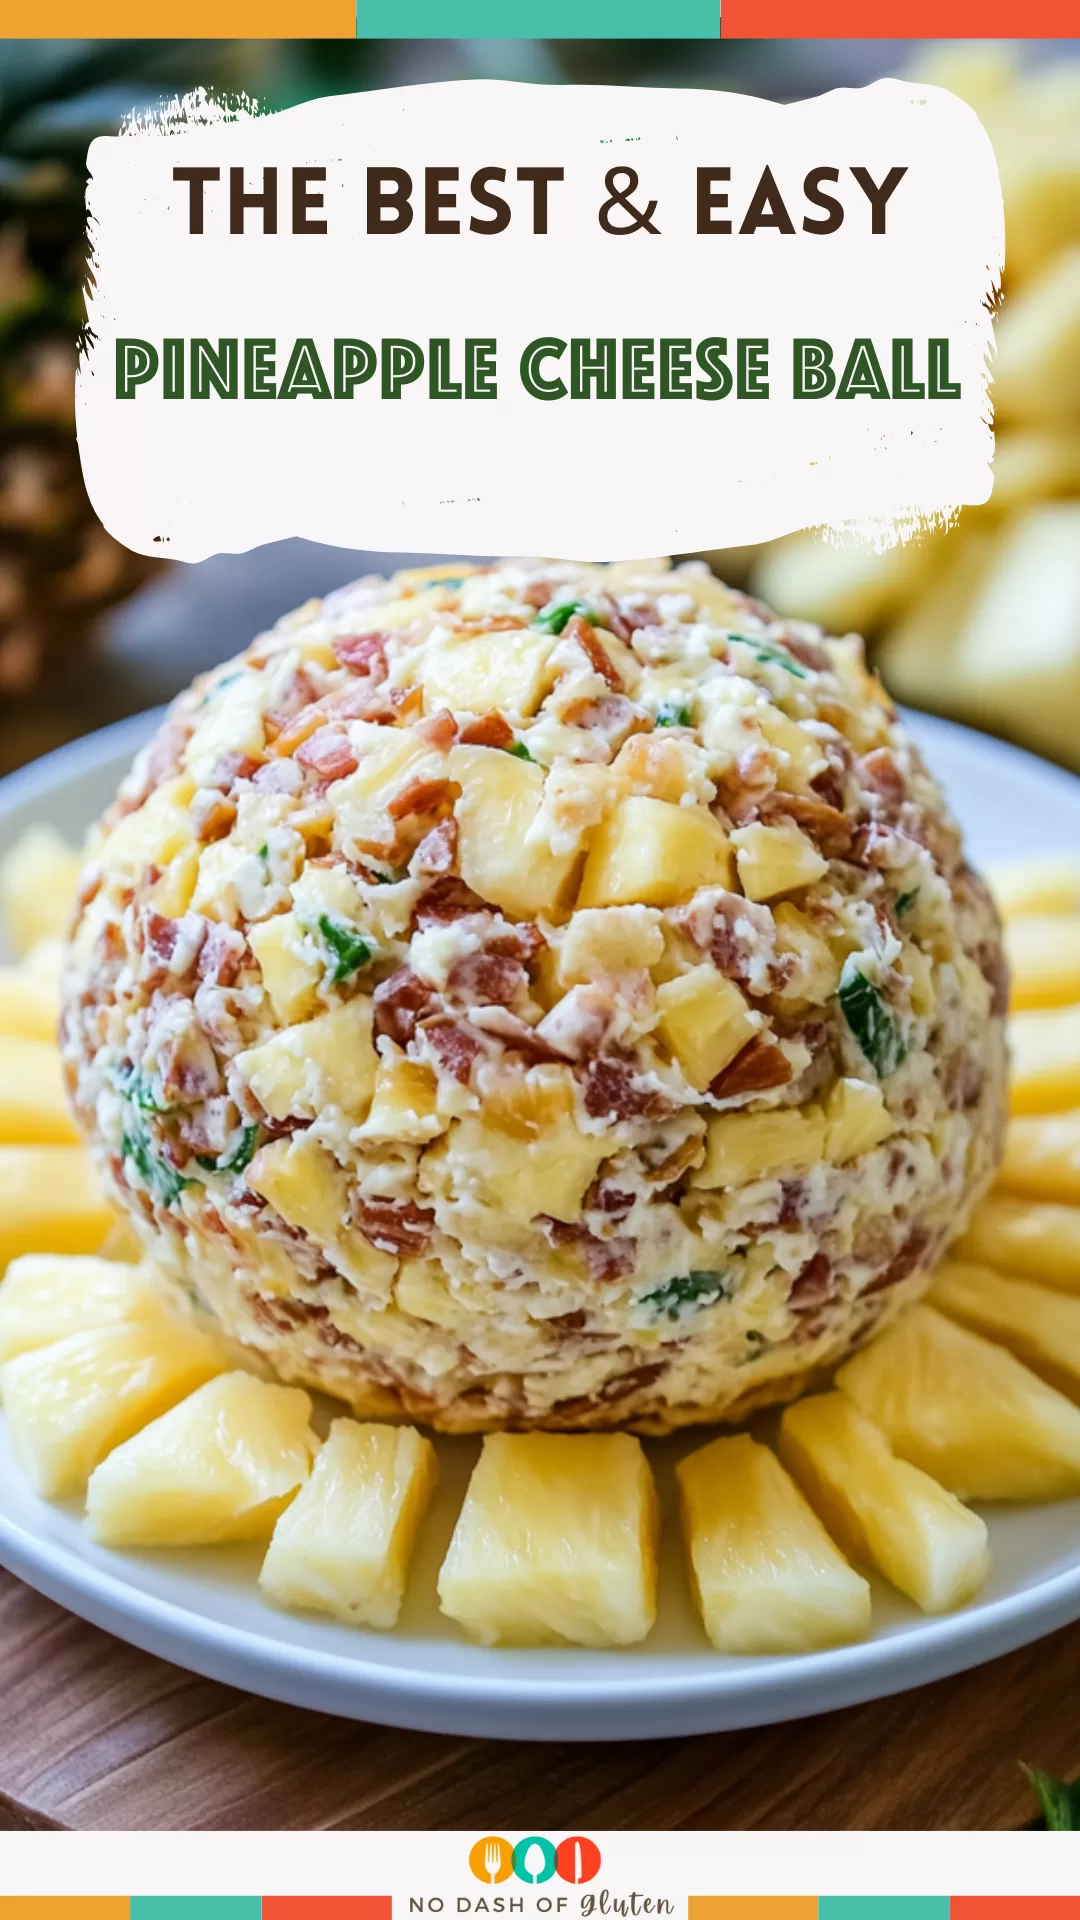
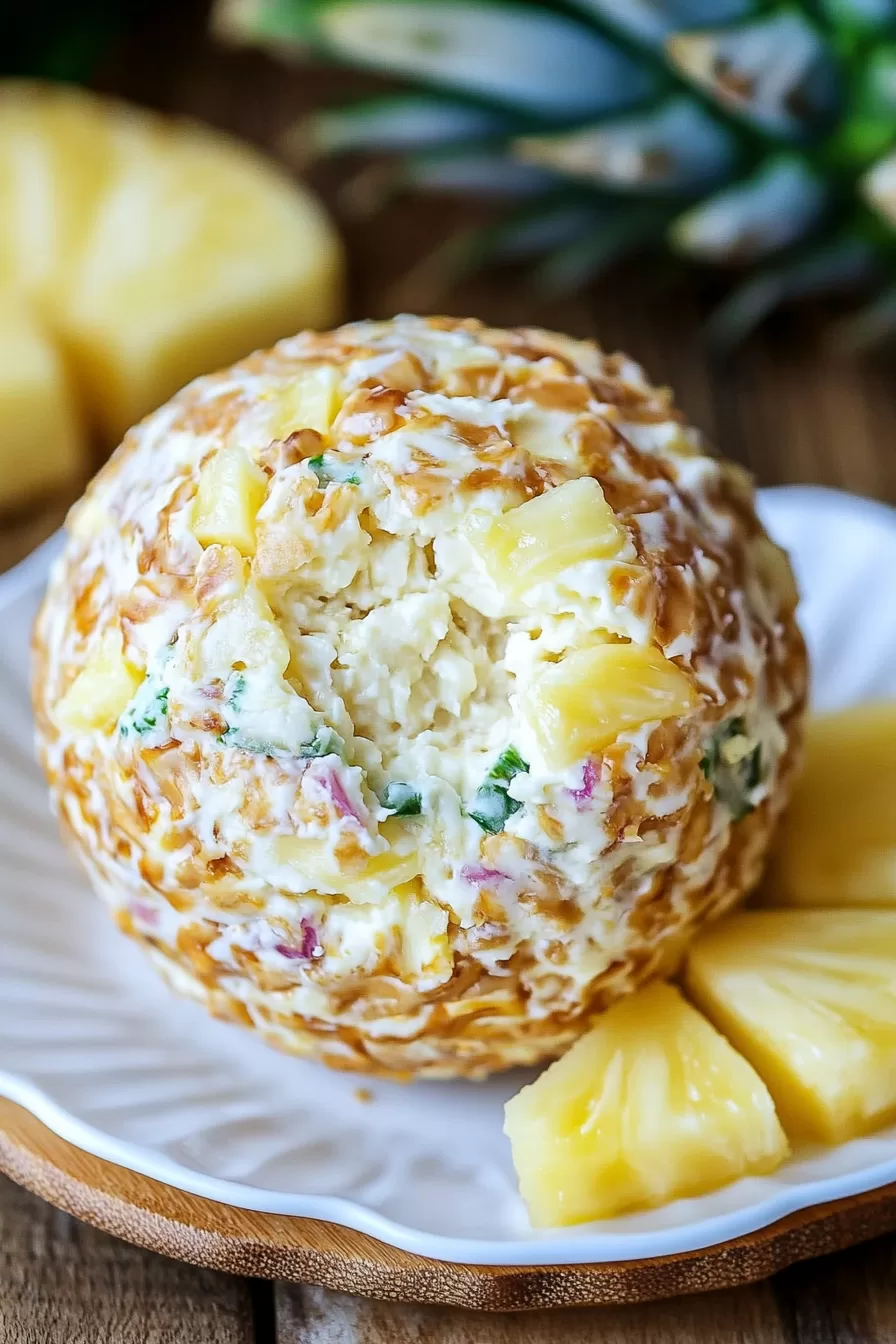
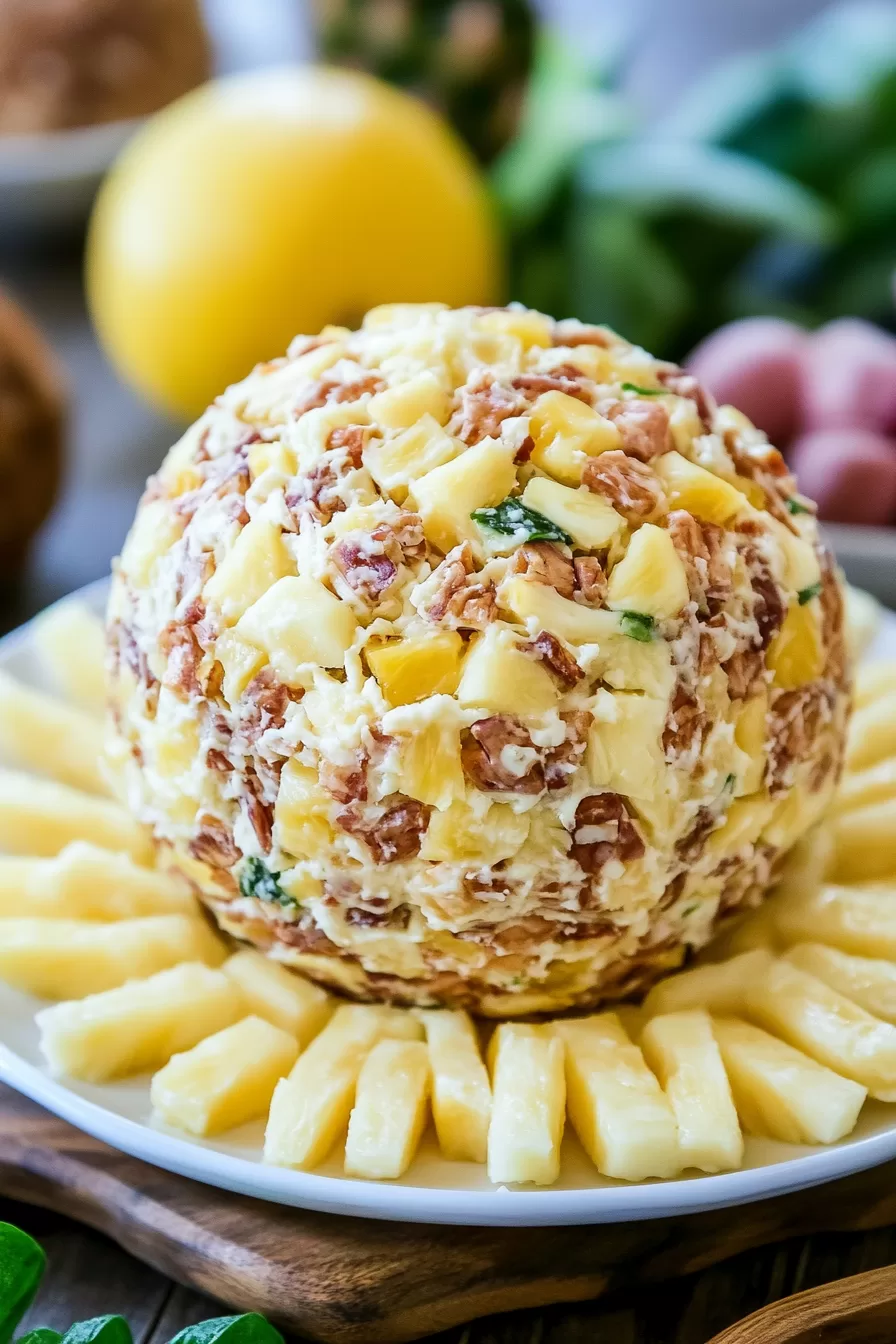
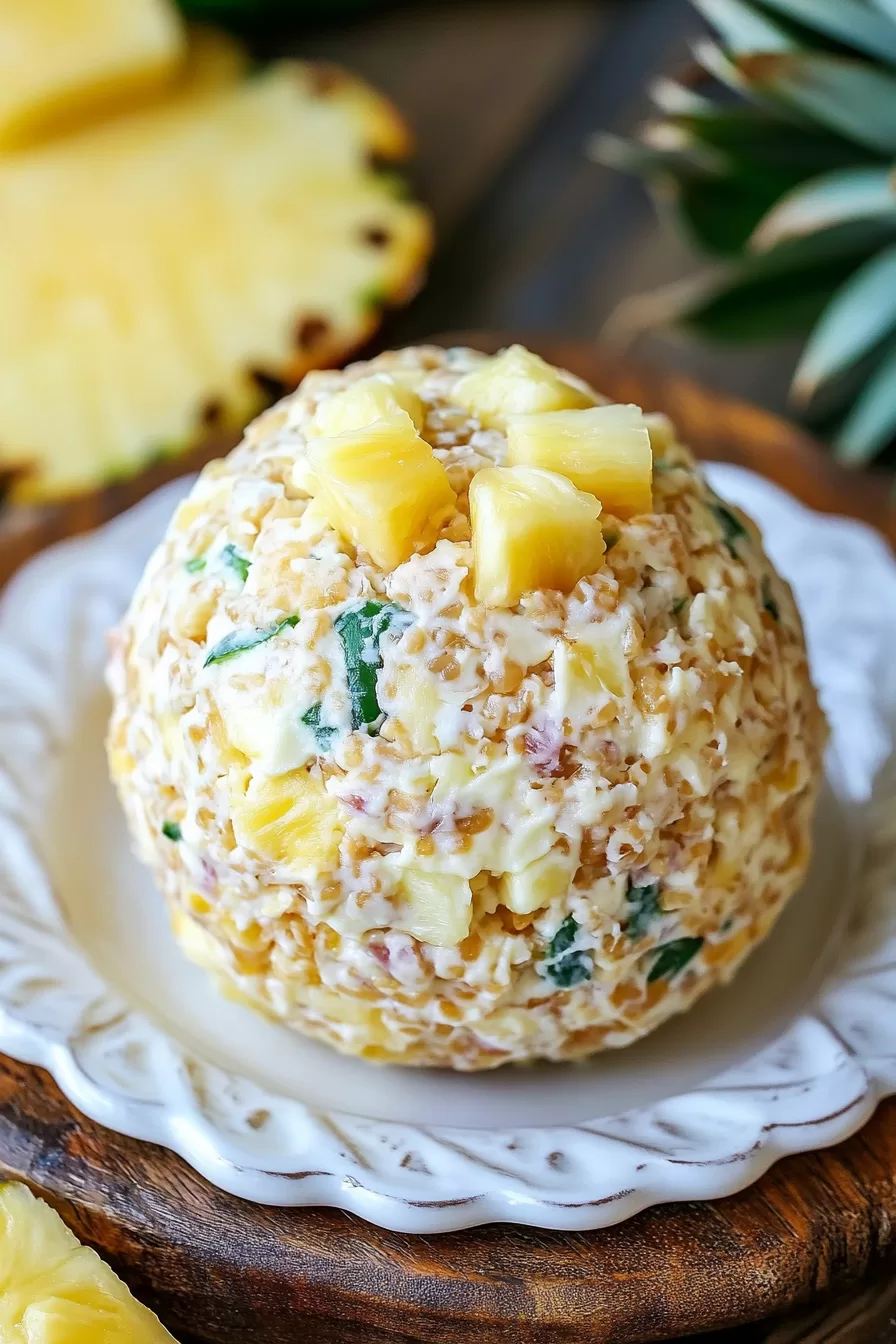
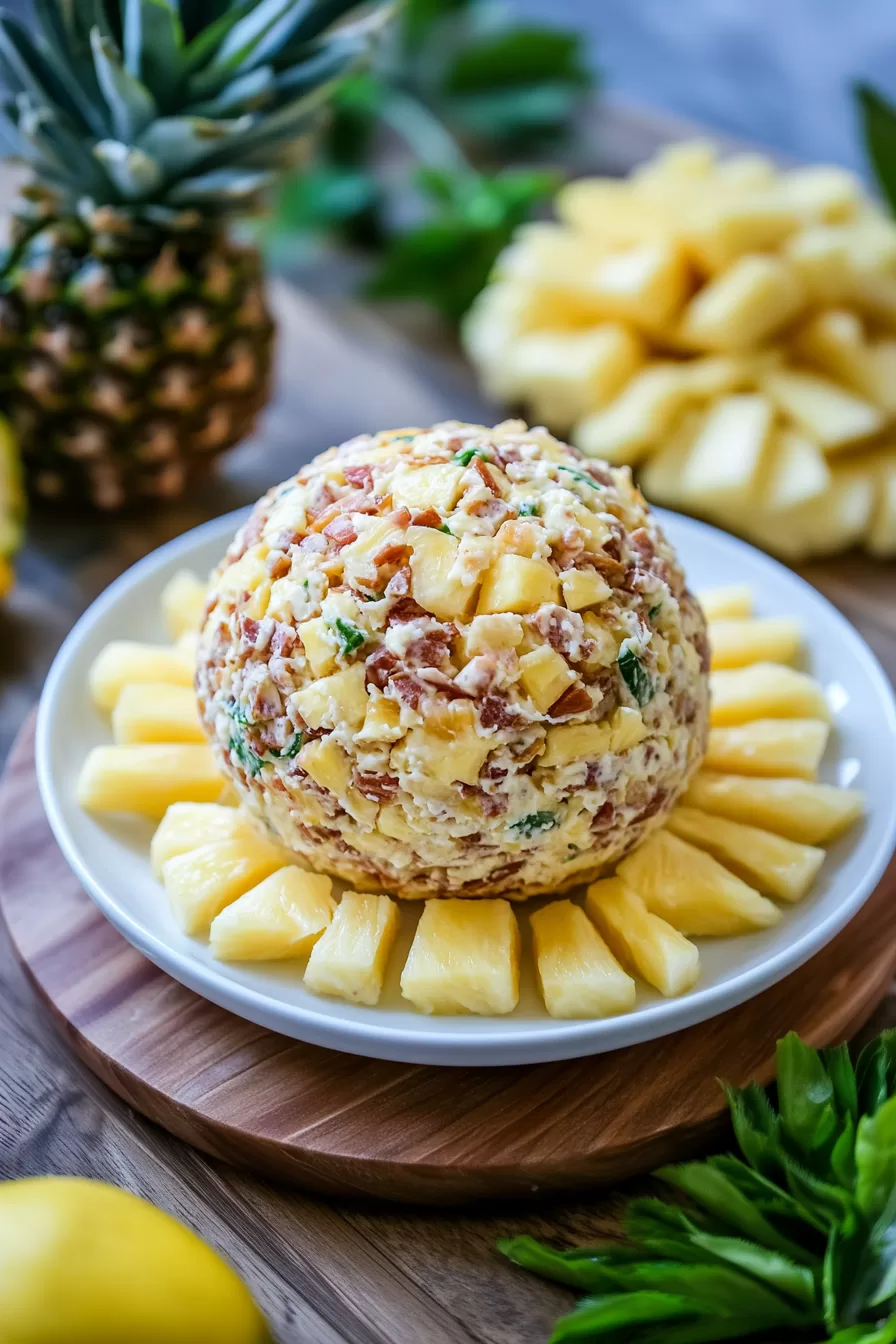
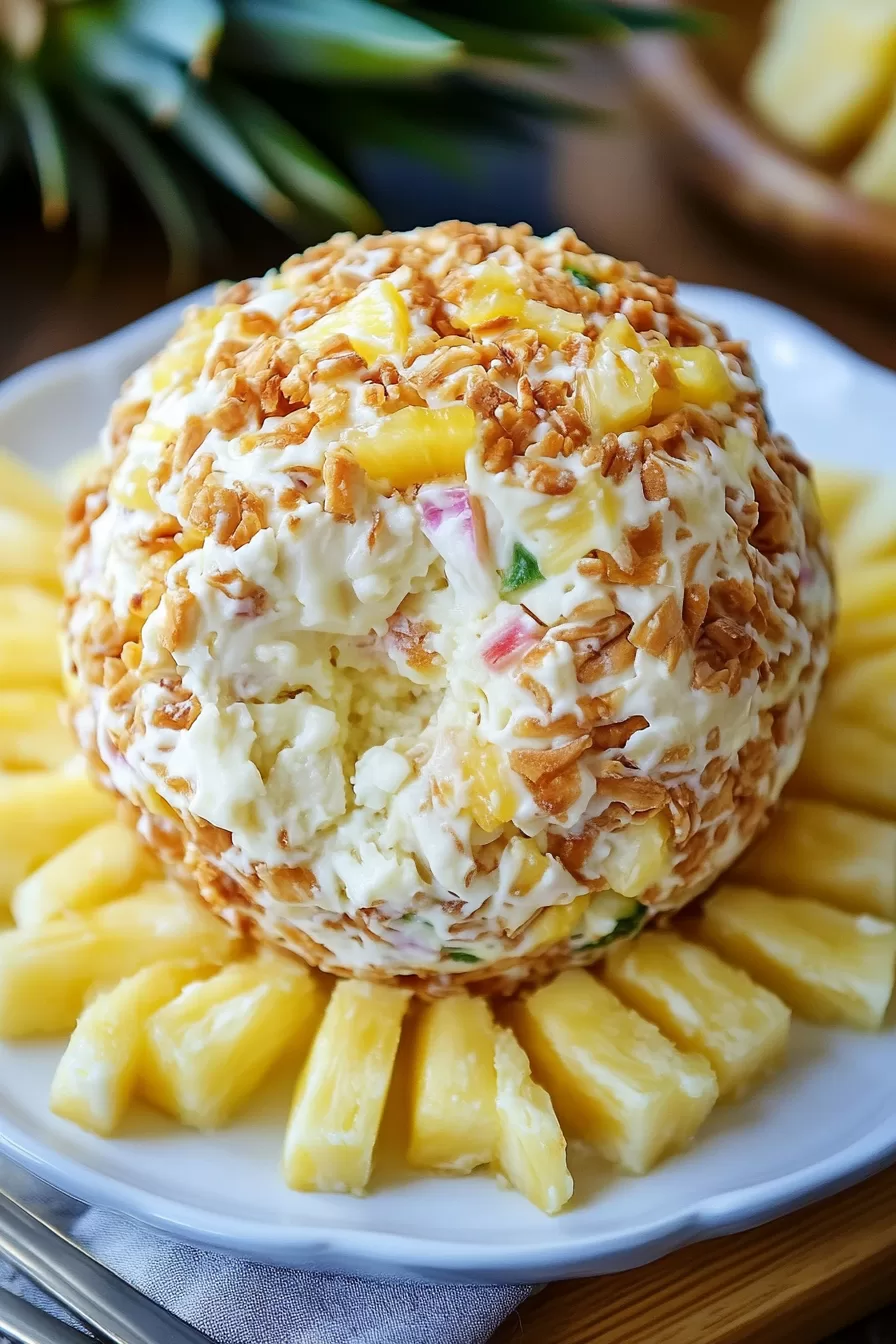
Pineapple Cheese Ball – Let me set the scene for you. It was one of those classic family holiday potlucks, and the usual spread was already in full swing—seven-layer dip, mini meatballs, some sort of festive Jello mold. I wanted to bring something that would stand out without taking me hours to make (because, let’s be real, who has time for that?). So, when I stumbled on this Pineapple Cheese Ball recipe in an old cookbook, I thought, “Alright, let’s get a little retro here!”

Remember it later!
Planning to try this recipe soon? Pin it for a quick find later!
Remember it later!
Planning to try this recipe soon? Pin it for a quick find later!
The first time I made it, I wasn’t sure how people would react. Pineapple and cream cheese, rolled in nuts? It sounded a bit “Love Boat,” but, wow, everyone loved it. It’s got that perfect combo of creamy and sweet, with a little crunch on the outside—totally unexpected, but so good. Now, it’s my go-to for gatherings, especially around the holidays. It’s become a little family tradition, and I secretly love watching people’s faces light up when they try it for the first time. If you’re looking for a fun throwback recipe that’ll spark a little curiosity, this Pineapple Cheese Ball is your ticket.
Here’s a quick peek at what’s inside:
Table of content
Why You’ll Love This Pineapple Cheese Ball Recipe?
This cheese ball is the kind of dish that brings the fun! It’s creamy, with a tropical twist thanks to the pineapple, and that walnut coating gives it just the right amount of crunch. It’s a little quirky but in the best way—sort of like that one friend who always shows up to the party with something unique to share. Plus, it’s easy to make, which is a big win if you’re like me and trying to juggle a hundred things before guests arrive. It’s one of those recipes that feels nostalgic but still fits right in at any gathering today. Trust me, it’ll have people saying, “I didn’t know I needed this in my life, but now I do.”
Ingredients Notes:
Here’s the lowdown on what makes this recipe work. It’s all about balance, and each ingredient brings a little something special to the party.
- Cream Cheese: The foundation of any good cheese ball. Creamy, tangy, and smooth—perfect for mixing.
- Crushed Pineapple: Adds a light sweetness and that little hint of tropical flavor. Just be sure to drain it really well; nobody wants a watery cheese ball.
- Green Pepper: This adds a little crunch and a fresh note that balances the sweet pineapple.
- Onion: Only a little bit to add some savory depth without overpowering the other flavors.
- Seasoned Salt: A quick way to add flavor and just a touch of spice. It’s that simple ingredient that pulls everything together.
- Chopped Walnuts: The walnuts give the cheese ball a crunchy coating that’s so satisfying. Plus, they look pretty impressive once it’s all assembled.
Pro Tip: Make sure to soften your cream cheese before mixing—trust me, it makes a huge difference when it comes to texture.
How To Make Pineapple Cheese Ball?
Don’t worry, this recipe is as easy as it is tasty. Here’s a step-by-step breakdown to make sure you nail it.
- Prepare the Cheese Mixture
Start by putting the softened cream cheese in a mixing bowl. Add the drained pineapple, green pepper, onion, and seasoned salt. Mix everything together with an electric mixer until it’s smooth. It should only take a couple of minutes. Then, cover the bowl and pop it in the fridge for about 30 minutes to help it firm up a bit. - Form the Cheese Ball
Once the mixture has chilled, take it out of the fridge and spoon it onto a piece of plastic wrap. Use the wrap to help shape it into a ball. Yes, it might get a bit messy, but that’s half the fun! Just wrap it up tight, and it should hold its shape. - Coat the Cheese Ball
Spread the chopped walnuts on a plate or shallow dish. Unwrap the cheese ball and roll it in the nuts until it’s completely covered. Press gently to make sure the nuts stick. Not only does this add texture, but it makes the cheese ball look fancy and ready for a party. - Chill and Serve
Wrap the cheese ball in fresh plastic wrap and refrigerate it overnight. This lets it firm up so it’s easier to slice and serve. When you’re ready, put it on a nice platter with crackers and veggies for dipping.
Storage Options:
This Pineapple Cheese Ball is a great make-ahead option. Wrap it tightly in plastic wrap and keep it in the fridge for up to three days. You can even freeze it if you’re prepping way in advance—just wrap it well and store it in an airtight container. When you’re ready to serve, thaw it overnight in the fridge.
Variations and Substitutions:
Want to change things up a bit? Here are some fun ways to put your own twist on this classic:
- Switch Up the Nuts: Try pecans, almonds, or even crushed pretzels for a different texture and flavor.
- Add Shredded Cheddar: A handful of sharp cheddar gives it extra flavor and a bit of color.
- Use Red Bell Pepper: If you want a sweeter taste and a pop of color, go for red bell pepper instead of green.
- Make It Spicy: Add a dash of hot sauce or a sprinkle of cayenne for a little kick that’ll surprise people.
Want To Save This Recipe?
Enter your email below and we'll send the recipe straight to your inbox.
What to Serve with Pineapple Cheese Ball?
This cheese ball is super versatile, so you’ve got plenty of options for what to serve with it. Here are a few ideas to get you started:
- Crackers: Classic choice! Try a mix of buttery crackers, whole-grain options, or even something herbed for a flavor boost.
- Veggies: Carrot sticks, celery, and bell pepper slices are fresh and crunchy, which balances out the creamy cheese.
- Pretzels: Salty, crunchy, and great for scooping. They add a fun contrast to the sweet pineapple.
- Pita Chips: For a heartier option that pairs perfectly with the smooth cheese.
Frequently Asked Questions:
Can I make this cheese ball in advance?
Absolutely! In fact, it gets better if you let it sit for a day or two in the fridge. Just keep it wrapped until you’re ready to serve.
What if I don’t like nuts?
No problem. You can skip the nuts entirely or use something like crushed pretzels or even fresh herbs to coat the outside instead.
Can I use fresh pineapple instead of canned?
You can, but make sure to chop it finely and drain it well to avoid a watery cheese ball. Fresh pineapple has more moisture, so take extra care.
And there you go! A fun, easy, and tasty Pineapple Cheese Ball that’s sure to be the star of any gathering. Give it a try—I’d love to know if it brings back some nostalgic vibes for you, too!
Remember it later!
Planning to try this recipe soon? Pin it for a quick find later!
Remember it later!
Planning to try this recipe soon? Pin it for a quick find later!
Keep the Flavor Coming – Try These:
Ingredients
- 16 ounces cream cheese softened
- 8 ounces crushed pineapple drained thoroughly
- 1/4 cup green pepper finely chopped
- 2 tablespoons onion finely chopped
- 2 teaspoons seasoned salt
- 1 1/2 cups walnuts finely chopped
- Assorted crackers and fresh vegetables for serving
Instructions
Prepare the Cheese Mixture
- In a medium mixing bowl, combine the softened cream cheese, drained crushed pineapple, finely chopped green pepper, onion, and seasoned salt. Using an electric mixer, blend the ingredients until thoroughly combined and smooth. Cover the bowl with plastic wrap and refrigerate for 30 minutes to allow the flavors to meld and to slightly firm the mixture.
Form the Cheese Ball
- Remove the cheese mixture from the refrigerator. Place the mixture onto a piece of plastic wrap, and use the wrap to help form it into a round ball. The mixture may be somewhat soft, but the plastic wrap will assist in handling and shaping it.
Coat the Cheese Ball
- Spread the chopped walnuts on a plate or shallow dish. Unwrap the cheese ball and gently roll it in the walnuts, pressing lightly to ensure the entire surface is evenly coated. This step adds both texture and visual appeal to the cheese ball.
Chill and Serve
- Once coated, rewrap the cheese ball in fresh plastic wrap and refrigerate overnight to allow it to firm fully. Before serving, remove it from the refrigerator, transfer it to a serving platter, and arrange assorted crackers and fresh vegetables around it for dipping.
Notes

I’m Bitty, owner of nodashofgluten.com, where I share simple, delicious recipes for all tastes, including gluten-free. Check out my “About Me” page for more info!


