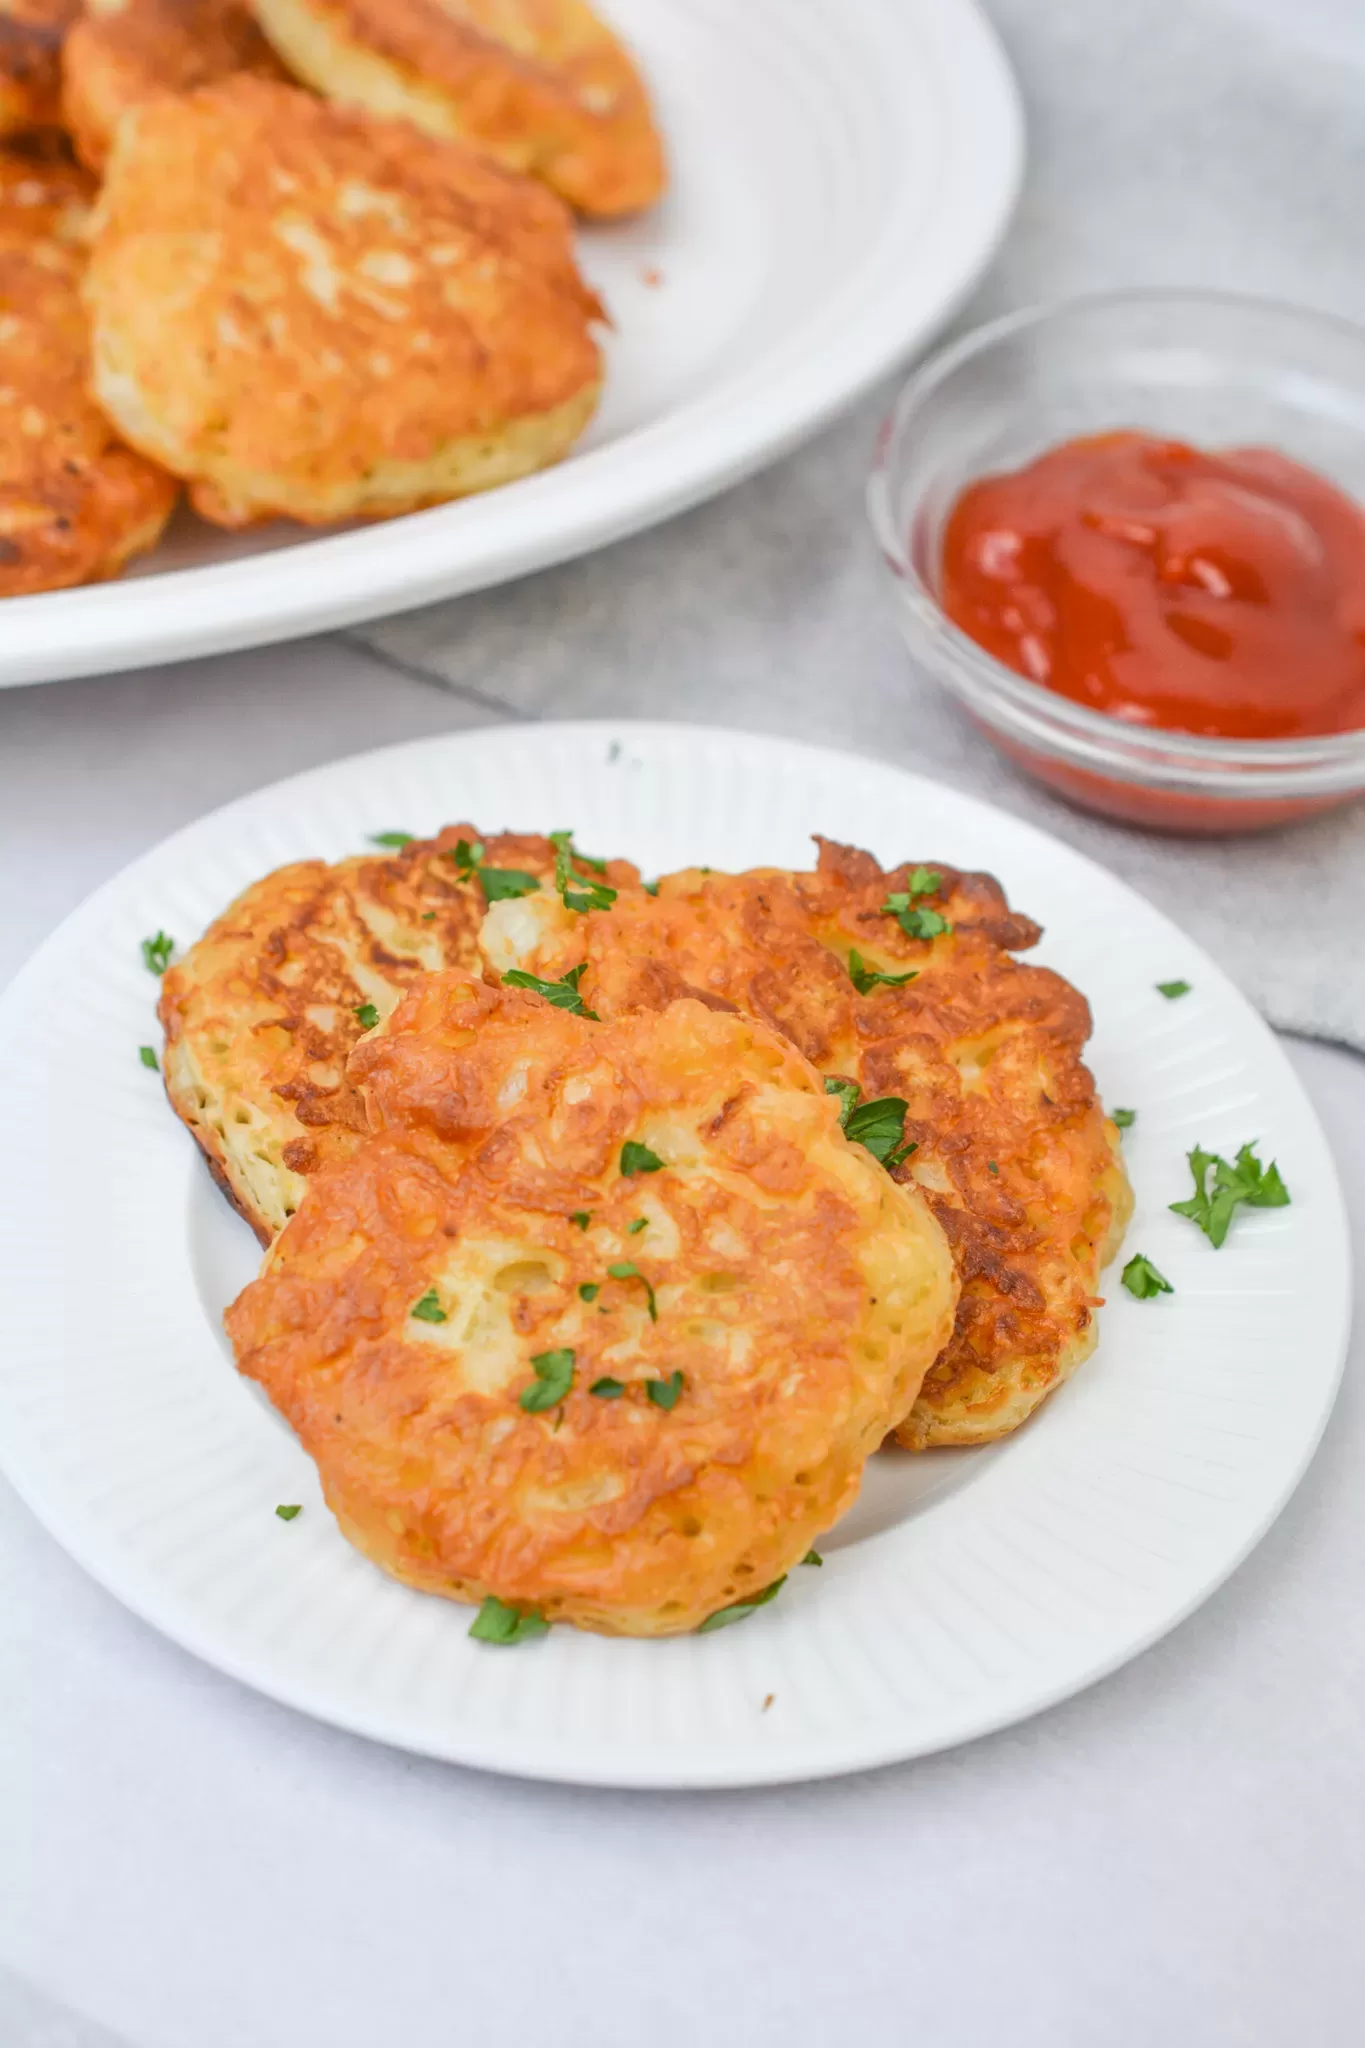
Soft, fluffy, and full of holiday cheer, these Peppermint Marshmallows made with sugar, corn syrup, gelatin, and peppermint are pure magic.
I can’t remember exactly what made me decide to make homemade marshmallows. I think I saw a picture on Pinterest one December evening — all soft pink swirls and powdered sugar dust — and thought, “How hard can that be?” (Spoiler: it’s messy, but not that hard.)
It was snowing that night. The kind of quiet, slow snow that makes you want to bake something even if you weren’t planning to. The house was dim except for the Christmas tree lights, and the kitchen smelled faintly like cocoa and cinnamon candles — a combination that, if you ask me, should be bottled and sold as “December.”
I remember my first batch of peppermint marshmallows like a small adventure. I was nervous, reading the recipe like it was an ancient spell. I didn’t own a candy thermometer back then, and I half expected the whole thing to turn into burnt sugar concrete. But then something happened — the syrup started to bubble, the gelatin fluffed up in the mixer, and suddenly it was glossy and white and smelled like peppermint heaven. I stood there watching it spin, feeling like a scientist and a child at the same time.


By the time I swirled in the red food coloring, my hands were sticky, my hair had powdered sugar in it, and my kitchen counter looked like it had been through a snowstorm. But when I took that first bite — oh man. Soft, airy, minty perfection. I laughed out loud, actually. It’s funny how something so simple can make you feel so proud.
Now, every Christmas, I make these Peppermint Marshmallows again — not because I need to, but because it feels like Christmas. The sound of the mixer, the smell of peppermint, the kids poking sticky fingers into the bowl when they think I’m not looking — it’s chaos, but it’s the kind that makes life feel full.
Why You’ll Love This Peppermint Marshmallows Recipe?
Here’s the truth — these aren’t just marshmallows. They’re an experience. The kind of recipe that makes your kitchen smell like a candy shop and your heart feel a little lighter.
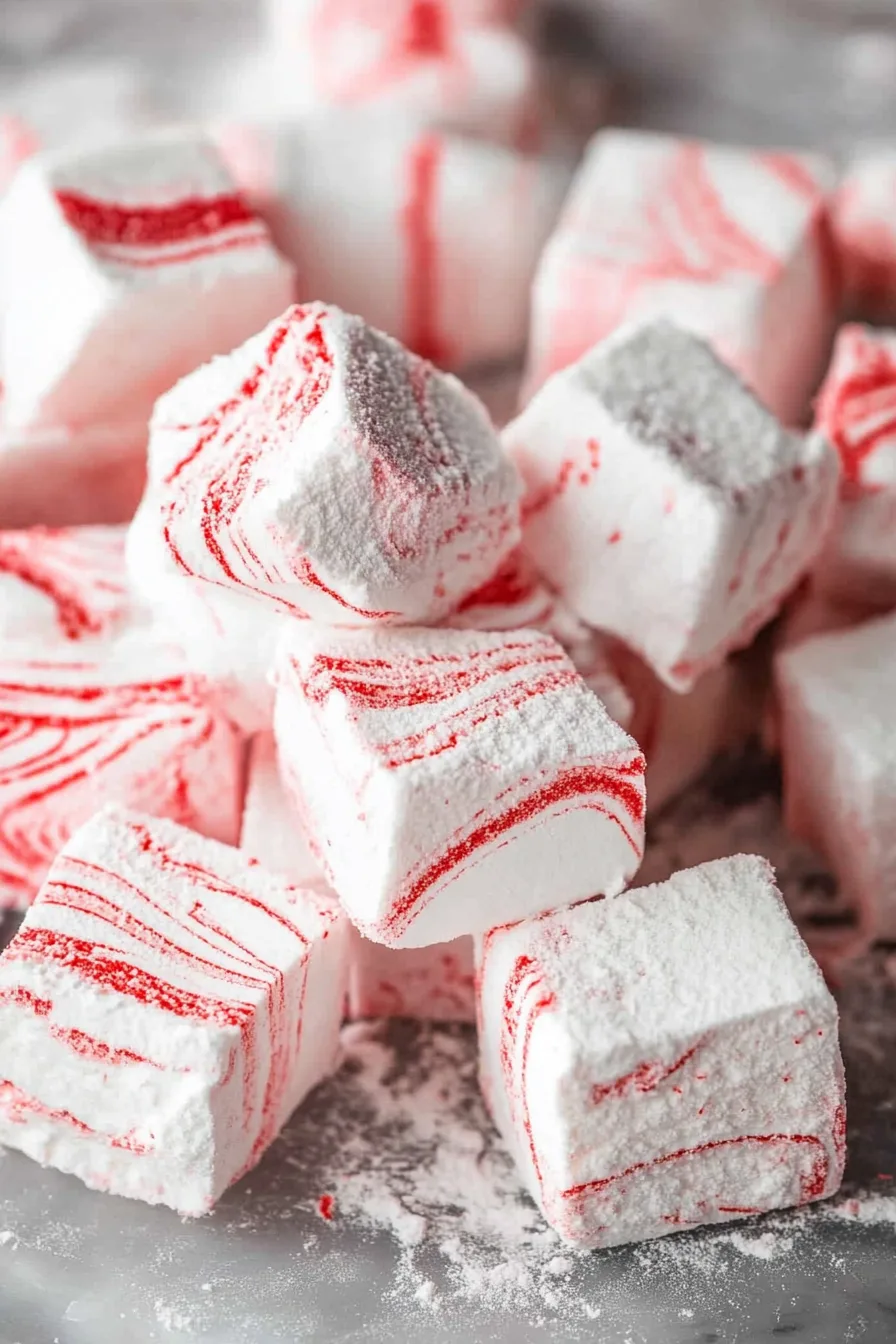
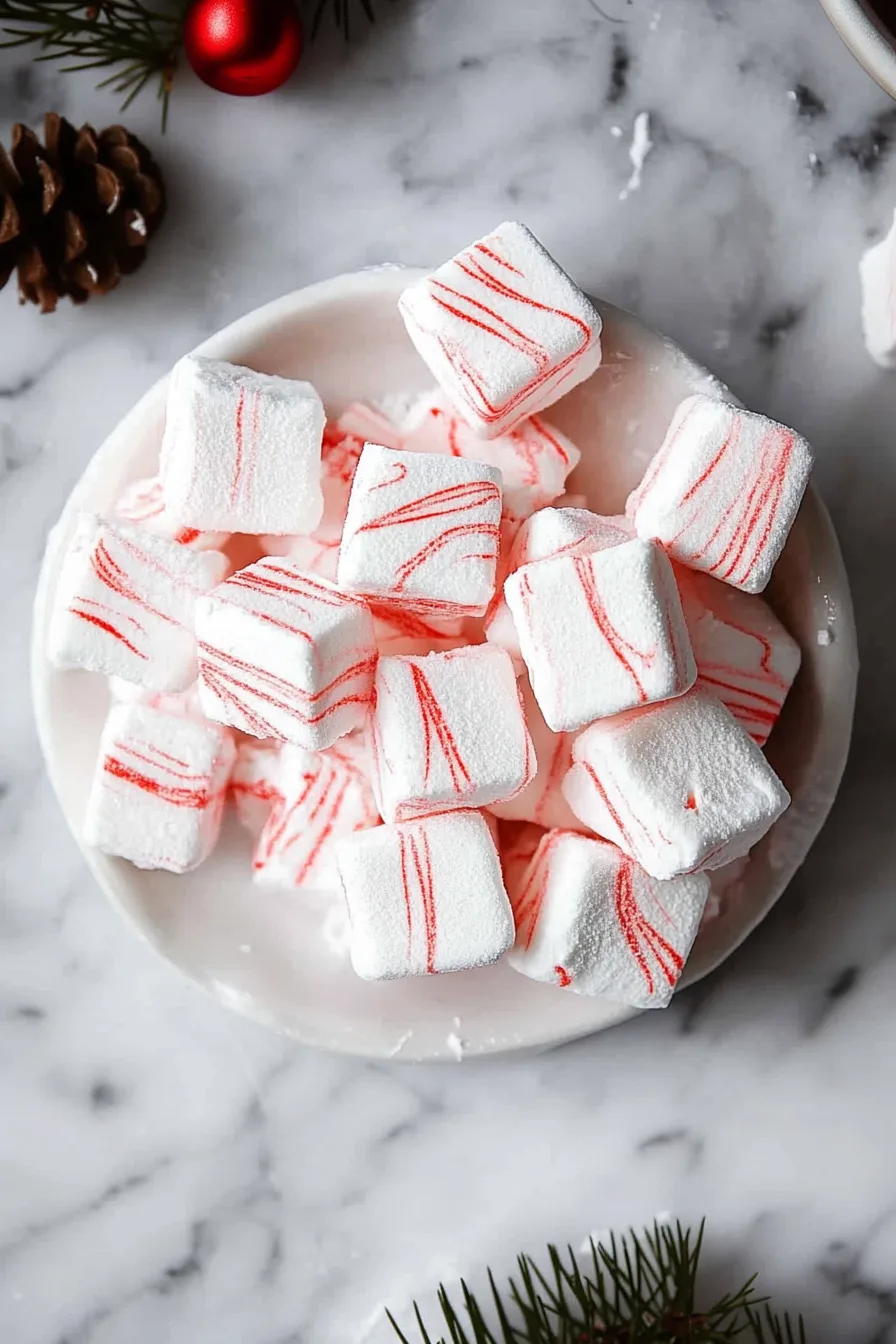
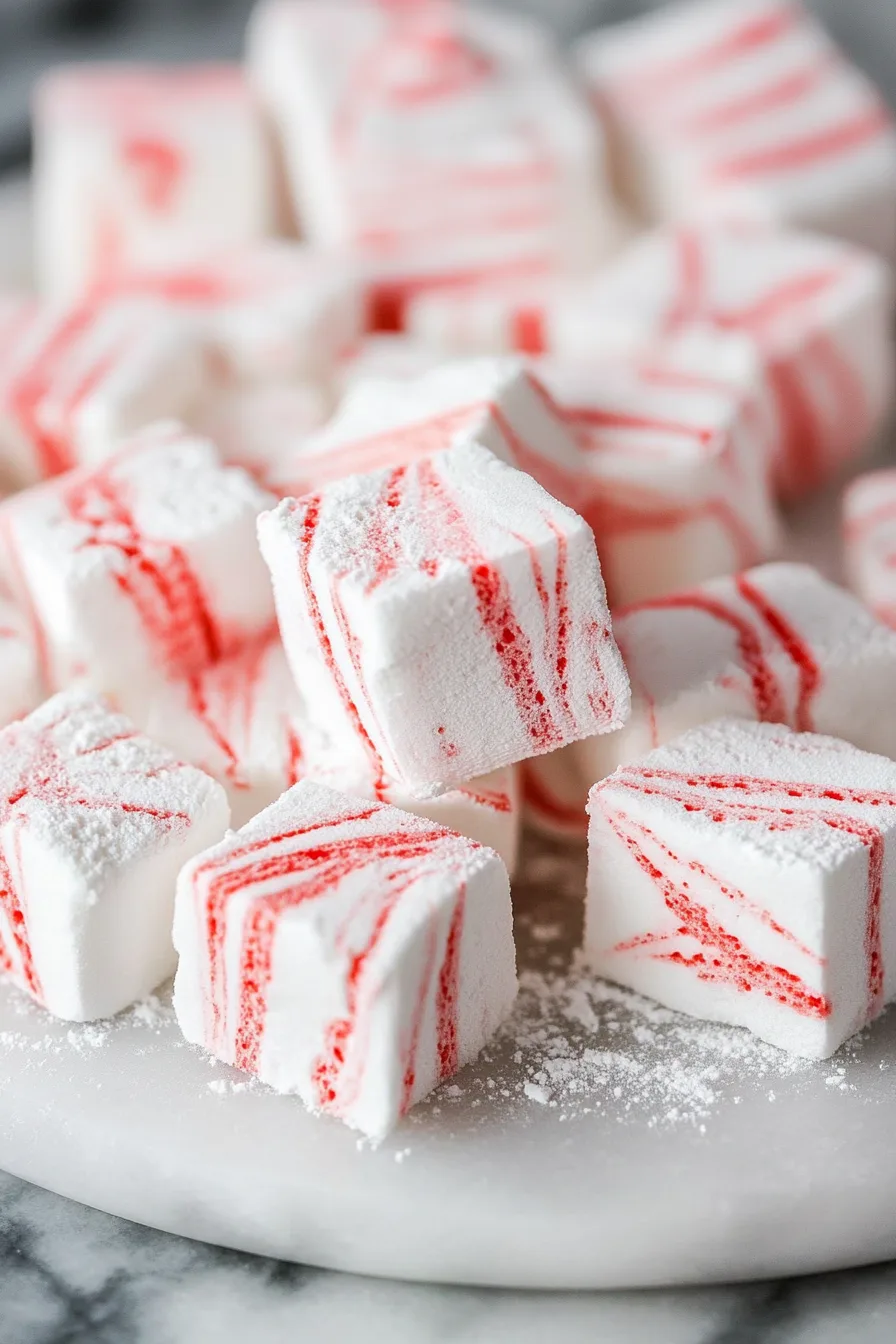
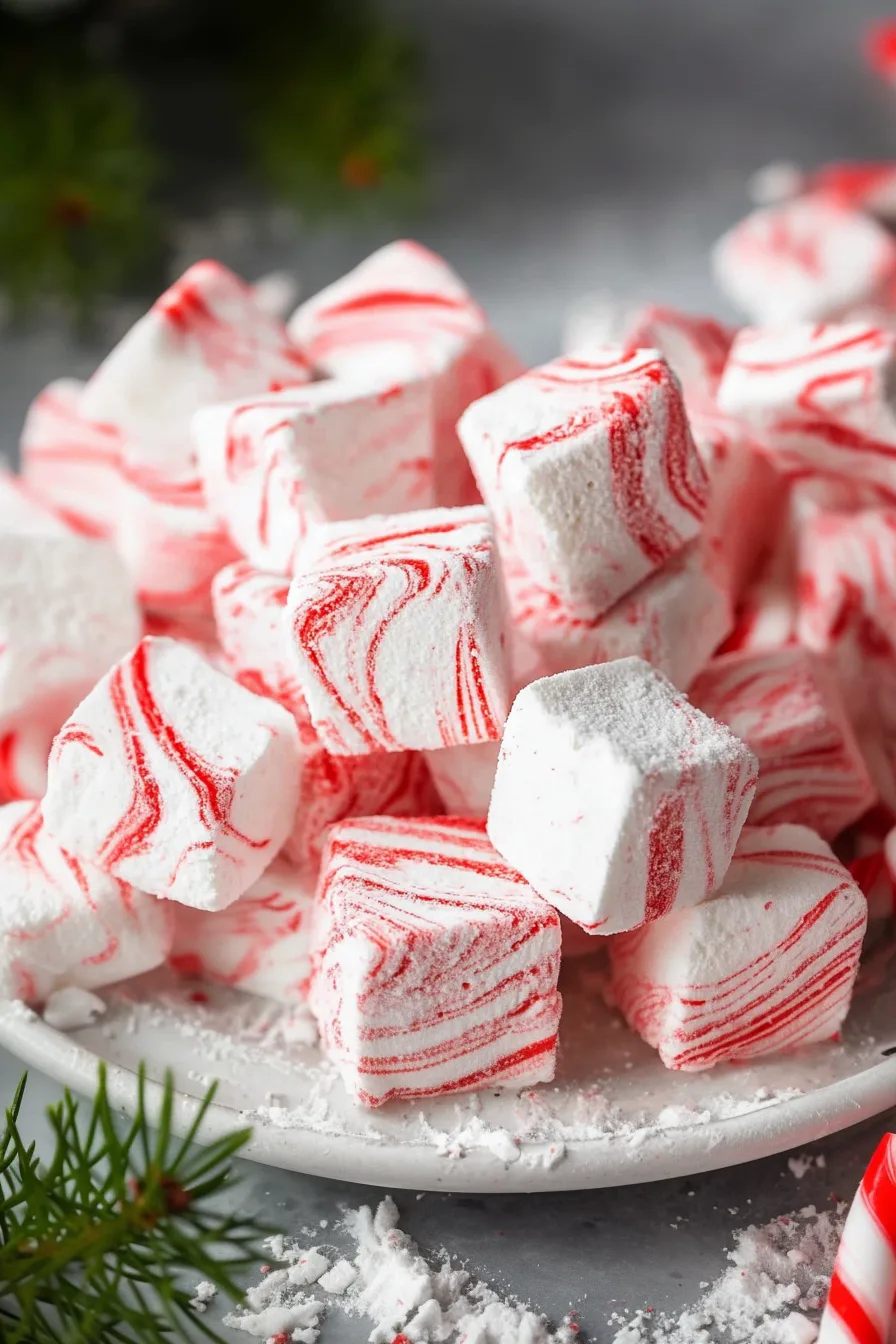
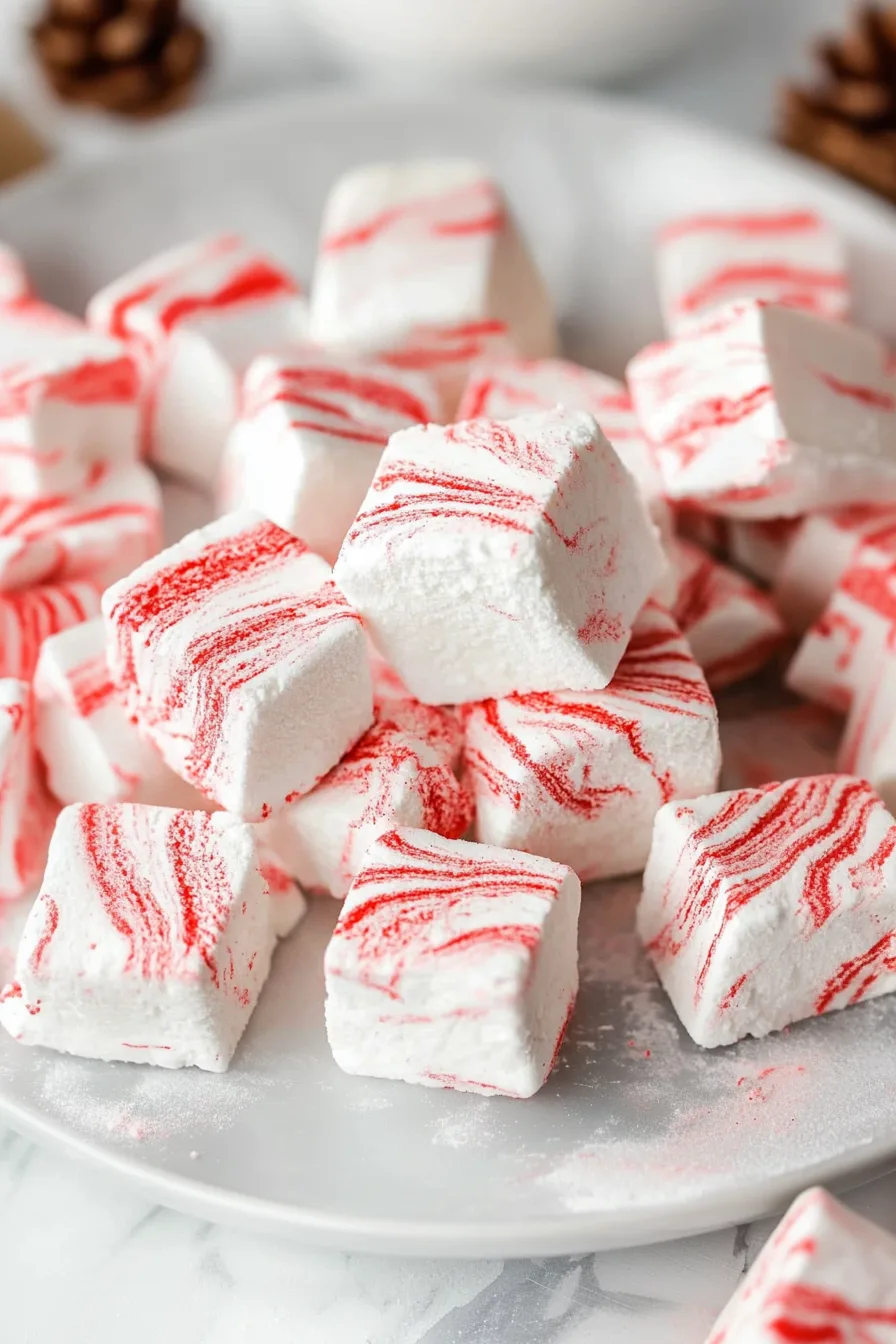
This Peppermint Marshmallows recipe gives you fluffy, bouncy, melt-in-your-mouth clouds of sweetness with a hint of cool peppermint. They’re beautiful too — soft white with red swirls that look like something out of a holiday movie.
But what I love most is that they feel homemade. They’re not perfect little squares. Some are slightly uneven, some more swirled than others, and that’s exactly why they’re wonderful. It’s like wrapping imperfection in sugar and calling it festive.
They also make the best gifts. A few tucked into a little bag, tied with twine, maybe next to a jar of cocoa mix — it’s simple, old-fashioned joy.
Ingredient Notes:
Let’s talk ingredients — because I know, candy-making can sound intimidating, but this recipe’s surprisingly chill once you get going.
-
Confectioners’ Sugar + Cornstarch: These two are your marshmallow insurance policy. They keep everything soft and non-sticky, which is essential unless you enjoy peeling marshmallows off countertops.
-
Gelatin: I know — it sounds science-y. But trust me, it’s what makes them soft and bouncy instead of… gooey sadness.
-
Sugar, Corn Syrup, and Water: This is your candy base — it’s what turns everything into magic when whipped.
-
Peppermint Extract: The flavor that makes it Christmas. Go easy though — peppermint can go from “refreshing” to “toothpaste” fast.
-
Food Coloring: Optional but fun. Those red swirls give it that candy-cane charm.
Tip from me to you: measure everything before you start. Because once the syrup’s bubbling, it’s like a rollercoaster — there’s no stopping for snack breaks.
How To Make Peppermint Marshmallows?
You ready? Let’s get a little sticky.
Step 1. Prep the Pan
Mix confectioners’ sugar and cornstarch in a bowl. Grease and line a 9×9-inch pan with parchment paper, leaving some overhang so you can lift it out later. Grease the parchment too, then dust it with your sugar-cornstarch mix. It’s messy, but that’s part of the fun — embrace it.
Step 2. Bloom the Gelatin
In a small bowl, mix ½ cup water with the gelatin powder. Let it sit and do its thing — it’ll look strange, like rubber jelly, but that’s how you know it’s working.
Step 3. Make the Syrup
Combine sugar, corn syrup, water, and salt in a saucepan. Heat it up until the sugar dissolves, then let it bubble to about 240°F. If you don’t have a thermometer, no big deal — 5 to 7 minutes usually does the trick. You’ll see it get thick and glossy.
Step 4. Melt the Gelatin
Pop the bloomed gelatin in the microwave for about 30 seconds until it’s liquid. Pour it into the bowl of your stand mixer.
Step 5. Combine and Whip
Now the fun part. Slowly pour that hot syrup into the mixer on low speed (careful — it’s lava). Once it’s all in, crank it to medium speed for 5 minutes, then to high for another 4. You’ll watch it transform from clear syrup to white fluff that looks like winter clouds. Add the peppermint extract near the end.
Step 6. Pour and Swirl
Scrape the mixture into your prepared pan — it’s sticky, so wet your spatula (or your hands) to help. Drop a few dots of red food coloring over the top and drag a toothpick through in swirls. This is the best part — it’s like edible art.
Step 7. Let It Set
Now comes the hardest part: waiting. Leave it uncovered for about 8 hours or overnight. I usually make them before bed, so by morning, it’s like Christmas magic waiting in the kitchen.
Step 8. Cut and Coat
Lift the marshmallow slab out, cut it into squares, and toss each piece in your sugar-cornstarch mix until coated. They’ll look like little snow pillows.
Want To Save This Recipe?
Storage Options:
These homemade Peppermint Marshmallows last up to three weeks if stored properly — airtight container, cool dry place, no humidity. Don’t refrigerate them unless you love sticky regrets.
I usually keep mine in tins or jars, sitting on the counter looking cute (and disappearing mysteriously fast). They also travel well for gifting — wrap them in wax paper or cellophane, add a bow, and suddenly you look like you belong on the Food Network.
Variations and Substitutions:
Once you make these, you’ll realize how easy it is to tweak them.
-
Classic Vanilla Marshmallows: Skip the peppermint and go for pure vanilla — simple and nostalgic.
-
Chocolate Peppermint: Swirl in melted chocolate before they set. You’ll thank me later.
-
Cocoa Coated: Dust with cocoa powder instead of cornstarch for a richer finish.
-
Mini Marshmallows: Pour the mixture into a piping bag and pipe tiny rounds — perfect for cocoa.
-
Festive Glitter: Sprinkle edible glitter on top while they’re setting if you’re feeling extra.
Basically, if it sounds fun, try it. Worst case, you end up with a sticky mess — and even that’s kind of charming.
What to Serve with Peppermint Marshmallows?
These little peppermint clouds are basically edible joy. Here’s how I love using them:
-
Hot Cocoa: The classic move. They melt like a dream and make every sip extra cozy.
-
Coffee: Drop one in for a quick peppermint mocha moment. You’ll thank yourself.
-
Cookie Platters: Add them for color and variety — plus, they taste amazing next to chocolate cookies.
-
S’mores: Try them with dark chocolate and graham crackers — it’s next-level good.
-
Gifting: Tuck them into cocoa kits, jars, or tins for that homemade touch that makes people’s eyes light up.
Frequently Asked Questions:
Do I really need a candy thermometer?
Nope! It’s helpful, but not required. I’ve made these without one plenty of times. You just need that syrup to bubble steadily and get a little thick — that’s your cue.
Why did my marshmallows come out sticky?
Probably humidity or not enough coating. Just roll them in more confectioners’ sugar and cornstarch. Problem solved.
Can I freeze them?
Technically, yes. But honestly? They’re better fresh. I’d just store them at room temperature and enjoy them before they vanish.
When I make these peppermint marshmallows now, I think of that first snowy night years ago — me, standing barefoot on cold kitchen tiles, mixing and laughing and making a mess that somehow felt like peace.
The holidays get busy. Sometimes too busy. But recipes like this — the simple, sticky, sweet ones — they’re reminders to slow down, to play, to create something beautiful even if it’s imperfect.
So go ahead. Make a batch. Eat one straight from the pan when no one’s watching. Swirl in too much color, or not enough. Just have fun with it — that’s what it’s all about.
And hey, if you’ve got your own peppermint tradition, I’d love to hear it. What’s your go-to December treat?
Keep the Flavor Coming – Try These:
Peppermint Marshmallows
Ingredients
For the Marshmallows:
- 2 teaspoons confectioners’ sugar
- 1 teaspoon cornstarch
- ½ cup water
- 2 tablespoons unflavored gelatin powder about 3 packets
- 1½ cups granulated sugar
- 1 cup corn syrup
- ¼ cup water
- ¼ teaspoon kosher salt
- 1 teaspoon peppermint extract
- 12 to 14 drops red food coloring
To Finish:
- 4 tablespoons confectioners’ sugar
- 2 tablespoons cornstarch
Instructions
Prepare the Pan
- In a small bowl, combine 2 teaspoons confectioners’ sugar with 1 teaspoon cornstarch. Lightly grease a 9x9x2-inch pan and line it with parchment paper, allowing an overhang for easy removal. Grease the parchment and dust the surface evenly with the sugar-cornstarch mixture. Set aside.
Bloom the Gelatin
- Place ½ cup water in a small microwave-safe bowl. Sprinkle the gelatin over the water and stir briefly to combine. Set aside to allow the gelatin to bloom and absorb the liquid.
Prepare the Sugar Syrup
- In a large saucepan, combine granulated sugar, corn syrup, ¼ cup water, and kosher salt. Cook over medium-high heat, stirring gently until the sugar dissolves. Continue heating until the syrup reaches 240°F (115°C) on a candy thermometer, or the soft-ball stage, approximately 5 minutes.
Melt the Gelatin
- While the syrup cooks, microwave the gelatin mixture for 30 seconds until completely melted and smooth. Transfer the melted gelatin into the bowl of a stand mixer fitted with a whisk attachment.
Combine the Gelatin and Syrup
- With the mixer running on low speed, carefully drizzle the hot syrup into the melted gelatin, ensuring it runs down the side of the bowl to prevent splattering. Once all the syrup has been added, increase the mixer speed to medium and whip for 5 minutes. Then increase to medium-high and continue whipping for an additional 4 minutes, or until the mixture turns opaque, fluffy, and triples in volume. Add the peppermint extract and mix for one final minute.
Transfer and Swirl
- Pour the marshmallow mixture into the prepared pan. Lightly wet your hands or a spatula and press the mixture evenly into the pan. Drop several small dots of red food coloring onto the surface and, using a toothpick, swirl the color decoratively throughout.
Set the Marshmallows
- Allow the pan to rest uncovered in a cool, dry area for at least 8 hours or overnight until the marshmallows are firm to the touch.
Cut and Coat
- In a large bowl, whisk together 4 tablespoons confectioners’ sugar and 2 tablespoons cornstarch. Lift the marshmallow slab from the pan using the parchment overhang and place it on a cutting board. Cut into 1½-inch squares, then coat each marshmallow in the sugar-cornstarch mixture to prevent sticking.
Storage
- Store in an airtight container at room temperature for up to three weeks. Keep in a cool, dry environment and avoid refrigeration to prevent moisture absorption.
Notes
I’m Bitty, owner of nodashofgluten.com, where I share simple, delicious recipes for all tastes, including gluten-free. Check out my “About Me” page for more info!