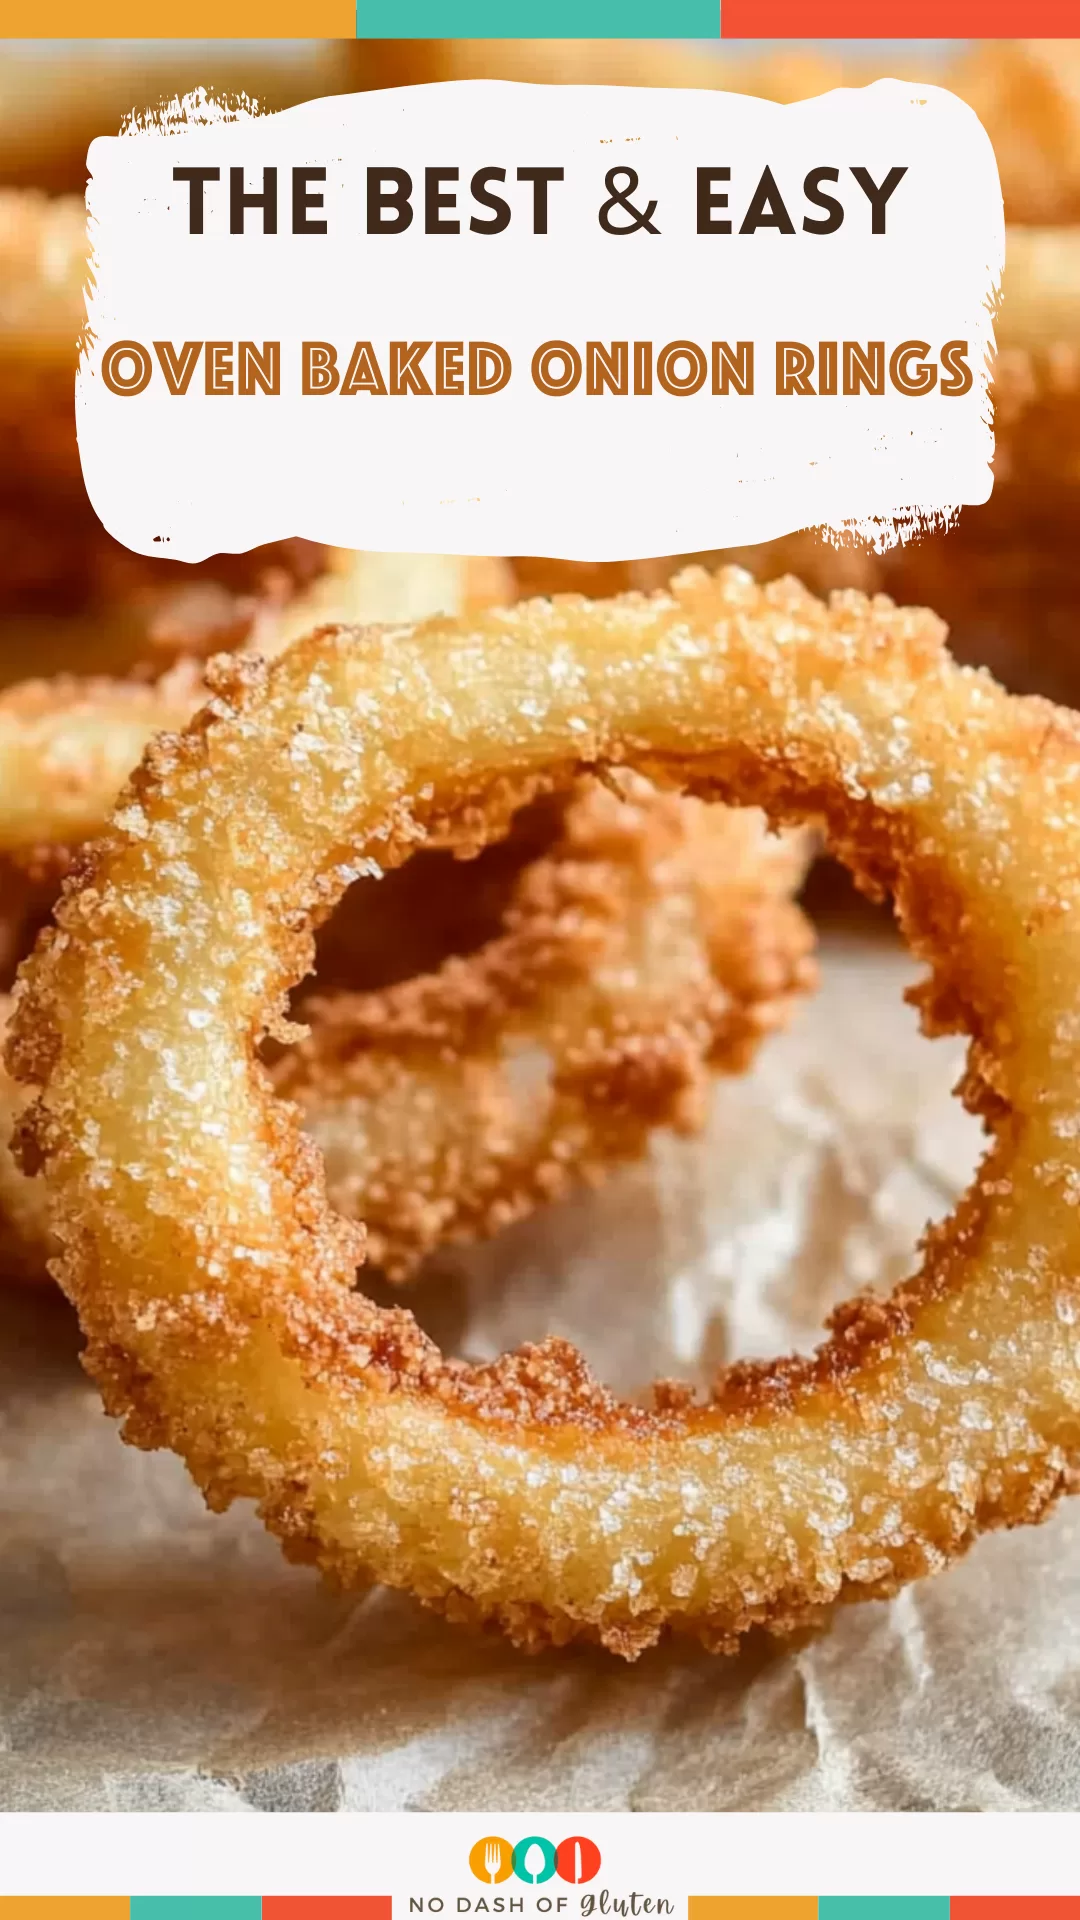
Oven Baked Onion Rings – Got a craving for crispy onion rings without the fryer mess? These oven-baked beauties bring all the crunch, made with panko crumbs, yellow onion, egg whites, and just a pinch of cayenne. It’s a quick fix ready in under 30 minutes!
Let me just say, my love for onion rings goes way back. Picture this: summers spent as a kid, dunking crispy, golden rings into ketchup at my favorite local diner – pure happiness, right? But I’ll admit, as much as I loved them, those greasy, fried rings became a bit… well, indulgent, let’s say, as I got older.
Fast forward to today, and I’m all about the homemade versions. A few years ago, I stumbled on the idea of baking them, figuring I’d be cutting out the deep fryer but still craving that crunch.

After a few trial runs (and some serious taste-testing “failures,” which my family didn’t mind at all), I hit on this recipe. It’s got that panko magic, a hint of spice, and somehow – don’t ask me how – they end up with a crunch that’s almost as satisfying as the real deal.
So now, whenever we want a “healthier” treat, these baked rings are on the menu, disappearing faster than you can say “pass the ketchup.” It’s funny – even my buddies who used to turn up their noses at the thought of baked anything ask me to bring these to game night. Go figure!
What makes this Oven-Baked Onion Rings recipe truly special?
Alright, I know what you’re thinking – baked onion rings? Can they really compete with fried? And I get it. I was a skeptic, too. But let me tell you, these rings have a couple of secret weapons.
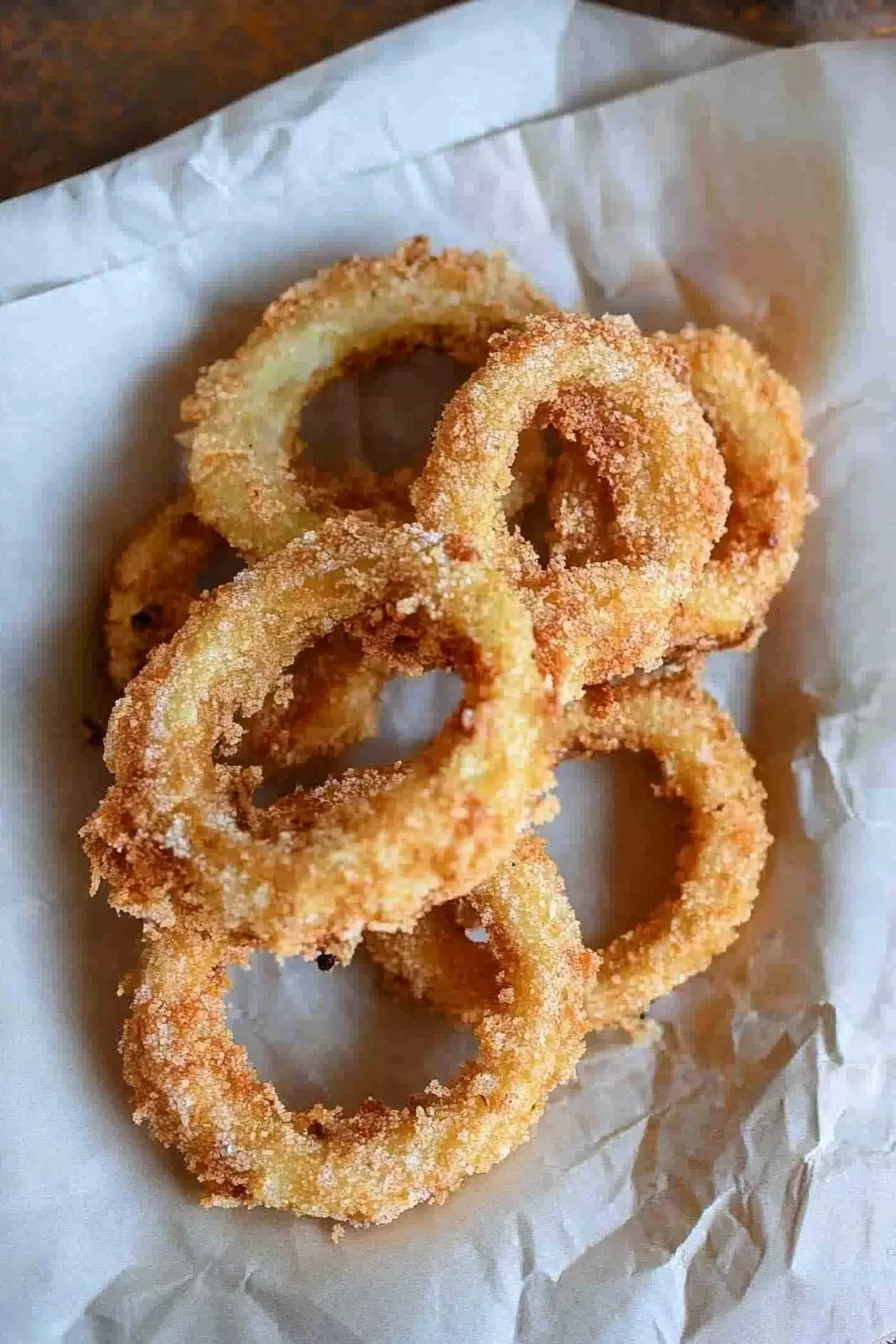
First, they’re oven-baked, so you can munch away without feeling like you just made a questionable life choice. Then there’s the panko – those crumbs are pure magic, giving these rings a crispiness that’s hard to beat. And, let’s not forget that touch of cayenne – just a pinch, so there’s a little something unexpected in each bite but not so much that it’s overwhelming. And honestly?
They’re easy enough to whip up for a snack attack and fancy enough to serve to friends who won’t believe you didn’t break out the fryer. Trust me; they’ll be impressed!
Want To Save This Recipe?
Enter your email below and we'll send the recipe straight to your inbox.
What You Need To Make This Oven-Baked Onion Rings Recipe
Let’s talk ingredients. Nothing too fancy here, but each one has a job to do, and they’re all pulling their weight in the flavor and crunch department. Here’s a quick rundown of what you’ll need to make these onion rings worth every bite:
- Cooking spray: This might not sound like much, but it’s a must. It helps these babies crisp up without sticking to the pan, which, believe me, is half the battle with baked rings.
- Egg whites and milk: Think of these as the “glue” that holds it all together. This combo keeps the panko on there without adding heaviness, giving you that light, crispy layer that makes these so snackable.
- Cayenne pepper: Totally optional, but a sprinkle goes a long way. It’s like a little hint of “Ooh, what’s that?” that adds a subtle kick.
- Panko bread crumbs: Now we’re talking. Regular breadcrumbs can’t quite match the texture of panko, so if you can get your hands on some, do it. They’re the reason these rings are extra crunchy.
- All-purpose flour: This adds a bit of heft, so the coating doesn’t just slide right off. Plus, it’s a great excuse to get a little messy in the kitchen.
- Salt and black pepper: Nothing groundbreaking, but these seasonings are key for balancing out all the flavors. A pinch of each brings out the natural sweetness in the onion without overpowering it.
- Yellow onion: The star of the show. Yellow onions hold up well to baking, giving you a slightly sweet, mild taste that doesn’t overwhelm. I’d say go big here – bigger rings, better crunch.
Steps To Make Oven Baked Onion Rings
Making these is pretty straightforward. Honestly, the hardest part is waiting for them to bake because they smell amazing. Here’s a step-by-step guide to get you there without a hitch:
- Preheat the Oven
First things first – get that oven heated up to 450°F (230°C). It’s got to be good and hot to crisp up the panko. Meanwhile, prep a baking sheet with a good coat of cooking spray so you’re ready to go once you start coating the rings. - Prepare the Coating Mixture
In a medium bowl, whisk together the egg whites, milk, and cayenne until everything’s nicely blended. This mixture is going to help everything stick without making the rings too heavy. It’s simple but makes a difference. - Coat the Onion Rings
Grab a separate bowl for the panko. Now, working in batches, toss a few onion rings into the egg mixture, making sure they’re coated but not dripping. This step’s a little messy, but hey, it’s worth it. Use tongs to lift each one out, letting any excess drip off. - Dredge in Panko
Drop each coated ring into the bowl of panko, give it a gentle toss, or shake the bowl a bit to coat. Press down lightly to help the crumbs stick – don’t be shy. Place each ring onto your prepared baking sheet, leaving some space between them so they can crisp up. - Bake to Perfection
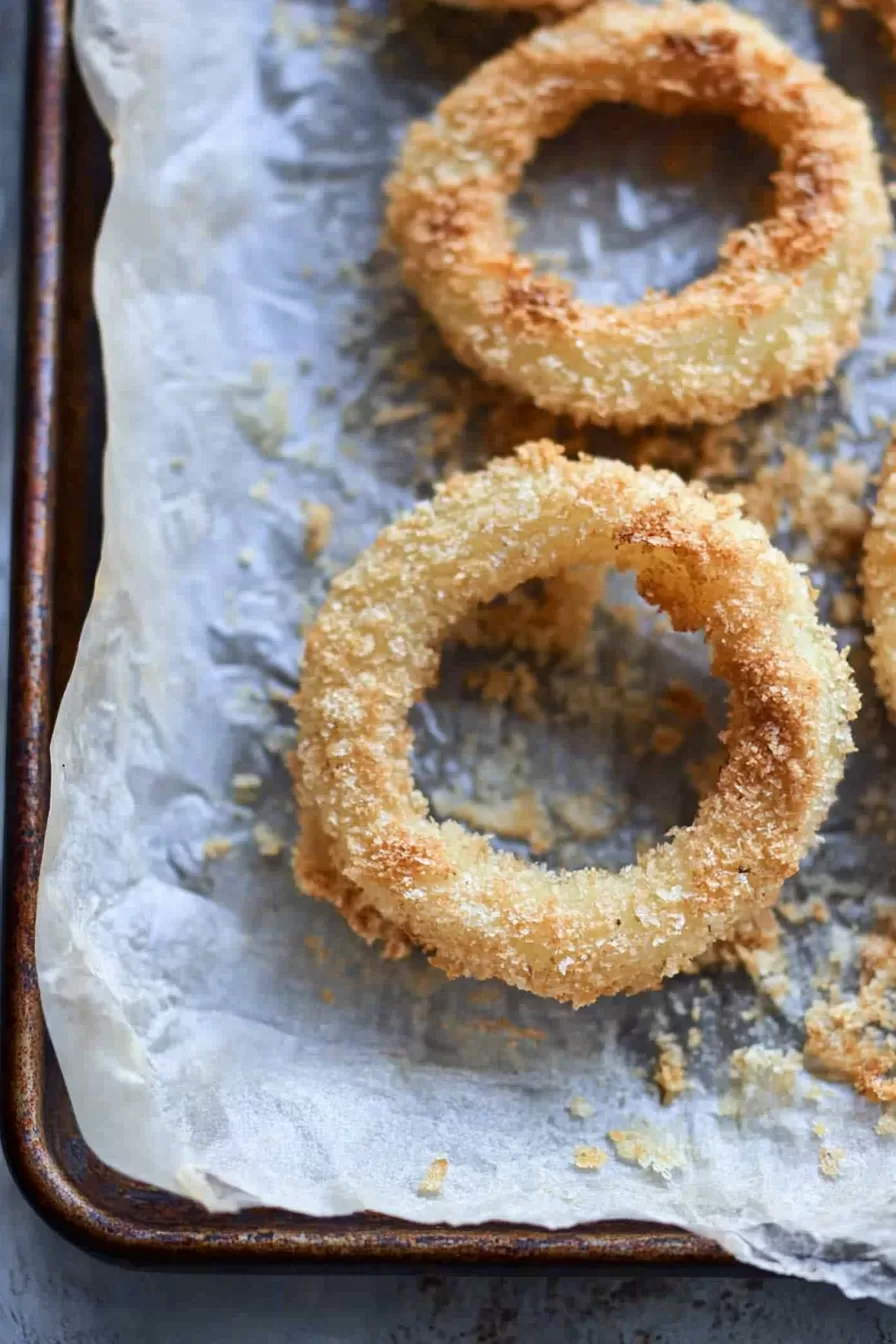
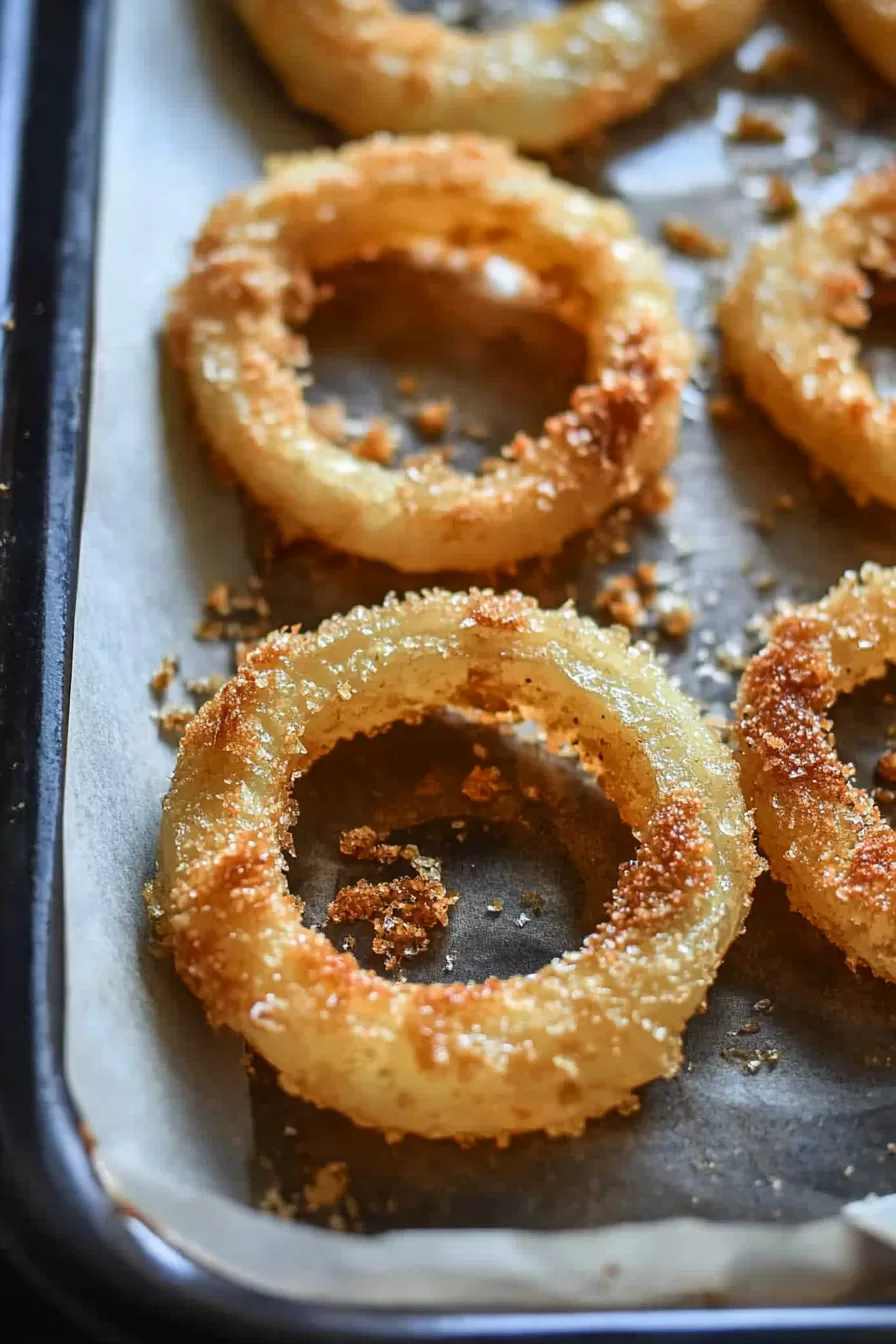
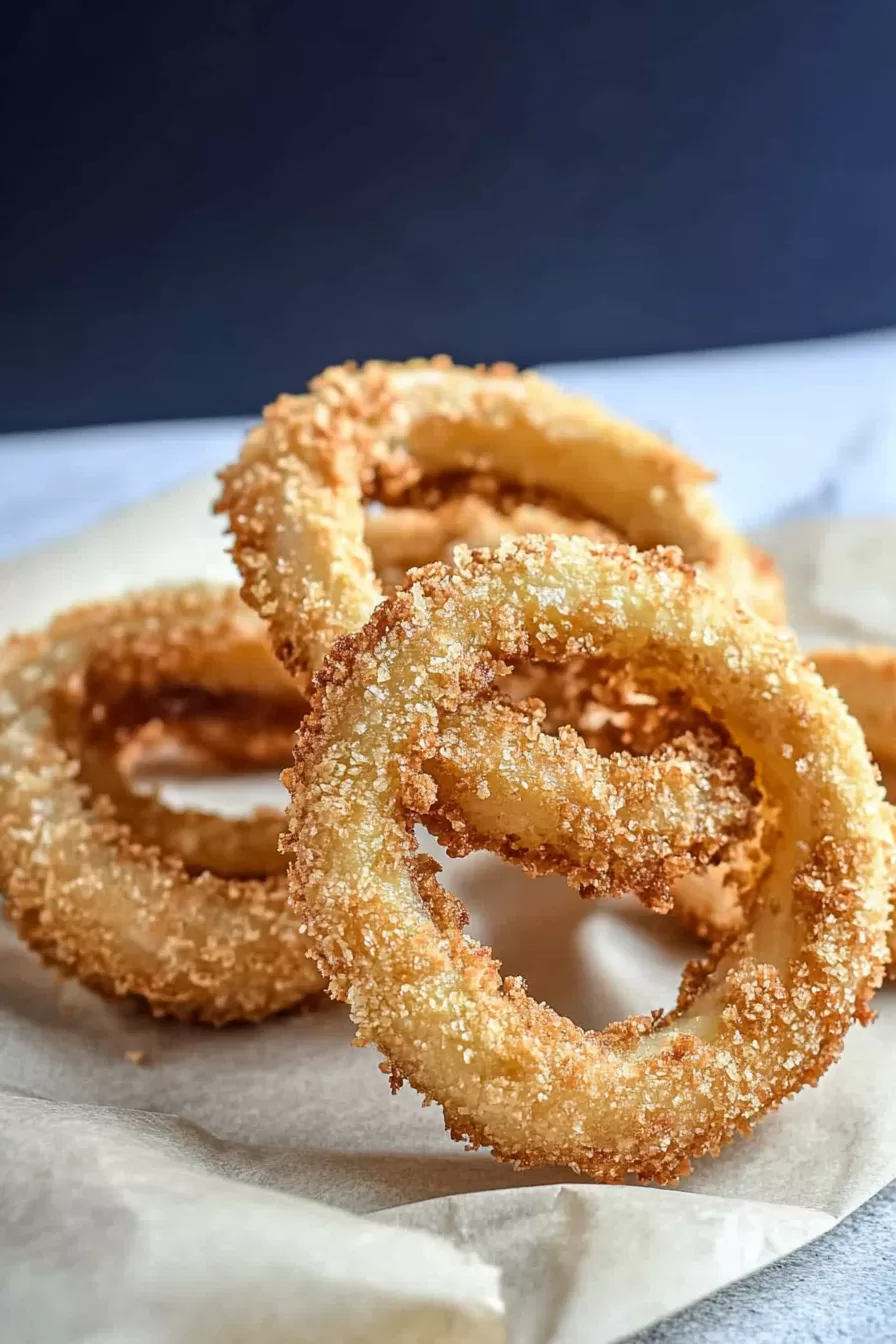
Once you’ve got the sheet loaded, hit the tops with another quick spray of cooking oil. Pop the sheet in the oven and bake for around 12 to 15 minutes. You’re looking for that perfect golden brown. By the time the timer dings, your kitchen will smell like you just deep-fried something (but you didn’t!), and the rings should be crispy and ready to go.
Storage Options:
Leftovers? Yeah, that’s a rare situation around here, but if you manage to save a few, store them in an airtight container in the fridge. They’ll keep for a day or two, but the crunch fades, as it does. To revive them, pop them in a 400°F oven or air fryer for a few minutes. The oven’s the way to go if you want to keep the texture as close to fresh as possible – microwaving won’t do these justice. Pro tip: if you plan to save any for later, hide them in the fridge – they tend to disappear when you’re not looking.
Variations and Substitutions:
Want to change things up? Here are a few swaps and twists you can try to keep things interesting:
- Breadcrumb Switch-Up: Out of panko? You can use regular breadcrumbs, though they’re not quite as crunchy. They’ll still taste good, but they might be a bit softer.
- Spice It Up: Not a fan of cayenne? Smoked paprika or chipotle powder add a smoky flavor that’s just as tasty. Or, if you’re into heat, a pinch of red pepper flakes won’t hurt!
- Gluten-Free Flour: No gluten? No problem. Swap the all-purpose flour for a gluten-free baking mix, and these are just as tasty. You might even prefer it.
- Dairy-Free: Almond or oat milk work perfectly fine here if you’re looking to skip the dairy. It doesn’t change the texture, so no one will know the difference.
- Onion Variety: Don’t have yellow onions? Try sweet onions for a milder taste, or red onions for a slightly different flavor – they’re surprisingly good baked like this.
- Cheesy Twist: Add some grated Parmesan to the panko before coating. It’s a sneaky way to get that little bit of cheesy goodness baked right in.
These little variations keep things interesting – try them out and see which combo is your favorite. You can keep experimenting each time you make them.
<Remember it later>
Planning to try this recipe soon? Pin it for a quick find later!
<Remember it later>
Planning to try this recipe soon? Pin it for a quick find later!
Oven Baked Onion Rings
Ingredients
- Cooking spray
- 2 large egg whites
- 2 tablespoons milk
- 1 pinch cayenne pepper or to taste
- 3 cups panko bread crumbs more if needed
- ½ cup all-purpose flour
- Salt and ground black pepper to taste
- 1 large yellow onion - ends trimmed peeled, and cut into 1/2-inch slices
Instructions
Preheat the Oven
- Begin by preheating the oven to 450°F (230°C). Prepare a large, rimmed baking sheet by coating it evenly with cooking spray to prevent the onion rings from sticking and to encourage a golden crust.
Prepare the Egg Mixture
- In a medium-sized bowl, combine the egg whites, milk, and cayenne pepper. Whisk the ingredients together until fully incorporated, ensuring the mixture is smooth and slightly frothy.
Prepare the Panko Coating
- Place the panko bread crumbs in a separate shallow bowl, setting up an efficient station for coating the onion rings.
Coat the Onion Rings
- Using tongs, dip each onion slice into the egg mixture, ensuring it is evenly coated. Allow any excess liquid to drip off back into the bowl. Then, transfer the slice to the panko crumbs, gently shaking the bowl or pressing the crumbs onto the ring to ensure full coverage.
Arrange on Baking Sheet
- Place each coated onion ring onto the prepared baking sheet, leaving a small space between each ring. Once all rings are arranged, lightly spray the tops with additional cooking spray to facilitate even browning.
Bake the Onion Rings
- Bake the coated onion rings in the preheated oven for approximately 12 to 15 minutes, or until the onions are tender and the panko coating is a light golden brown. Monitor closely to prevent over-browning.
Notes
Nutrition

I’m Bitty, owner of nodashofgluten.com, where I share simple, delicious recipes for all tastes, including gluten-free. Check out my “About Me” page for more info!


