
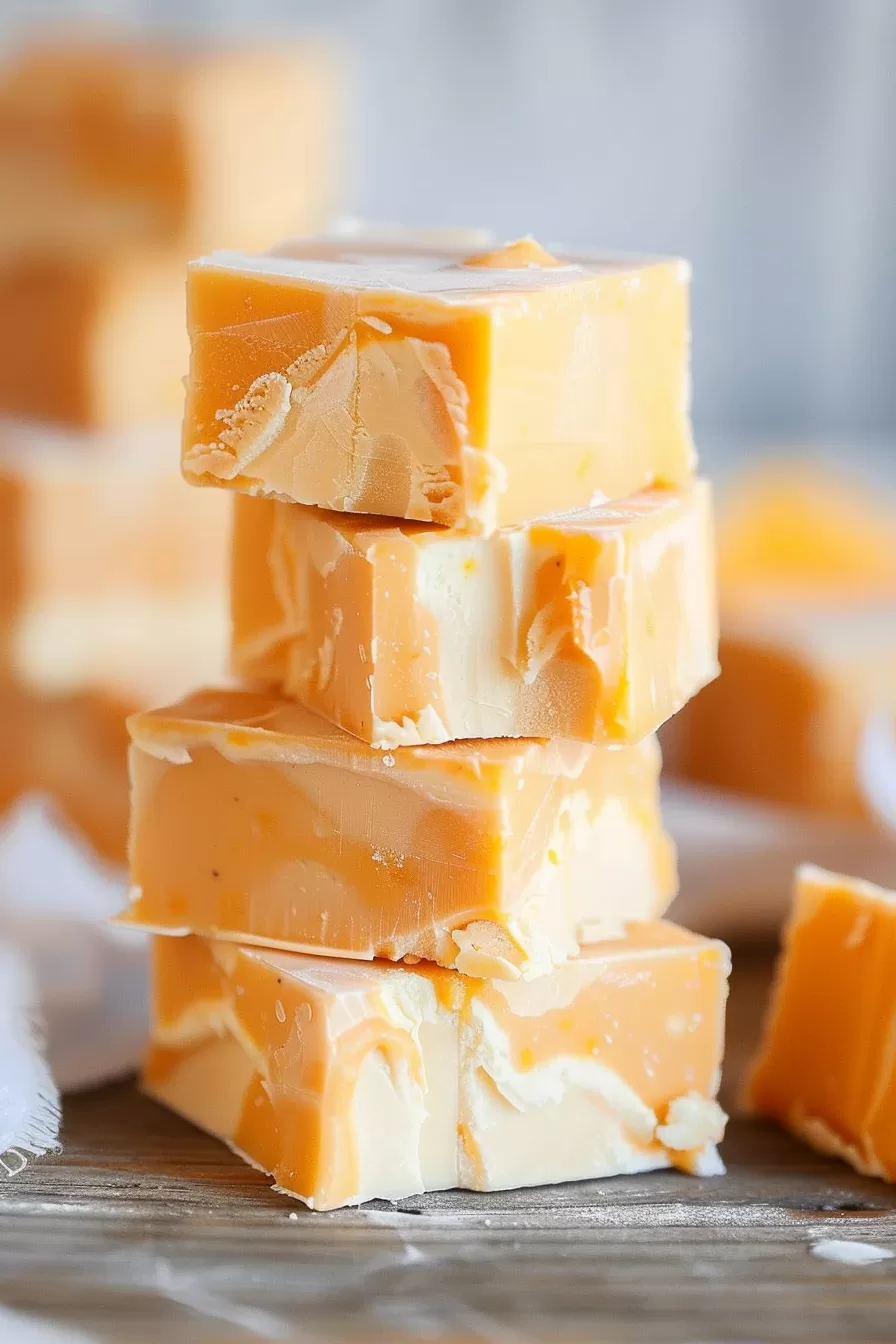
This Orange Dreamsicle Fudge is a creamy, swirled dessert with white chocolate, orange extract, and marshmallow cream. Perfect for sharing (or hoarding)!
I need to be honest here—this fudge was born out of pure nostalgia. You remember those orange-and-cream popsicles, right? The ones that melted faster than you could eat them on a blazing summer day? That sticky, sweet mess running down your arm while you raced against the sun? Yeah, those.
A few months back, I was craving that exact taste, but it’s definitely not popsicle season when you’re in fuzzy socks and clutching a mug of hot cocoa. So, I thought… why not turn those flavors into a cozy fudge instead? Something creamy, rich, with just enough tangy orange to make you close your eyes and remember.


My first batch? A disaster. I got impatient, didn’t let it set fully, and ended up with a gooey mess (still delicious, just… spoon-worthy). But when I finally got it right? Oh boy. Let’s just say I had to hide a few squares in the back of the fridge or they’d be gone before I could snap a pic.
Now, it’s my go-to for holidays and potlucks—mostly because people keep demanding I bring it. And honestly? I’m not complaining.
Why You’ll Love This Orange Dreamsicle Fudge Recipe?
- Velvety and Smooth: The white chocolate and marshmallow cream combo makes it melt the second it hits your tongue.
- That Perfect Orange Creamsicle Flavor: Sweet, tangy, and so nostalgic. Basically summer in a bite.
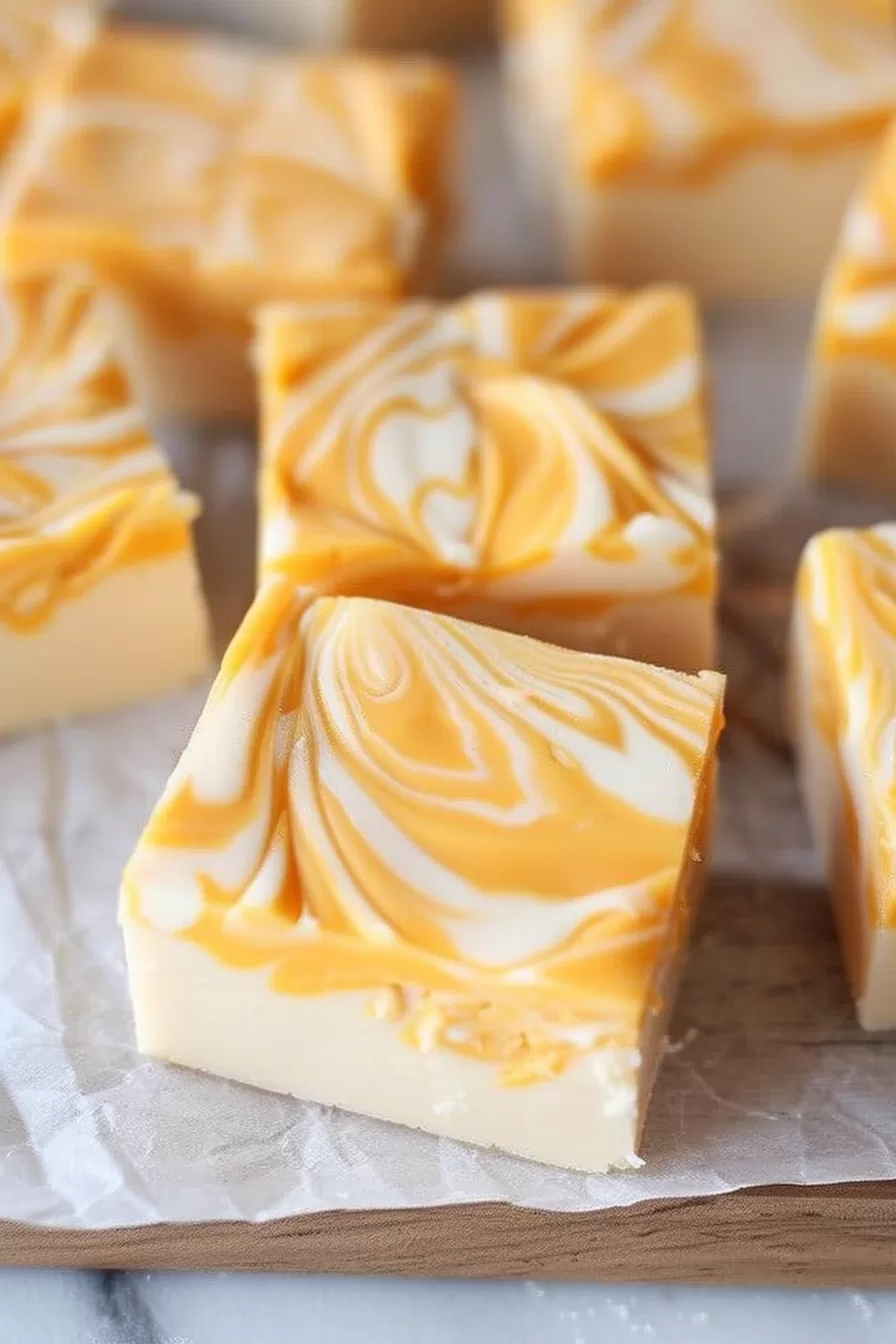
- Eye Candy: The swirls make it look fancy without any effort. Win.
- Foolproof (Mostly): No crazy techniques here—just a few steps and you’re golden.
- Crowd-Pleaser: It makes a big batch. Perfect for sharing… if you want to share.

Ingredient Notes:
Let’s break this down. Because the magic is all in the details.
- Heavy Cream: This is where the luxury comes from. No shortcuts. Use full-fat heavy cream. The richer, the better.
- Granulated Sugar: Sweetness, yes, but it also creates that perfect fudge structure. Just be sure it dissolves fully, or you’ll get grainy bits. Not fun.
- Unsalted Butter: It keeps things rich without overpowering the sweetness. (Salted butter works in a pinch, but skip the extra salt if you use it.)
- White Chocolate Chips: Not all chips are created equal. Go for high-quality ones because they are the main flavor here.
- Marshmallow Cream: Think of this like the fudge’s secret glue—it makes everything soft, fluffy, and perfectly creamy.
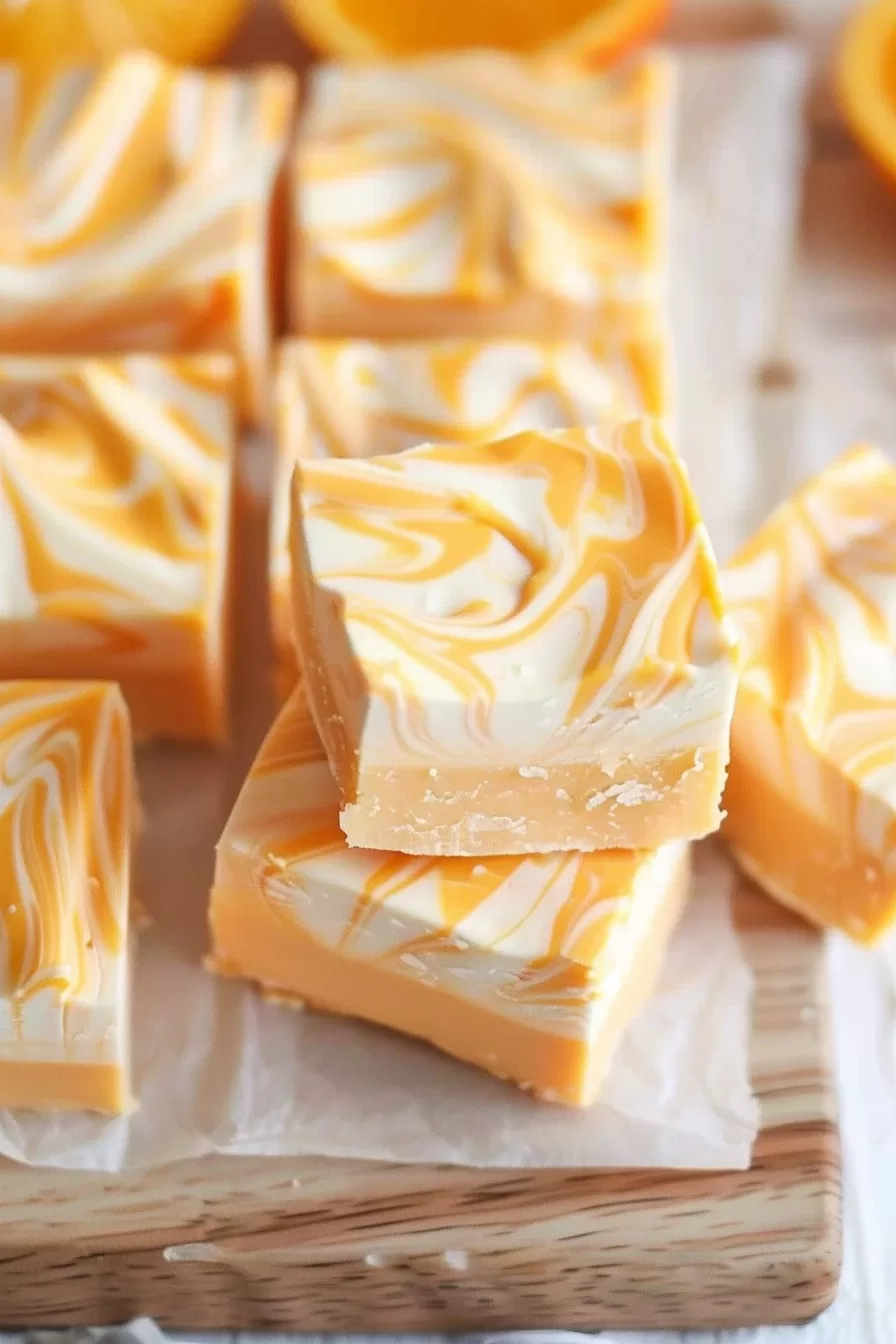
- Orange Extract: Don’t skip it! It brings all the citrus magic. Fresh orange zest works too, but extract really nails the creamsicle vibe.
- Orange Food Coloring: Totally optional… but those swirls? They’re kind of the star of the show.
Pro Tip: Want extra citrus zing? Add a bit of grated orange zest. Just a pinch. Trust me.
How To Make Orange Dreamsicle Fudge?
Okay, let’s break this down. I’m talking easy, but it’s gotta be done right.
Step 1: Prep Your Pan
First, grease a 9×13-inch baking pan and line it with
Step 2: Make the Base
In a large saucepan, combine the butter, heavy cream, and sugar. Stir it like you mean it. Once everything melts together, keep heating until it hits 235°F on a candy thermometer. That’s the “softball stage” if you’re a candy-making nerd like me.
No thermometer? No worries! Drop a little of the mixture into cold water. If it forms a soft, squishy ball, you’re golden.
Step 3: Stir in the Good Stuff
Take the pan off the heat (seriously, move fast here) and stir in the marshmallow cream and white chocolate chips. It should get all smooth and glossy—so satisfying.
Step 4: Divide and Color
Scoop about 1 cup of the mixture into a bowl. To the rest, add the orange extract and a few drops of food coloring. Mix until it’s that dreamy, creamsicle orange.
Step 5: Swirl Time!
Pour the orange mixture into your prepared pan. Then, drop spoonfuls of the reserved white mixture on top. Grab a butter knife and swirl it around to make those gorgeous marble patterns.
Want To Save This Recipe?
Step 6: Chill (Literally)
Pop the pan into the fridge for at least 2 hours. Waiting is the hardest part. Don’t poke it early—let it fully set!
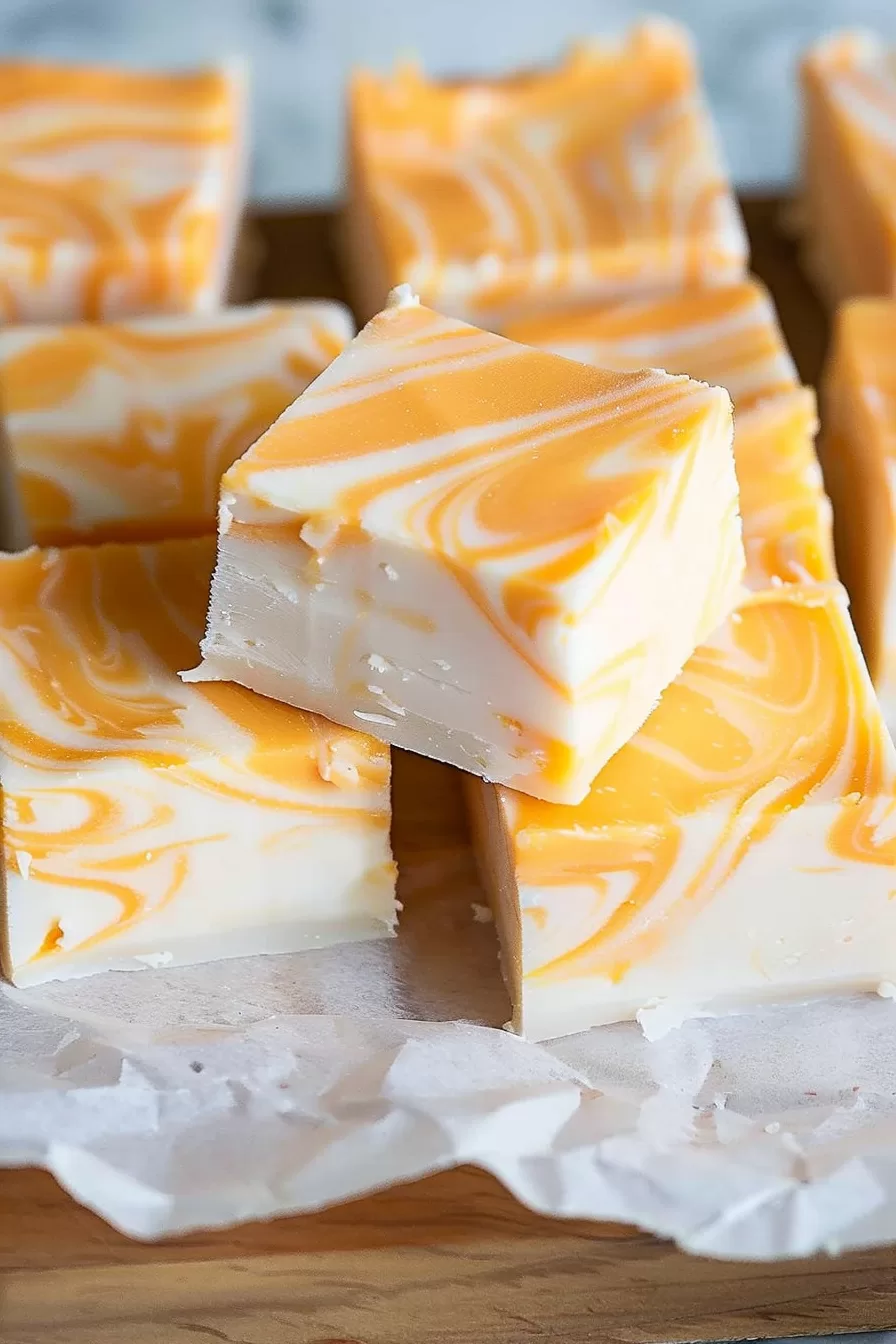
Step 7: Slice and Devour
Once it’s firm, lift the parchment out and slice into squares. Warning: It disappears fast.
Storage Options:
If you don’t eat it all right away…
- Fridge: Airtight container for up to 2 weeks.
- Freezer: Freeze squares on a baking sheet, then transfer to a freezer bag for up to 3 months.
- Room Temp: Okay for a day or two, but it stays fresher chilled.
Variations and Substitutions:
Wanna mix things up? Here’s how:
- Lemon Dreamsicle Fudge: Swap the orange extract for lemon extract and zest. So refreshing!
- Nutty Crunch: Stir in chopped pistachios or pecans for some texture.
- Chocolate Swirl : Skip the orange coloring and swirl in some melted dark chocolate instead.
- Extra Tangy: Add an extra tsp of orange extract for more citrus punch.
What to Serve with Orange Dreamsicle Fudge?
Sure, it’s fabulous solo, but try pairing it with…
- Vanilla Ice Cream: The creaminess + fudge = bliss.
- Fresh Berries: Strawberries or raspberries? Chef’s kiss.
- Coffee: Bold espresso balances the sweet fudge perfectly.
- Brunch Spread: Surprise! It actually pairs great with pastries like croissants and muffins.
Frequently Asked Questions:
Do I really need a candy thermometer?
A: Honestly? Yes. But if you’re feeling brave, the cold water test works too.
Can I double the recipe?
A: Yep! Just use a bigger pan and maybe recruit a taste-tester (or two).
Is the food coloring necessary?
A: Nope. It’s all about the look. The flavor stays dreamy either way.
So, what do you think? Are you making a batch of Orange Dreamsicle Fudge this weekend? I’d love to hear how it turns out—drop a comment below or tag me on social!
Keep the Flavor Coming – Try These:
Orange Dreamsicle Fudge
Ingredients
- 2/3 c. heavy cream
- 3 c. granulated sugar
- 3/4 c. unsalted butter
- 7 oz. marshmallow cream
- 2 c. white chocolate chips
- 3 teaspoons orange extract
- Orange food coloring up to 10 drops, based on preference
Instructions
- Start by greasing a baking pan that measures 9x13 inches and line it with parchment paper making sure to cover all sides.
- In a saucepan combine unsalted butter, (3/4 cup) heavy cream, (2/3 cup) and granulated sugar (3 cups). Stir the mixture until the butter melts completely and everything is well blended.
- Continue cooking the mixture until it reaches 235°F, which is known as the softball stage. Stir for 3 minutes after reaching this temperature.
- Remove the saucepan from the heat. Quickly stir in marshmallow cream (7 oz.). White chocolate chips (2 cups) until the mixture becomes smooth and creamy.
- Transfer about 1 cup of this mixture into a bowl. To the remaining mixture in the pan add orange extract (3 teaspoons) and, up to 10 drops of orange food coloring. Mix thoroughly until you achieve your desired hue.
- Pour the mixture into the pan ensuring it spreads evenly across all areas.
- Next drop dollops of the mixture on top of the one. Use a butter knife to swirl both mixtures creating an appealing marble effect.
- Place the pan in the refrigerator for 2 hours. Until the fudge sets properly.
- Finally cut into squares. Savor this combination of flavors and textures!
Notes
I’m Bitty, owner of nodashofgluten.com, where I share simple, delicious recipes for all tastes, including gluten-free. Check out my “About Me” page for more info!


2 Responses
I have made this recipe multiple times , and it is scrumptious!!! My family loves it. BUT, the last 2 times l have made it ,it remained grainy from the sugar. Just wondering if you had any thoughts that might eliminate this issue.
Hi Marilyn, I’m so glad your family enjoys this fudge so much! If it’s turning out grainy, that usually means the sugar didn’t fully dissolve before setting. A couple of tips that help: make sure the mixture reaches 235°F (soft-ball stage) and stir constantly until the sugar crystals are completely melted. Using a candy thermometer is the most reliable way, but if you don’t have one, the cold water test works too. Also, once the mixture comes off the heat, stir just enough to blend in the chocolate and marshmallow cream—overmixing as it cools can sometimes cause sugar to recrystallize.
That little adjustment should give you the smooth, creamy texture every time!