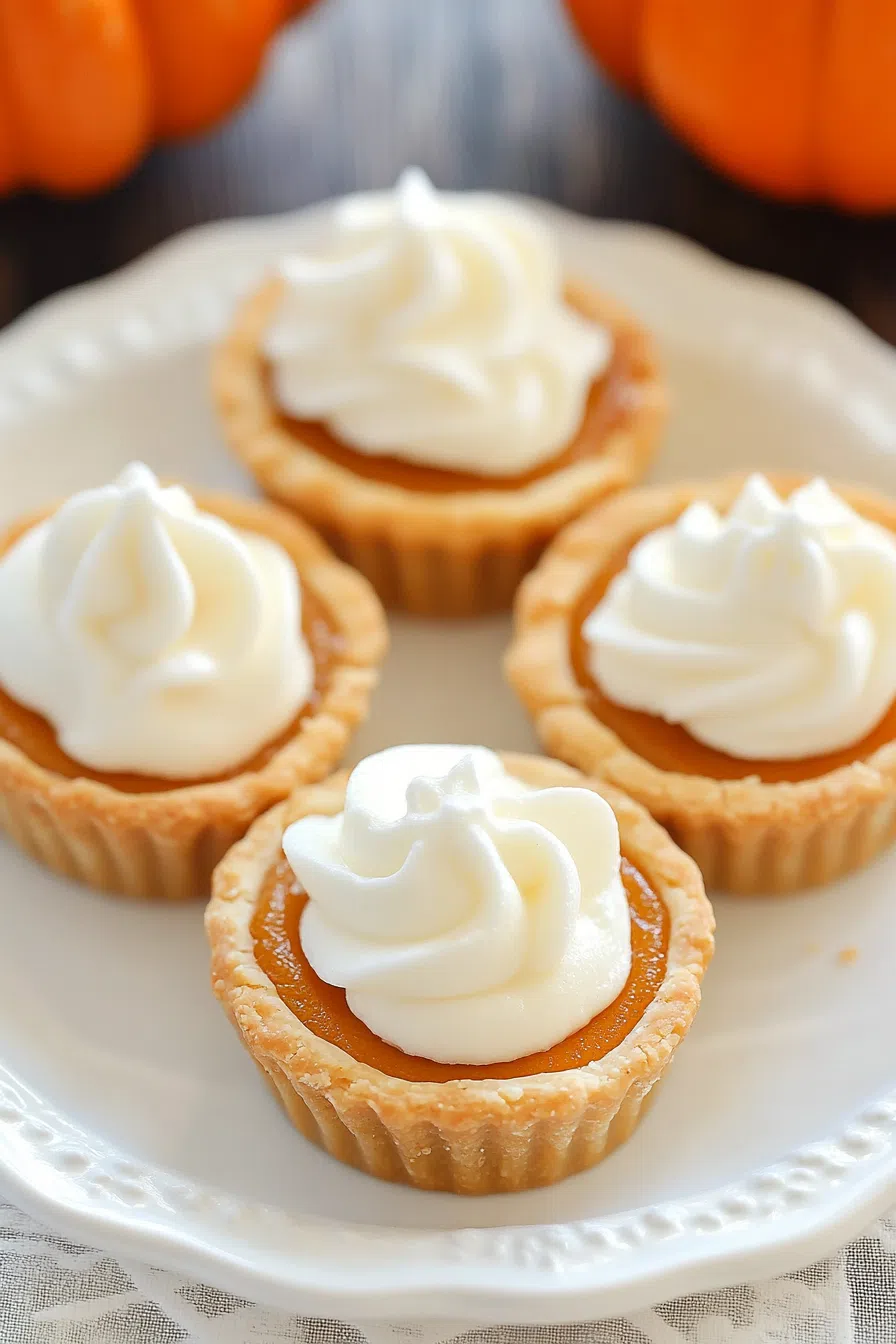
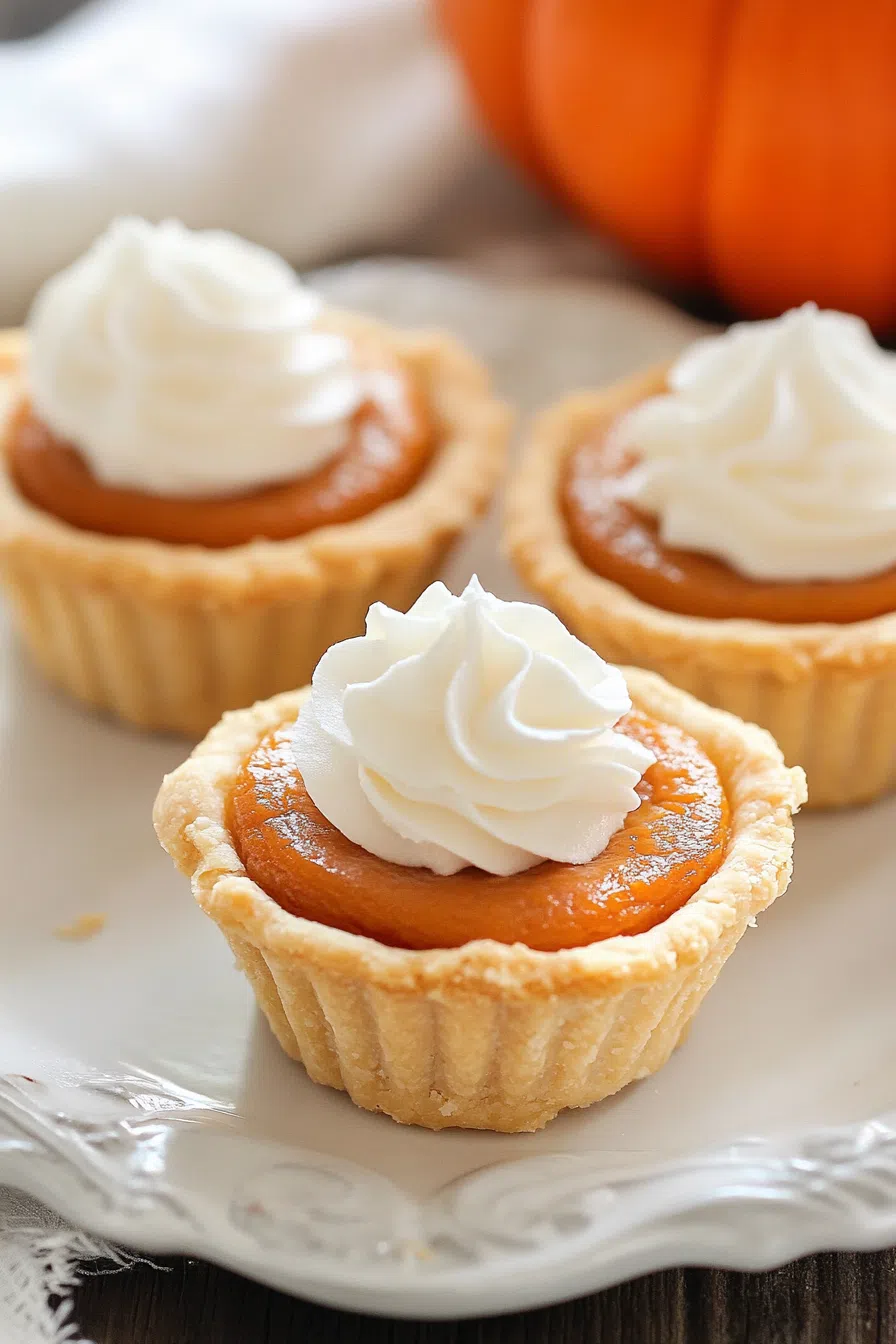
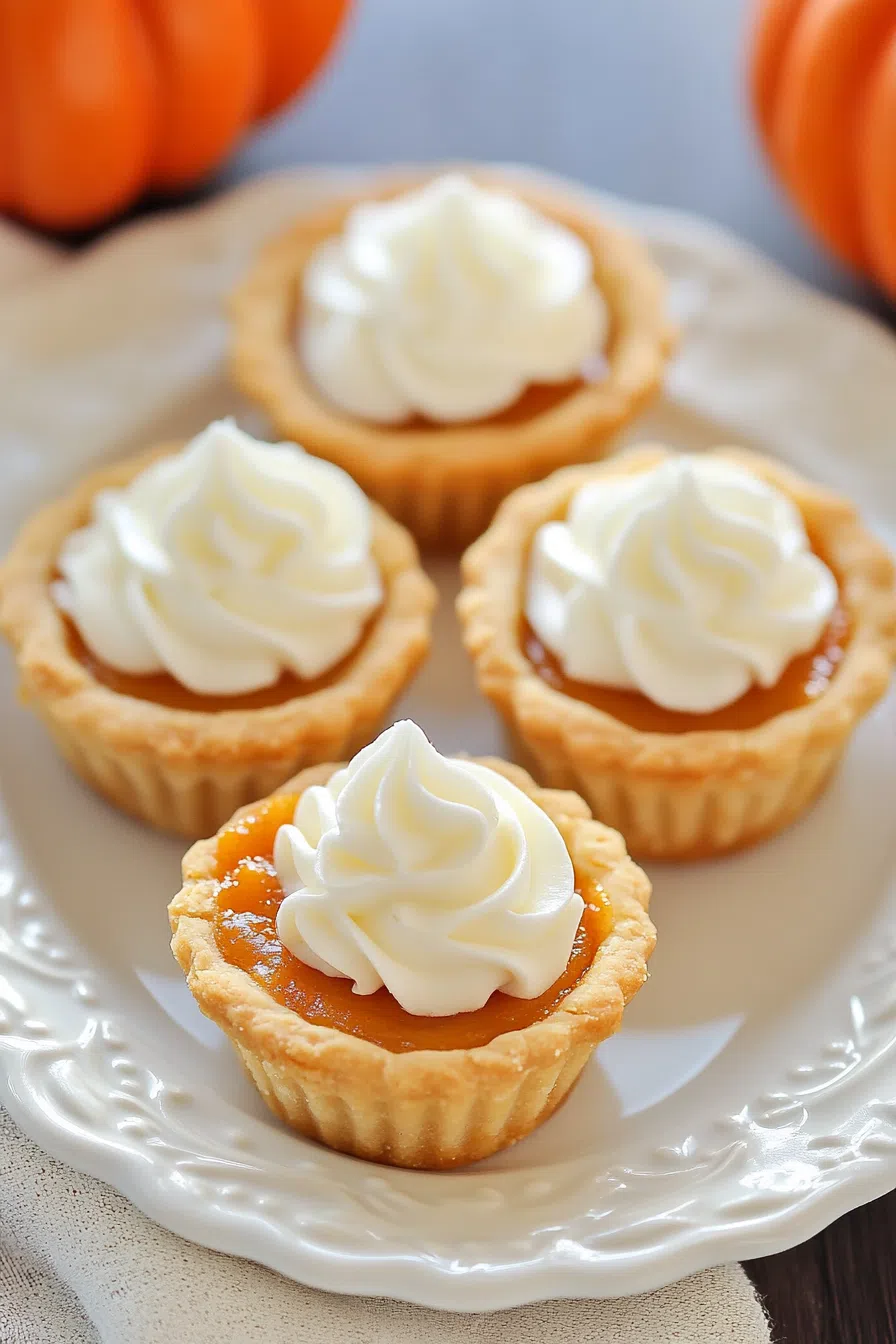
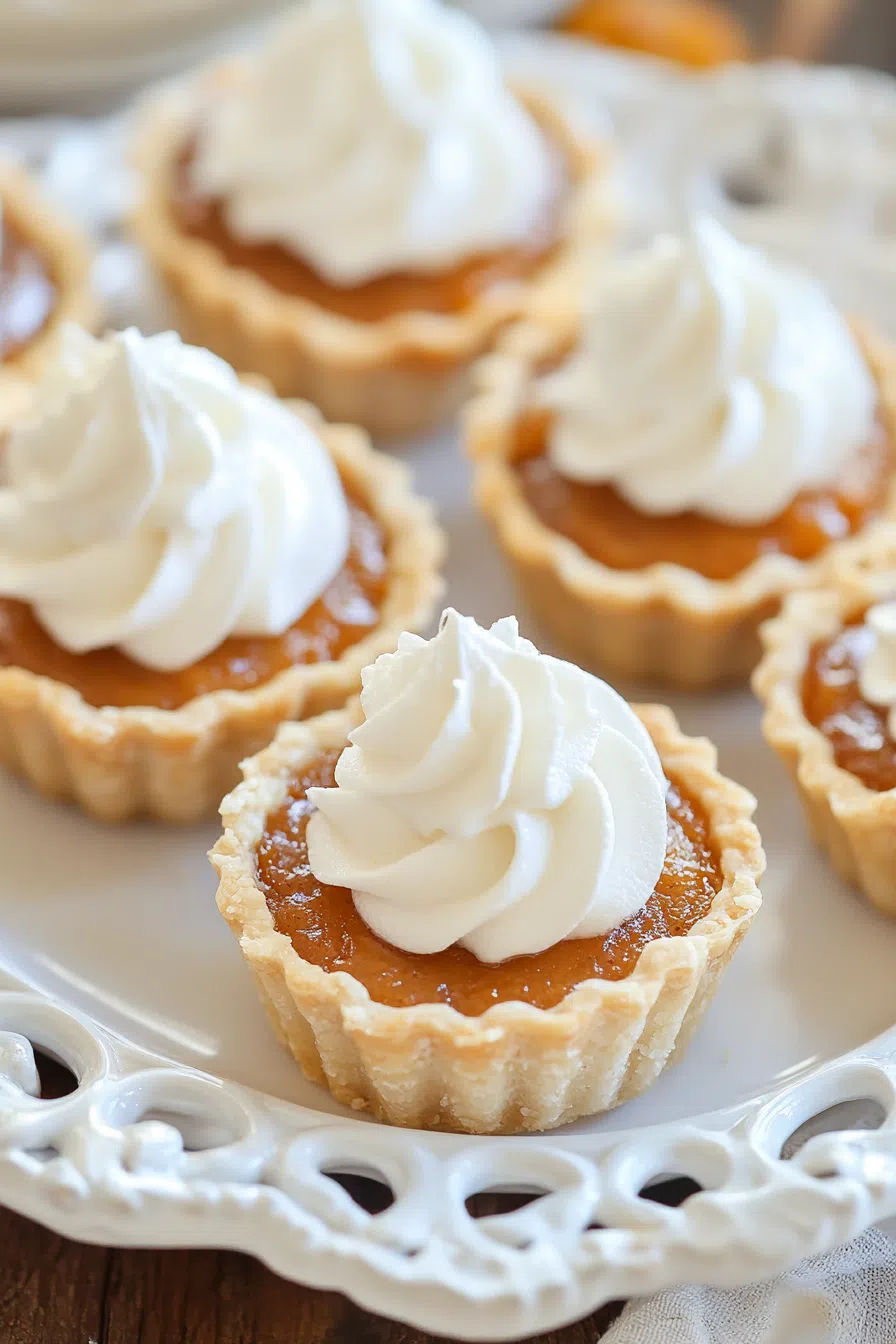
These Mini Pumpkin Pies are made with store-bought pie dough, pumpkin puree, sweetened condensed milk, eggs, and pumpkin spice—all the flavors of fall, in a perfect bite-sized package!
Alright, let’s get real for a second. I used to pretend to like pumpkin pie. It wasn’t that I hated it—I just never craved it the way I did a warm chocolate chip cookie or a fudgy brownie. But every fall, the peer pressure would start. The leaves would turn, the PSLs would flow, and suddenly, everyone I knew acted like pumpkin pie was the dessert to end all desserts.
I gave in one year and made a full-sized pie for Thanksgiving. And let me tell you—it sat in the fridge for days. I kept sneaking past it, avoiding eye contact like it was an ex I ran into at the grocery store. It wasn’t bad; it was just… too much. Too much commitment. Too many leftovers. Too many decisions about slice sizes.


Then, on a whim, I made these Mini Pumpkin Pies for a fall gathering. I figured they were cute, easy to grab, and would probably disappear faster than my last attempt at a full pie. And, folks? They were gone before I even got one. People kept asking, “Wait, you made these??” like I’d pulled off some kind of baking sorcery.
That was it. No more full pies for me. Mini Pumpkin Pies forever.
Why You’ll Love This Mini Pumpkin Pies Recipe?
- No Knife Required: No awkward pie slicing, no worrying about who got the bigger piece—just grab and enjoy.
- Easy as Pie (Literally): Store-bought crust makes this a no-fuss recipe. You’ll spend more time eating than baking.
- Perfect for Sharing: Whether it’s a potluck, a cozy fall night, or a last-minute dessert emergency, these little guys are always a hit.
- No Sad Leftovers: A full pie sits in the fridge for days, but these? They’ll be gone before you know it. (Or before you even get one—trust me.)
- Fall in Every Bite: They’re packed with all the pumpkin spice goodness you crave this time of year, minus the giant plate commitment.
Ingredient Notes:
Before we get to baking, let’s break down what’s going into these bad boys.
- Refrigerated Pie Dough – I could pretend I always make homemade crust, but let’s be real—I don’t. And honestly? Store-bought works just fine.
- Pumpkin Puree – Not pumpkin pie filling. (I repeat: NOT pumpkin pie filling.) We want the pure stuff so we can control the sweetness and spices.
- Sweetened Condensed Milk – This is the secret weapon. It makes the filling rich, creamy, and just sweet enough.
- Eggs – Because pumpkin pie without eggs is just… pumpkin soup?
- Pumpkin Spice – You can buy a premade mix or make your own with cinnamon, nutmeg, ginger, and cloves.
- Salt – Just a tiny bit to bring out all the flavors. Don’t skip it!
- Cool Whip or Homemade Whipped Cream – Because why would you ever eat pumpkin pie without a mountain of whipped cream?
How To Make Mini Pumpkin Pies?
Alright, let’s get these pies in the oven before someone changes their mind about dessert.
Step 1: Preheat & Prep
Preheat your oven to 400°F and grease a 12-cup muffin tin. You think they won’t stick, but trust me—you don’t want to be prying mini pies out with a fork.
Step 2: Cut Out the Dough
Roll out your pie dough and grab a jar lid or round cookie cutter to cut out small circles. You want them to be just big enough to press into the muffin tin cups.
Step 3: Shape the Crusts
Gently press each dough circle into the muffin tin. Make sure they hug the sides nicely—no gaps!
Step 4: Make the Filling
In a mixing bowl, whisk together the pumpkin puree, sweetened condensed milk, eggs, pumpkin spice, and salt until smooth.
Step 5: Fill & Bake
Spoon the pumpkin filling into each pie crust, filling them all the way to the top.
Want To Save This Recipe?
- Bake at 400°F for 10 minutes to set the crust.
- Lower the heat to 325°F and bake for another 10 minutes to cook the filling just right.
Step 6: The Toothpick Test
Stick a toothpick in the center of one—if it comes out clean, they’re done! If it’s still a little wet, let them bake for another minute or two.
Step 7: Cool & Top
Let the pies cool before adding a generous dollop of Cool Whip or homemade whipped cream. Or eat one warm straight from the pan—I won’t judge.
Storage Options:
- Fridge: Keep them in an airtight container for up to 4 days.
- Freezer: Wrap them up and freeze for up to 2 months. Just thaw in the fridge overnight before serving.
- Make-Ahead Friendly: Bake them a day ahead, store them in the fridge, and add whipped cream when you’re ready to serve.
Variations and Substitutions:
Want to mix things up? Here are a few ideas:
- Gluten-Free? Use a GF pie crust or just bake the filling in greased muffin tins for crustless pumpkin pie bites.
- Dairy-Free? Swap the sweetened condensed milk for coconut condensed milk. Same creamy texture, dairy-free.
- Extra Spice? Add a little extra cinnamon or nutmeg to really crank up the fall vibes.
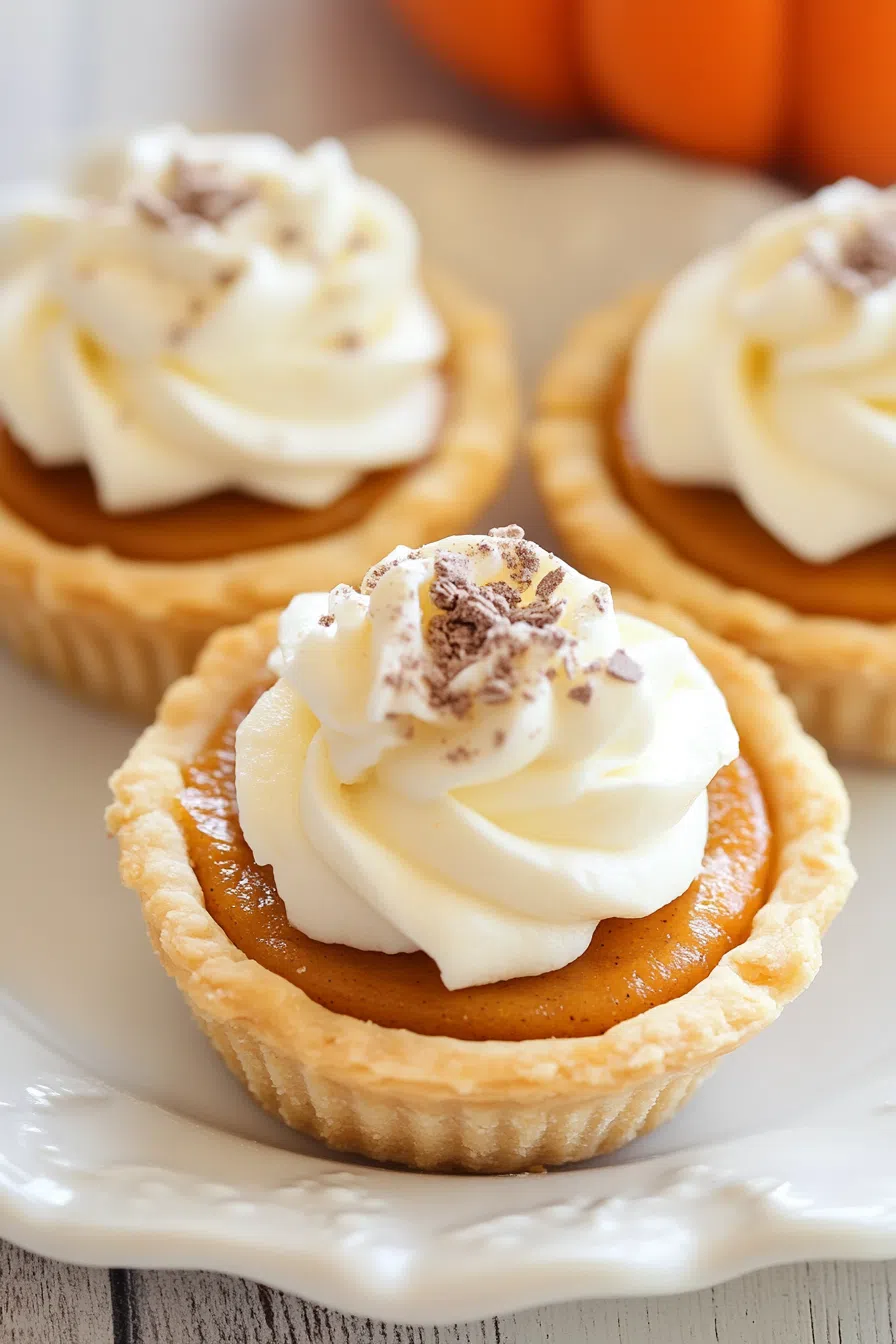
- Chocolate Twist? Drizzle with melted dark chocolate before serving. Because chocolate makes everything better.
What to Serve with Mini Pumpkin Pies?
These little guys are great solo, but if you wanna level up, try these pairings:
- A Warm Drink: Coffee, chai tea, or a hot toddy if you’re feeling fancy.
- Whipped Cream Bar: Set out different flavors—vanilla, maple, cinnamon. Let people go wild.
- Caramel Drizzle: A little salted caramel on top? Yes, please.
Frequently Asked Questions:
Can I make these ahead of time?
Yep! Just store them in the fridge and add whipped cream when you’re ready to serve.
Can I use homemade pie dough?
Of course! But I won’t judge you if you go store-bought.
Can I use a mini muffin tin instead?
Yes! Just cut smaller dough circles and bake for about 5 minutes less.
I promise these Mini Pumpkin Pies will be a hit. If you make them, let me know how they turn out! And if they disappear before you even get one—well, you’ve been warned.
Keep the Flavor Coming – Try These:

Mini Pumpkin Pies
Ingredients
- 1 box refrigerated pie dough
- 1 15- ounce can pure pumpkin puree
- 1 14- ounce can sweetened condensed milk
- 2 large eggs
- 2 teaspoons pumpkin spice
- 1/2 teaspoon salt
- 1/2 cup Cool Whip or homemade whipped cream
Instructions
- Preheat your oven to 400°F. Make sure to grease 12 muffin tins.
- Take out the pie dough. Use a jar lid to cut out circles.
- Carefully press the dough circles into each of the muffin tins.
- In a bowl combine pumpkin puree, condensed milk, eggs, pumpkin spice and salt together.
- Pour this mixture into the pie crusts filling them all the way to the top.
- Place them in the preheated oven at 400°F for around 10 minutes. Then reduce the heat to 325°F. Bake for 10 minutes.
- To check if they are done insert a toothpick into one of the pies—it should come out clean when you remove it.
- Allow them to cool down and then add a dollop of Cool Whip or whipped cream on top.
Notes
I’m Bitty, owner of nodashofgluten.com, where I share simple, delicious recipes for all tastes, including gluten-free. Check out my “About Me” page for more info!