
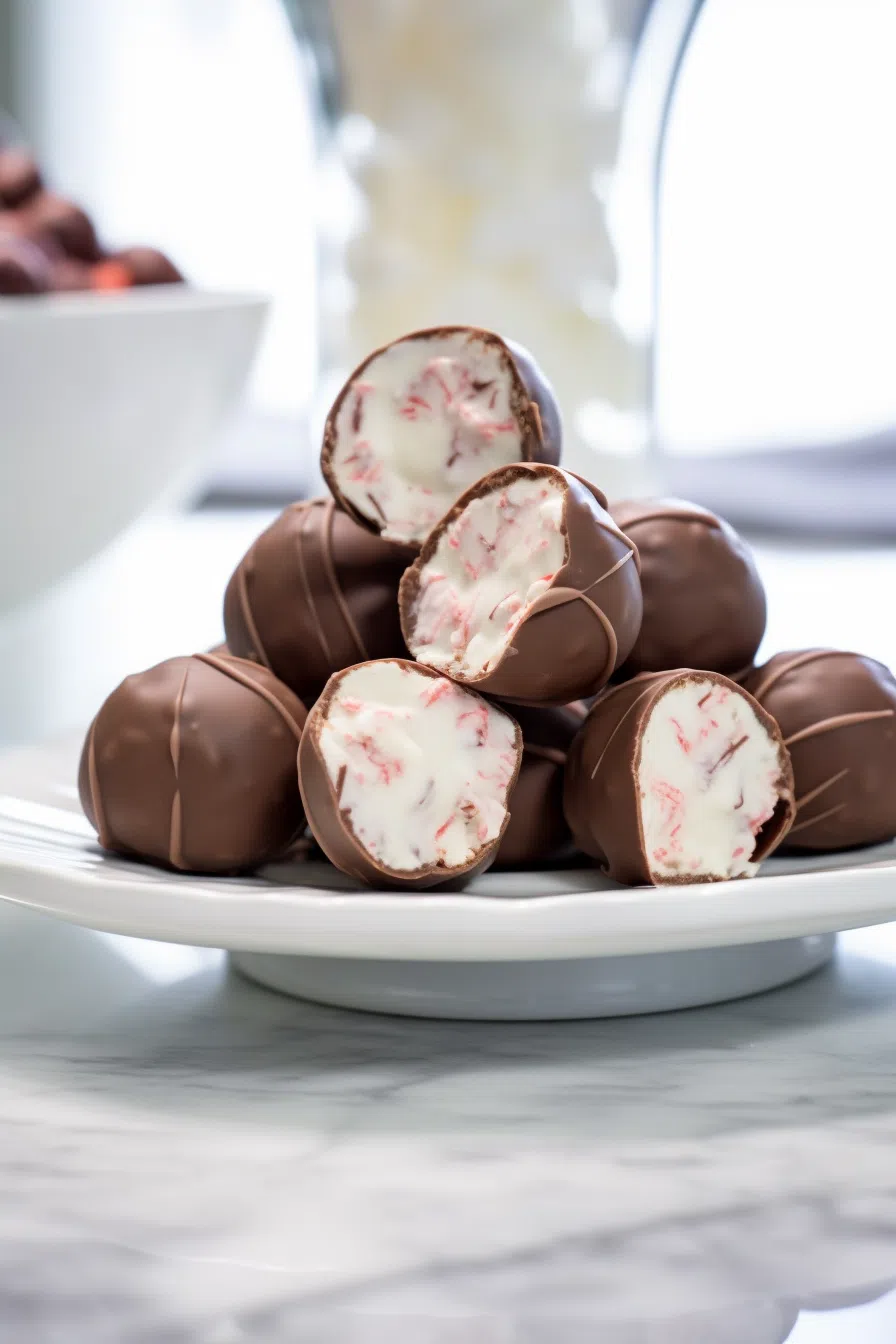
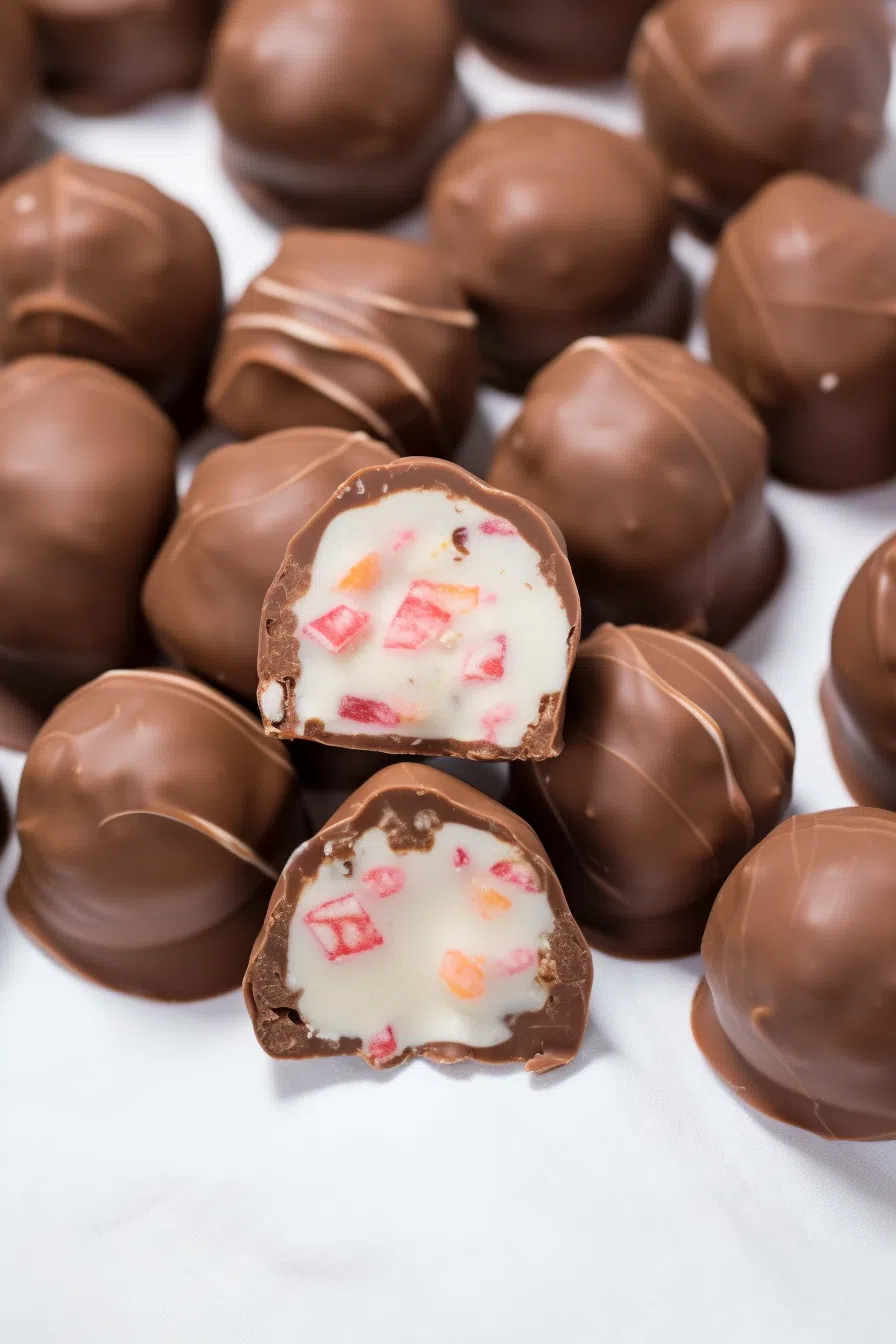
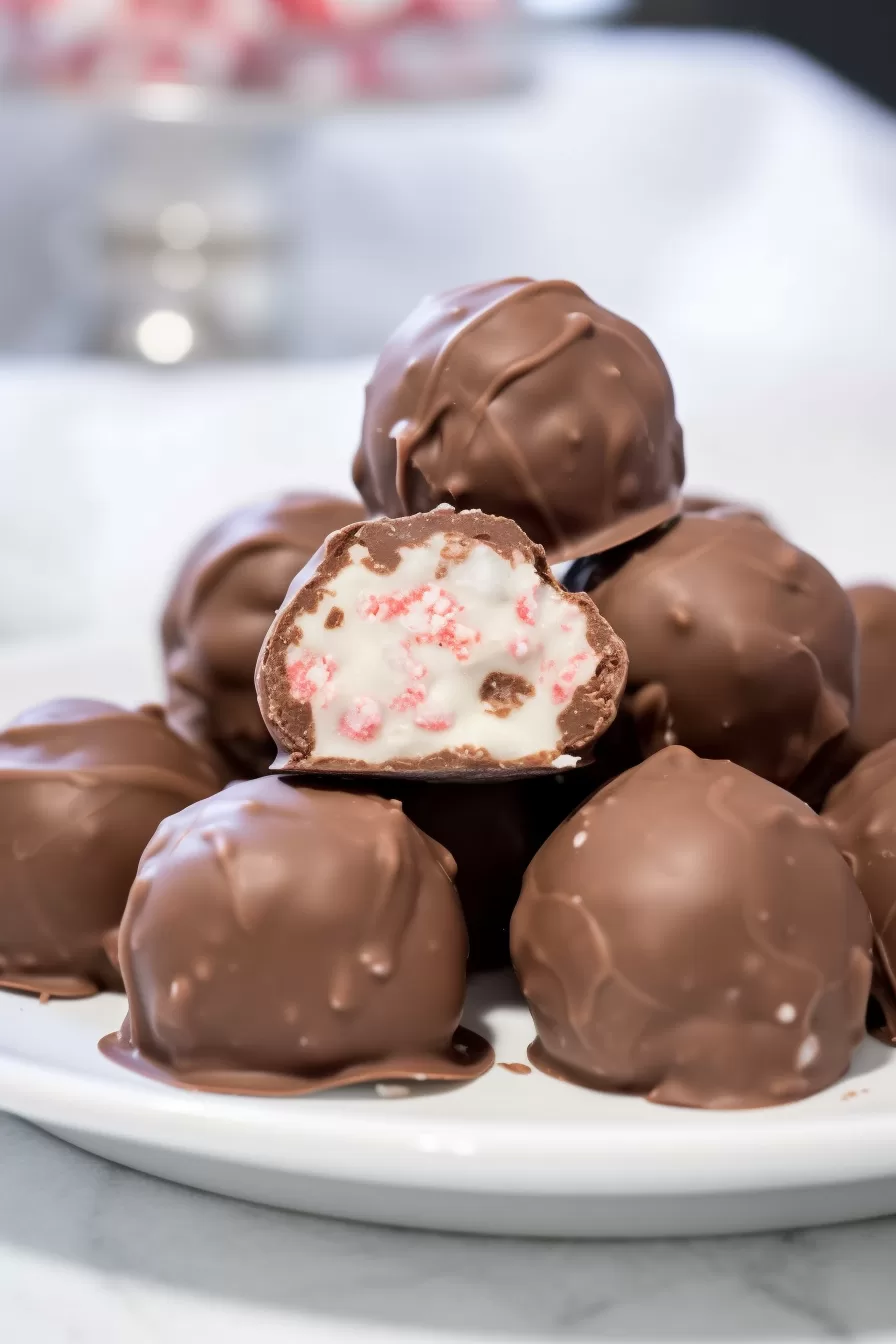
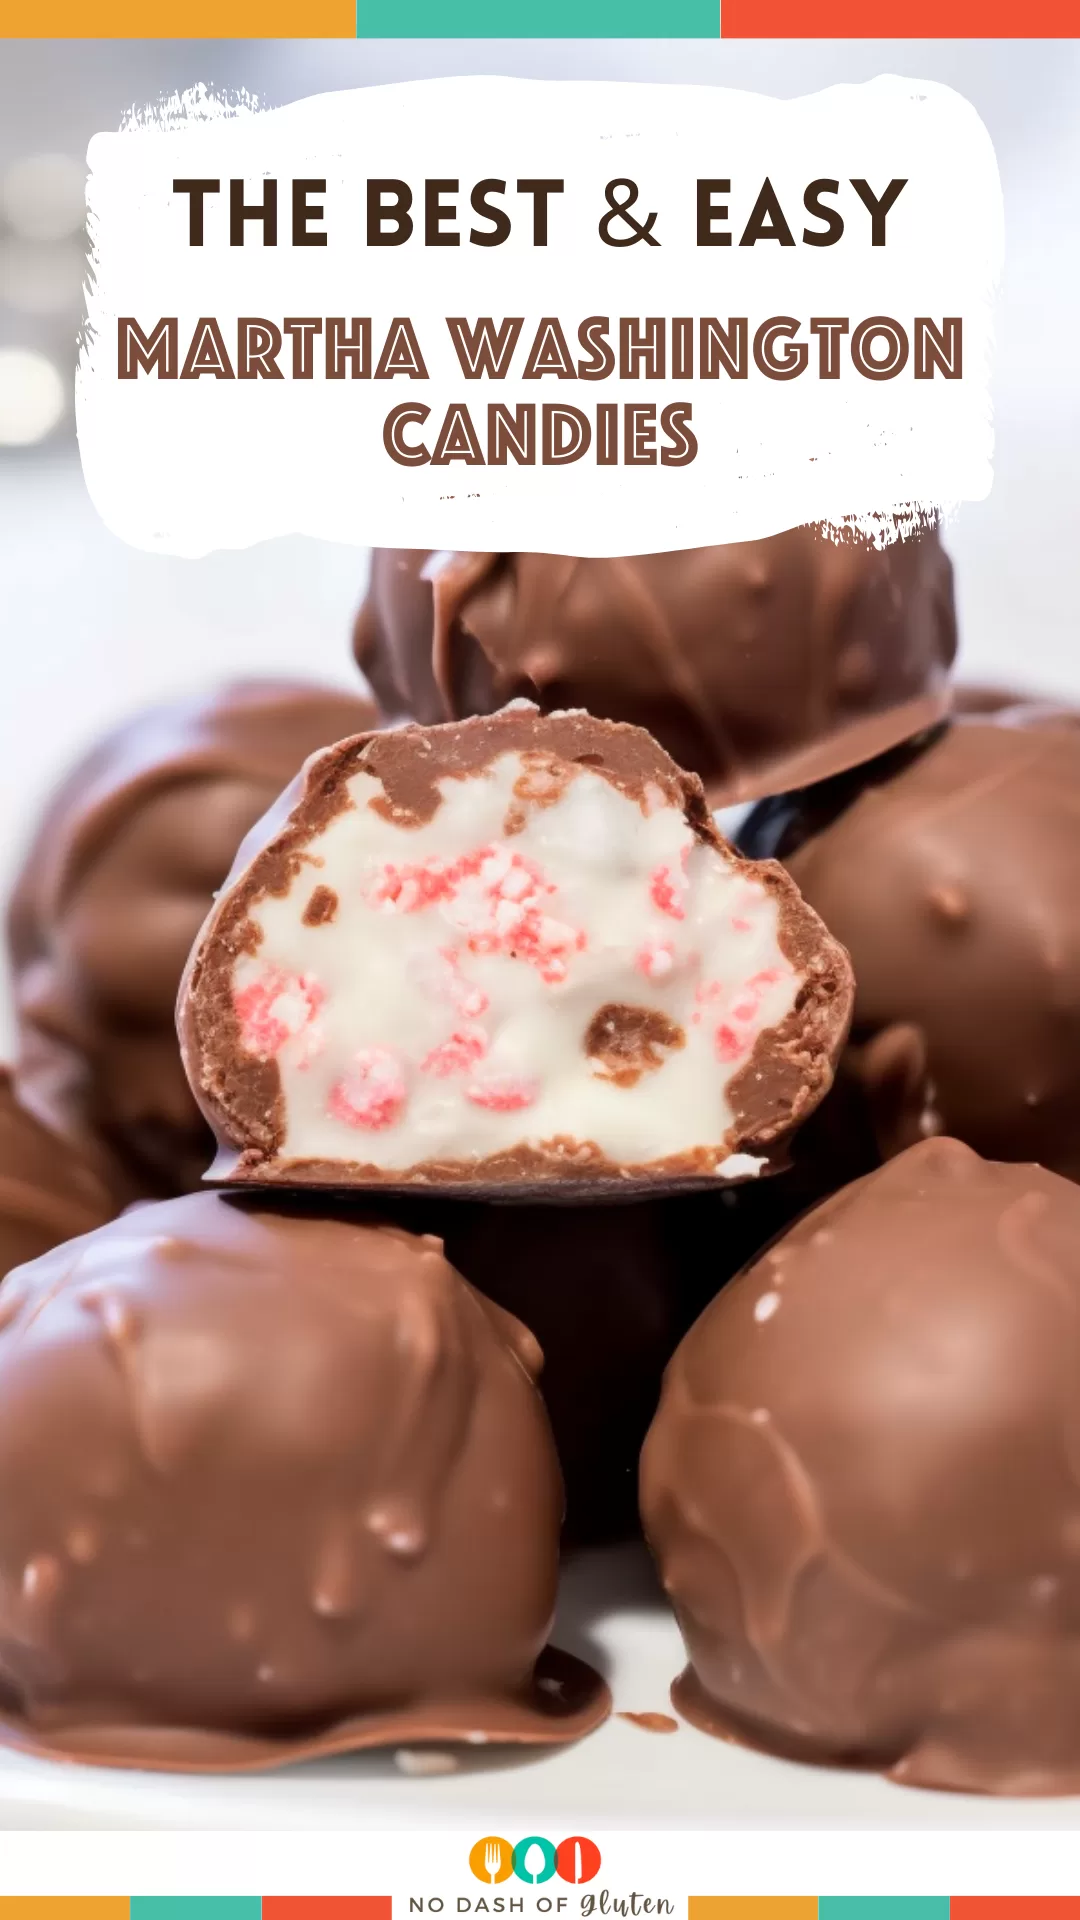
Butter, powdered sugar, coconut, pecans, cherries, and chocolate coating—Martha Washington Candies are old-school treats made simple!


Let me tell you a little something about these Martha Washington Candies. The first time I made them, it was purely out of curiosity. I’d heard about them at a potluck—someone’s grandma swore they were the best candy she ever tasted. Well, that was enough for me! I hunted down the recipe, dusted off my apron (literally… it was in the back of a drawer), and got to work.
And you know what? One bite in, I understood why folks have been making these since—who knows?—forever! They taste like Christmas, like holidays at grandma’s house, like something you’d sneak off the dessert table and eat before dinner. And now? Well, these little chocolate-dipped gems are part of our family tradition. Every December, I make a huge batch, and somehow they vanish before New Year’s. Go figure.
Why You’ll Love This Martha Washington Candies Recipe?
First of all, nostalgia. These candies are straight out of a vintage cookbook (and if you’re anything like me, old recipes hit differently, don’t they?). They’ve got that cozy, old-fashioned vibe but are super easy to make.
Second, they’re no-bake. Yes, you read that right. You don’t even need to turn on your oven—just mix, chill, dip, and devour.
And the flavor? Sweet cherries, crunchy pecans, creamy coconut, and all wrapped up in smooth chocolate. It’s like a chocolate truffle and a fruitcake had a baby—but, you know, in a good way.
Ingredient Notes:
Before we jump into mixing and rolling, here’s a little peek at what makes Martha Washington Candies so special.
-
Unsalted Butter (1 cup, melted): You could use salted, but why mess with perfection? The butter makes everything rich and smooth.
-
Powdered Sugar (1 lb): This brings the sweetness and helps firm up the mixture so your candy balls hold their shape.
-
Vanilla Extract (1 tbsp): The flavor base that ties it all together. I say go for the real deal, but if you only have imitation vanilla? It’ll still work.
-
Sweetened Shredded Coconut (14 oz): Adds chewiness and tropical sweetness. Not a coconut fan? We’ll chat about swaps later.
-
Sweetened Condensed Milk (14 oz): Think of it as the glue that binds it all together—and makes it irresistibly sweet.
-
Maraschino Cherries (10 oz jar, drained and chopped): Sticky, sweet, and fun. They give the candies that classic old-school flair.
-
Pecans (3 cups, finely chopped): Nutty goodness! You can toast them first if you want to get fancy.
-
Chocolate Coating (16 oz): Use almond bark, melting wafers, or whatever chocolate coating you have. Just melt, dip, and resist the urge to eat them all at once.
How To Make Martha Washington Candies?
Step 1: Get Prepped
Line a baking sheet with wax paper. You’ll need it to set your candies on later. Trust me, don’t skip this—or you’ll be prying them off the counter later. Learned that one the hard way.
Step 2: Make the Filling
In a giant mixing bowl (seriously, go big), stir together the melted butter, powdered sugar, vanilla, coconut, sweetened condensed milk, and pecans. Give it a good mix. Once it’s all blended and starting to stick together, gently fold in your chopped maraschino cherries. The dough’s gonna be thick and sticky, but that’s what you want.
Step 3: Chill Out
Cover the bowl and pop it in the fridge for about two hours. This step’s non-negotiable—it firms everything up so you can actually roll them into balls without wearing half the dough.
Want To Save This Recipe?
Step 4: Roll ‘Em Up
Once chilled, scoop out small portions and roll them into 1-inch balls. Not perfect? Who cares. Just make sure they’re relatively the same size so they’ll set evenly. Lay them out on your wax paper.
Step 5: Chill Again
Pop those balls back in the fridge for 20 minutes. I know, I know. More chilling. But it makes dipping in chocolate way less messy. And who doesn’t need an excuse for a snack break?
Step 6: Melt the Chocolate
Follow the directions on your chocolate coating package. I usually zap mine in the microwave in 30-second bursts, stirring between zaps until it’s silky smooth.
Step 7: Dip and Set
Drop each ball into the melted chocolate. Use a fork or skewer to lift it out, let the excess drip off, and place it back on your wax paper. Repeat. And maybe sneak a taste. Quality control, right?
Step 8: Let ‘Em Set
Once they’ve cooled and the chocolate’s hardened, they’re ready to serve. Or store. Or, you know… eat half the batch while standing at the counter.
Storage Options:
- Counter: Airtight container for up to a week.
- Fridge: They’ll last two weeks. Bonus points: they’re really good cold.
- Freezer: Yep, you can freeze ‘em. Layer between wax paper and stash them for up to three months. Pull some out when you’re craving a sweet bite!
Variations and Substitutions:
Feeling adventurous? Here’s how to shake things up:
- Swap the nuts: Walnuts or almonds instead of pecans work great.
- Lose the cherries: Not a fan? Dried cranberries or raisins can fill in.
- Skip the coconut: Sub in crushed graham crackers or more nuts if coconut isn’t your thing.
- Play with chocolate: Dark chocolate? White chocolate? You do you.
- Add a boozy twist: A splash of rum or bourbon in the mix… for grown-ups only!
What to Serve with Martha Washington Candies?
Honestly? They shine on their own. But if you’re feeling fancy:
- A hot cup of coffee (or spiked eggnog if it’s that kind of party)
- Next to a cheese platter (salty + sweet = win)
- As a garnish on a scoop of ice cream
- With more cookies—it’s a holiday after all!
Frequently Asked Questions:
Do they have to chill that long?
Yes! Otherwise, they’ll be a sticky mess. And nobody wants that.
Why did my chocolate get all clumpy?
Water probably got in the bowl. Keep everything dry, and you’ll have silky smooth chocolate.
So, are you ready to try these Martha Washington Candies? Maybe you’ve had them before at a holiday party and didn’t even know what they were called. Or maybe this’ll be your first batch (warning: they’re addictive). Either way, I’d love to hear how they turn out. Got any fun twists? Did you put your own spin on ‘em? Drop me a comment—I’m all ears!
Keep the Flavor Coming – Try These:
Martha Washington Candies
Ingredients
- 1 c 2 sticks unsalted butter, melted
- 1 pound powdered sugar
- 1 tbsp vanilla extract
- 1 14 ounces package sweetened shredded coconut
- 1 14 ounces can sweetened condensed milk
- 1 10 ounces jar maraschino cherries, drained and chopped
- 3 c pecans finely chopped
- 16 ounces chocolate coating
Instructions
- Line a baking sheet, with wax paper.
- Combine the following ingredients in a bowl; melted butter, powdered sugar, vanilla extract, coconut condensed milk and finely chopped pecans. Mix them together thoroughly.
- Gently fold in the chopped cherries.
- Place the mixture in the refrigerator for two hours to allow it to firm up.
- Using a scoop shape the mixture into balls. Arrange them on the prepared baking sheet.
- Return the formed candies to the fridge for 20 minutes until they become firm.
- In a microwave bowl melt the chocolate coating according to the instructions on the package.
- Dip each candy ball into the melted chocolate and remove any chocolate. Place them back, onto the wax paper.
- Allow some time for the chocolate to set and for the candies to become firm. Once ready you can enjoy them!
Notes
I’m Bitty, owner of nodashofgluten.com, where I share simple, delicious recipes for all tastes, including gluten-free. Check out my “About Me” page for more info!

2 Responses
I don’t understand the amount of butter, coconut, condensed milk and the amount of cherry…
For your Martha Washington Candies, here’s the breakdown of ingredients based on your question:
Butter: 1 cup (2 sticks) of melted unsalted butter.
Coconut: 1 package (14 ounces) of sweetened shredded coconut.
Sweetened Condensed Milk: 1 can (14 ounces).
Cherries: 1 jar (10 ounces) of maraschino cherries, drained and chopped.
These amounts will give you that perfect balance of flavors for your candies. Hope that clears it up! Enjoy making them!