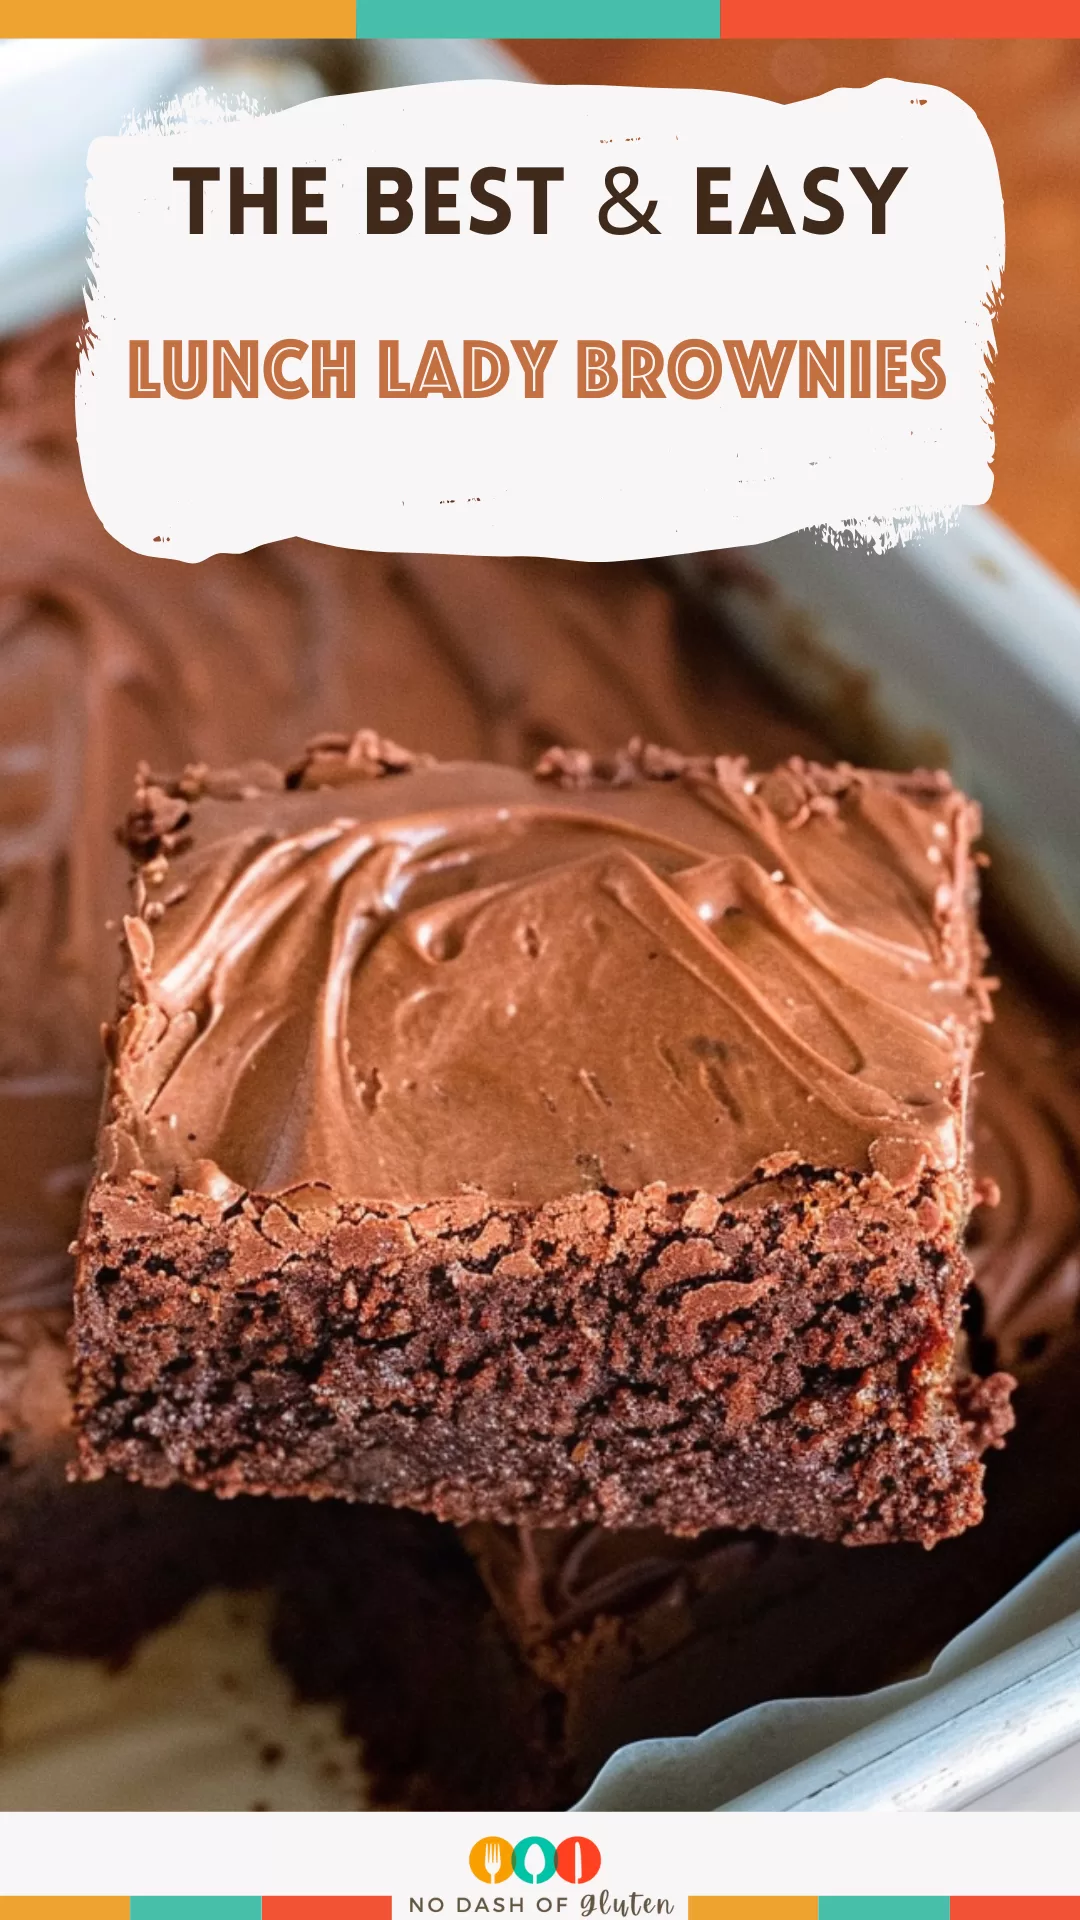
Rich and fudgy brownies topped with creamy cocoa frosting made with butter, sugar, eggs, cocoa, and flour. A nostalgic delight!

Okay, picture this: It’s a regular Tuesday, you’re in middle school, and lunch is exactly what you’d expect—nothing to write home about. But then, you spot it. A perfectly frosted brownie sitting on your tray. You grab your spork (because, cafeteria logic) and take that first bite. Boom. Instant joy. Lunch Lady Brownies weren’t just dessert; they were the highlight of the day.
Fast forward a few decades (not too many, let’s not age me too much), and I found myself craving that exact brownie. Not the fancied-up, sea-salted, espresso-infused versions you find at trendy bakeries—just a good, old-fashioned, fudgy brownie with frosting so thick it could double as cake. So, I dove into the kitchen to recreate that slice of childhood magic.
Spoiler alert: I nailed it. And now, every time I make these, I’m right back in that cafeteria, trading knock-knock jokes with my friends and sneaking an extra brownie when no one’s looking. If you’ve ever had a Lunch Lady Brownie, you know the feeling. If you haven’t? Well, friend, you’re in for a treat.
Why You’ll Love This Lunch Lady Brownies Recipe?
- Nostalgic Bliss: These brownies are like a warm hug from your childhood, no matter how old you are now.
- Easiest Recipe Ever: No fancy mixers, no weird ingredients—just classic pantry staples.
- That Frosting, Though: It’s not just frosting; it’s an experience. It melts slightly into the brownies and sets to the perfect consistency.
- Versatile Treat: Great for bake sales, family dinners, or midnight snacks (we’ve all been there).
- Quick Gratification: You’re only about 35 minutes away from chocolate heaven.
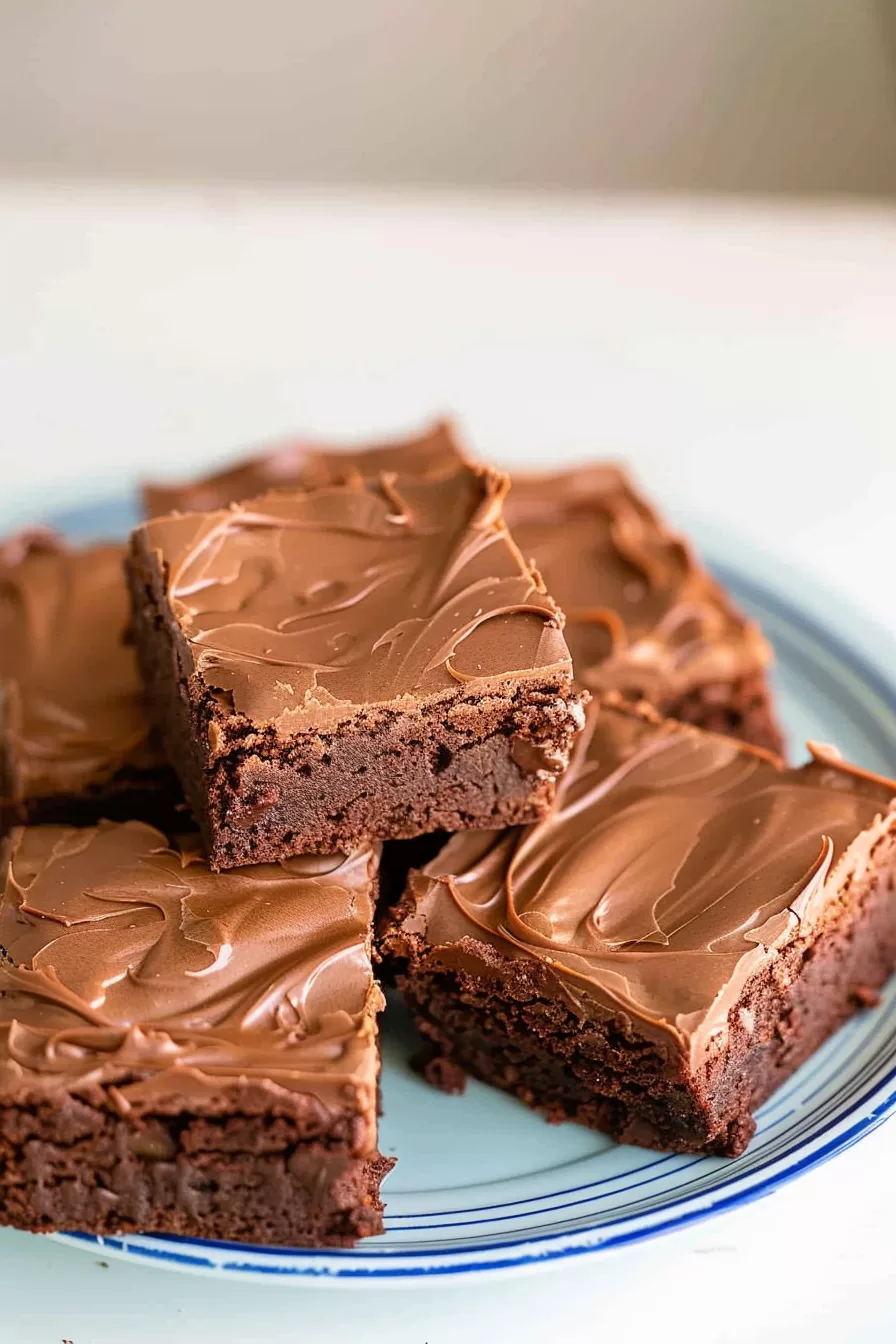
Ingredient Notes:
Here’s the lowdown on what makes these brownies so good:
- Butter: Melted butter gives the batter its smooth consistency and that rich, indulgent flavor.
- Sugar: Granulated sugar for sweetness and that coveted crackly top, powdered sugar for the frosting’s silky finish.
- Eggs: They make everything hold together and give the brownies that fudgy texture.
- Cocoa Powder: Go for unsweetened—this is where the deep chocolate flavor comes from.
- Flour: Just enough to create structure without making the brownies too cakey.
- Vanilla Extract: Adds warmth and enhances the chocolate flavor.
Frosting Hack: If your frosting ends up too thick, a splash of milk will save the day. Too thin? A little more powdered sugar does the trick.
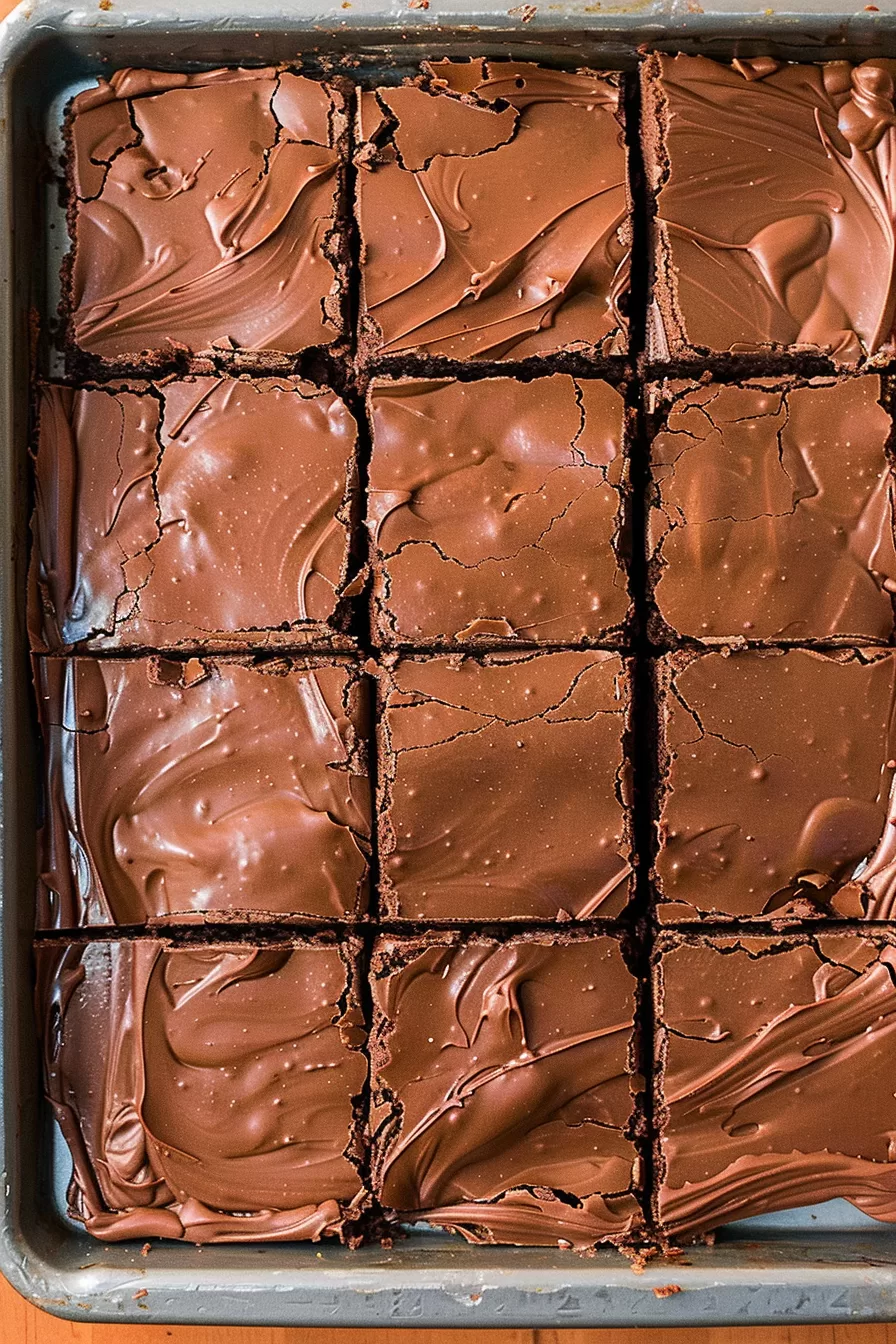
How To Make Lunch Lady Brownies?
Making these brownies is as simple as it gets. Let’s do this:
Want To Save This Recipe?
Enter your email below and we'll send the recipe straight to your inbox.
- Prep the Pan:
Preheat your oven to 350°F (175°C). Line a 9×9” pan with parchment paper or foil. Trust me, you don’t want to skip this—nobody likes scraping stuck brownies out of a pan. - Whip Up the Batter:
Mix melted butter and sugar in a bowl until it looks creamy. Stir in the eggs and vanilla, then gently fold in the cocoa powder and flour. The batter will be thick, and that’s exactly what you’re aiming for. - Bake to Perfection:
Spread the batter evenly in your prepared pan. Bake for 20-25 minutes. Check with a toothpick—if it comes out with moist crumbs, you’re golden. Overbaking? That’s brownie heartbreak. - Make the Frosting:
While the brownies bake, mix softened butter, milk, cocoa powder, and powdered sugar until smooth. If it’s too thick, add a splash of milk. Too thin? Add more sugar. (See? Foolproof.) - Frost While Warm:
Spread the frosting on the brownies as soon as they come out of the oven. The heat will slightly melt the frosting, creating a glossy, irresistible layer. - Cool and Slice:
Let them cool completely before slicing. Or don’t. Warm brownies with gooey frosting? Worth the mess.
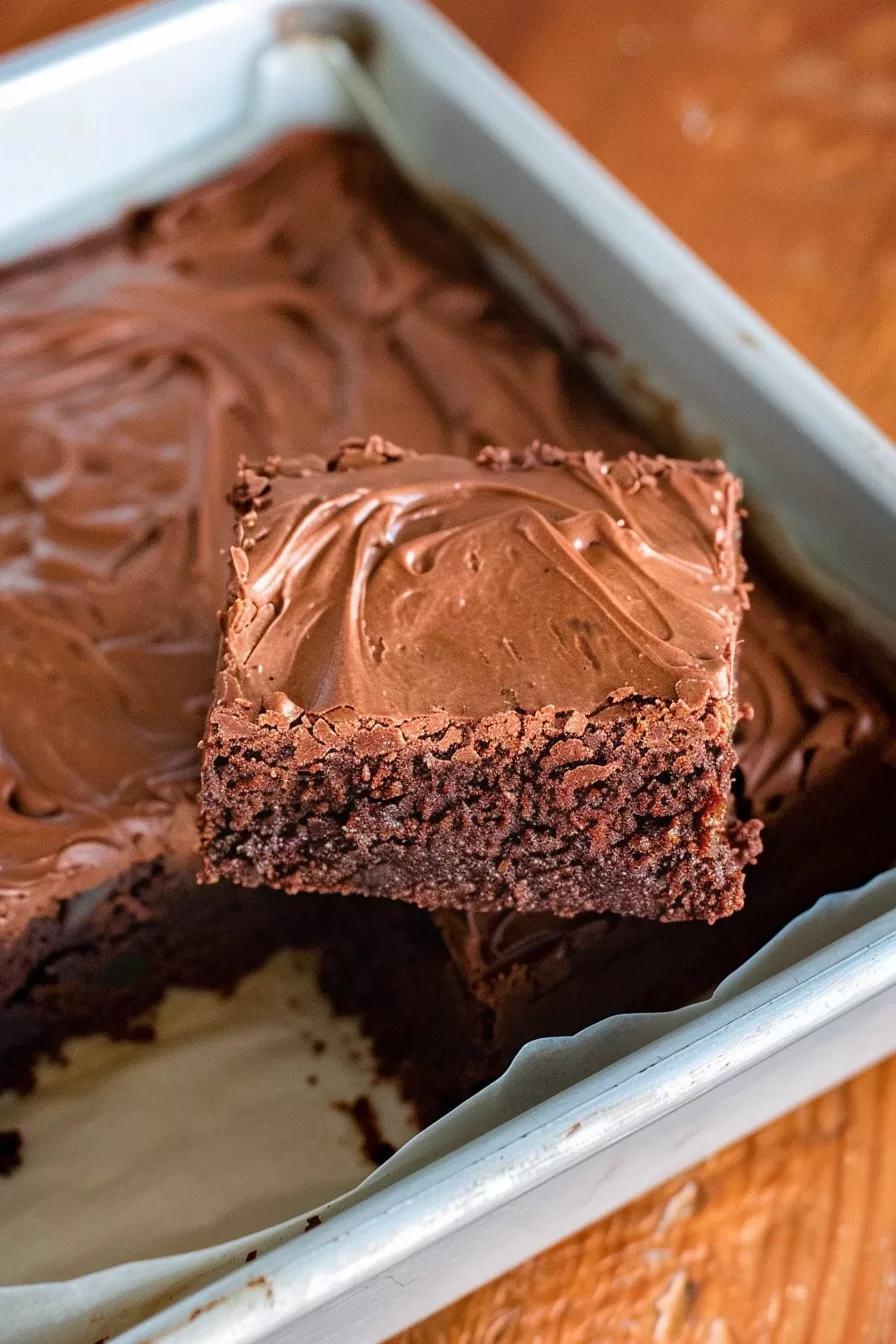
Storage Options:
- Room Temperature: Keep them in an airtight container for up to 4 days. Good luck making them last that long.
- Refrigerator: Store in the fridge for up to a week. Bonus: chilled brownies = next-level delicious.
- Freezer: Wrap individual squares in plastic wrap and freeze for up to 3 months. Thaw at room temp before devouring.
Variations and Substitutions:
Feeling adventurous? Here are a few ways to mix things up:
- Add-Ins: Stir in chocolate chips, walnuts, or even crushed pretzels for extra texture.
- Salted Caramel Drizzle: Take it up a notch with a drizzle of caramel and a sprinkle of flaky sea salt.
- Gluten-Free: Swap the all-purpose flour for a gluten-free baking blend. You won’t even notice the difference.
- Minty Fresh: Add a drop of peppermint extract for a holiday twist.
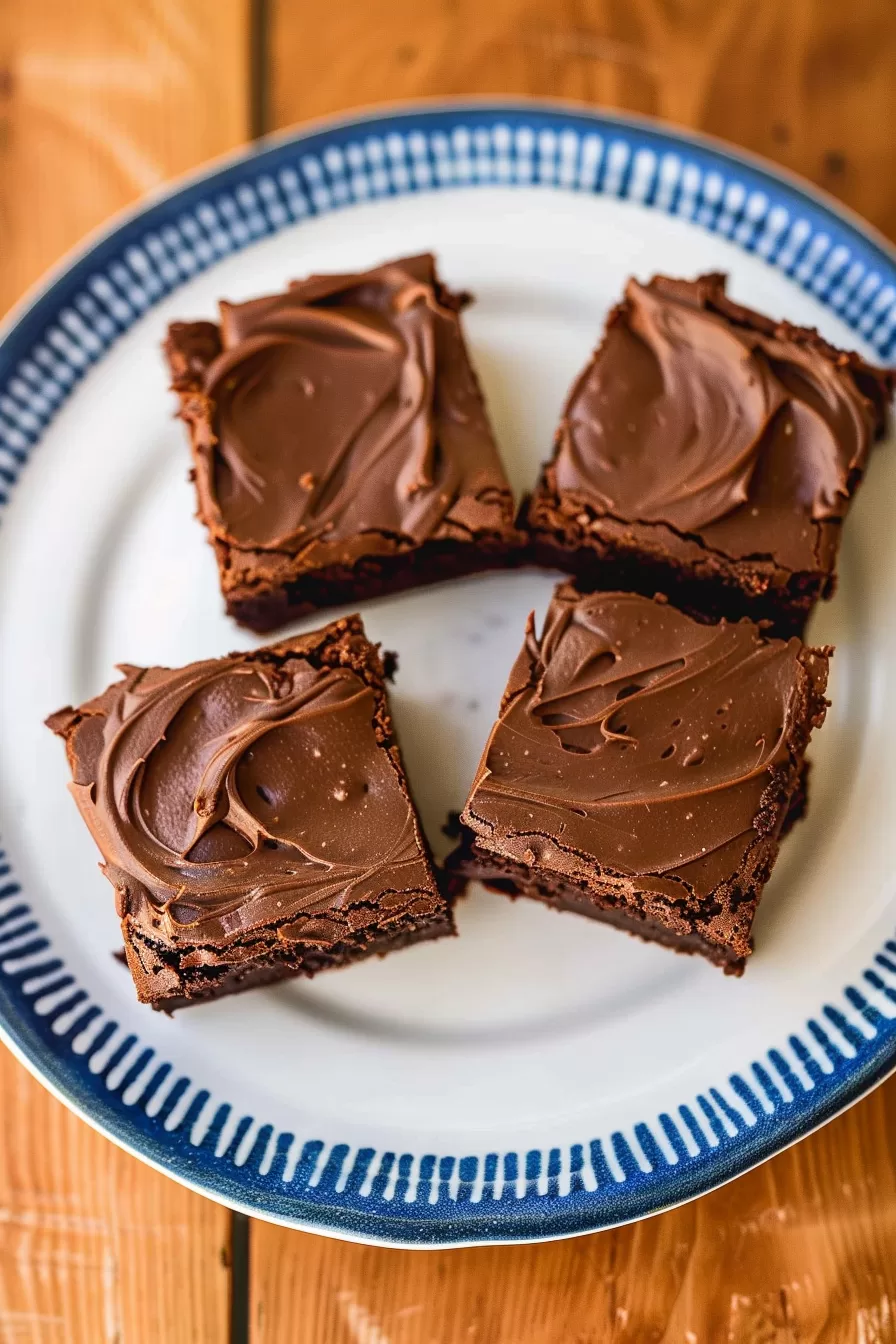
What to Serve with Lunch Lady Brownies?
These brownies shine on their own, but pair them with something special for a real treat:
- Vanilla Ice Cream: A warm brownie topped with ice cream? Chef’s kiss.
- Berries: Fresh strawberries or raspberries add a tangy contrast.
- Espresso: A shot of strong coffee pairs perfectly with the rich chocolate.
Frequently Asked Questions:
Can I make these ahead of time?
Absolutely! They’re even better the next day when the flavors have settled.
Can I use salted butter?
Sure—just skip adding extra salt to the batter.
How do I know when they’re done?
Look for slightly set edges and a toothpick with moist crumbs. Overbaking is a no-go.
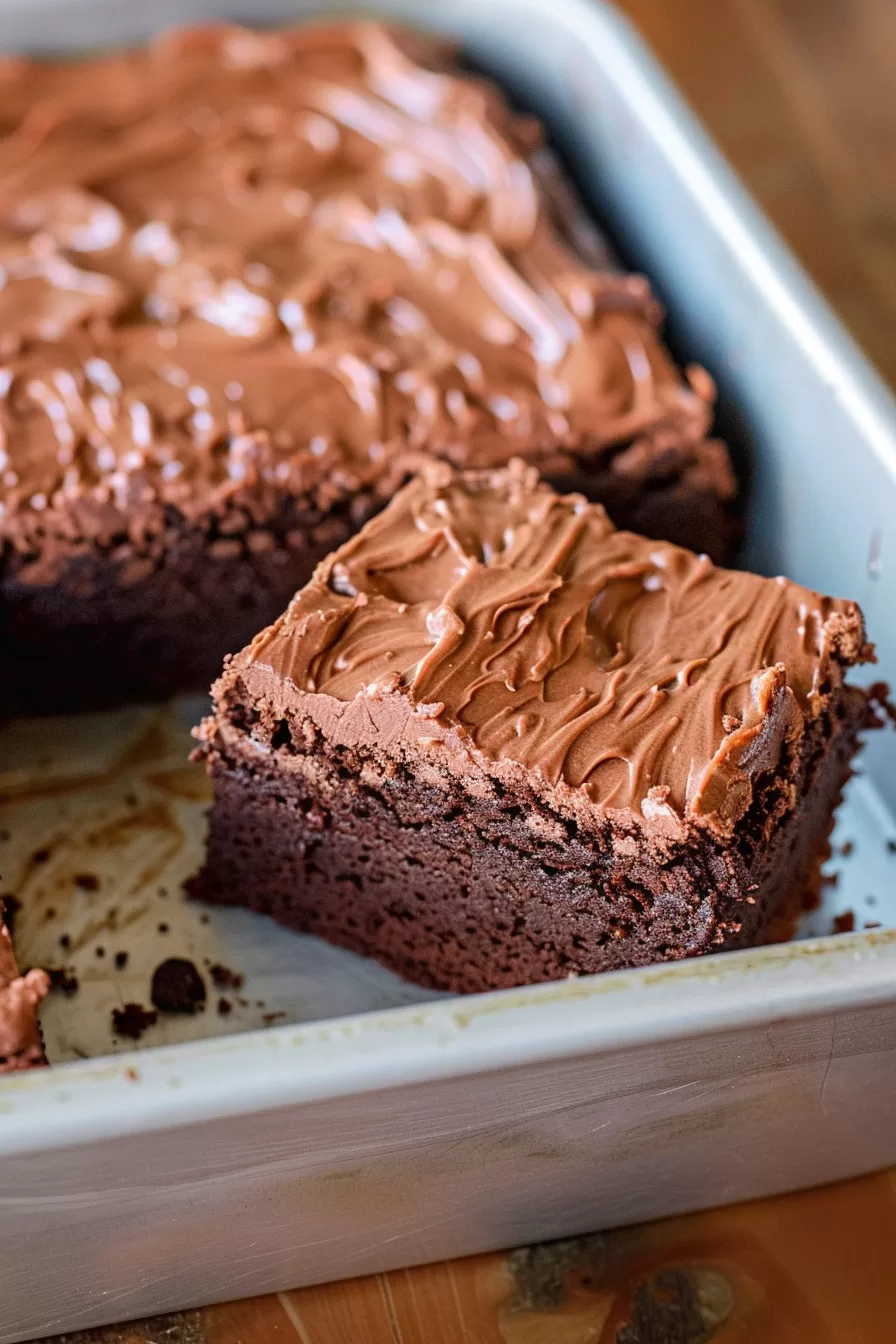
So, what are you waiting for? These Lunch Lady Brownies are calling your name. Whip up a batch, grab a fork (or just use your hands), and let me know how they turn out. And hey, if you have a favorite brownie memory or a fun twist to share, drop it in the comments—I’d love to hear all about it!
<Remember it later>
Planning to try this recipe soon? Pin it for a quick find later!
<Remember it later>
Planning to try this recipe soon? Pin it for a quick find later!
Keep the Flavor Coming – Try These:
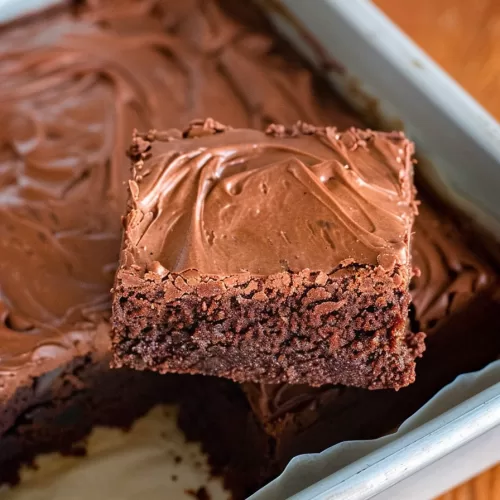
Lunch Lady Brownies
Ingredients
- 1/2 cup butter melted
- 1 cup white sugar
- 2 eggs
- 1 tbsp. vanilla extract
- 1/4 cup unsweetened cocoa powder
- 1 cup all-purpose flour
FROSTING:
- 2 tbsp. butter softened
- 3 tbsp. milk
- 2 tbsp. unsweetened cocoa powder
- 1 1/2 cups powdered sugar
Instructions
- Preheat your oven to 350˚F (175˚C). Prepare a 9”x9" baking pan by lining it with parchment paper or foil. You can also use nonstick spray to prevent sticking.
- In a bowl combine the butter and granulated sugar until they form a creamy mixture.
- Add the eggs and vanilla. Mix them into the mixture.
- Gently incorporate the cocoa powder and all-purpose flour into the mixture.
- Evenly spread the batter in the baking pan.
- Bake for 20 to 25 minutes or until a toothpick comes out with just a few crumbs. Avoid overbaking.
For the frosting:
- While your brownies are baking combine softened butter, milk, cocoa powder, and powdered sugar in a bowl to make the frosting. Mix until you achieve a frosting consistency.
- Adjust the consistency of your frosting by adding milk for thinness or additional powdered sugar for thickness.
- Once you remove the brownies from the oven spread the frosting on top while they are still warm.
- Allow them to cool completely before cutting them into pieces.
- Now, enjoy these treats that you've created through your baking adventure!
Notes

I’m Bitty, owner of nodashofgluten.com, where I share simple, delicious recipes for all tastes, including gluten-free. Check out my “About Me” page for more info!


