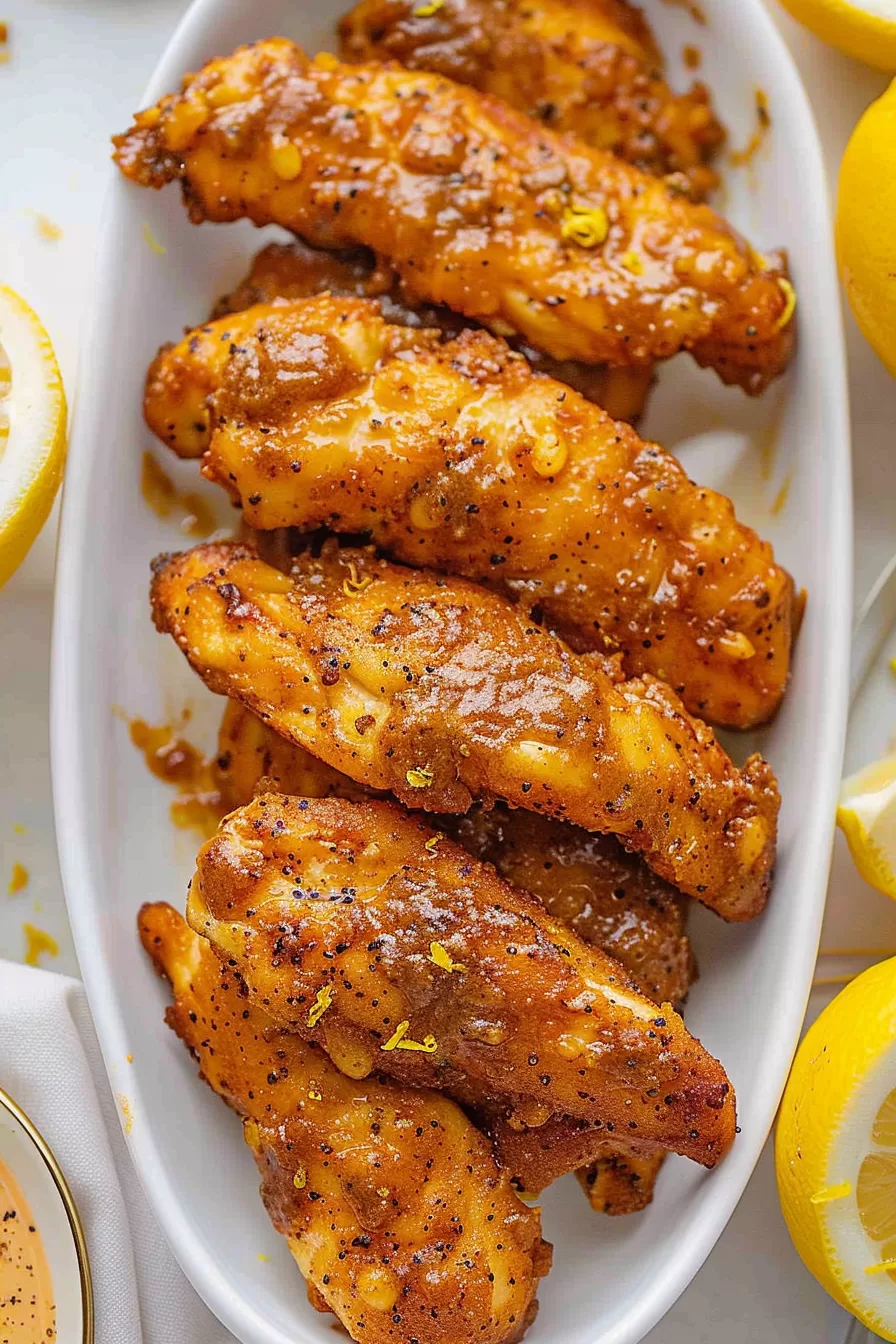
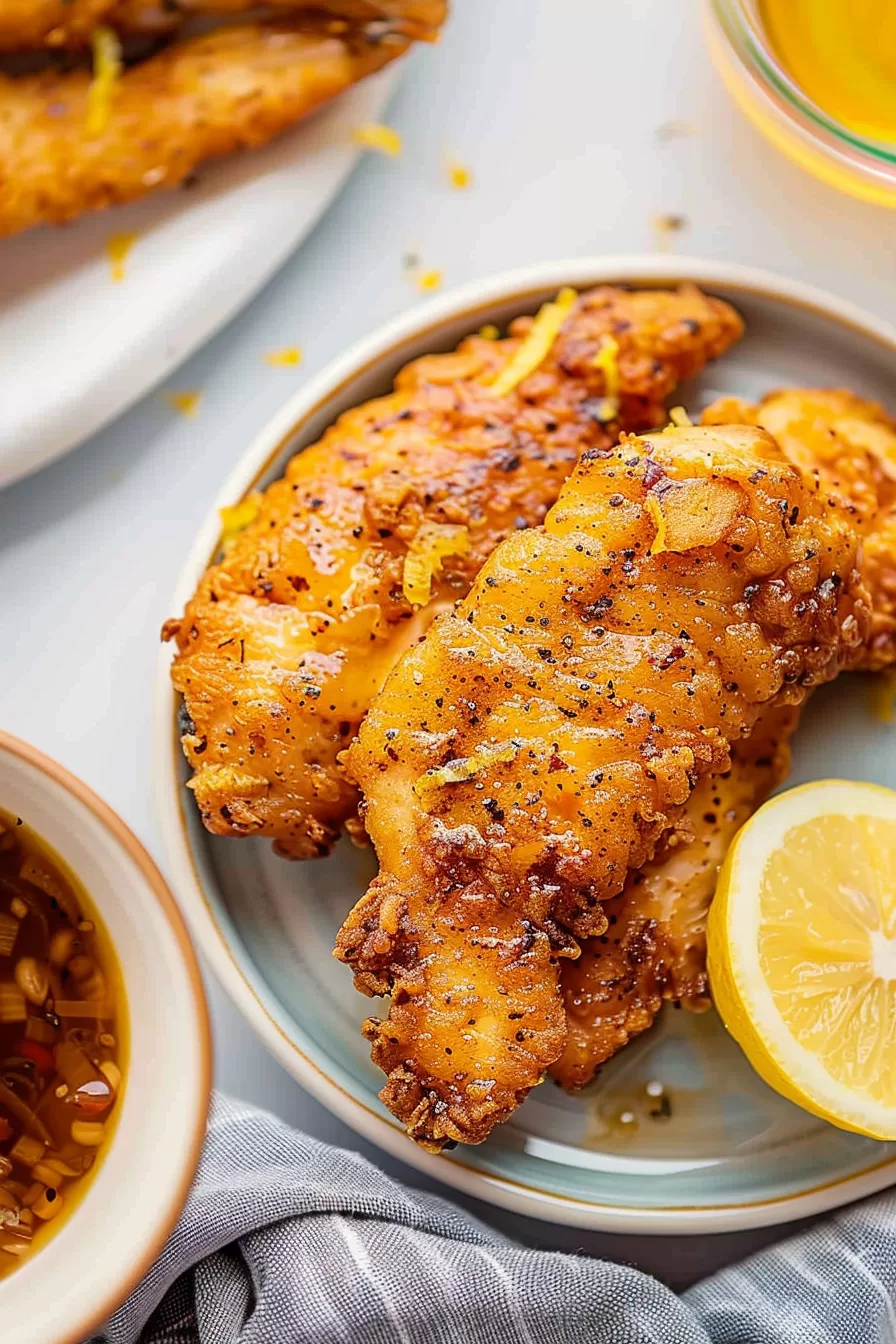
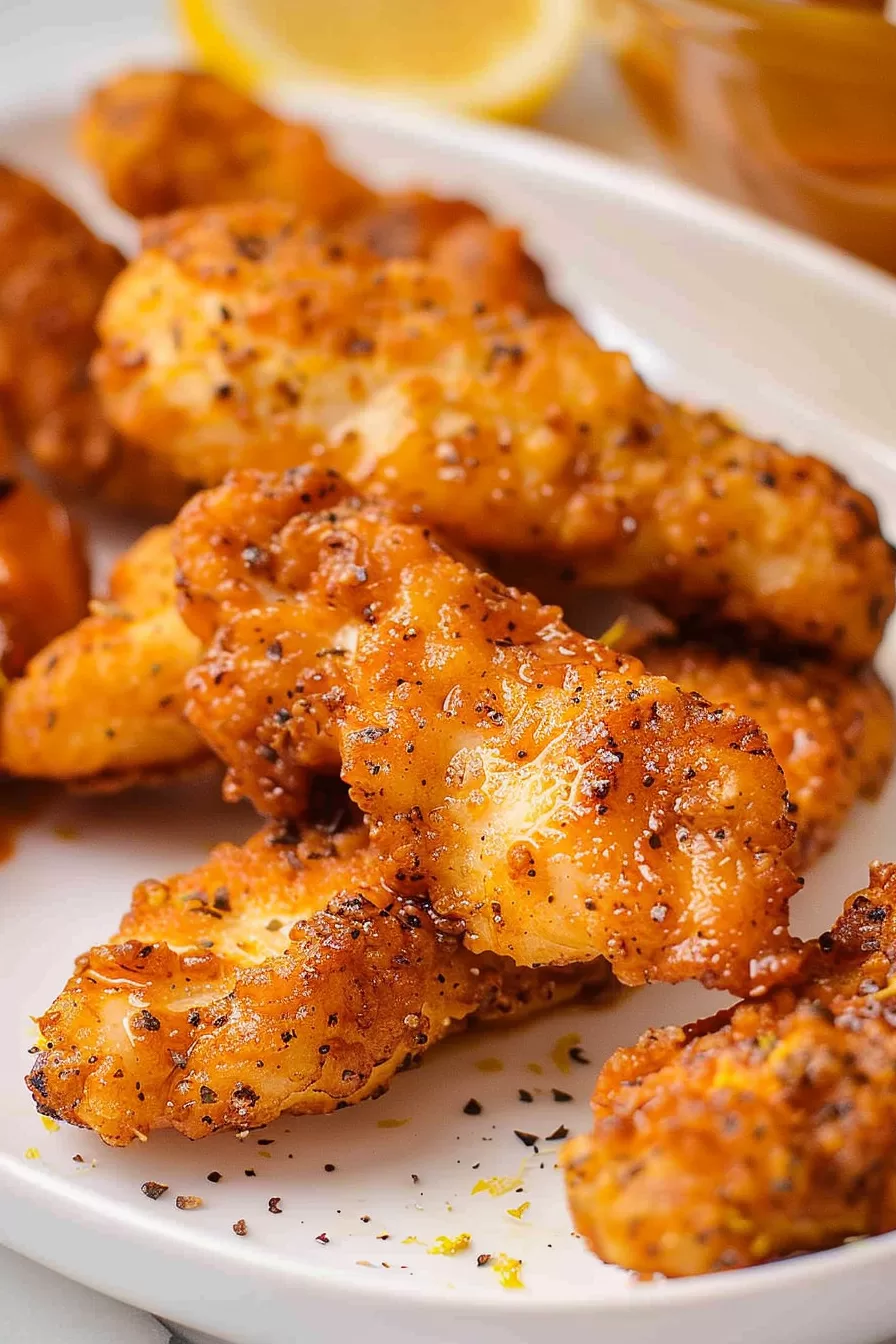
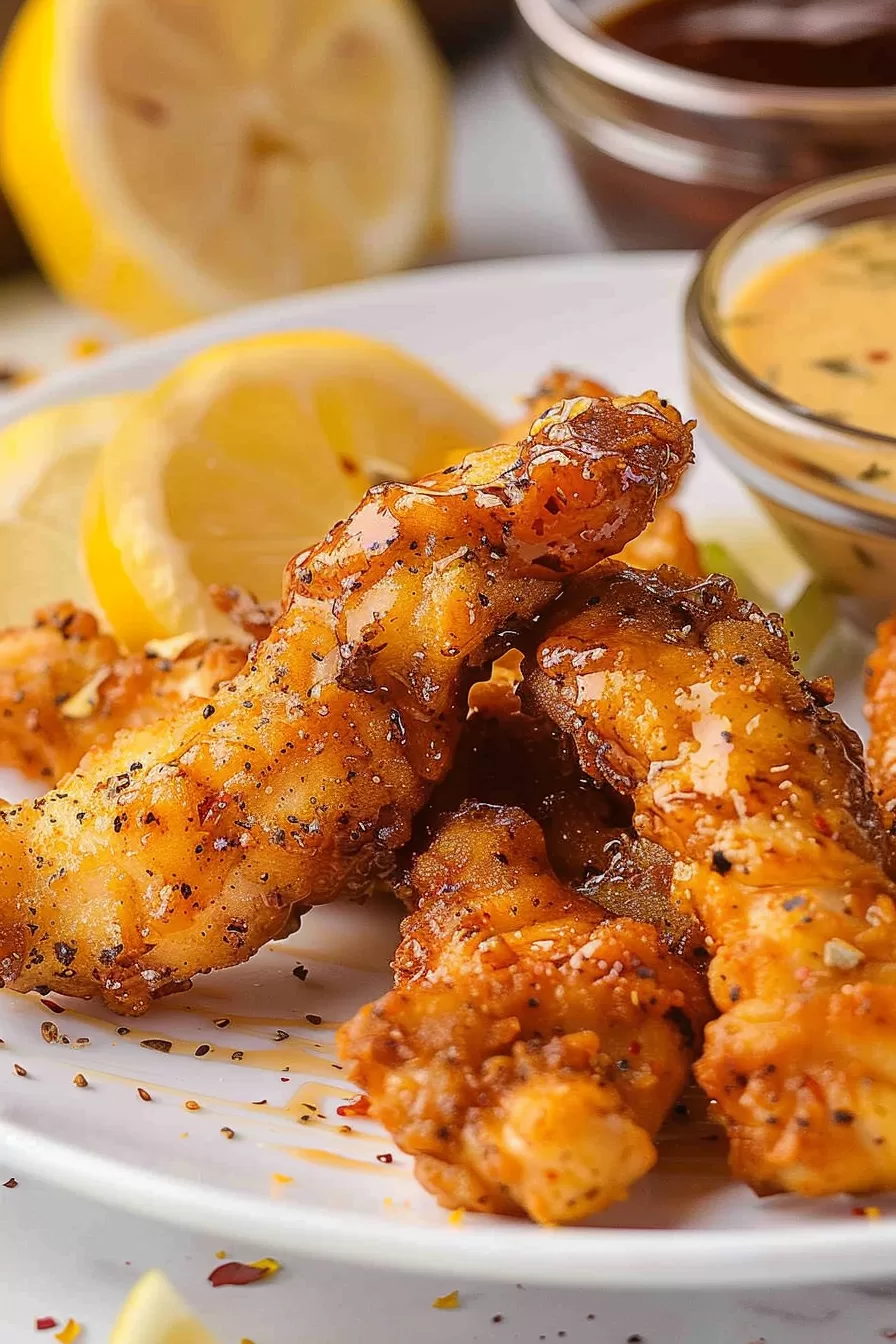
These lemon pepper chicken tenders are marinated in buttermilk, fried until golden, and coated in a dreamy honey butter sauce. Irresistible!
Okay, real talk—these lemon pepper chicken tenders were born out of pure laziness. Yep, not some fancy dinner party or perfectly planned meal.
It was one of those nights when I was this close to calling for takeout. You know the feeling—exhausted, fridge half-empty, everyone kinda hangry. But I had chicken tenders and buttermilk (and I’m pretty sure the buttermilk was on its final day). So, I thought, “Let’s wing it.”
I marinated the tenders in buttermilk, tossed them in seasoned flour, and fried them up like I had something to prove. But the real magic? That honey butter sauce. I’m telling you—sweet, buttery, zesty from the lemon pepper seasoning—it was pure perfection.

Remember it later!
Planning to try this recipe soon? Pin it for a quick find later!
Remember it later!
Planning to try this recipe soon? Pin it for a quick find later!
The best part? My husband (who is very honest about my cooking experiments) literally said, “Wait…you made this? At home?” And that’s how I knew I hit recipe gold.
Now, it’s become a staple. Quick enough for weeknights, fancy enough for game day spreads, and, honestly, just too good not to share with you.
Here’s a quick peek at what’s inside:
Table of content
Why You’ll Love This Lemon Pepper Chicken Tenders Recipe?
- Insanely Juicy: That buttermilk soak? It’s the secret weapon for the most tender chicken you’ll ever make.
- Flavor Explosion: The combo of tangy lemon, savory spices, and sweet honey butter sauce hits all the right notes.
- Easy But Impressive: Feels like a takeout treat but made totally from scratch—and way better.
- Crowd-Pleaser: Perfect for potlucks, game days, or a cozy dinner when you want to wow the table.
- Crispy, Not Greasy: Golden perfection with just the right amount of crunch.
Ingredient Notes:
These simple ingredients come together like magic. Let’s break them down:
- Chicken Tenderloins: The perfect cut for quick, juicy tenders. You can slice chicken breasts into strips if that’s what you have.
- Buttermilk: The MVP for tenderizing the chicken. It breaks down the meat while adding a subtle tang.
- Lemon Pepper Seasoning: Citrus, salt, and a bit of heat—this seasoning makes the dish.
- Lemon Zest & Juice: Fresh lemon brings an extra pop of brightness.
- Hot Sauce: A tiny splash adds just enough heat without overpowering.
- Garlic Powder & Smoked Paprika: These add warmth and depth to both the marinade and the breading.
- Flour: Just basic all-purpose flour for a light, crispy coating.
- Peanut or Vegetable Oil: Ideal for frying since they have a high smoke point.
- Honey Butter Sauce: A dreamy mix of butter, honey, lemon zest, garlic, and—you guessed it—more lemon pepper seasoning.
Pro Tip: No buttermilk? Just mix regular milk with a tablespoon of lemon juice or vinegar. Works like a charm!
How To Make Lemon Pepper Chicken Tenders?
This recipe is foolproof—and totally worth the minimal effort. Let’s break it down:
Step 1. Marinate the Chicken
First things first: pat those tenders dry (helps the marinade stick better). Toss them into a large resealable bag or bowl. Pour in the buttermilk, lemon zest, lemon juice, hot sauce, and spices.
Now, use your hands to massage the marinade into the chicken. (Yes, you can wear gloves. But honestly, hands work best here.) Seal it up and pop it in the fridge for at least 3 hours—overnight if you can. Trust me, it makes all the difference.
Step 2. Make the Coating
While the chicken marinates, mix the flour, lemon pepper seasoning, garlic powder, and paprika in a shallow dish.
This flour blend is what gives you that chef’s kiss crispy coating, so mix it well.
Step 3. Heat the Oil
Pour about 3 inches of oil into a heavy-bottomed pot or Dutch oven. Heat it to 350-370°F. (A thermometer makes a huge difference here—no guesswork.)
Step 4. Dredge the Chicken
Take the chicken out of the fridge. Shake off the excess marinade (but don’t rinse it!). One piece at a time, dredge each tender in the seasoned flour, pressing gently to ensure every inch gets coated.
Pro Tip: Let the coated tenders sit for 5-10 minutes before frying. It helps the breading stick.
Step 5. Fry the Chicken
Carefully lower the tenders into the hot oil—just a few at a time to avoid overcrowding. Fry for about 2-3 minutes until golden brown and crispy.
Want To Save This Recipe?
Enter your email below and we'll send the recipe straight to your inbox.
Use a meat thermometer to check if the chicken hits 165°F internally. Drain them on a wire rack while you finish the rest.
Step 6. Make the Honey Butter Sauce
While the tenders rest, melt the butter in a small saucepan. Add the honey, lemon pepper seasoning, lemon zest, and garlic. Let it bubble gently for a minute—just enough for the flavors to blend.
Step 7. Toss & Serve
Place the fried chicken tenders in a large bowl. Pour that golden honey butter sauce over the top and toss gently to coat. Want less mess? Serve the sauce on the side for dipping instead.
Storage Options:
- Refrigerator: Store in an airtight container for up to 3 days.
- Freezer: Freeze (without sauce) for up to 2 months.
- Reheating Tip: Reheat in the oven or
air fryer at 375°F to keep the coating crispy.
Variations and Substitutions:
- Gluten-Free: Use a gluten-free flour blend for the coating.
- Spicier: Add extra hot sauce or a pinch of cayenne to the breading.
- Baked Option: Bake tenders at 400°F for about 20 minutes, flipping halfway.
- Dairy-Free: Swap the buttermilk for coconut milk and use vegan butter.
What to Serve with Lemon Pepper Chicken Tenders?
These tenders are bold and flavorful, so they pair perfectly with:
- Dipping Sauces: Ranch, blue cheese, or extra honey butter sauce.
- Potato Wedges: Crispy, seasoned, and perfect for dipping.
- Coleslaw: Creamy coleslaw balances the richness.
- Cornbread: Sweet, buttery, and ideal for soaking up extra sauce.
Frequently Asked Questions:
Can I use chicken breasts instead?
Absolutely! Just slice them into strips, and you’re good to go.
What if I don’t have buttermilk?
No worries! Mix regular milk with a tablespoon of lemon juice or vinegar—it works just as well.
Can I air fry these?
Yes! Cook them at 400°F for about 10-12 minutes, flipping halfway through.
And there you have it—my go-to Lemon Pepper Chicken Tenders recipe. It’s crispy, juicy, and that honey butter sauce? Next level. Try it out and let me know what you think—especially if you add your own twist. I’m all ears!
Remember it later!
Planning to try this recipe soon? Pin it for a quick find later!
Remember it later!
Planning to try this recipe soon? Pin it for a quick find later!
Keep the Flavor Coming – Try These:
Lemon Pepper Chicken Tenders
Ingredients
For the Chicken and Marinade:
- 2 lbs chicken tenderloins approximately 14 pieces
- 1 cup whole buttermilk
- 1 tablespoon lemon pepper seasoning
- 1 tablespoon lemon zest
- 1 tablespoon freshly squeezed lemon juice
- 1 teaspoon hot sauce
- 1 teaspoon garlic powder
- ½ teaspoon smoked paprika
For the Coating:
- 1 cup all-purpose flour
- 2 teaspoons lemon pepper seasoning
- 1 teaspoon garlic powder
- ½ teaspoon smoked paprika
For Frying:
- Peanut oil or vegetable oil for frying
For the Honey Butter Sauce:
- 8 tablespoons 1 stick unsalted butter, cubed
- ½ cup pure honey
- 1½ teaspoons lemon pepper seasoning
- 1 tablespoon lemon zest
- 1 teaspoon minced garlic
Instructions
Prepare the Marinade:
- Pat the chicken tenderloins dry using paper towels. Place them in a large resealable plastic bag or a bowl with a secure lid. Add the buttermilk, lemon pepper seasoning, lemon zest, lemon juice, hot sauce, garlic powder, and smoked paprika.
- Massage the ingredients together, ensuring the chicken is fully coated in the marinade. Seal the bag or cover the bowl and refrigerate for at least 3 hours, or preferably overnight for optimal tenderness and flavor.
Prepare the Coating:
- In a shallow dish, combine the flour, lemon pepper seasoning, garlic powder, and smoked paprika. Whisk the ingredients thoroughly to ensure the seasoning is evenly distributed throughout the flour. Set aside.
Heat the Oil:
- Fill a large, heavy-bottomed pot or Dutch oven with enough oil to submerge the chicken tenders fully. Heat the oil over medium-high heat to reach 350-370°F (175-190°C). Using a deep-fry thermometer can help maintain the correct temperature for even frying.
Coat the Chicken:
- Remove the marinated chicken from the refrigerator. Lift each tender from the marinade, allowing excess buttermilk to drip off.
- Dredge the chicken pieces one by one into the seasoned flour mixture, ensuring a thick, even coating on all sides. Gently press the flour mixture into the chicken to adhere properly.
- Place the coated tenders on a parchment-lined baking sheet while the oil continues to heat.
Fry the Chicken:
- Once the oil reaches the correct temperature, carefully place a few tenders into the oil, avoiding overcrowding the pot. Fry in batches of 4-5 tenders for approximately 2-3 minutes, flipping once, until golden brown and fully cooked. The internal temperature of the chicken should reach 165°F (74°C) when measured with a meat thermometer.
- Transfer the fried chicken tenders to a wire rack or a paper towel-lined baking sheet to drain excess oil. Repeat with the remaining tenders, ensuring the oil temperature returns to 350°F before each batch.
Prepare the Honey Butter Sauce:
- In a small saucepan over medium heat, melt the unsalted butter. Once fully melted, add the honey, lemon pepper seasoning, lemon zest, and minced garlic.
- Stir continuously and allow the mixture to come to a gentle simmer for about 1 minute. Remove from heat.
Coat the Chicken Tenders:
- Place the freshly fried chicken tenders in a large bowl. Pour the warm honey butter sauce over the tenders and gently toss to ensure each piece is well coated.
- Alternatively, serve the sauce on the side as a dipping option for a less saucy finish.
Serve Immediately:
- Serve the lemon pepper chicken tenders while hot, garnished with additional lemon zest or a sprinkle of fresh parsley if desired. Enjoy the balance of crispy, tangy, and sweet flavors.
Notes
- Flour: Substitute the all-purpose flour with a gluten-free flour blend that is specifically formulated for frying.
- Chicken Stock: Verify the lemon pepper seasoning blend you use is gluten-free, as some brands may contain anti-caking agents derived from wheat.
- Oil: Ensure no cross-contamination with previously fried gluten-containing foods in the oil.

I’m Bitty, owner of nodashofgluten.com, where I share simple, delicious recipes for all tastes, including gluten-free. Check out my “About Me” page for more info!


