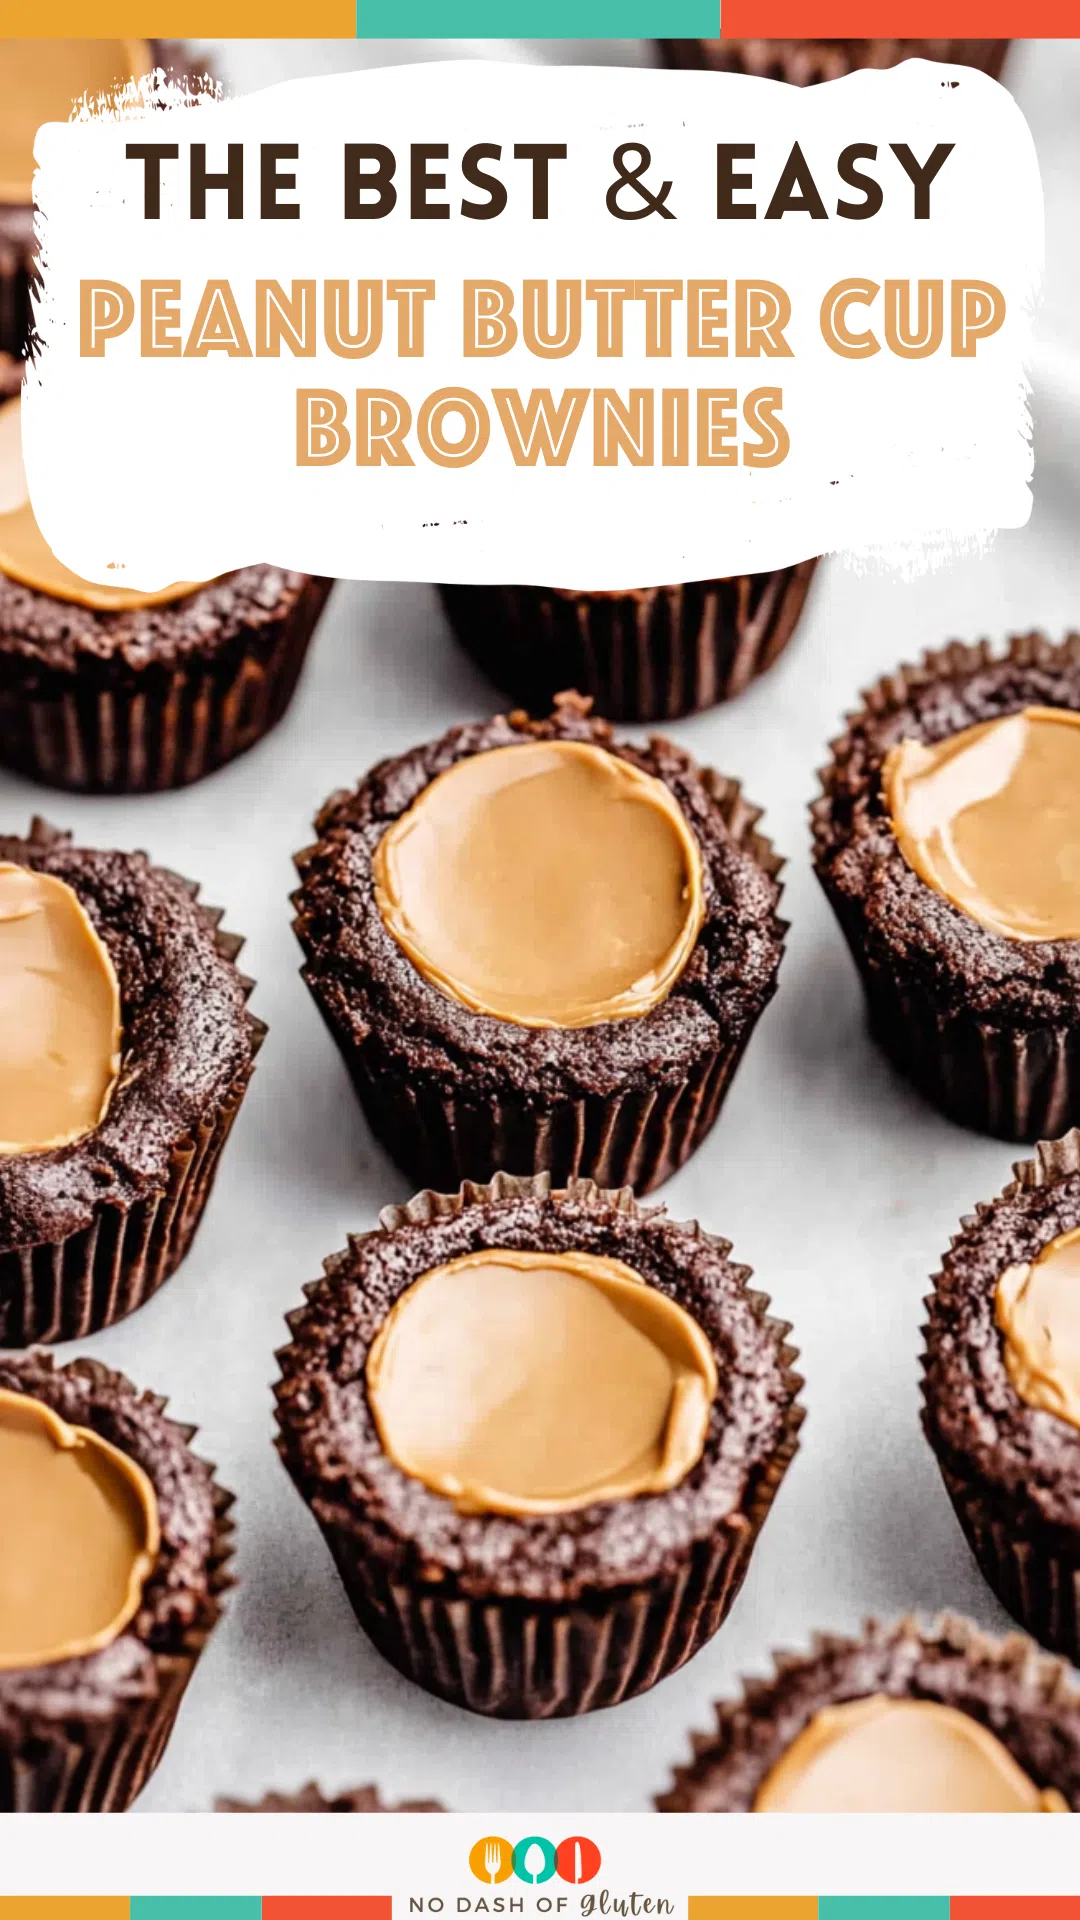
Boxed brownie mix, creamy peanut butter, chocolate chips, and peanut butter morsels make these Peanut Butter Cup Brownies ridiculously good.
I wasn’t planning to bake anything, okay?
It was a Tuesday. One of those weird, slightly gloomy ones. You know the type. The kind where your to-do list is just giving you side-eye from across the room and all you want is something sweet—but also fast, and preferably chocolate. My kid had left his socks on the kitchen table (??), the dog had eaten something mysterious from the backyard, and I had three meetings back-to-back that were somehow both pointless and exhausting.
So yeah, these Peanut Butter Cup Brownies were a last-minute act of self-preservation.
I found a box of brownie mix in the pantry (probably from when I panic-bought baking supplies mid-December), and next to it, a jar of peanut butter that looked like it had survived at least two grocery cycles. A handful of chocolate chips and peanut butter morsels later, and—bam. The smell coming out of my oven? Therapy.

Remember it later!
Planning to try this recipe soon? Pin it for a quick find later!
Remember it later!
Planning to try this recipe soon? Pin it for a quick find later!
My husband took one bite, raised an eyebrow (he always does this when he’s skeptical), and then said, “Okay… what is this?” in that voice that means “I need you to make this again and again until we die.”
So here we are. I’m telling you about them because I feel like maybe you’ve had a Tuesday like that too.
Here’s a quick peek at what’s inside:
Table of content
Why You’ll Love This Peanut Butter Cup Brownies Recipe?
Let’s not pretend brownies and peanut butter is some groundbreaking combo. It’s been done. We’ve all eaten a Reese’s. But something about the way these Peanut Butter Cup Brownies come together… it’s just right.
It starts off easy: boxed brownie mix. I know some people turn their noses up at that, but listen—sometimes we want a shortcut. I’m not trying to impress Paul Hollywood. Then there’s the peanut butter, melty and warm, spooned right into the center of each one. And the chips on top? Just enough to give you that little bit of crunch to keep things interesting.
They’re soft in the middle, a little chewy around the edges, and messy in the best way. Like, good luck eating one without licking your fingers. Or your plate. Or both.
Also, they’re baked in a muffin tin, which means they’re basically single-serve… but also not. Depends how you feel about sharing. (I usually don’t.)
Ingredient Notes:
These brownies aren’t trying to be fancy. They just are. And that’s kind of the point. Here’s what you’ll need:
-
Brownie Mix (1 box) – Pick your favorite. I tend to grab the fudgy kind because life’s too short for cakey brownies. You just follow the box instructions. Nothing wild.
-
Peanut Butter (¼ cup-ish) – I never actually measure this. I just scoop and microwave. I like creamy, but if all you have is crunchy? You’re still winning.
-
Chocolate Chips – A handful. Maybe more. I usually just pour until it feels right. I don’t do math when I’m emotional.
-
Peanut Butter Chips – Totally optional, but highly encouraged. They melt into these little buttery pockets on top.
Tiny note: if you’re someone who likes precision baking… this recipe might stress you out. But if you like a little chaos in your kitchen and brownies that feel like a hug? You’re in the right place.
How To Make Peanut Butter Cup Brownies?
Step 1: Oven on, brain off.
Preheat to 350°F. This part’s easy, right? You’re crushing it already.
Step 2: Grease the pan.
Muffin tin. Spray it or butter it or whatever you usually do to keep your desserts from gluing themselves to the pan. I’ve forgotten this step before. The brownies still tasted amazing, but let’s just say… cleanup was a journey.
Step 3: Make the batter.
Follow the instructions on the brownie box. You got this. Add eggs, water, oil—whatever it says. Stir until it looks thick and glossy and like something you kinda want to stick your face into.
Step 4: Scoop it in.
Evenly divide the batter between the muffin cups. I use an ice cream scoop because it makes me feel like I’ve got my life together. Spoiler: I don’t.
Step 5: Bake.
Pop them in the oven for about 20 minutes. You’ll want a toothpick to come out mostly clean—not totally, though. A little goo is good. Trust me.
Step 6: Make the little dip.
Once they’re out, let them cool just enough so they won’t burn you, then take a spoon and gently press into the center of each one to make a well. Like a tiny brownie crater, just waiting for peanut butter.
Step 7: Peanut butter time.
Microwave the PB for 30 seconds or until it’s smooth and pourable. Then spoon it into each brownie dip. Try not to eat it straight from the spoon. Actually… you know what? Live your life.
Step 8: Sprinkle those chips.
While everything’s still warm, sprinkle your chocolate and peanut butter chips on top. They’ll melt into the PB a little, which is kind of the best part.
Want To Save This Recipe?
Enter your email below and we'll send the recipe straight to your inbox.
Step 9: Cool (or don’t).
Let them set in the pan or dive in warm. They’re messier that way, but also… better? Depends how classy you’re trying to be. (Spoiler: I’m never classy when it comes to brownies.)
Storage Options:
So, okay. If—if—you have leftovers (??), just toss them in a container with a lid and leave them on the counter. They’ll stay soft for a few days, but let’s be honest… they won’t last that long.
Want to freeze them? Go for it. I wrap them individually in foil and put them in a big Ziploc. Then I forget about them until I need an emotional support dessert and remember I have magic in the freezer. Highly recommend.
Variations and Substitutions:
-
Use Nutella instead of PB. Or almond butter. Or cookie butter. Honestly, it all works.
-
Add sea salt on top. Fancy? Yes. Necessary? Also yes.
-
Chop up mini PB cups and press them into the tops. It’s chaos. Delicious chaos.
-
Drizzle with caramel. I mean… if you’re gonna go for it, go for it.
You do you. These brownies are just the beginning.
What to Serve with Peanut Butter Cup Brownies?
Honestly? These brownies don’t need much. But if you want to turn it into a full experience, here’s what I’d do:
-
Cold milk – The obvious, classic move.
-
Hot coffee – Balances the sweetness, makes you feel like a grown-up.
-
A scoop of vanilla ice cream – Or peanut butter ice cream, if you wanna double down.
-
Chai latte – Don’t look at me like that. Try it.
Or just hide in the pantry and eat one in peace. That’s what I did last time.
Frequently Asked Questions:
Can I make them with homemade brownie batter?
Sure! But I don’t. Not usually. Boxed mix is easy and consistent. And when you’re already balancing life and dishes and a rogue dog chewing your shoe? Box mix wins.
How long do they last?
A few days on the counter, a few months in the freezer. But emotionally? They last forever. These are the kind of brownies you remember later and think, “Dang, I need to make those again.”
What if I don’t have peanut butter chips?
Skip them. Use more chocolate chips. Or crushed-up candy bars. Or nothing. These brownies are not here to judge you. They’re here to help.
I know. Life is hectic. There’s laundry and work and so many group texts. But sometimes, you just need something warm and chocolatey and full of peanut butter to remind you that not everything has to be hard.
These Peanut Butter Cup Brownies have saved my mood more than once. And I hope they do the same for you.
Let me know how yours turned out. Did you make them fancy? Keep it simple? Eat them straight from the pan like a gremlin? No shame here. I’m all ears—and probably still licking brownie off my fingers.
Remember it later!
Planning to try this recipe soon? Pin it for a quick find later!
Remember it later!
Planning to try this recipe soon? Pin it for a quick find later!
Keep the Flavor Coming – Try These:

Peanut Butter Cup Brownies
Ingredients
- A preferred amount of semi-sweet chocolate chips
- A sufficient quantity of peanut butter chip morsels
- 1 box of premium brownie mix
- ¼ cup of creamy peanut butter
Instructions
- Set your oven to 350°F (175°C).
- Grease a cupcake pan, with 12 cups or a mini muffin tin.
- Follow the instructions provided on the box of brownie mix to prepare the batter.
- Evenly distribute the prepared brownie batter into the pan maintaining consistency by using an ice cream scoop.
- Place the filled pan into the oven. Bake for approximately 20 minutes. To check if they're done use a cake tester or toothpick – it should come out mostly clean.
- After baking allow some time for the brownies to cool down slightly. Then gently press down with a spoon in each center to create wells.
- Microwave peanut butter for 30 seconds until it becomes smooth. Stir well. Spoon an amount into each indentation of the brownies.
- Sprinkle chocolate and peanut butter chips on top of every brownie.
- Let the brownies cool inside their pan before transferring them onto a wire rack for cooling.
- Enjoy your Peanut Butter Cup Brownies or store them in an airtight container, for later consumption.
Notes

I’m Bitty, owner of nodashofgluten.com, where I share simple, delicious recipes for all tastes, including gluten-free. Check out my “About Me” page for more info!


