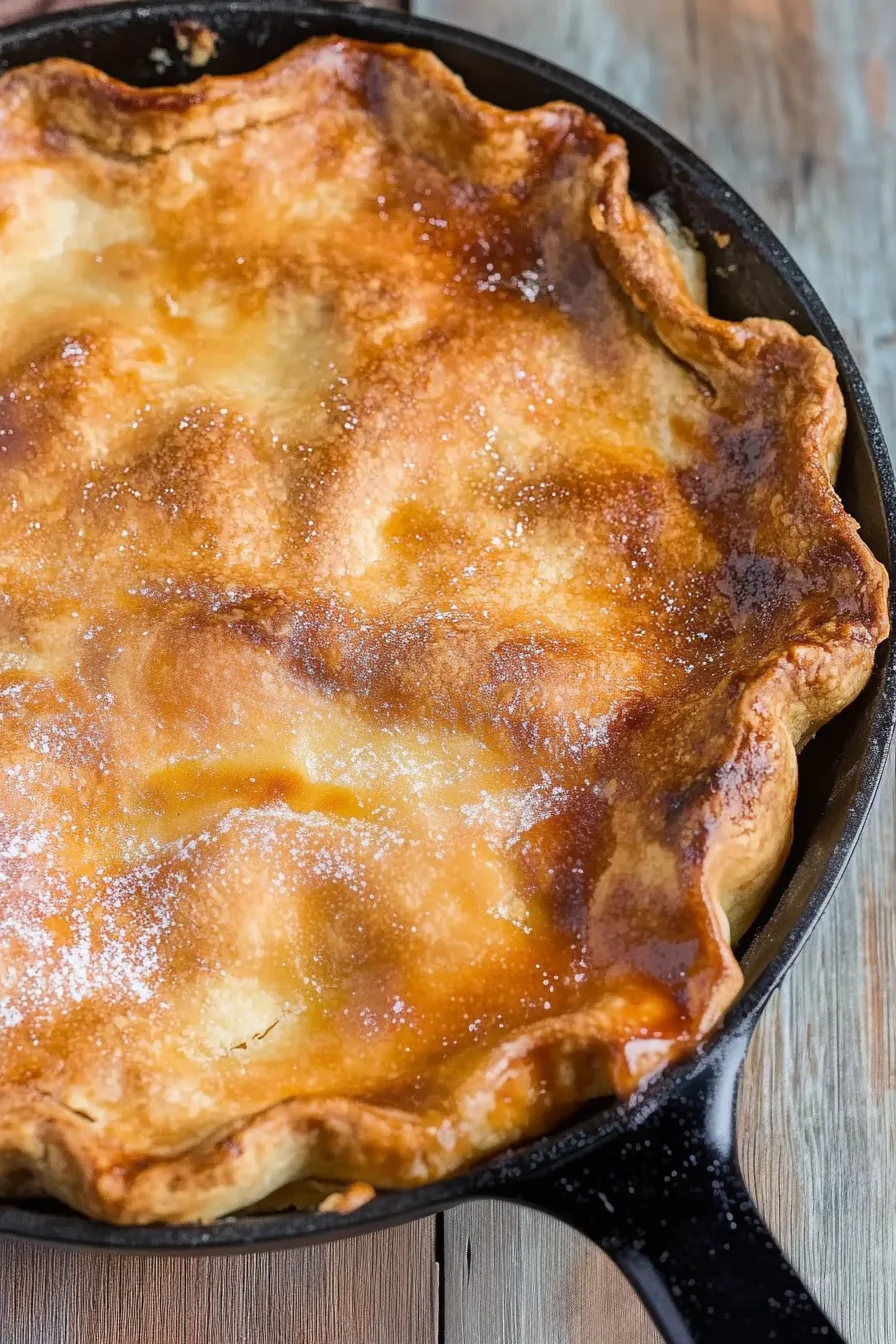
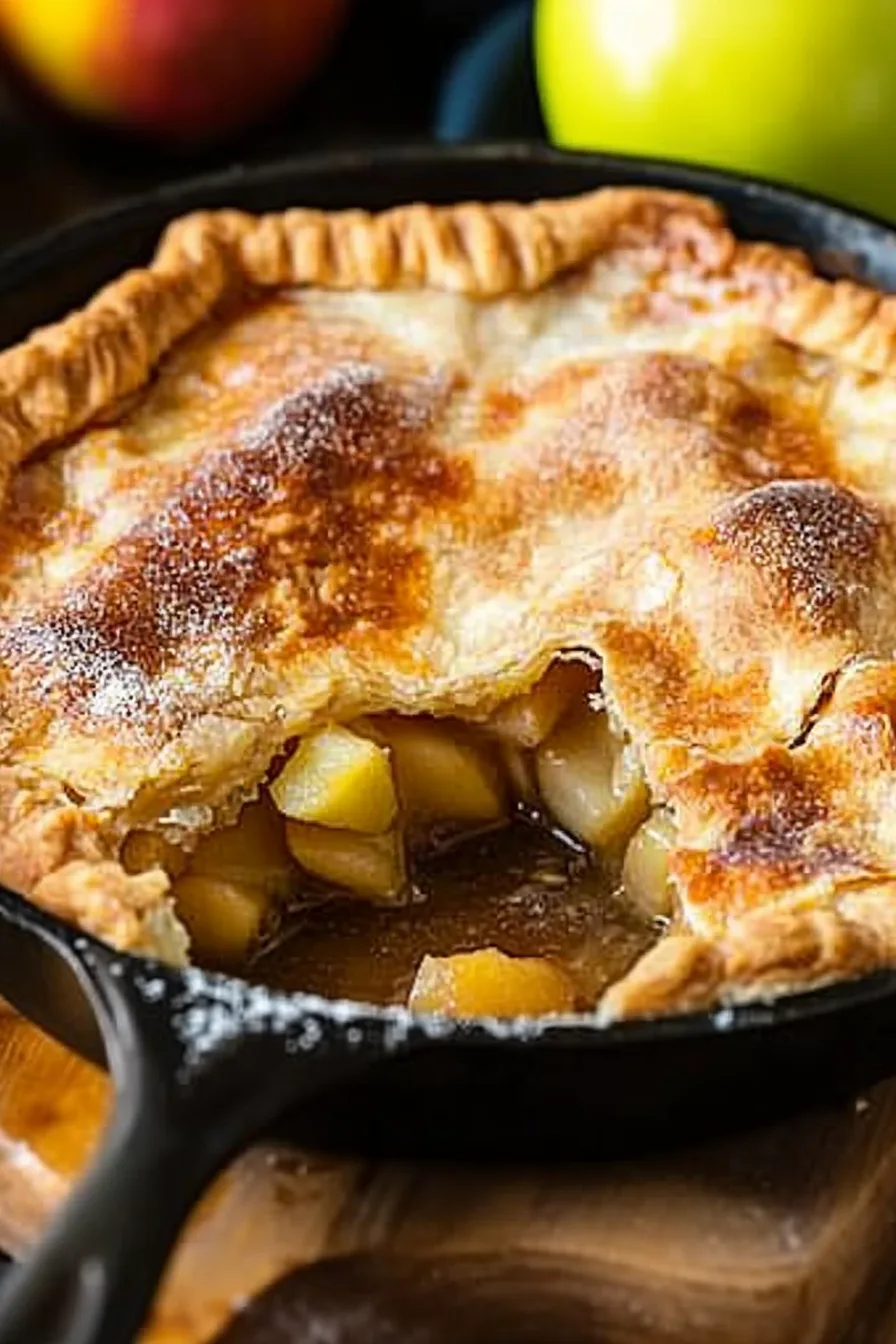
Buttery pie crusts, tart Granny Smith apples, cinnamon, and brown sugar baked right in a cast iron skillet. A Southern-style Iron Skillet Apple Pie Recipe that’s gooey and golden!


So here’s the thing—I didn’t grow up with fancy desserts. My mom made boxed brownies, the kind with the packet of syrup you had to scrape out like it was gold. But when I visited my Aunt Linda in Georgia one fall, she pulled out this old, heavy iron skillet, plopped it on the counter, and said, “We’re making apple pie in this.” I thought she was joking. Who puts pie in a frying pan?
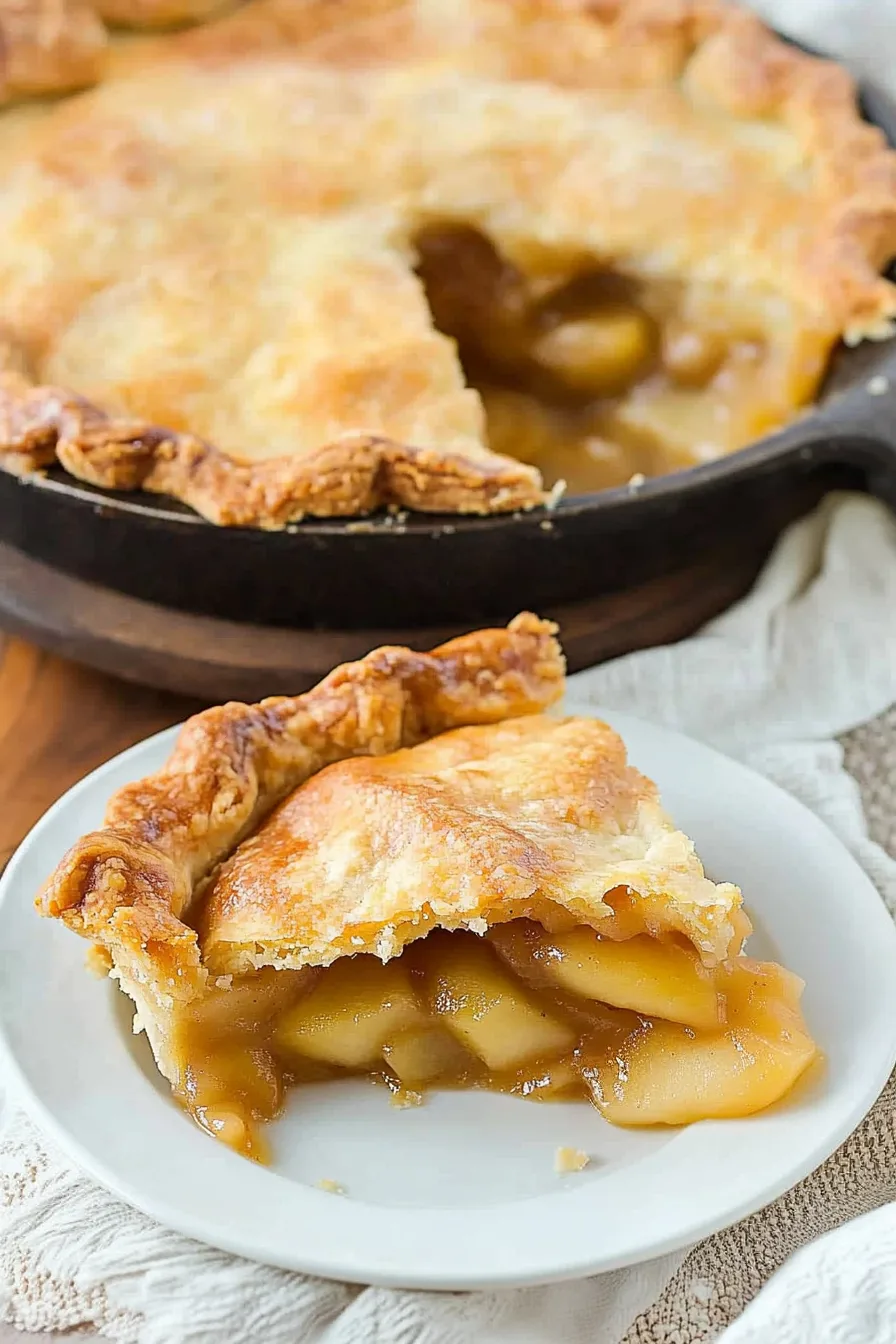
Well, one bite later I got it. The butter and brown sugar had melted into this caramel base that made the crust stick in the best way, and the apples tasted like they’d been simmered in cinnamon all day. I burned my tongue because I was too impatient to wait for it to cool (classic me), but even that didn’t ruin it. Now, every time I make this Iron Skillet Apple Pie Recipe, it takes me straight back to that moment. Funny how food does that, right?
Why You’ll Love This Iron Skillet Apple Pie Recipe?
Look, I know apple pie is everywhere. Your grandma probably makes one, and there’s no shortage of recipes online. But this one? This Iron Skillet Apple Pie Recipe is kind of wild:
-
Three crusts. Not one, not two—three. It’s like the pie went to the bakery, hit the gym, and came out bulked up.
-
Caramelized bottom. That butter + brown sugar combo at the base makes this almost like a pie-crust-meets-caramel-candy situation. Scraping the skillet is half the fun.
-
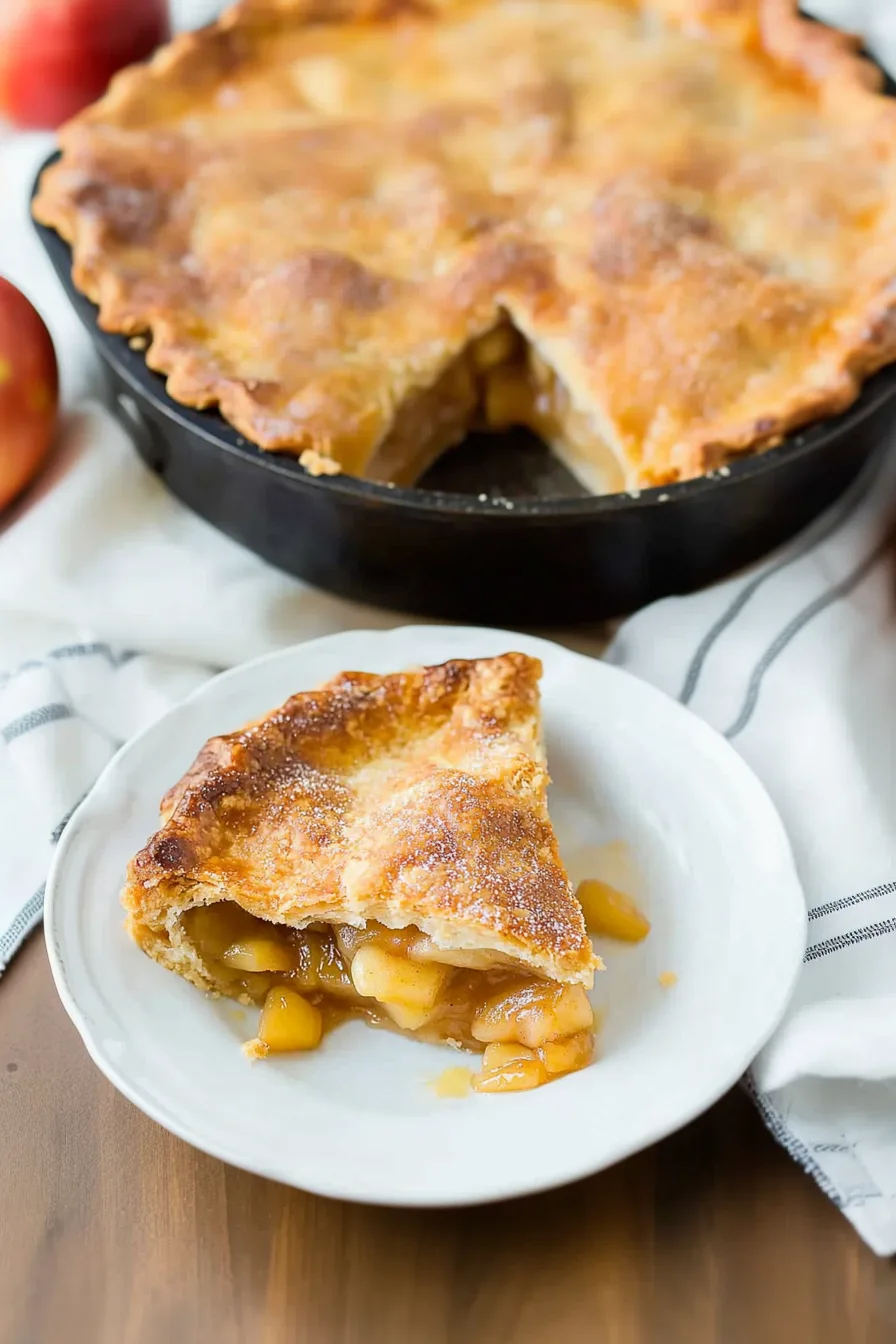
Southern charm. It’s not fussy. No lattice, no braids, no pie art. Just cozy, gooey, unapologetically rustic pie. The kind you plop down in the middle of the table with a “help yourself.”
Ingredient Notes:
Here’s the lineup for this cast iron apple pie, and a few thoughts from me (because I can’t help myself).
-
Butter: Half a cup. Yep, it’s a lot, but you’ll thank me when you taste that caramel base.
-
Brown Sugar: Adds a depth that white sugar just can’t. Think molasses-y and rich.
-
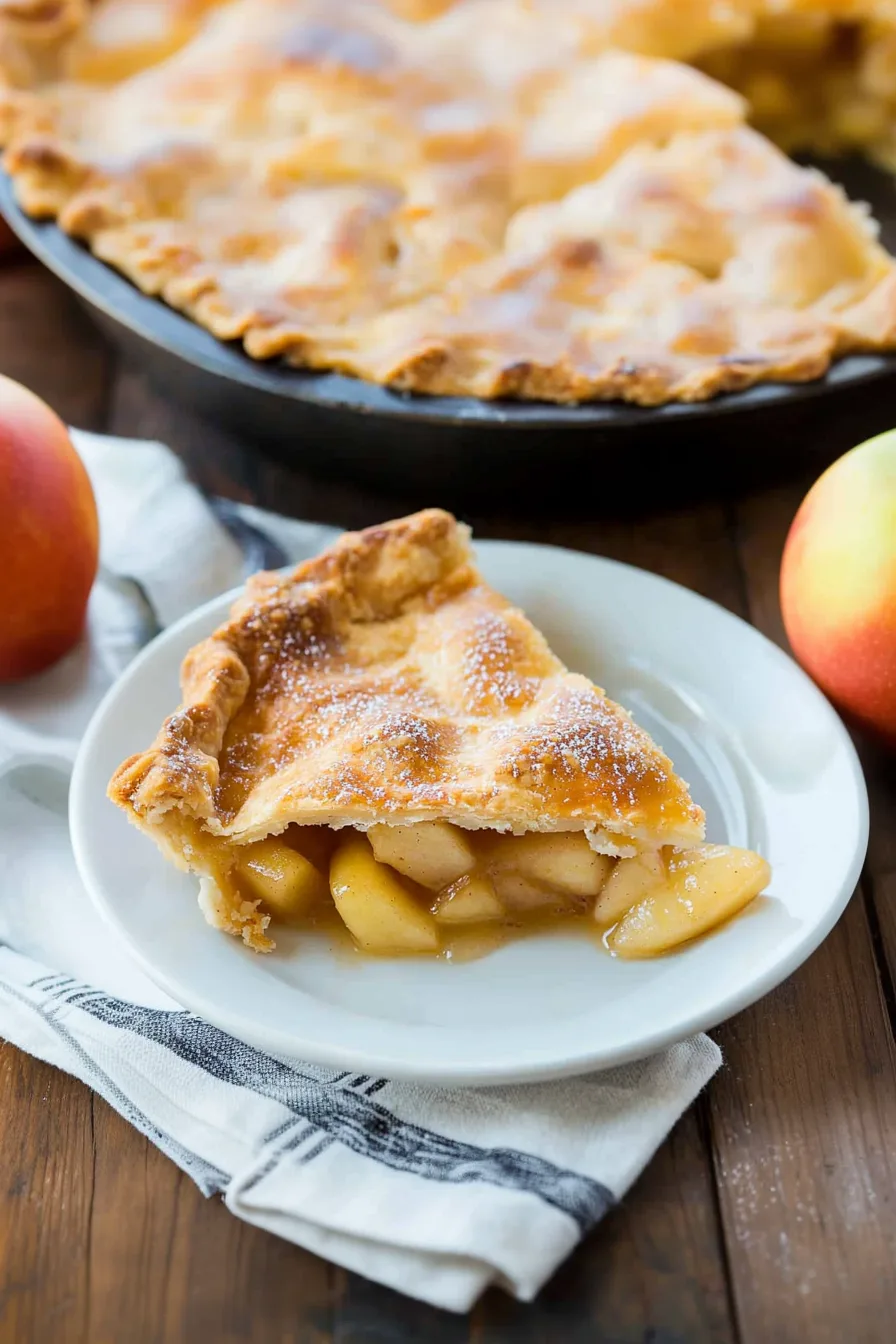
Granny Smith Apples: I swear by them. Tart enough to cut through all that sugar, and they don’t collapse into mush. (Looking at you, Red Delicious.)
-
Pie Crusts: Three refrigerated ones. Store-bought, no shame. I’ve tried homemade, and honestly? The difference wasn’t worth the extra stress on a busy holiday.
-
White Sugar + Cinnamon: The classic apple pie duo. Can’t go wrong.
-
Butter Chunks on Top: Little dots of butter that melt into the crust, giving you golden spots of flaky perfection.
How To Make Iron Skillet Apple Pie?
Think of this pie as a layer cake’s rustic cousin. Messy in a good way.
Step 1: Prep the base
Preheat the oven to 350°F. Toss the butter into your skillet and let it melt into a golden puddle. Sprinkle the brown sugar right over it, and slide it back in the oven for a couple minutes. What you’re doing here is making pie’s version of a candy bar bottom.
Step 2: First crust + apples
Lay down one pie crust on top of the sugar-butter layer. Don’t worry if it looks a little wrinkled—it’s going to get buried. Add half the apple slices, then sprinkle with white sugar and cinnamon. You’ll see where this is going.
Step 3: Second layer
Plop the second crust on top, add the rest of the apples, sugar, and cinnamon. It should be looking pretty stacked by now.
Step 4: Top it off
Finish with the third crust. Sprinkle on more sugar, dot with butter, and cut a few slits in the top so it can breathe. Otherwise, you’re risking an apple pie explosion in your oven. (Been there, cleaned that.)
Step 5: Bake
Pop it in the oven for 45 minutes. The crust should be golden, the apples tender, and the smell? Pure fall nostalgia. Let it rest for 10–15 minutes before serving if you don’t want to scorch your mouth like I did the first time.
Storage Options:
If you’re lucky enough to have leftovers, cover the skillet with foil and keep it on the counter for a day. After that, store slices in the fridge for up to 4 days. Reheat in the oven so the crust crisps back up (microwave reheats = soggy sadness). You can freeze slices, but honestly? The crust gets a little sad once thawed. Good enough for late-night cravings though.
Want To Save This Recipe?
Variations and Substitutions:
Want to make it your own? You’ve got options.
-
Different Apples: Honeycrisp, Jonagold, or Pink Lady if you like a sweeter filling.
-
Spice It Up: Add nutmeg, cloves, or pumpkin spice for extra cozy vibes.
-
Crust Count: Go with two if three feels over the top. (Though I’ll fight you on this.)
-
Sugar Mix: Half brown, half white sugar for a deeper caramelized flavor.
-
Extras: Toss in raisins or pecans between the layers for extra texture.
What to Serve with Iron Skillet Apple Pie?
This pie doesn’t need anything else, but sometimes you want to take things up a notch.
-
Vanilla Ice Cream: Melts into the warm pie like it was meant to be there.
-
Whipped Cream: Because pie without whipped cream feels unfinished.
-
Sharp Cheddar Cheese: A Southern thing. Don’t knock it till you try it.
-
Caramel Drizzle: For when you want a little drama.
-
Coffee or Hot Tea: The kind of cozy pairing that makes you forget the world outside.
Frequently Asked Questions:
Do I have to use an iron skillet?
Technically no. But if you want that caramelized bottom, yes. A pie dish just won’t give you the same magic.
Can I make this ahead?
Absolutely. Bake it a day early, cover it, and reheat before serving. The crust will be slightly softer, but the flavor? Still perfect.
What if I don’t have Granny Smith apples?
Use any tart, firm apple—Braeburn, Jonagold, Honeycrisp. Just avoid the mushy ones.
And that’s it—my take on the Iron Skillet Apple Pie Recipe that somehow manages to be gooey, rustic, and kinda fancy all at once. What do you think—ice cream on top, or are you team cheddar cheese? Can’t wait to hear which side you’re on.
Keep the Flavor Coming – Try These:

Iron Skillet Apple Pie Recipe
Ingredients
- ½ cup butter
- 1 cup brown sugar
- 5 Granny Smith apples peeled, cored, quartered, and thinly sliced
- 3 9-inch refrigerated pre-rolled pie crusts
- 1 cup white sugar divided
- 2 teaspoons ground cinnamon divided
- ¼ cup white sugar for topping
- 1 tablespoon butter cut into small chunks
Instructions
Preheat Oven
- Preheat the oven to 350°F (175°C).
Prepare the Skillet Base
- Place ½ cup butter into a 9-inch cast iron skillet. Transfer the skillet to the preheated oven until the butter has melted completely. Remove the skillet and sprinkle evenly with the brown sugar. Return to the oven briefly to allow the sugar to warm while preparing the apples.
First Crust and Apple Layer
- Remove the skillet from the oven and carefully place one refrigerated pie crust directly over the brown sugar layer. Arrange half of the sliced apples evenly on top of the crust. Sprinkle with ½ cup of white sugar and 1 teaspoon of cinnamon.
Second Crust and Apple Layer
- Place the second pie crust over the apples. Top with the remaining apple slices and sprinkle with another ½ cup of white sugar and 1 teaspoon of cinnamon.
Final Crust and Topping
- Cover with the third pie crust. Sprinkle with ¼ cup white sugar and dot the top with small chunks of butter. Using a sharp knife, cut four slits into the top crust to allow steam to escape during baking.
Bake
- Bake in the preheated oven for approximately 45 minutes, or until the apples are tender and the crust is golden brown.
Serve
- Allow the pie to cool slightly before serving warm, ideally with a scoop of vanilla ice cream or whipped cream.
Notes
I’m Bitty, owner of nodashofgluten.com, where I share simple, delicious recipes for all tastes, including gluten-free. Check out my “About Me” page for more info!