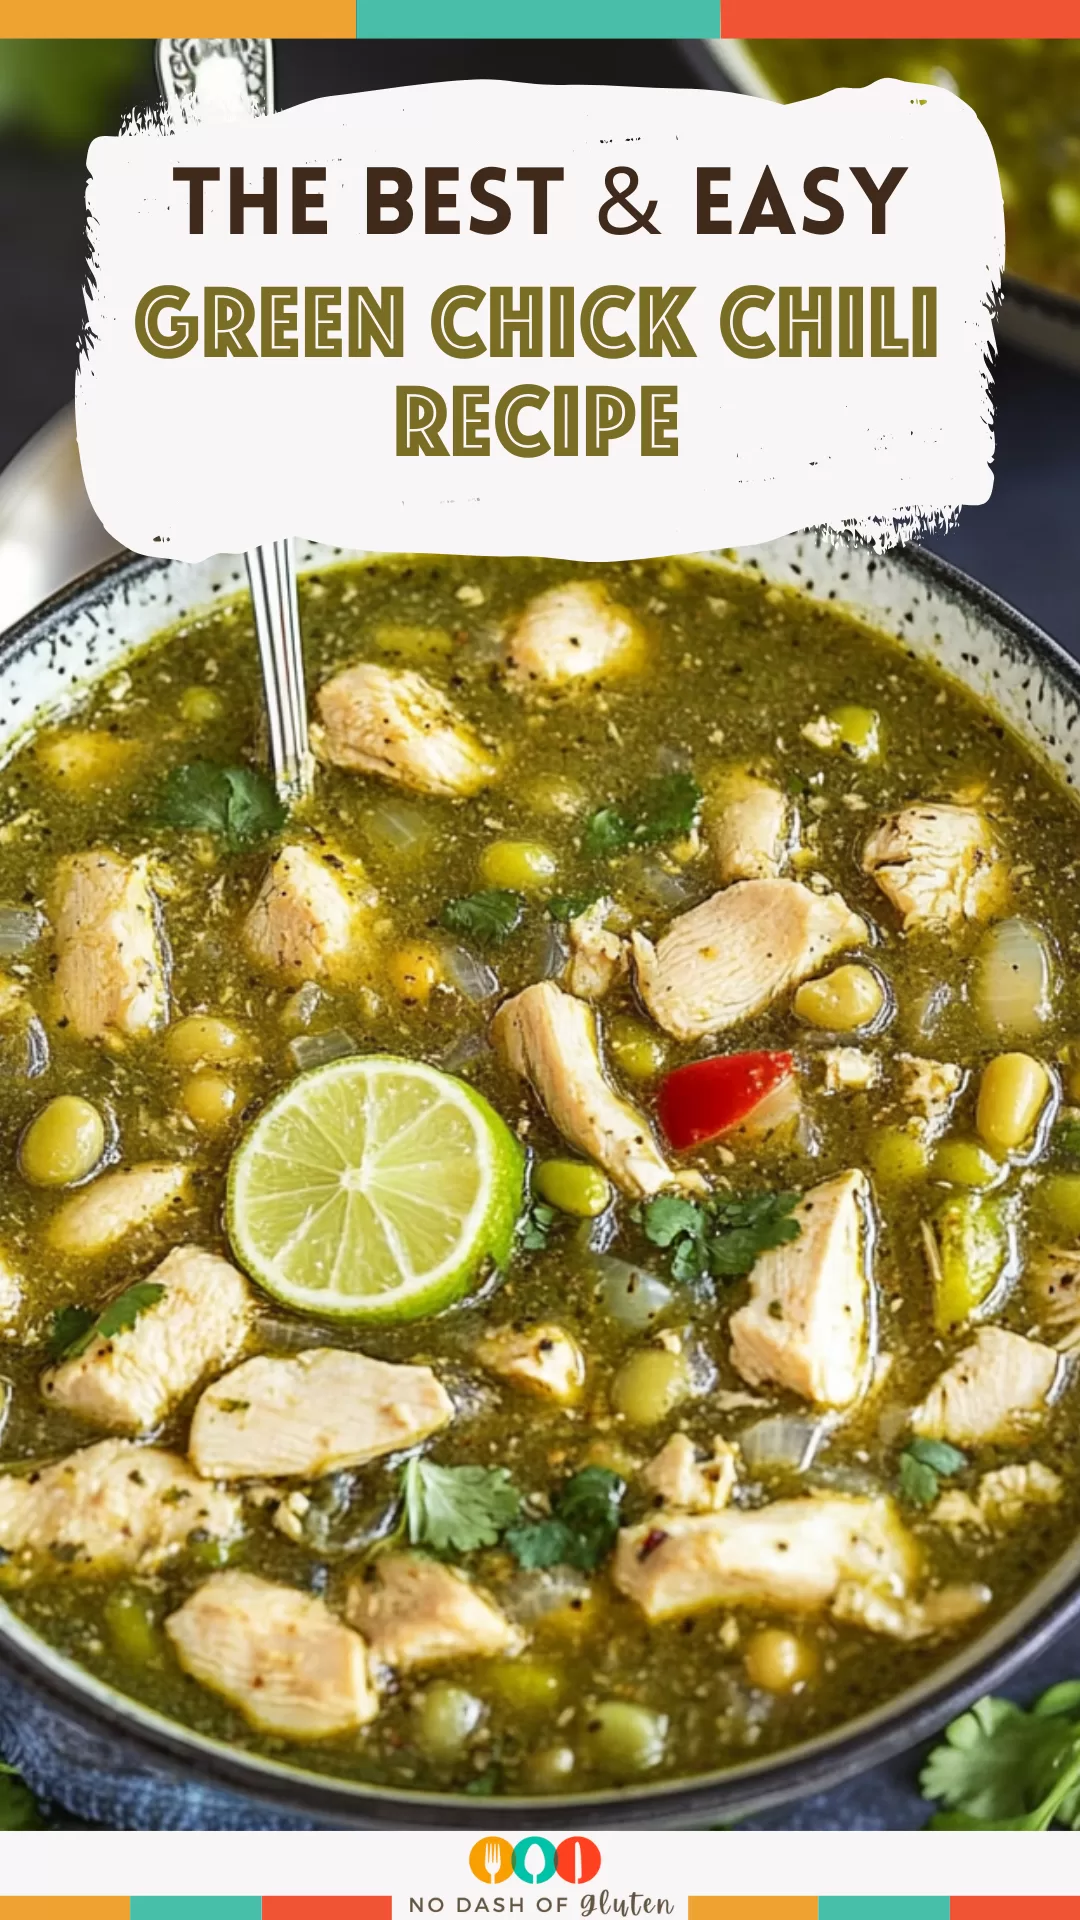
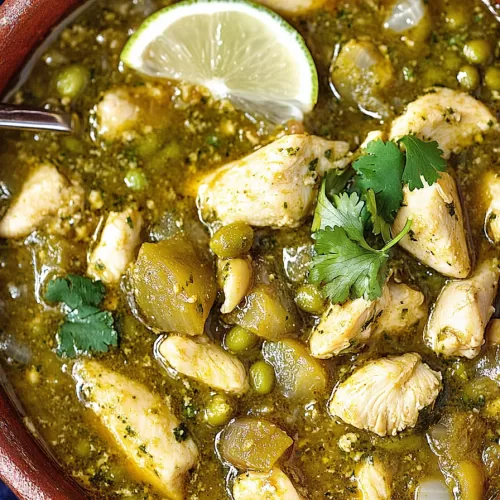
A hearty Green Chick Chili made with ground chicken, salsa verde, cannellini beans, and a touch of cream. Perfect for a cozy dinner night.
Let me set the scene for you. It was one of those nights—you know the kind. Work ran late, the fridge looked like a war zone, and my family was giving me those “what’s for dinner?” eyes. I was ready to call it a cereal-for-dinner kind of night. But then I spotted a jar of salsa verde shoved in the back, next to some sad-looking jalapeños and leftover chicken from the night before. And just like that, Green Chick Chili was born!

The best part? This recipe doesn’t just save the day—it makes the day. It’s warm, hearty, and just spicy enough to make you feel alive (but not so spicy that your kids rebel). And those cheese skulls? They might seem a little extra, but hey, food should be fun sometimes, right?
Why You’ll Love This Green Chick Chili Recipe?
- Easy Weeknight Hero: This one-pot wonder comes together quickly and tastes like it took way more effort.
- Creamy and Zesty: Thanks to the salsa verde and half-and-half, it’s a beautiful balance of tangy and creamy.
- Kid and Crowd-Friendly: Not too spicy (unless you want it to be), and those cheesy skulls? Total conversation starters.
- Flexible and Forgiving: Ran out of an ingredient? No problem—this chili loves substitutions.
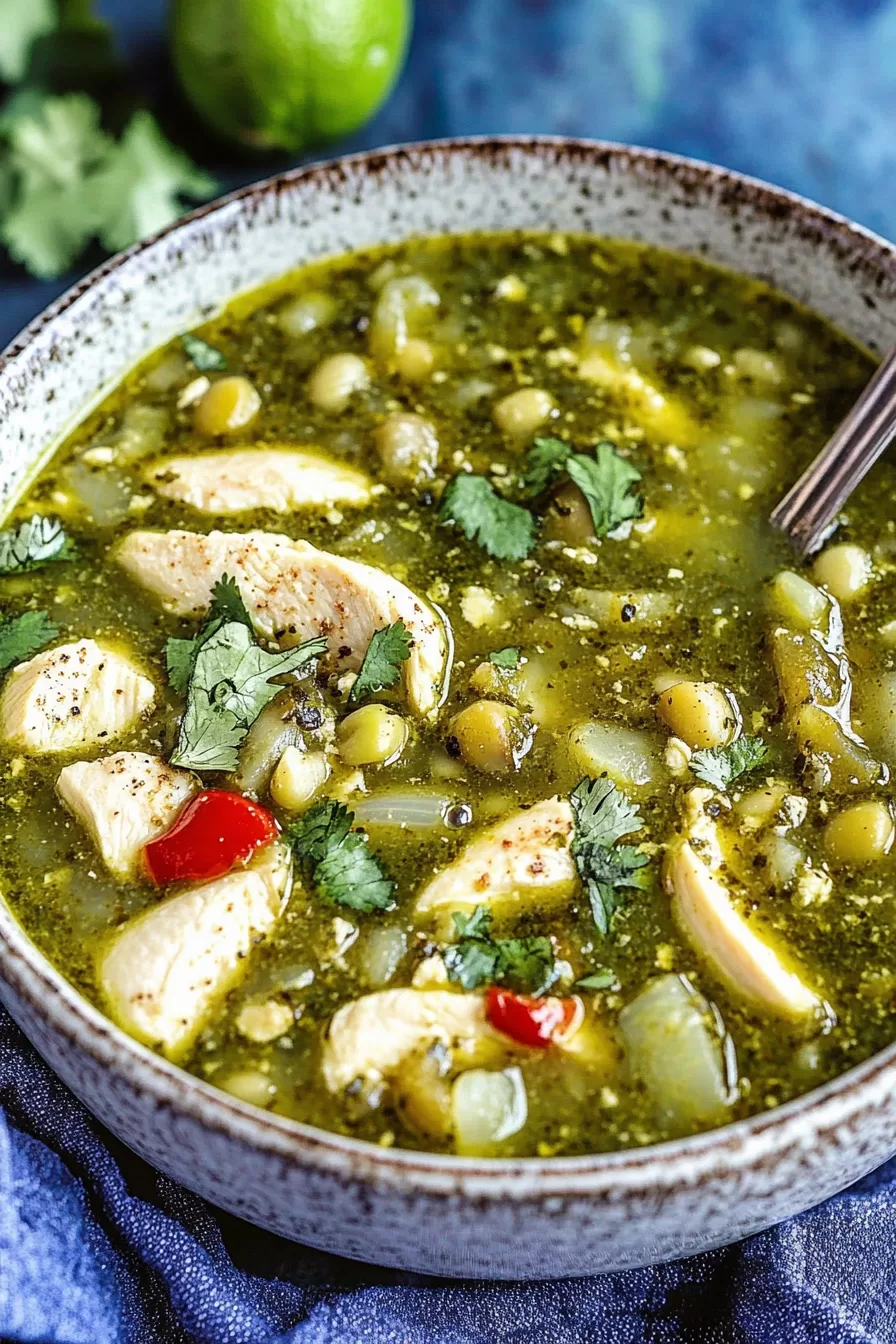
Ingredient Notes:
Every ingredient in this chili has its moment to shine. Here’s why they’re all worth the love:
- Ground Chicken: Lean and light, it lets the salsa verde and spices steal the show. You could swap it for ground turkey or even plant-based crumbles.
- Salsa Verde: This is the flavor MVP. It’s tangy, fresh, and adds that perfect green chili vibe.
- Cannellini Beans: Creamy and mild, they thicken the chili beautifully. Navy beans or chickpeas could work too.
- Half-and-Half: The creamy finish that ties everything together. Coconut milk is a great dairy-free substitute.
- Cheese Skulls: Are they necessary? No. Are they fun and delicious? Absolutely. If you don’t have skull molds, shredded cheese works just fine.
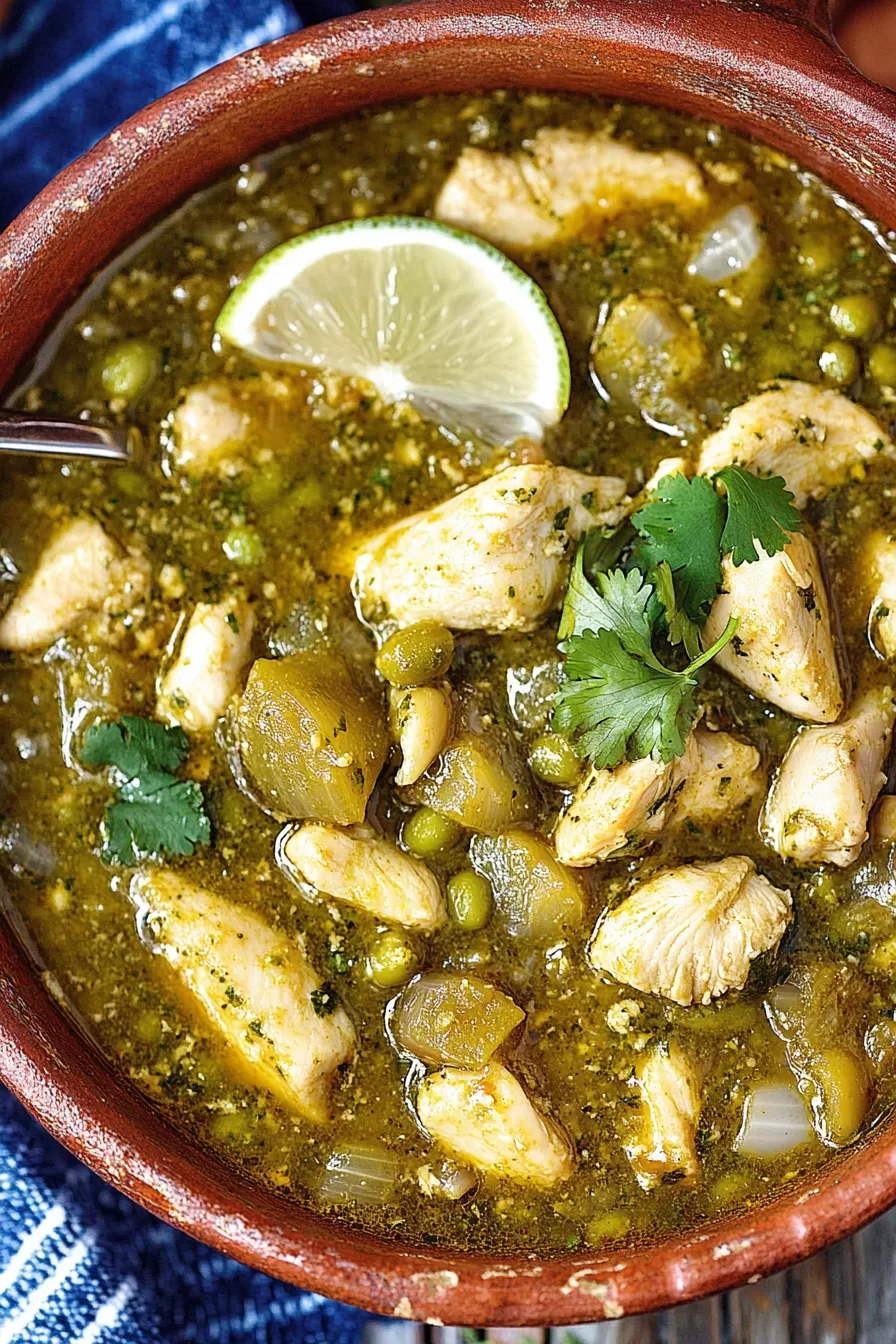
How To Make Green Chick Chili?
This chili is as simple as it is delicious. Let me break it down for you step by step.
Step 1. Brown the Chicken
Start by heating some olive oil in your favorite Dutch oven. Toss in the ground chicken and break it up with your spoon as it cooks. Once it’s golden and cooked through, remove it and set it aside.
Step 2. Sauté the Veggies
Add a bit more olive oil to the same pot, then throw in diced onions and minced jalapeños. Let them cook until soft and fragrant—your kitchen will start to smell amazing at this point. Stir in the garlic, cumin, and coriander, and cook until the spices wake up.
Step 3. Build the Broth
Pour in chicken broth, shredded chicken, salsa verde, salt, and pepper. Scrape up all those tasty browned bits at the bottom of the pot. Bring everything to a gentle boil, then reduce to a simmer.
Step 4. Let It Simmer
This is the chill-out stage. Let the chili simmer for an hour, stirring occasionally to let the flavors meld. Toss in the beans and half-and-half toward the end, and simmer for another 30 minutes until the chili thickens.
Step 5. Make the Cheese Skulls (Optional but Fun!)
Preheat your oven to 400°F. Sprinkle mozzarella into skull molds and bake for a few minutes until melted and golden. Let them cool slightly before placing them on your chili.
Step 6. Serve and Enjoy
Ladle your chili into bowls, top with those cheesy skulls, and garnish with tortilla chips, sour cream, cilantro, or scallions. And don’t forget to grab a spoon—you’re going to want every last bite.
Want To Save This Recipe?
Enter your email below and we'll send the recipe straight to your inbox.
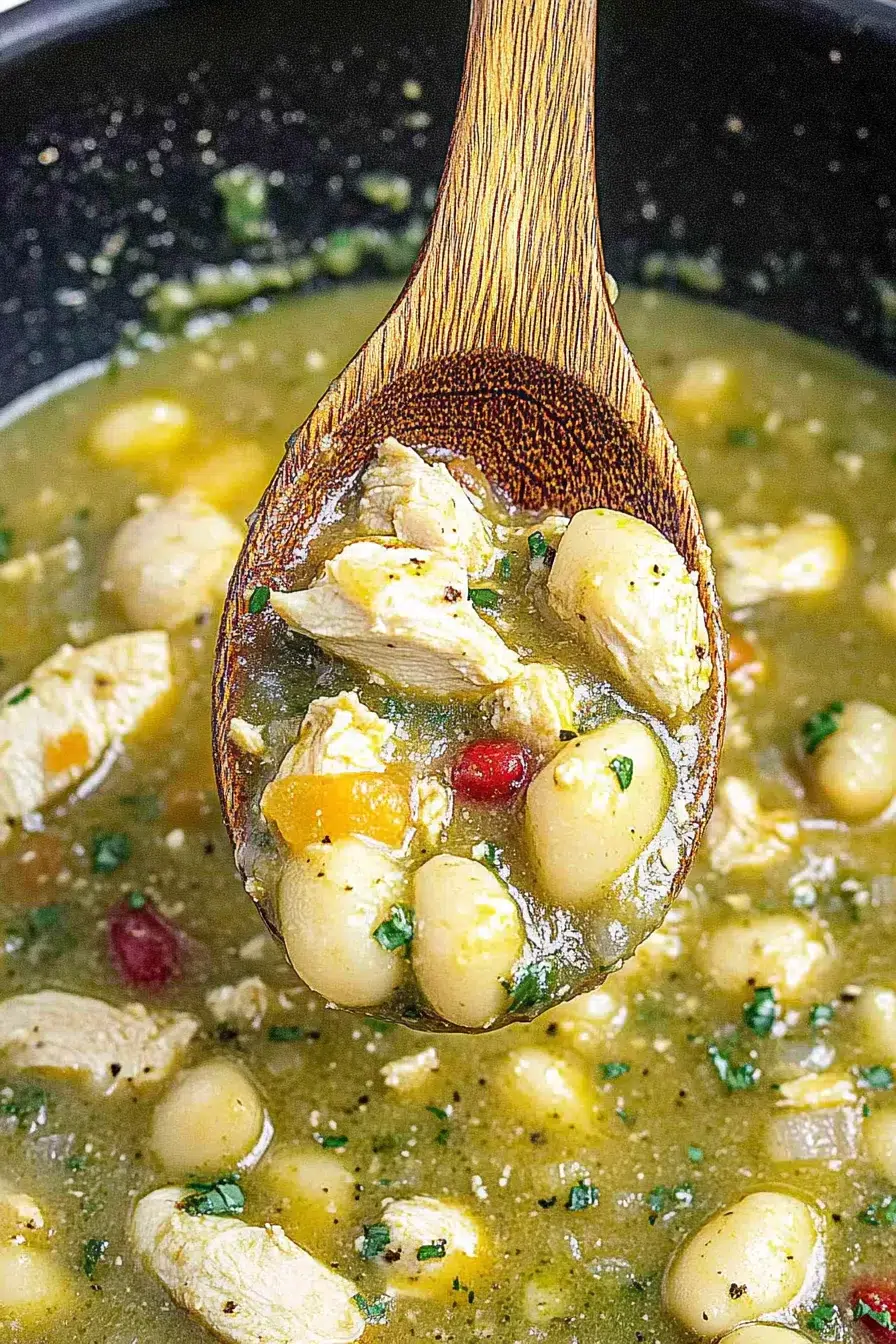
Storage Options:
This chili is even better the next day—seriously. Store leftovers in an airtight container in the fridge for up to 3 days. If you want to freeze it, go ahead! Just thaw overnight in the fridge and reheat gently on the stovetop.
Variations and Substitutions:
This chili is incredibly versatile, so don’t be afraid to make it your own:
- Protein: Ground turkey, shredded rotisserie chicken, or even tofu crumbles work well.
- Beans: Don’t have cannellini? Use navy beans, great northern beans, or even pinto beans.
- Heat Levels: Want more spice? Add a diced serrano pepper or a pinch of cayenne. Prefer it mild? Skip the jalapeños.
- Dairy-Free: Swap the half-and-half for coconut milk or cashew cream for a luscious dairy-free option.
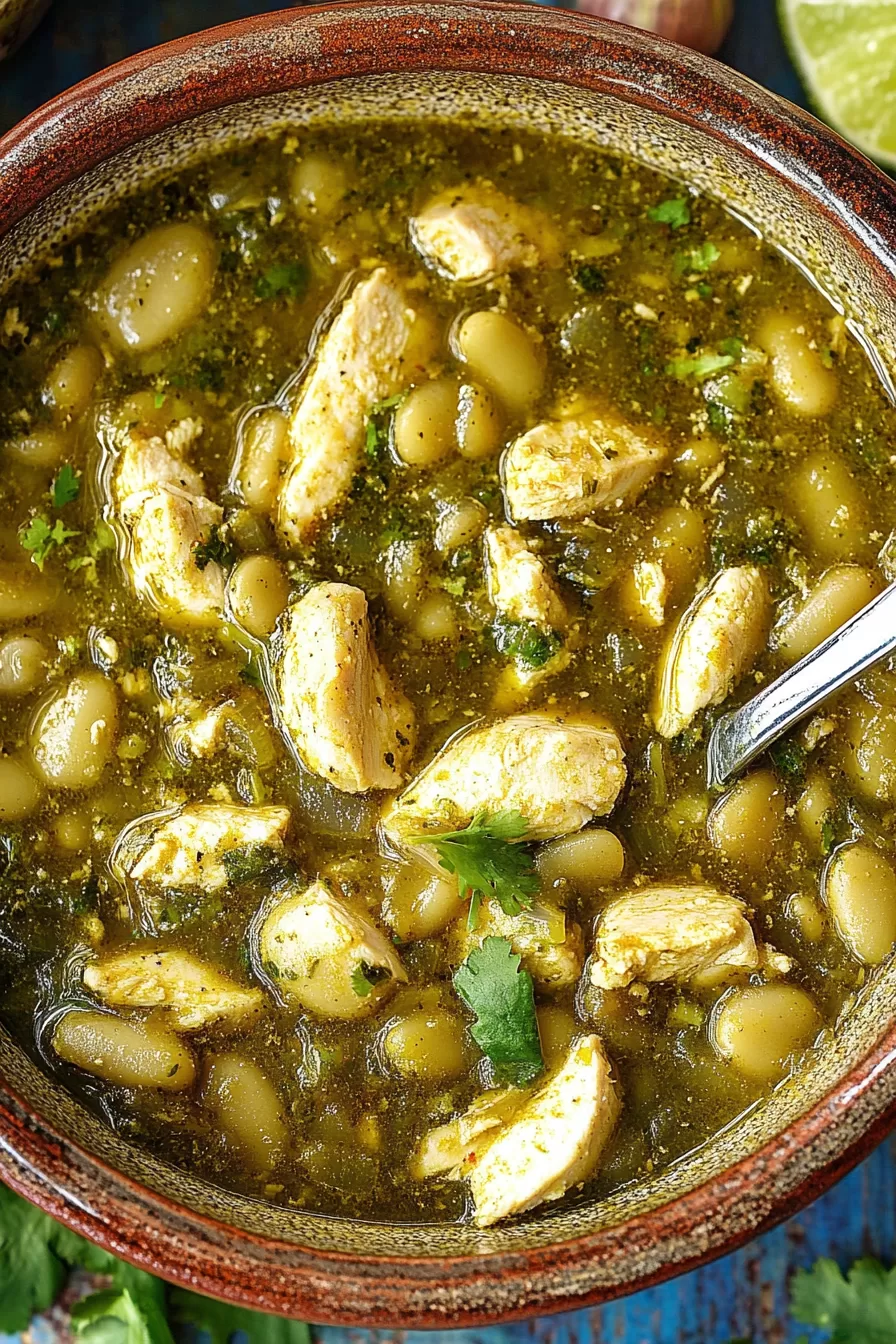
What to Serve with Green Chick Chili?
Not sure what to pair with your chili? Here are a few ideas:
- Tortilla Chips: Perfect for scooping and adding a little crunch.
- Cornbread: Sweet and buttery, it balances the chili’s zesty kick.
- Avocado Slices: Creamy and cooling, especially if you went heavy on the jalapeños.
- Margaritas: Because a little tequila pairs beautifully with those bold flavors.
Frequently Asked Questions:
Can I make this chili ahead of time?
Absolutely! It actually tastes better the next day when all the flavors have had time to mingle.
What if I don’t have salsa verde?
You can use tomatillo sauce or green enchilada sauce in a pinch.
Do I really need to make the cheese skulls?
Not at all, but they’re a fun way to jazz things up. If you’re short on time, just sprinkle shredded cheese on top.
There you have it—my Green Chick Chili Recipe! It’s cozy, zesty, and just a little extra (in the best way). Whether you’re whipping it up for a family dinner or wowing your friends with those adorable cheese skulls, this chili is a total crowd-pleaser. Give it a try, and let me know how you make it your own. I can’t wait to hear your thoughts!
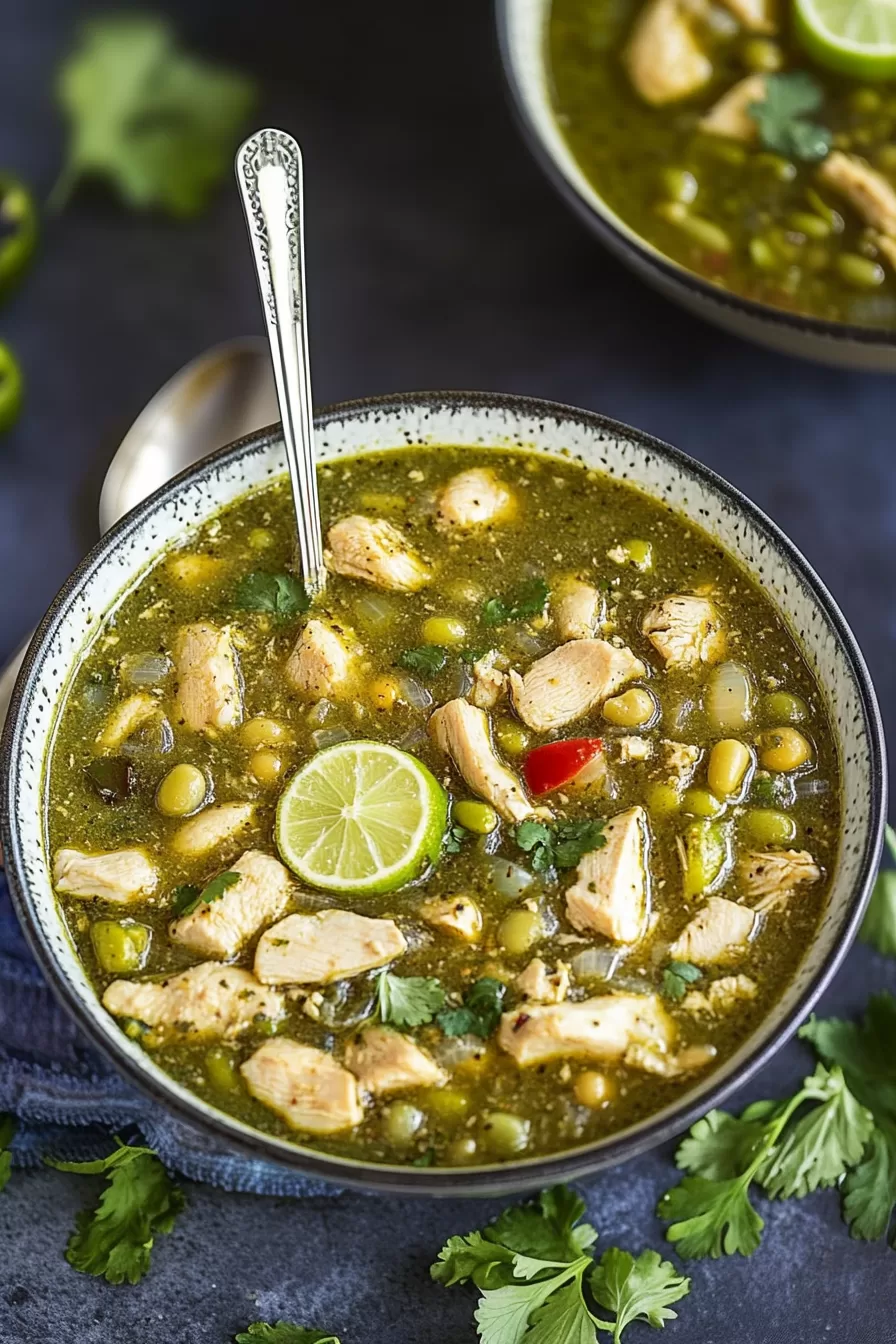
<Remember it later>
Planning to try this recipe soon? Pin it for a quick find later!
<Remember it later>
Planning to try this recipe soon? Pin it for a quick find later!
Keep the Flavor Coming – Try These:
Ingredients
- 2 tablespoons olive oil
- 1 pound ground chicken
- 1 large onion diced
- 1 jalapeño seeds removed for less heat if desired, minced
- 2 cloves garlic minced
- 1 teaspoon ground cumin
- 1 teaspoon ground coriander
- 4 cups low-sodium chicken broth
- 2 cooked chicken breasts shredded
- 1 cup salsa verde
- 1 1/2 teaspoons kosher salt
- 1/2 teaspoon freshly ground black pepper
- 2 cans 15 ounces each cannellini beans, drained and rinsed
- 1/2 cup half-and-half
- Tortilla chips sour cream, cilantro, and chopped scallions (for garnish)
Cheese Skulls
- 1 1/2 cups shredded mozzarella cheese
Instructions
Prepare the Ground Chicken:
- Heat 1 tablespoon of olive oil in a Dutch oven over medium-high heat. Add the ground chicken and break it into small pieces with a wooden spoon as it browns. Cook until fully browned, then transfer the chicken to a plate and set aside.
Sauté the Vegetables:
- Add the remaining olive oil to the pot. Lower the heat to medium and add the diced onion and minced jalapeño. Cook, stirring occasionally, until the onion becomes translucent, approximately 5–6 minutes. Add the minced garlic, cumin, and coriander, and stir for 1–2 minutes until fragrant.
Build the Chili Base:
- Pour the chicken broth into the pot, scraping the bottom to loosen any browned bits. Add the shredded chicken, cooked ground chicken, salsa verde, salt, and pepper. Stir well and bring the mixture to a gentle boil. Reduce the heat to a simmer and cook for 1 hour, stirring occasionally.
Add Beans and Cream:
- Stir in the cannellini beans and half-and-half. Let the chili simmer uncovered for an additional 30 minutes or until the liquid has reduced and the chili has thickened to your desired consistency.
Prepare the Cheese Skulls (Optional):
- Preheat the oven to 400°F. Place a skull-shaped mold on a baking sheet. Sprinkle approximately 1/4 cup of mozzarella cheese into each mold cavity. Bake for 4–5 minutes until the cheese has melted and lightly browned. Allow the cheese skulls to cool slightly before carefully removing them from the mold.
Serve and Garnish:
- Ladle the chili into serving bowls and garnish with cheese skulls (if using), tortilla chips, sour cream, cilantro, and chopped scallions. Serve immediately and enjoy!
Notes

I’m Bitty, owner of nodashofgluten.com, where I share simple, delicious recipes for all tastes, including gluten-free. Check out my “About Me” page for more info!


