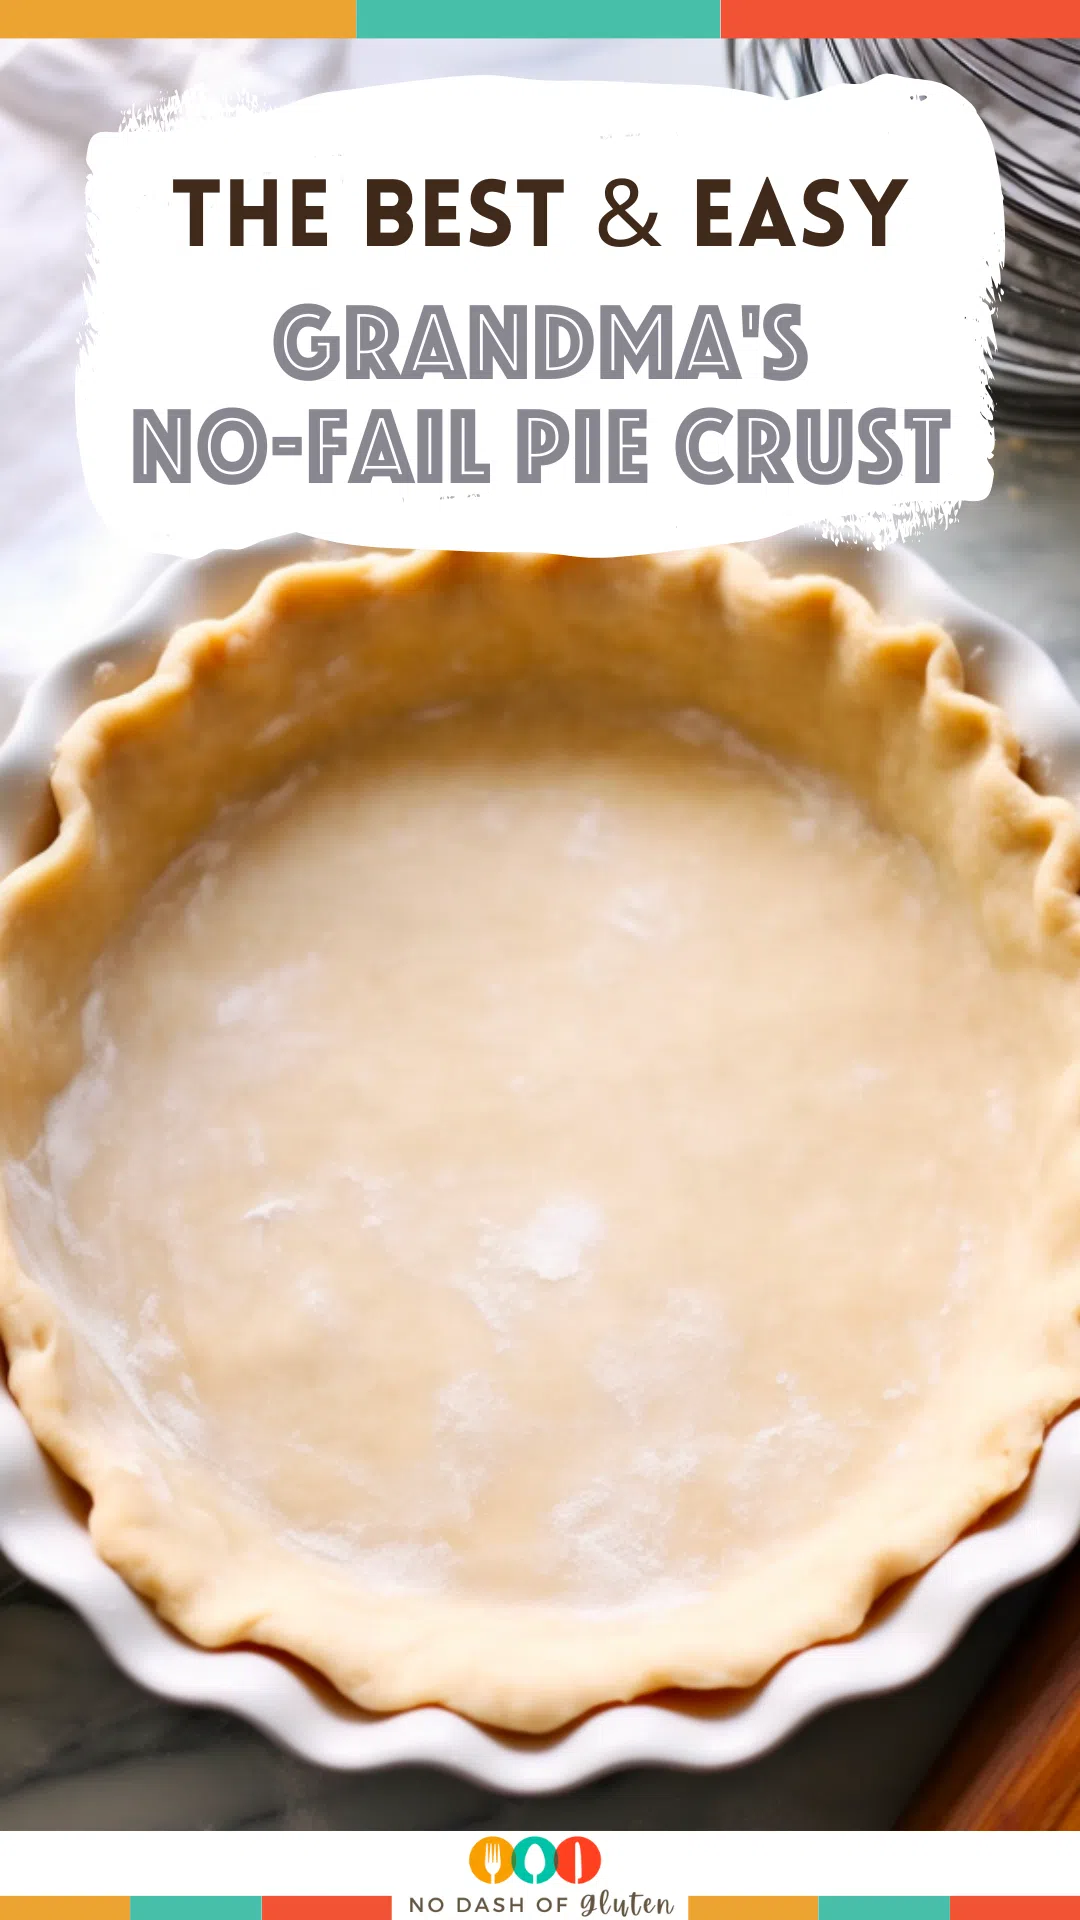
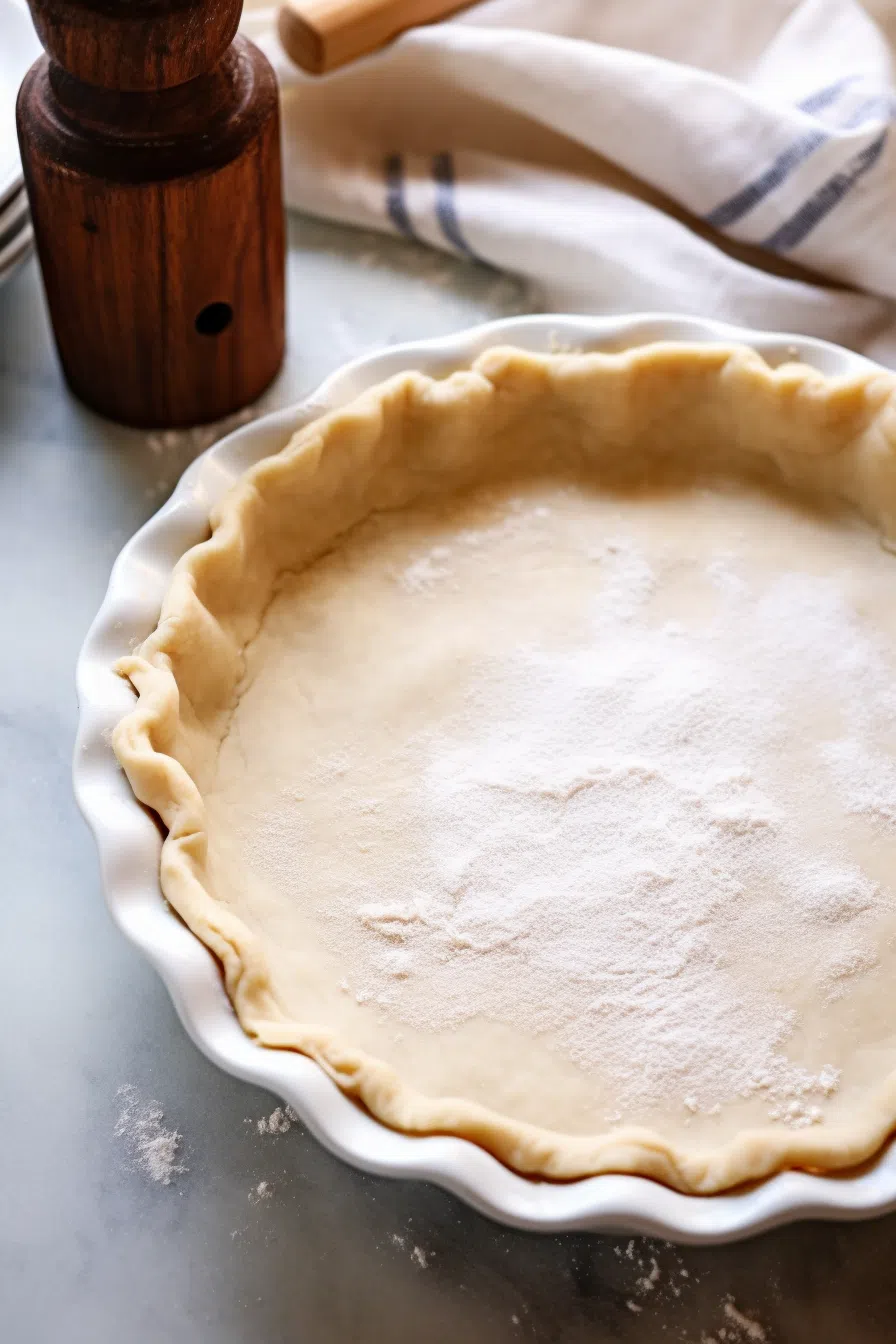
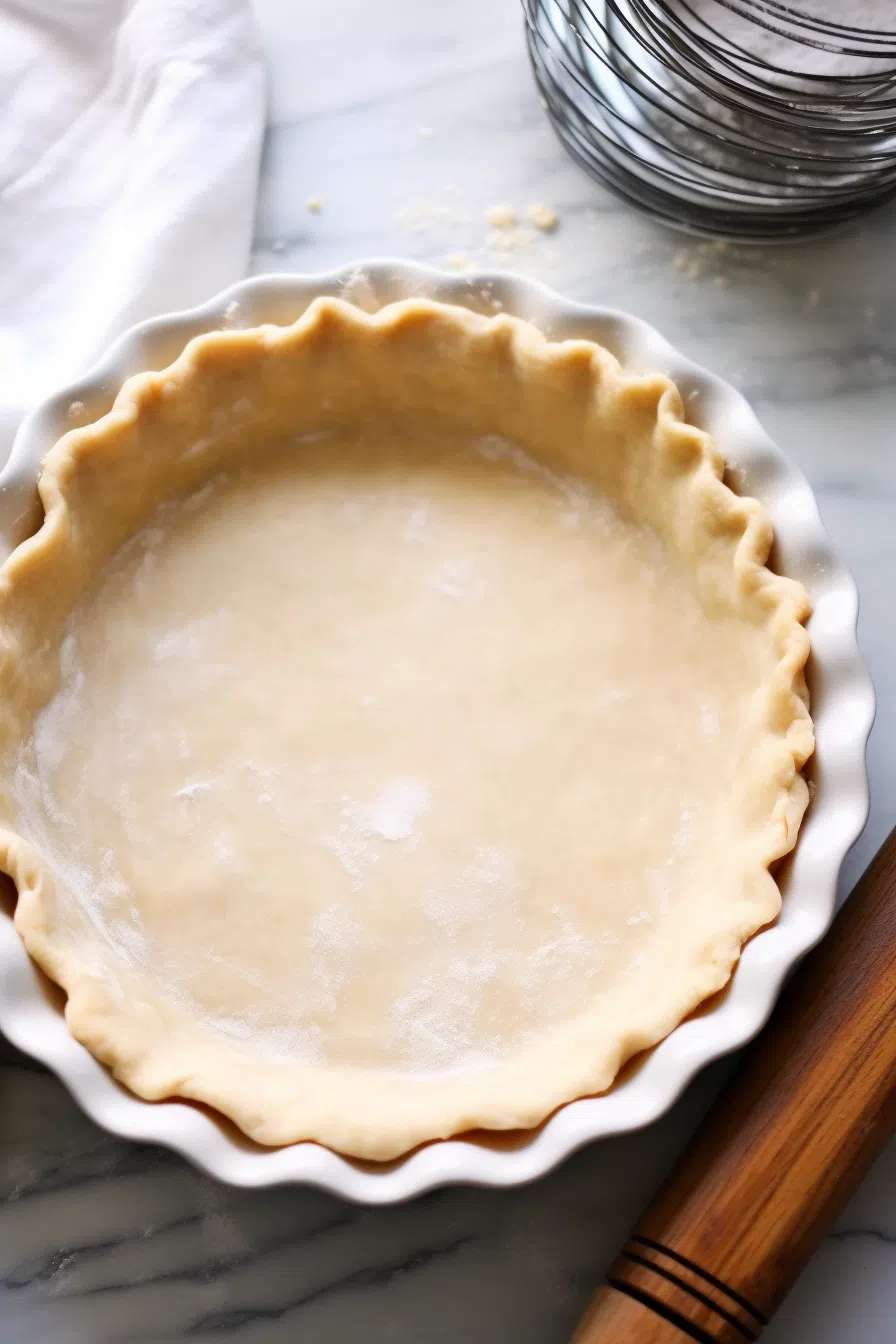
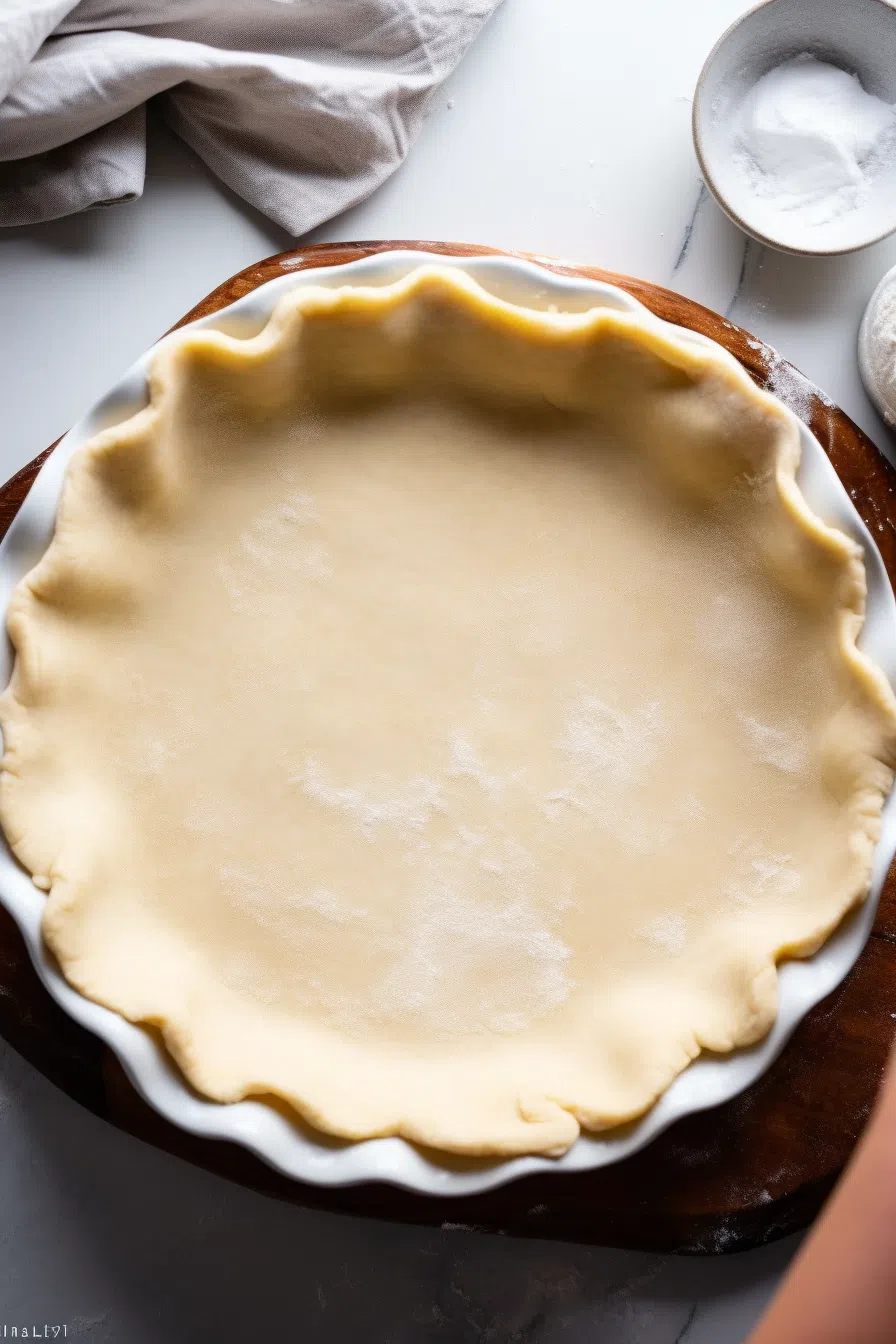
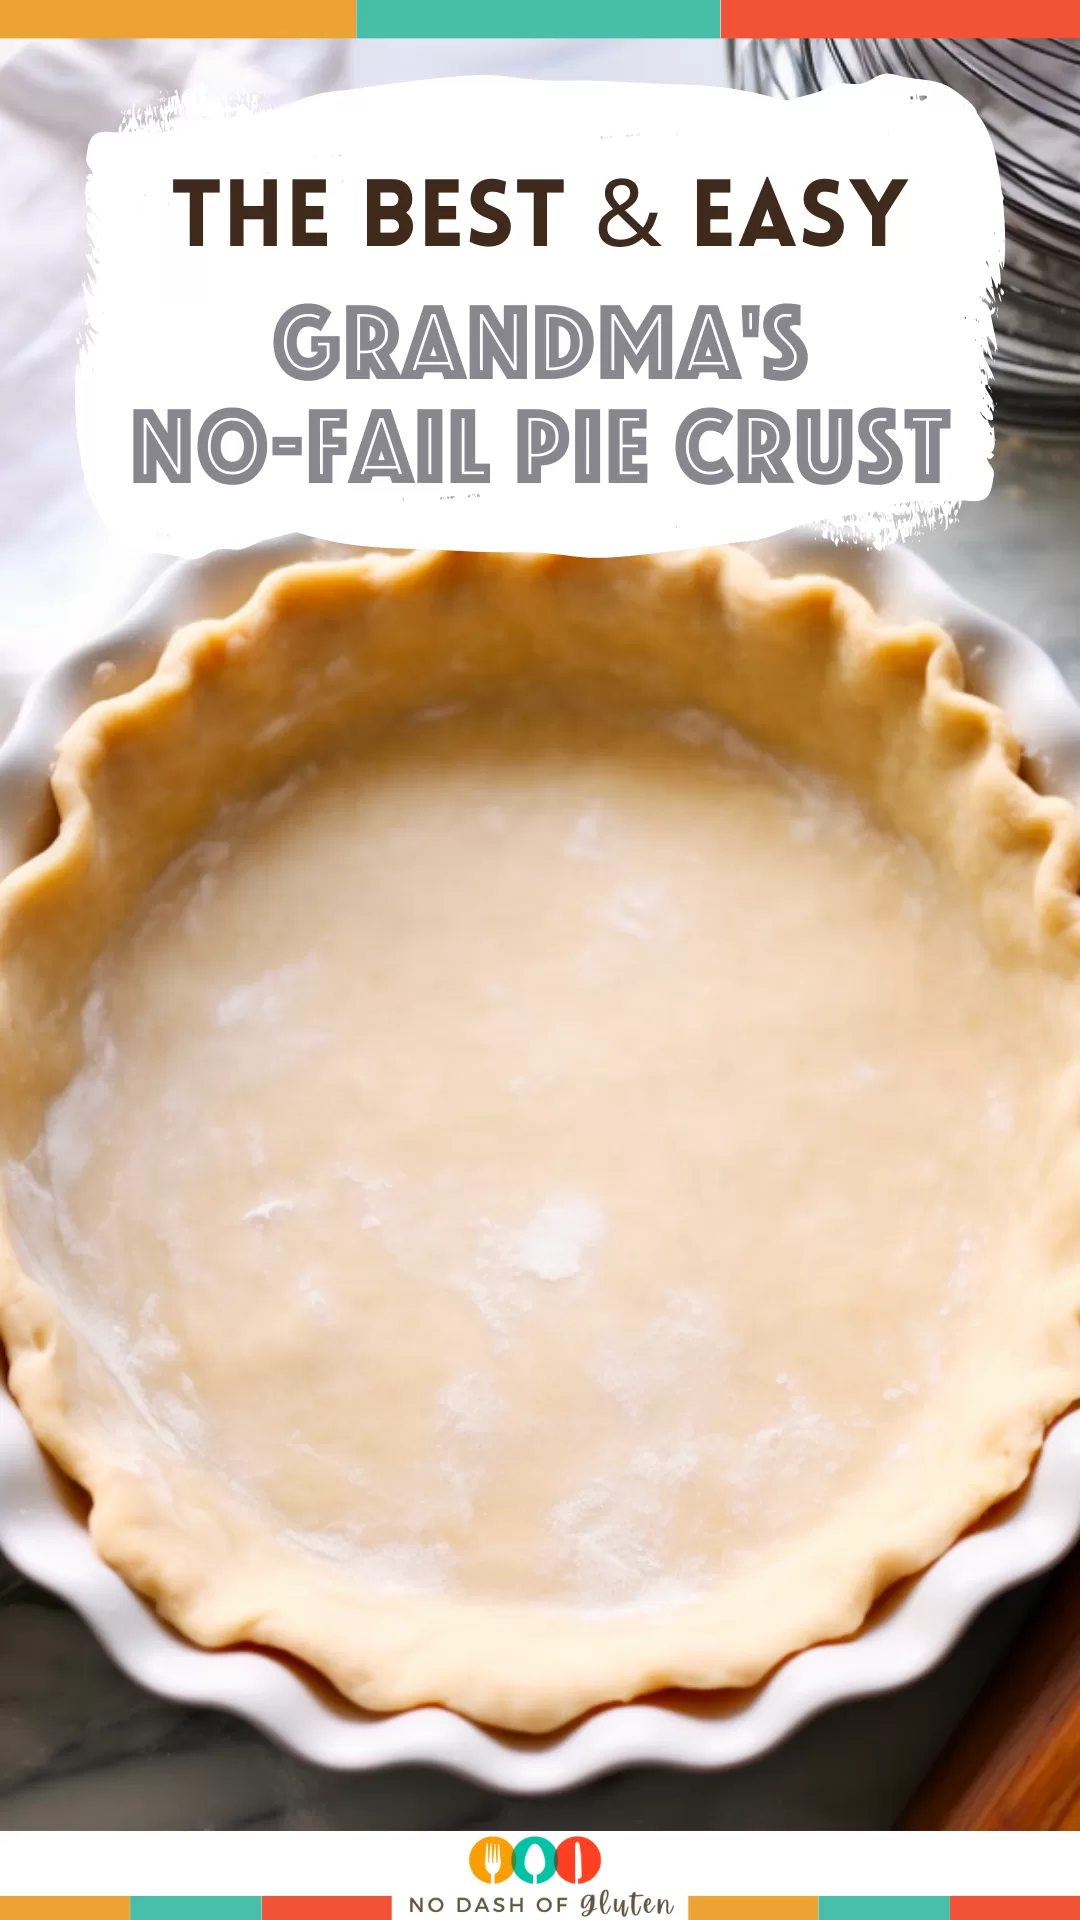
Grandma’s No-Fail Pie Crust – Step into the secret behind creating pies, with Grandma’s fail-proof pie crust. This cherished recipe has become a staple in my kitchen bringing together ingredients like all-purpose flour, shortening and just a pinch of salt. The result? A crust that boasts a combination of tenderness and flakiness. No matter what dessert you’re dreaming up this crust will take you on a journey from rolling out the dough to savoring that delectable slice.

Remember it later!
Planning to try this recipe soon? Pin it for a quick find later!
Remember it later!
Planning to try this recipe soon? Pin it for a quick find later!
I remember the first time I attempted this crust; I had quite the audience to impress – my in-laws! Thanks to Grandma’s recipe I didn’t disappoint. The crust turned out so flaky and picture-perfect that it became the highlight of our evening. Even my discerning pie-loving husband and my little one, who can be quite selective when it comes to desserts couldn’t get enough of it. Now it has become a family favorite requested at every gathering.
Here’s a quick peek at what’s inside:
Table of content
What makes this Grandma’s No-Fail Pie Crust truly stand out?
What makes Grandma’s No Fail Pie Crust truly stand out? Well for starters it’s unbelievably easy to make with 5 minutes of prep time required. It adapts effortlessly to both savory pies talk about versatility! Let’s not forget about its flaky yet tender texture. This is the kind of crust that welcomes beginners with arms while still satisfying the most experienced bakers, among us.
What You Need To Make This Grandma’s No-Fail Pie Crust Recipe?
All-Purpose Flour: This isn’t any flour; it serves as the foundation, for our artistic pie creations. It’s responsible for providing structure and reliability to our crusts reminding us of those heartwarming pies that have graced family tables.
Salt: A mighty warrior in the realm of baking. A 1/4 teaspoon can awaken and enhance the flavors like a touch of love. It brings out the nuances of the flour and shortening.
Shortening: The secret to enchanting crusts! It is what gives our crusts that heavenly melt, in your mouth texture. Each dollop of shortening promises ensuring every bite of pie is an experience.
Cold Water: The unifier. Though seemingly ordinary its temperature plays a role. Cold water effortlessly brings all the ingredients together without overworking the dough. It acts as an adhesive that transforms our mixture into a masterpiece.
Steps To Make Grandma’s No-Fail Pie Crust:
Step 1: Let’s get started by combining flour and salt in a bowl. This is a first step, for creating a fantastic pie crust. It may seem simple. It sets the foundation.
Step 2: Next add your shortening. You can use either a pastry blender or your fingers (which can be more enjoyable) to mix it into the flour. Aim for bits, about the size of peas; this is what gives your crust that delightful texture.
Step 3: Now it’s time to add the water! Add one tablespoon at a time while gently mixing with a fork. The goal is to bring the dough without overdoing it. Remember, a light touch is key here.
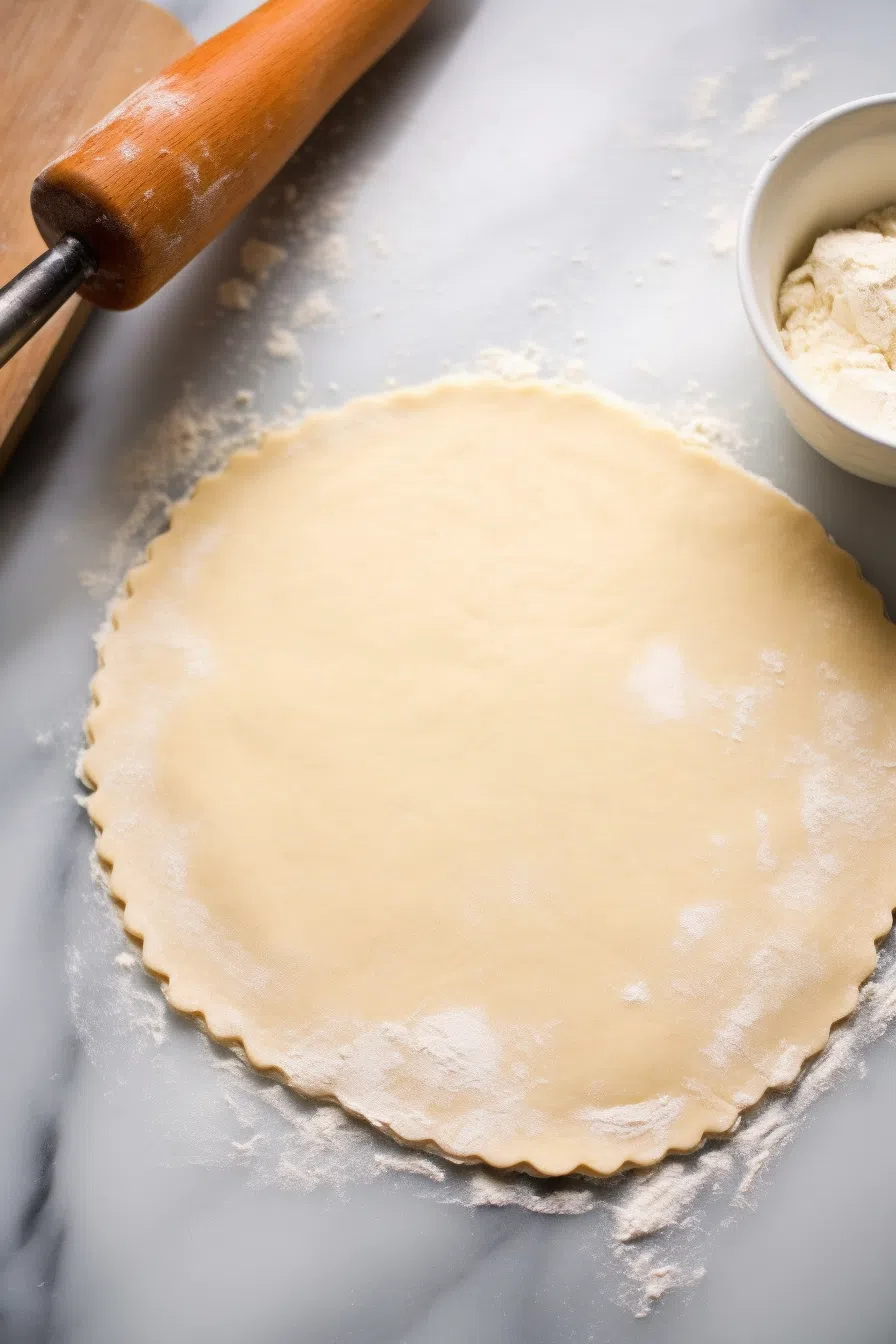
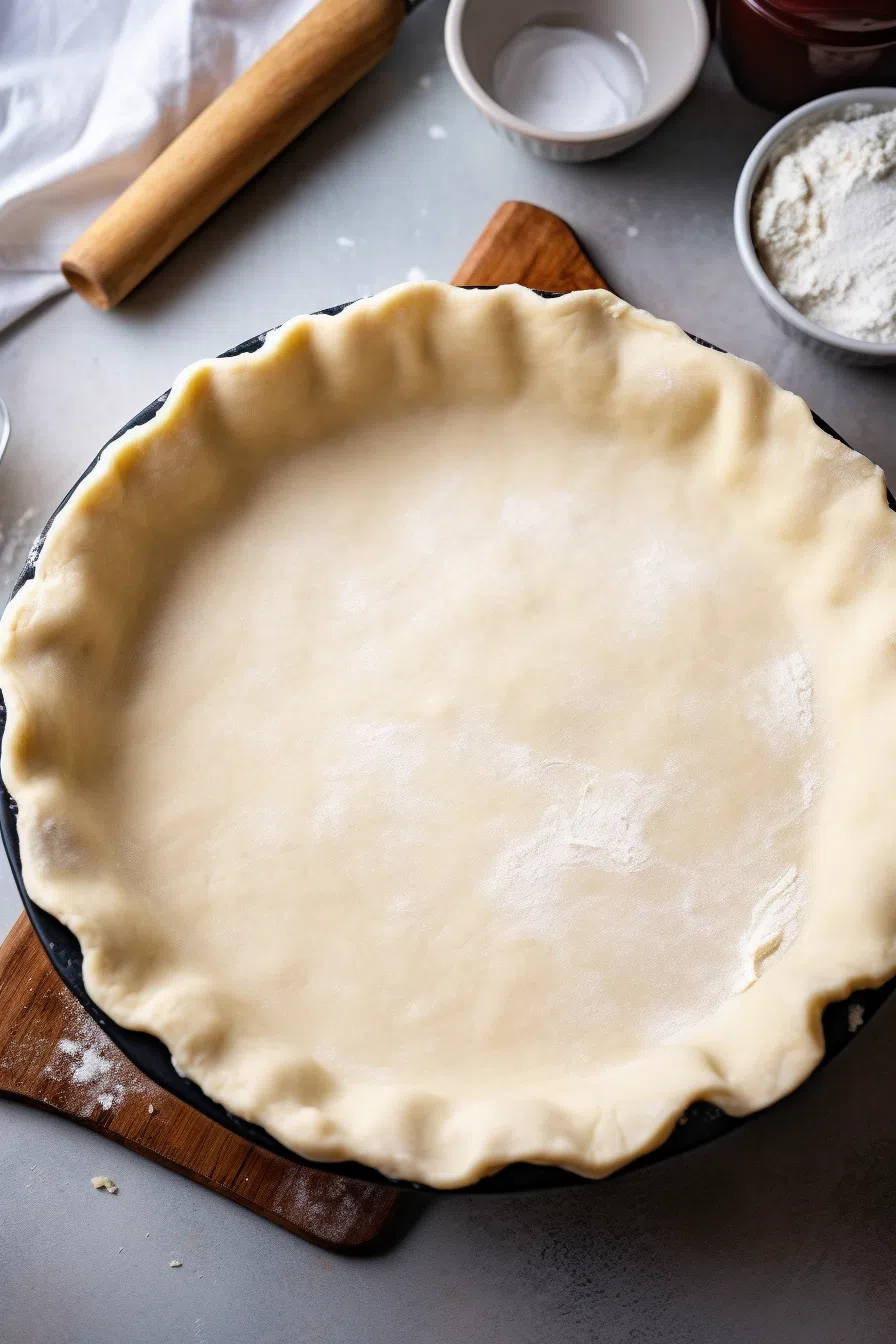
Step 4: Once everything is mixed let’s roll out the dough. Flour your surface. Gently roll out the dough turning and adding flour as needed. Roll it out to fit your pie dish perfectly. You’re good to go!
Want To Save This Recipe?
Enter your email below and we'll send the recipe straight to your inbox.
Tip:
Make sure to cool down your ingredients and tools; To achieve the flakiest crust it’s important to keep everything. This involves not only using water but also chilling your shortening and even the flour if your kitchen is warm. Additionally place your mixing bowl and pastry blender in the fridge for 15 minutes before you begin. This will help control the fat from melting when you meld it into the flour, which is critical, for creating those pleasurable flaky layers in your crust. Constantly remember that utilizing cooler ingredients will yield sounder results when constructing pie crusts!
Frequently Asked Questions:
Can I use butter instead of shortening?
Certainly! Butter can be used as a substitute, which will give your recipe a flavor. However do keep in mind that it might slightly alter the texture of the product.
How thick should I roll out the dough?
For achieving the balance, between crispiness and tenderness aim to roll out the dough to 1/8 inch thickness.
Can this crust be made ahead of time?
Absolutely! This crust can be made ahead of time. You have two options; you can refrigerate it for, up to three days. Freeze it for longer storage.
Remember it later!
Planning to try this recipe soon? Pin it for a quick find later!
Remember it later!
Planning to try this recipe soon? Pin it for a quick find later!
Keep the Flavor Coming – Try These:
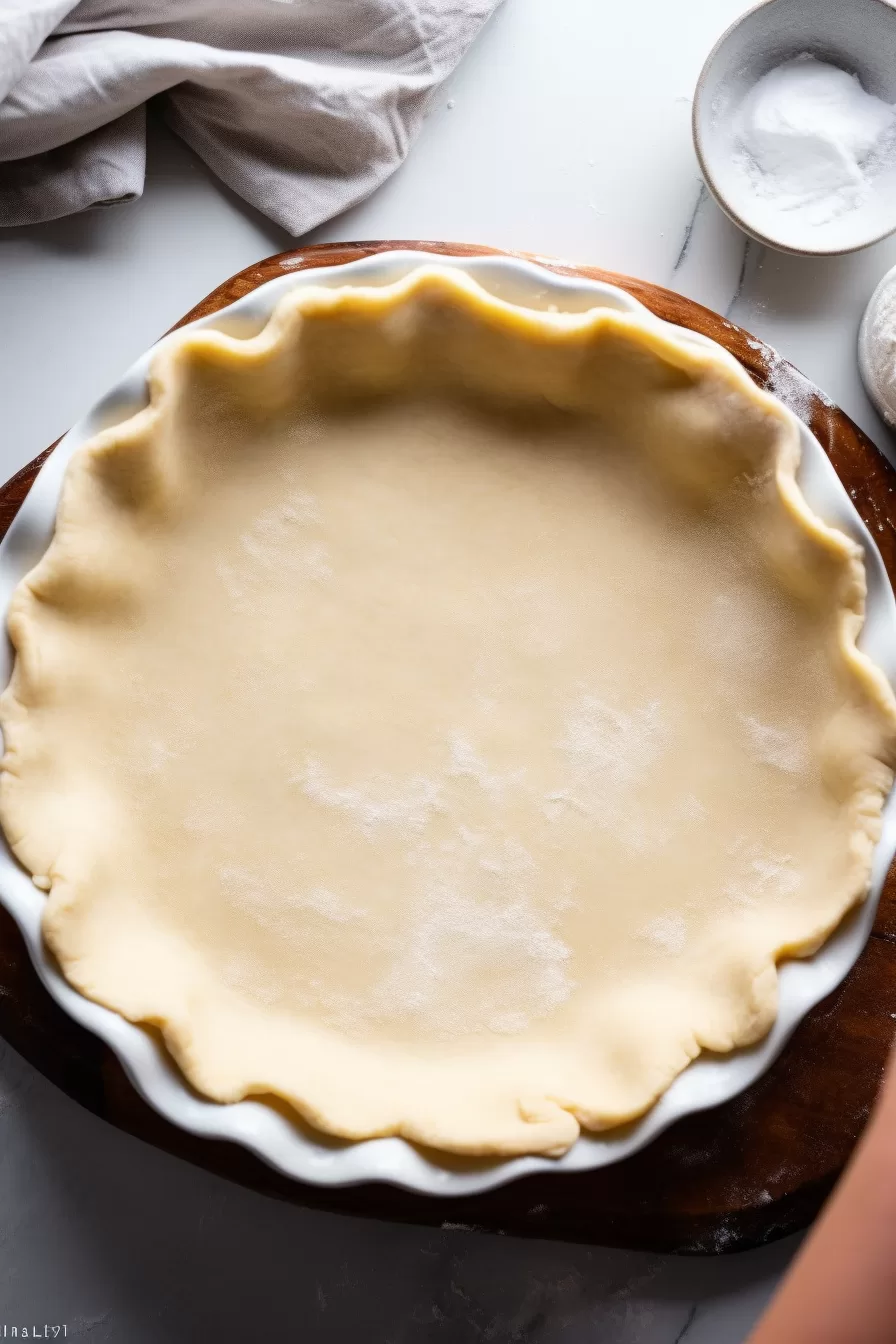
Grandma's No-Fail Pie Crust
Ingredients
- 1 1/4 c all-purpose flour
- 1/4 tsp salt
- 1/3 c shortening
- 4 to 5 tbsp cold water
Instructions
- Begin by blending the ingredients in a bowl. Mix together 1 1/4 cups of all-purpose flour and 1/4 teaspoon of salt.
- Next add the shortening to the mixture. Cut, in 1/3 cup of shortening using a pastry blender or your fingers until the mixture resembles crumbs the size of peas.
- Slowly mix water into the mixture. Add 4 to 5 tablespoons of water one tablespoon, at a time while heaving with a fork until the dough comes together.
- Once the dough is constructed, gently shape it into a ball. Then roll it out on a surface according to your preferred size and thickness.
- Your pie crust is now prepared to be loaded with your favorite pie filling. Relish baking your pie with this crust!
Notes

I’m Bitty, owner of nodashofgluten.com, where I share simple, delicious recipes for all tastes, including gluten-free. Check out my “About Me” page for more info!


