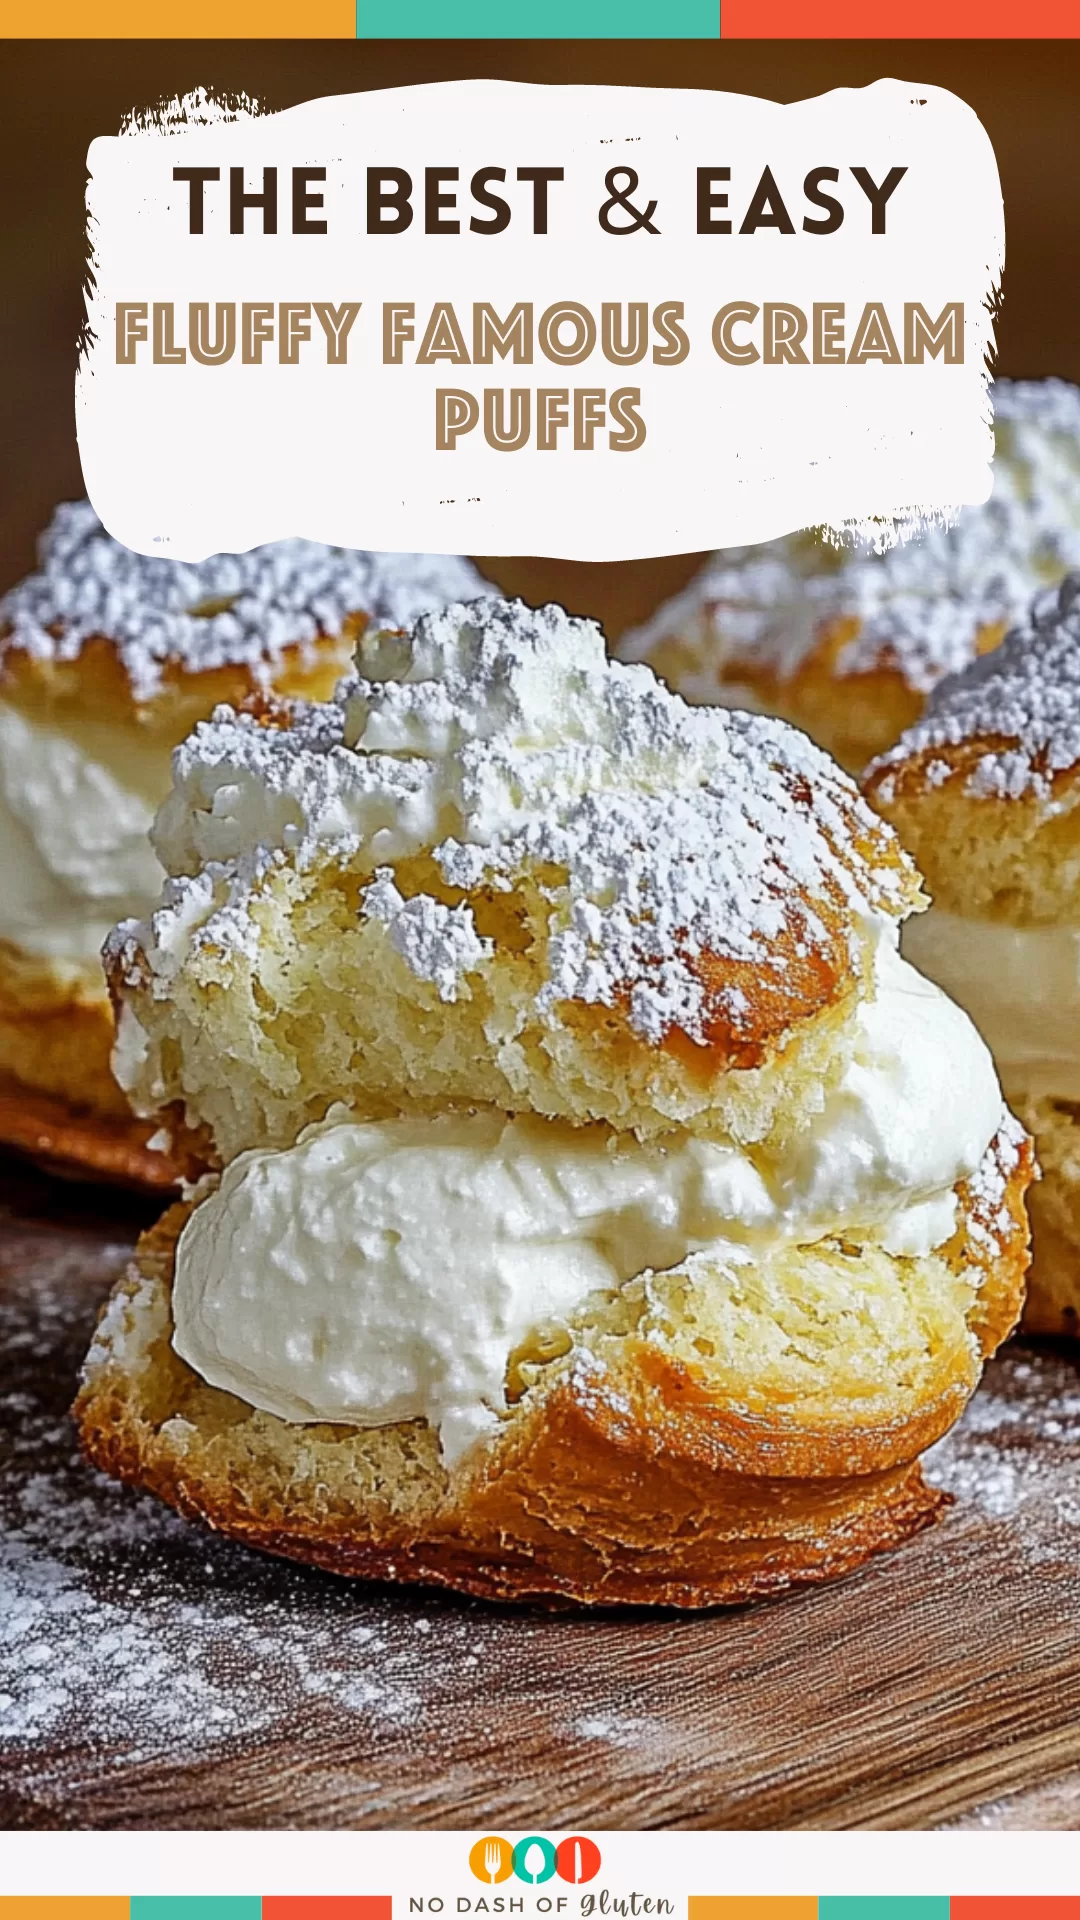
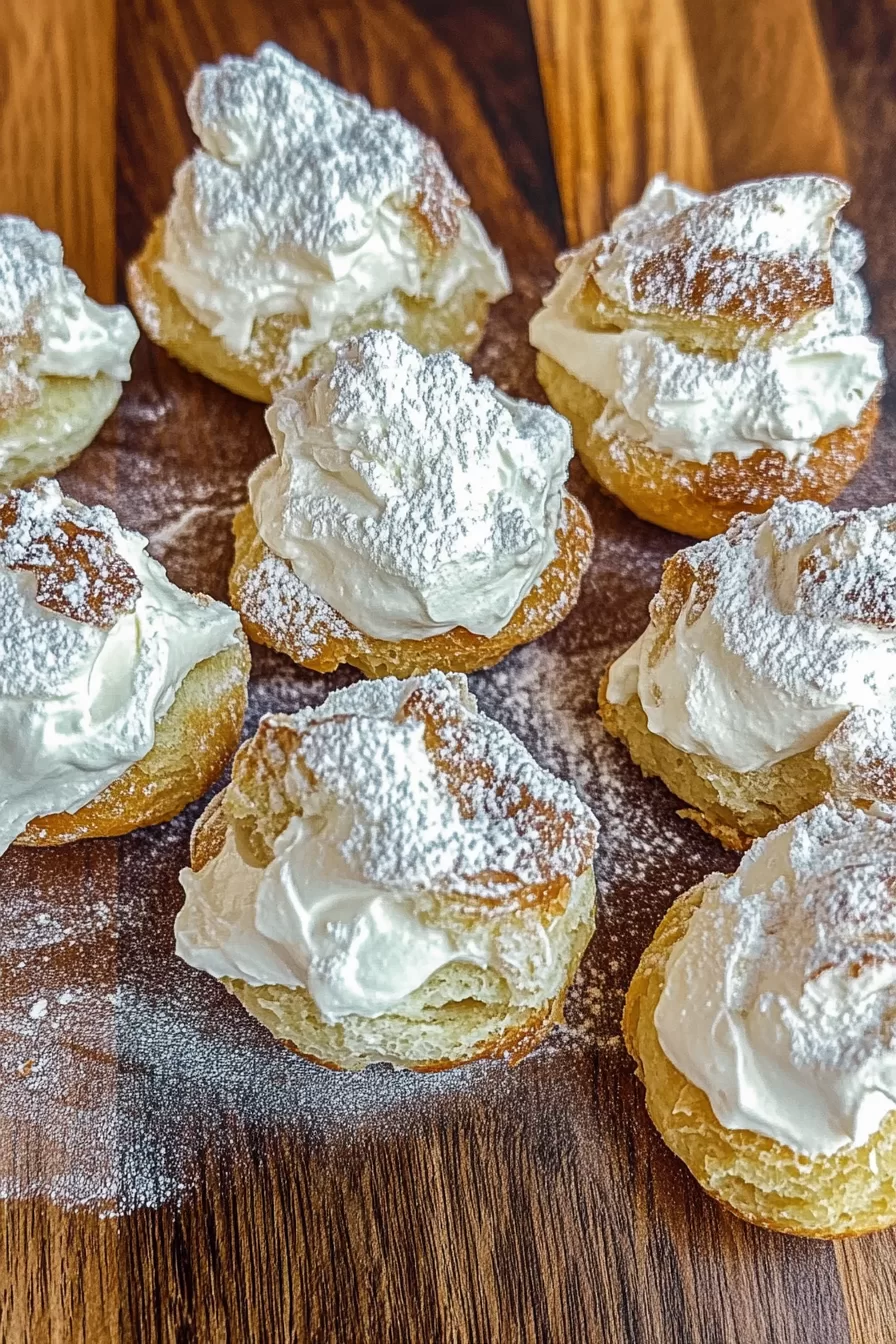
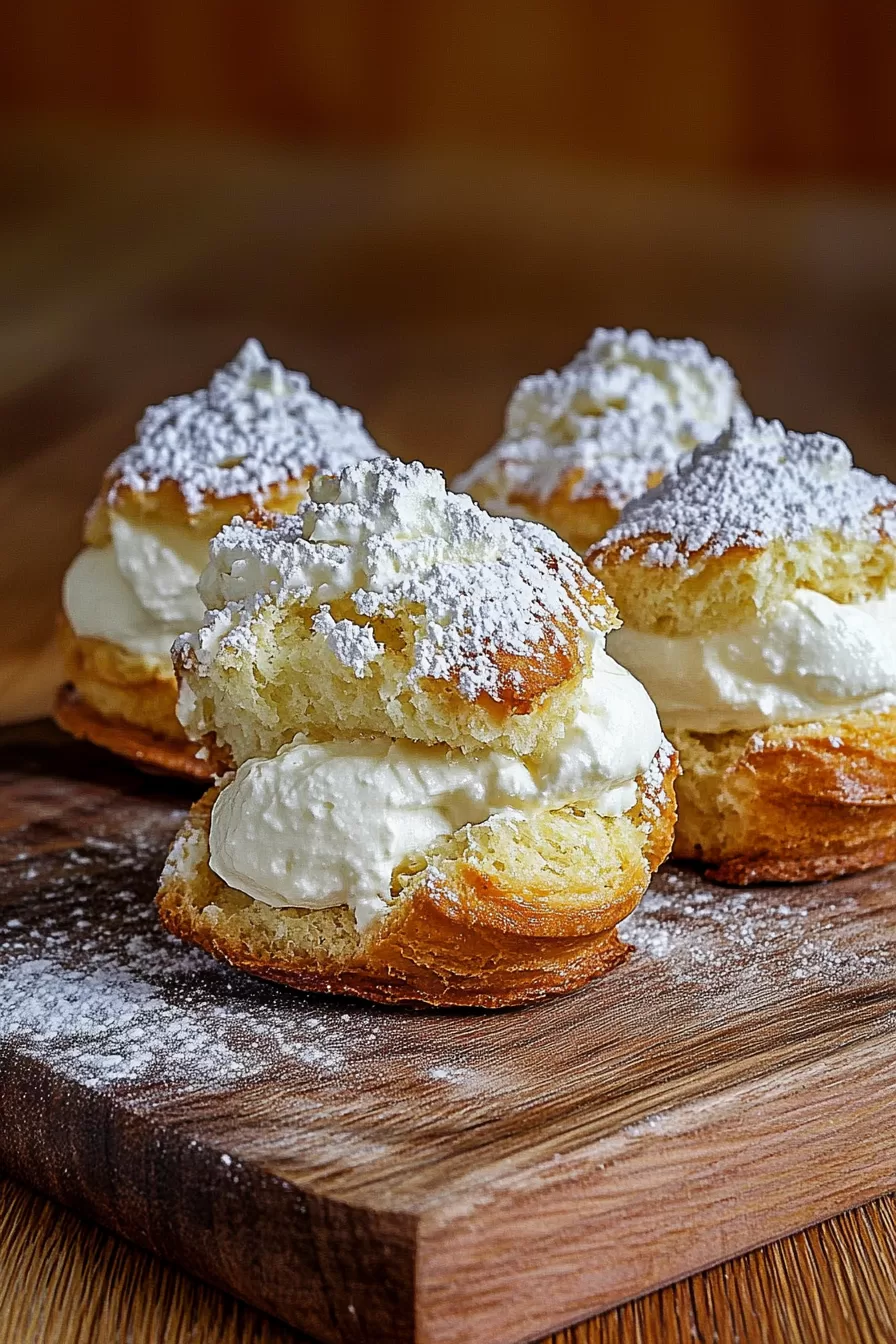
Fluffy Famous Cream Puffs – You know that moment when you take a bite of something so good, it instantly makes your day better? That’s exactly what these Fluffy Famous Cream Puffs do. They’re like little clouds filled with creamy vanilla magic. It’s wild how a few simple ingredients—like butter, eggs, and cream—can transform into something so light, sweet, and comforting. Whether you need to impress or just want to treat yourself, these are your go-to. Seriously, you won’t regret making them.


The first time I made these cream puffs, I had no idea how easy they’d be. I mean, I’m not a professional pastry chef, right? But when I pulled them out of the oven, golden and puffed up like little clouds, I knew I had a winner. My husband was a little skeptical at first—”Are you sure those are supposed to look like that?” he said. And then he took a bite… Game over. My kid? Couldn’t stop sneaking extra puffs when I wasn’t looking. The powdered sugar trail was a dead giveaway! Now, they’re on the list of must-make desserts in our house.
What makes this Fluffy Famous Cream Puffs truly special?
What’s not to love about these? They’re crisp on the outside, soft and creamy on the inside, and just the right amount of sweet. Plus, they look way more complicated than they actually are—hello, showstopper dessert! Whether you’re making them for a party, a weekend treat, or just because you’re craving something delicious, these cream puffs will hit the spot. You’ll feel like a pastry pro with minimal effort. Isn’t that the best kind of recipe?

What You Need To Make This Fluffy Famous Cream Puffs Recipe?
Instant vanilla pudding mix: This stuff is a lifesaver! It makes the filling so easy and quick, but it still tastes like you spent hours whipping it up. I use vanilla, but you could totally switch it up with different flavors if you’re feeling adventurous. Chocolate cream puffs, anyone?
Heavy cream: This is where the filling gets its rich, creamy texture. Don’t skimp on this! You want that smooth, luxurious feel with every bite. And pro tip: Make sure your cream is cold before you mix it—helps it set up nice and thick.
Butter: Butter gives the dough its rich flavor and helps it get that perfect golden color. The dough might look a little weird when you first mix it, but don’t worry, it’s doing exactly what it’s supposed to. Trust the butter magic!
Eggs: Ah, the secret to that fluffy, light texture! The eggs make the dough rise and create those beautiful, hollow centers that you’re going to fill with all that delicious vanilla cream. Add them in one at a time—patience is key here. You’ll see the dough start to come together into this thick, smooth paste, and that’s when you know it’s ready.
All-purpose flour: Flour gives the dough structure, of course. You want to stir it in quickly when the butter and water mixture is hot. The quicker you work it in, the smoother the dough will be. And don’t worry if it looks like a sticky mess at first—it’s supposed to!
Water: It might seem like a small thing, but water helps bring the dough together. It’s the base that mixes with the butter and flour to create that silky, smooth texture you need for perfect cream puffs. Make sure it’s at a rolling boil before you mix in the flour—it makes all the difference!
Vanilla: A little splash of vanilla adds that extra depth to the filling, making it feel more homemade. It’s subtle, but you’d miss it if it wasn’t there. Trust me, vanilla makes everything better.
Steps To Make Fluffy Famous Cream Puffs:
First things first, grab a bowl and mix up the pudding mix, vanilla, heavy cream, and milk. It’s super easy—just whisk it all together until smooth. Then cover it and pop it in the fridge. Let it set while you work on the puff pastry magic.
Now, get a saucepan and toss in the butter and water. Heat it up over medium heat until it’s bubbling away—like a nice rolling boil. As soon as it’s boiling, take it off the heat and dump in the flour and salt all at once. Stir quickly! It’ll turn into a big doughy ball, but that’s exactly what you want. Keep stirring until it looks smooth.
Once you’ve got your dough, throw it into your electric mixer. Let it cool for a minute or two (you don’t want to scramble the eggs). Start mixing on low to release the steam, and now the fun part—add the eggs one at a time. It’ll look a little weird at first, but just keep going. You’re aiming for a thick, smooth dough that holds its shape.
Ready to bake? Spoon or pipe little mounds of dough onto a baking sheet lined with
Want To Save This Recipe?
Here’s a crucial step: when you pull them out, prick each puff with a toothpick. This lets out the steam so they don’t collapse on you. Trust me, you don’t want to skip this. Leave the oven door cracked open and let them dry out for another 10-15 minutes while it cools down.
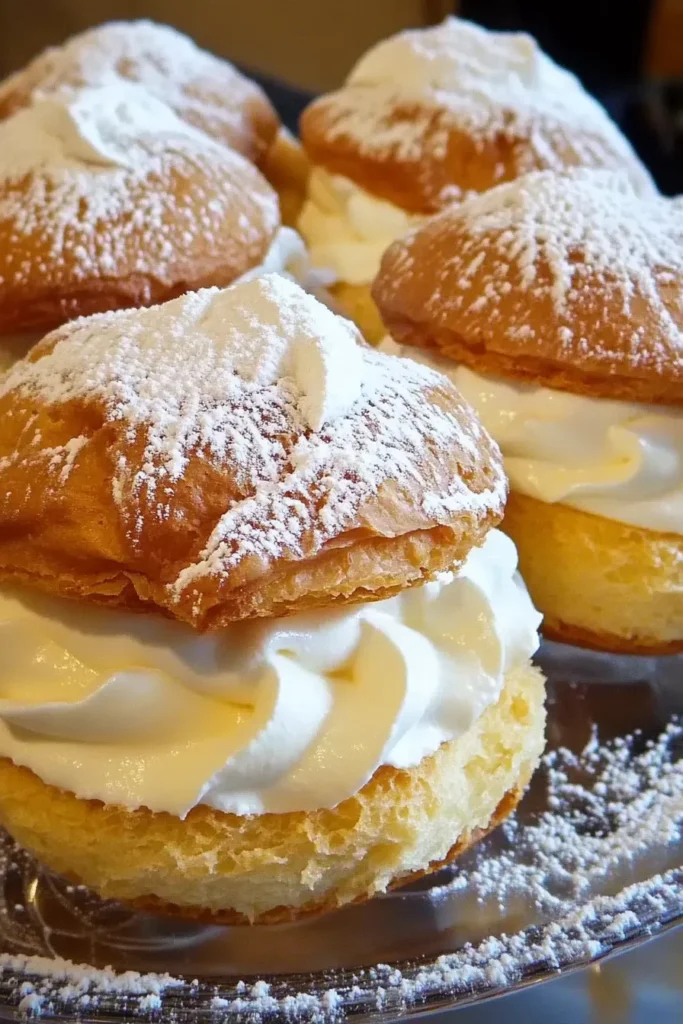
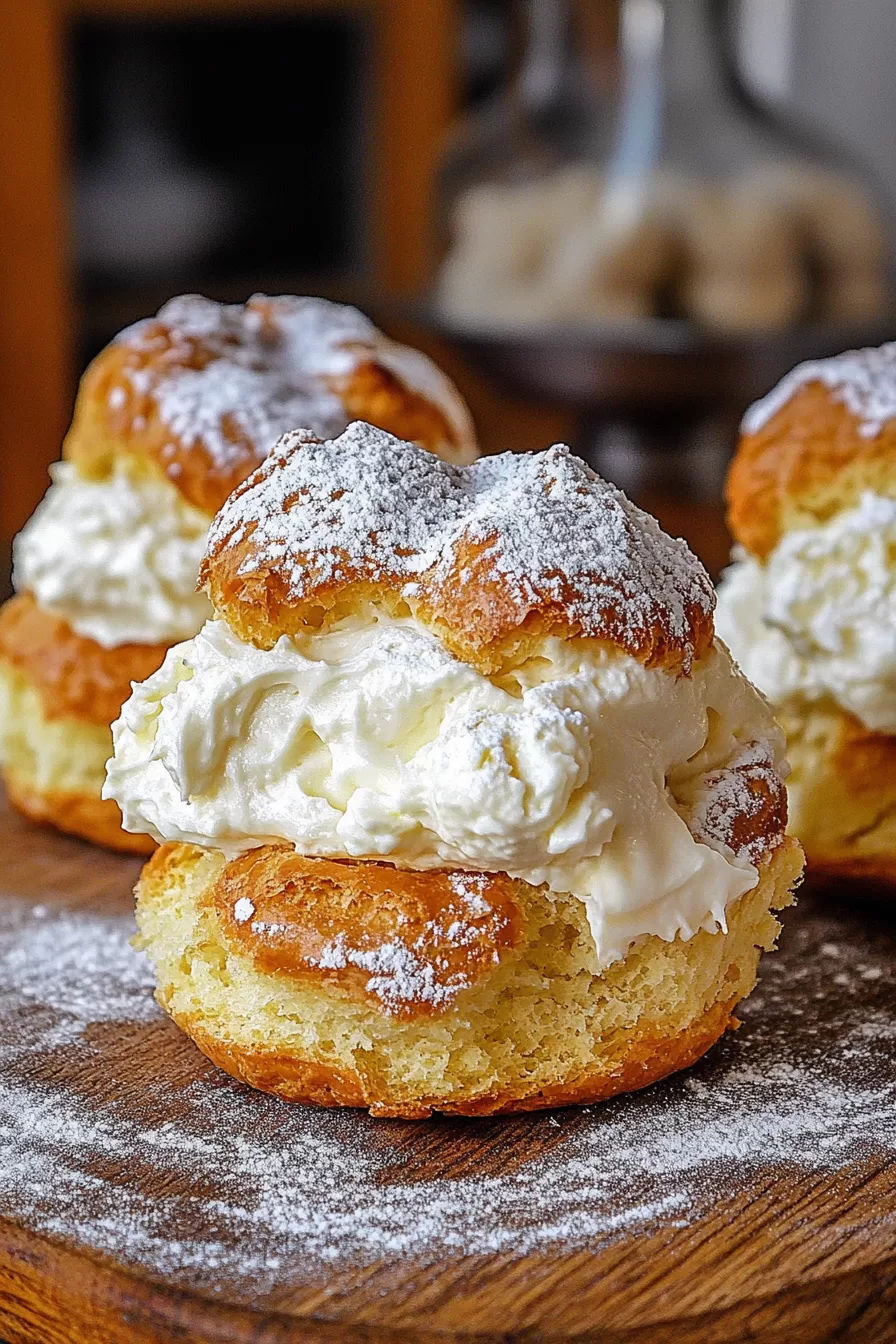
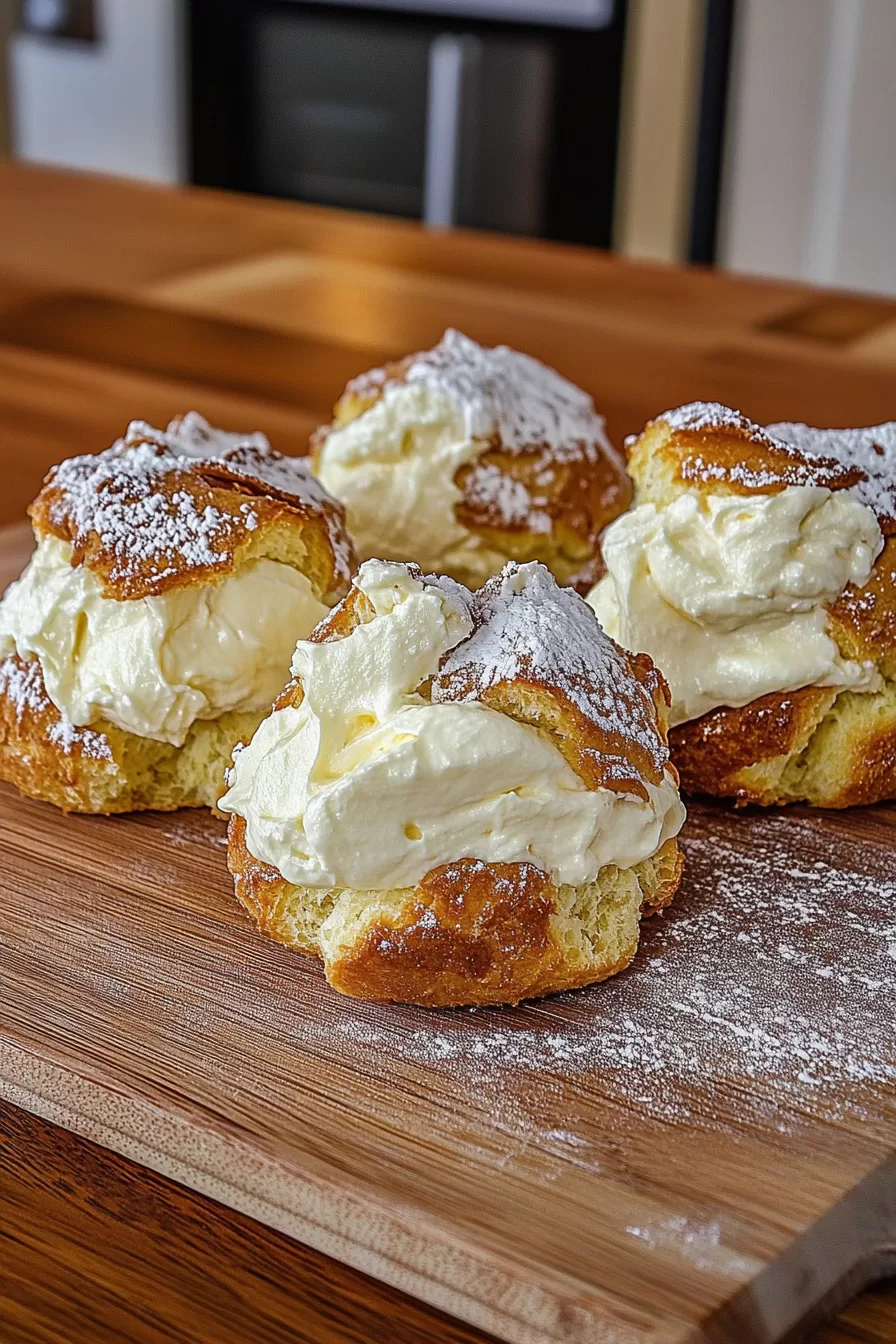
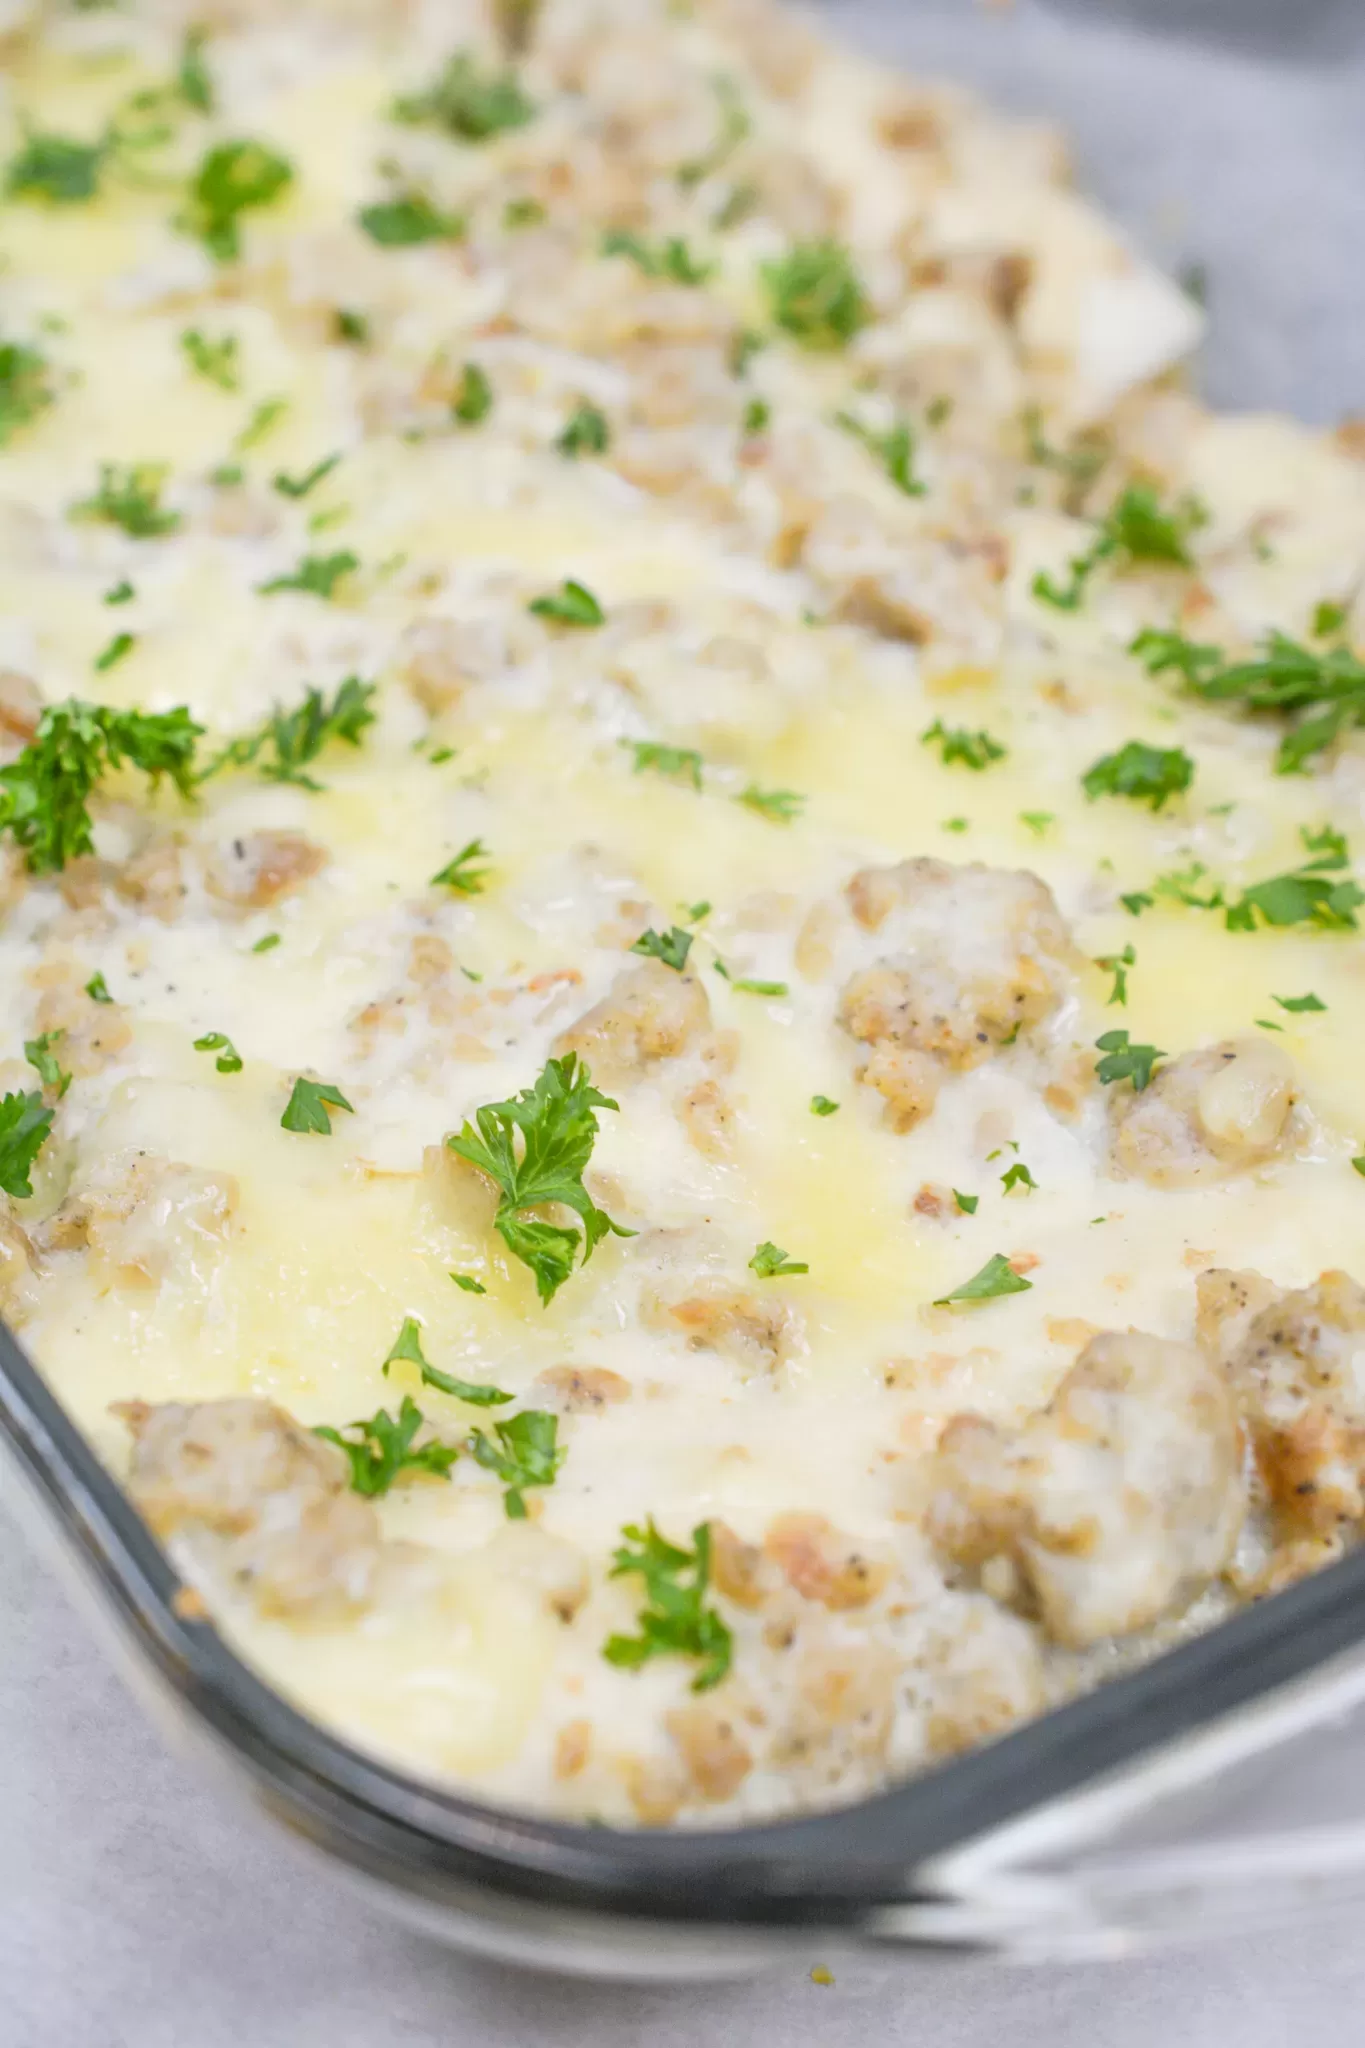
Once they’re nice and cool, it’s time to fill them with that delicious vanilla cream. You can slice them in half and spoon the filling in, or if you want to get fancy, use a piping bag to fill them up. Dust with powdered sugar, and they’re ready to enjoy!
Tip:
The key to getting those perfect, airy cream puffs? Patience—especially when they come out of the oven. I know it’s tempting to skip straight to the filling, but don’t rush it! Once they’re baked, take a toothpick and poke each one to let out the steam. This little step is a total game-changer. Without it, your beautiful puffs could collapse and turn soggy—nobody wants that! After you’ve poked them, let them chill in the oven with the door slightly open for about 10-15 minutes. This helps them dry out and keeps them nice and crisp, so when you finally bite into that creamy center, you’ve still got that perfect crunch on the outside. Trust me, this extra time is totally worth it!
Frequently Asked Questions:
Can I make the cream puff shells ahead of time?
Yes! You can totally make the shells a day or two ahead of time. Just store them in an airtight container at room temperature. When you’re ready to serve, fill them with the pudding and they’ll be just as delicious. If you want to keep them longer, freeze the unfilled puffs and just crisp them up in the oven when you need them.
What if I don’t have a piping bag?
No piping bag? No problem! You can just use a spoon to dollop the dough onto the baking sheet, and for filling them, you can cut them in half and spoon the pudding right inside. They might not look as fancy, but they’ll taste just as amazing!
Why did my cream puffs deflate after baking?
If your cream puffs deflated, it’s probably because they didn’t dry out enough. Make sure to prick each one with a toothpick after baking to release the steam. And don’t forget to let them sit in the oven with the door cracked open for 10-15 minutes after baking. This step keeps them light and prevents them from collapsing.
Keep the Flavor Coming – Try These:
Fluffy Famous Cream Puffs
Ingredients
- 2 3.4 oz packages of instant vanilla pudding mix
- 1 tsp vanilla
- 2 c heavy cream
- 1 c milk
- ½ c butter
- 1 c water
- ¼ tsp salt
- 1 c all-purpose flour
- 4 large eggs
Instructions
- Start by whisking together the instant vanilla pudding mix, vanilla, heavy cream, and milk in a bowl. Cover it up and stick it in the fridge to chill while you get the rest of the magic going.
- Next, grab a heavy saucepan, toss in the butter and water, and heat it over medium until it’s at a rolling boil. Once it’s bubbling, take it off the heat and quickly stir in the flour and salt with a wooden spoon or spatula. Get it back on the heat and keep stirring until the dough pulls away from the sides of the pan and forms a smooth ball—this only takes a minute or so.
- Now, transfer that dough to your electric mixer. Mix on low for about a minute to release the steam. Let it cool slightly, and when it’s warm (not hot), start adding in the eggs one at a time. Keep mixing until the dough turns into a thick, smooth paste.
- Once that’s ready, spoon or pipe small mounds of dough onto a parchment-lined baking sheet, leaving some space between each puff so they can rise.
- Pop them in the oven at 400°F for 15 minutes, then lower the temperature to 350°F. Let them bake for another 30 to 40 minutes, until the puffs are beautifully golden and dry inside.
- Now, here’s a pro tip: don’t forget to prick each puff with a toothpick as soon as they come out of the oven. This helps the steam escape and keeps them from deflating. Turn off the oven and, with the door slightly open, let the puffs dry out for another 10-15 minutes.
- Once they’re done, move the cream puffs over to a wire rack and let them cool all the way through. Once cooled, you can either cut them in half and spoon in the chilled pudding or use a piping bag to fill them. Be sure to give them a light dusting of powdered sugar just before serving for that perfect finishing touch. Enjoy every bite!
Notes
I’m Bitty, owner of nodashofgluten.com, where I share simple, delicious recipes for all tastes, including gluten-free. Check out my “About Me” page for more info!