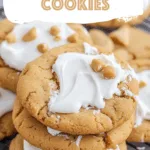
Creamy peanut butter, fluffy marshmallow creme, and perfectly baked cookies – these Fluffernutter Cookies are the nostalgic treat you need.
Okay, hear me out. You know those days when nostalgia just smacks you in the face? Like, you’re scrolling through old photos or finding a random trinket that transports you straight back to childhood? That’s exactly how these Fluffernutter Cookies came to life.
I was cleaning out a dusty old box of kitchen stuff from my college days—random mugs, a couple of chipped plates, you know, the usual. But then I found this ancient jar of peanut butter, clearly past its prime but instantly reminding me of all those late-night fluffernutter sandwiches I used to make. You know, the kind you’d slap together with white bread, peanut butter, and a ridiculous amount of marshmallow fluff because moderation is for grown-ups, right?
The thing is, I hadn’t thought about fluffernutter sandwiches in ages. But the craving hit me like a sugar-high kid on Halloween. And, being me, I couldn’t just make a regular old sandwich. Oh no. It had to be something new, something better. And that’s how Fluffernutter Cookies were born.


I remember the first batch I made. They were a complete disaster. The marshmallow creme just oozed out everywhere, turning the cookies into these flat, caramelized blobs. But you know what? Even then, they tasted like heaven. So, I tweaked the recipe a bit, added some structure, and… well, let’s just say they didn’t last long enough for me to take pictures.
These cookies? They’re like childhood cranked up to 11. And I’m not even sorry about it.
Why You’ll Love This Fluffernutter Cookies Recipe?
Here’s the thing—these cookies are more than just a dessert. They’re a whole experience. And honestly, who doesn’t need a little throwback to simpler times? Here’s why I think you’re going to love them:
-
Nostalgia Overload: If you ever had a fluffernutter sandwich, these cookies will send you right back to those sticky-fingered days. And if you didn’t? Well, now’s your chance to catch up.
-
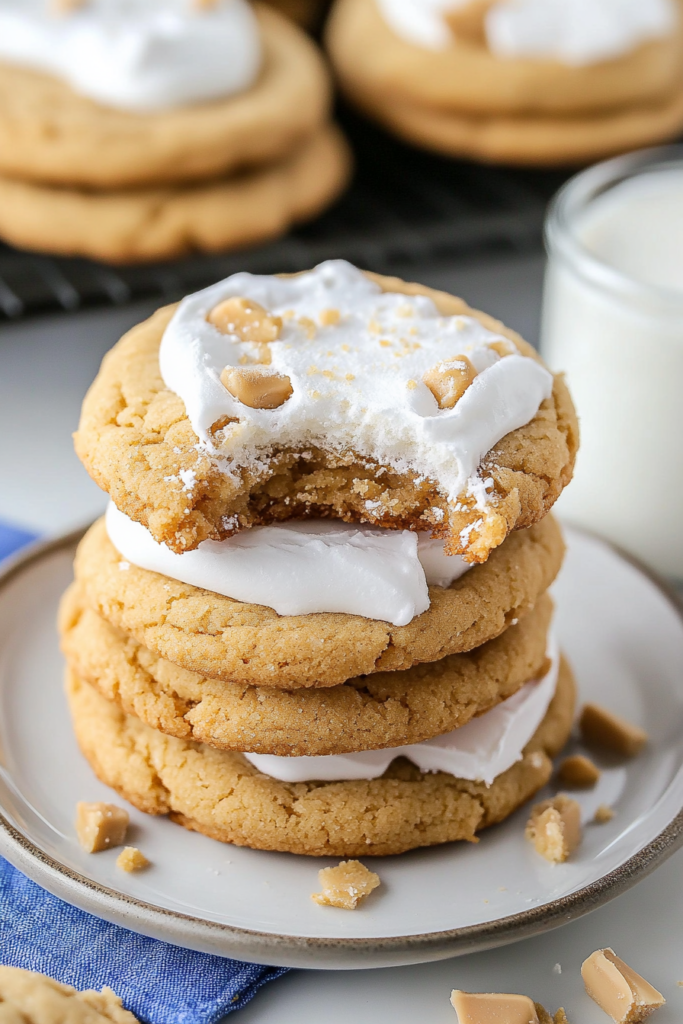
Perfect Texture Combo: Crispy on the edges, chewy in the middle, and then you hit those gooey pockets of marshmallow creme. It’s basically magic.
-
Ridiculously Easy to Make: No chilling, no fancy equipment. Just mix, scoop, bake, and devour.
-
Crowd-Pleaser: Serve these at a party and watch them disappear. Seriously. They’re like the cookie version of potato chips—you can’t eat just one.
-
Endlessly Customizable: Want to throw in some chocolate chips or drizzle caramel on top? Go for it. These cookies are basically a blank canvas for deliciousness.

Ingredient Notes:
Let’s break down what makes these Fluffernutter Cookies so darn good:
-
Peanut Butter: I used classic creamy peanut butter like Jif or Skippy. It’s what gives these cookies their signature fluffernutter flavor. Natural peanut butter? Save it for your health kick days—this recipe’s all about indulgence.
-
Marshmallow Creme: Jet-Puffed works great, but really, use whatever you have on hand. It’s the key to those gooey centers.
-
Sugars (Brown & Granulated): You need both. The brown sugar adds chewiness, while the granulated gives you a little crispness around the edges. Balance, people.
-
All-Purpose Flour: Classic all-purpose flour works just fine here. Just make sure to measure it properly. Too much flour = dry cookies.
-
Butter: Room temperature, always. Otherwise, you’ll be fighting lumps, and nobody has time for that.
How To Make Fluffernutter Cookies?
Step 1: Prep Everything
Preheat your oven to 350°F (175°C). Line two baking sheets with parchment paper. Because trust me, you do not want these cookies sticking.
Step 2: Make the Dough
In a mixer, beat together butter, brown sugar, and granulated sugar until it’s fluffy and looks like something you want to dive into face-first (about 3 minutes). Then, add peanut butter and mix until smooth. Add eggs, one at a time, and mix well. Stir in vanilla extract.
Step 3: Combine Dry Ingredients
In another bowl, whisk together flour, baking soda, baking powder, and salt. Gradually add the dry ingredients to the wet mixture. Mix until just combined. Overmixing will make your cookies sad and tough, and nobody wants that.
Want To Save This Recipe?
Step 4: Fill with Marshmallow Creme
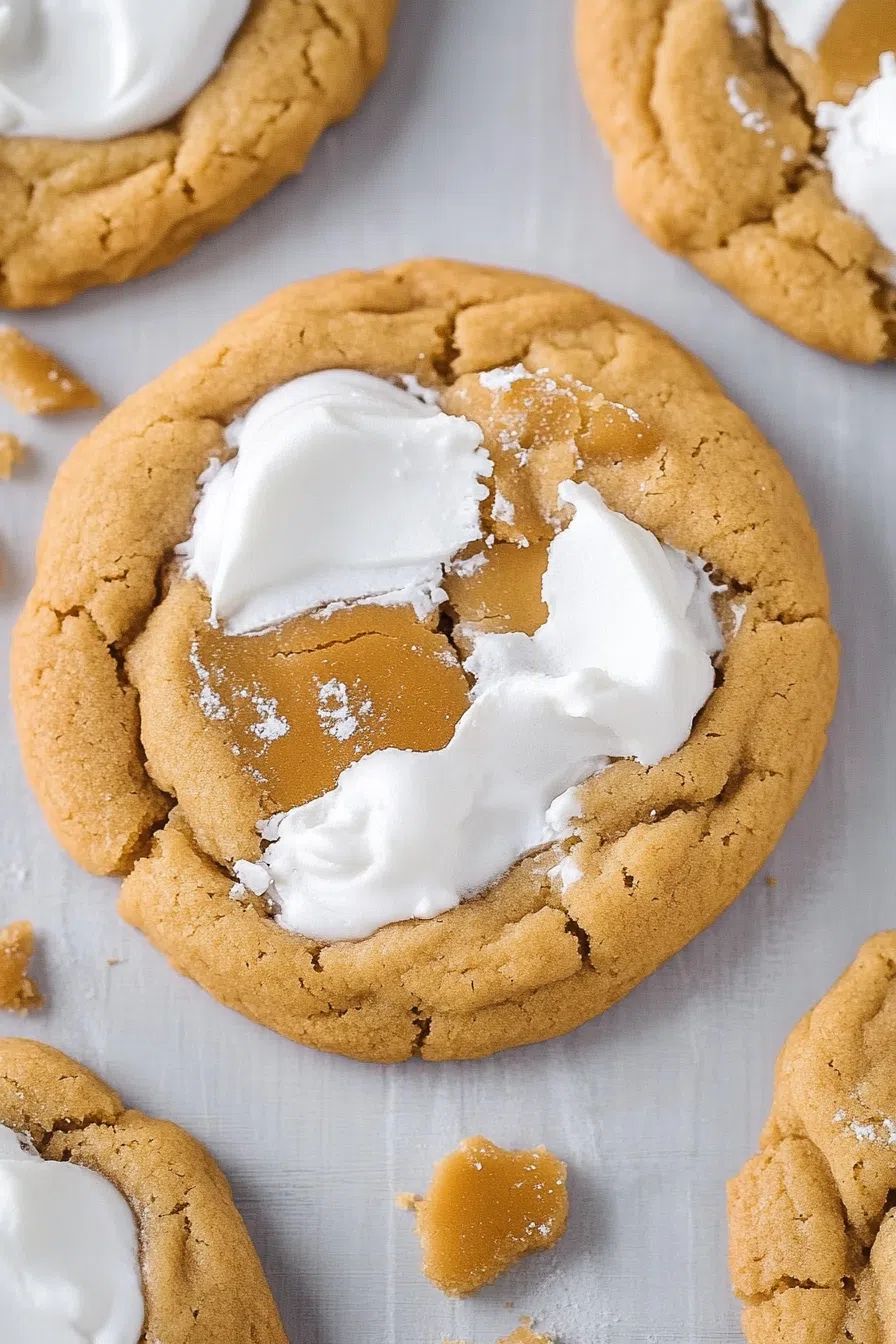
Scoop out portions of dough and roll them into balls. Press a little well into each ball and spoon in some marshmallow creme. Carefully seal the dough around it—yes, it’s messy, but that’s half the fun.
Step 5: Bake to Perfection
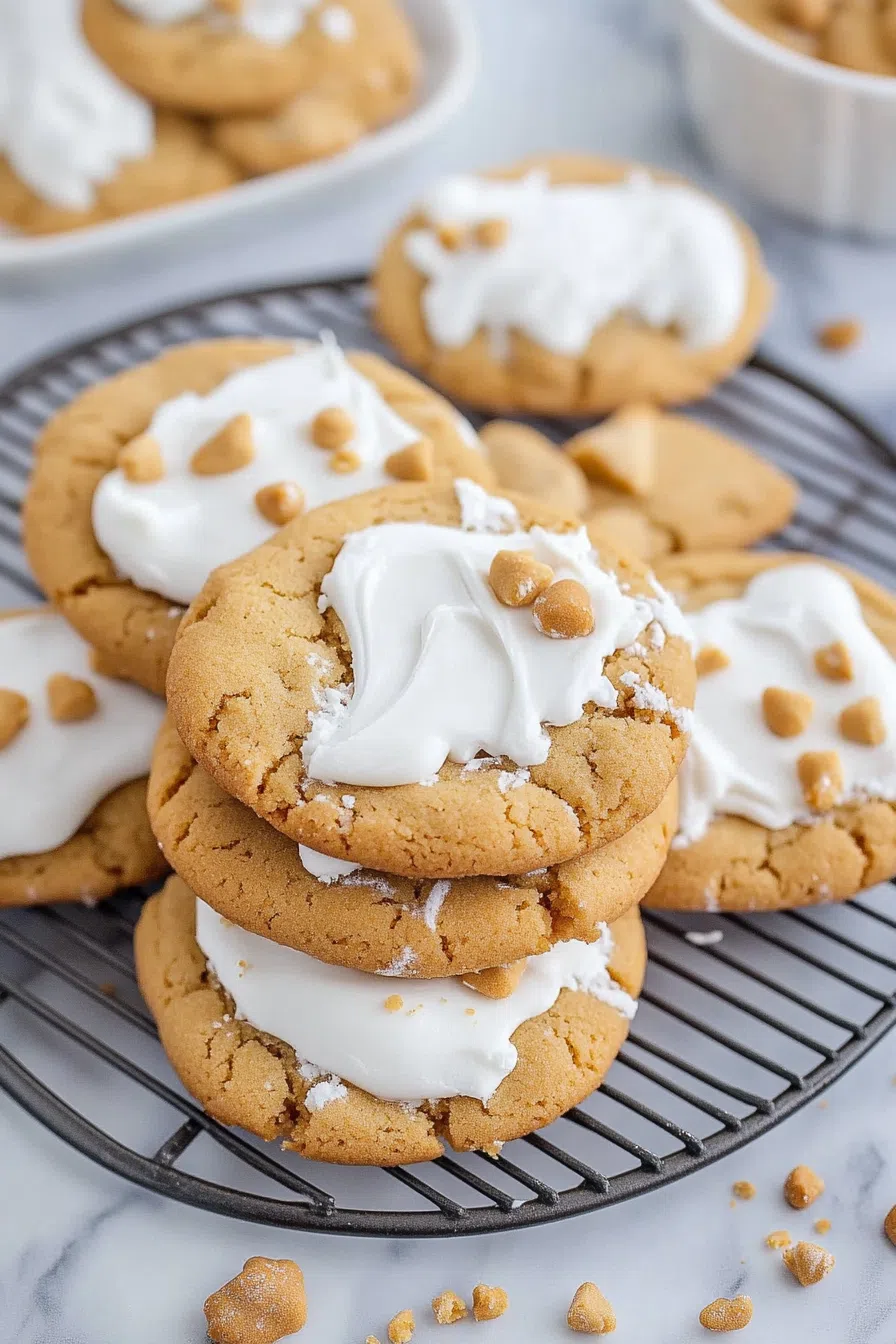
Place the dough balls on your baking sheets and slightly flatten them. Bake for 10 minutes or until the edges are set. They might look a bit underdone in the center, but that’s what gives them that perfect chew. Let them cool for 10 minutes before moving them to a wire rack. Or just eat them straight from the tray—I won’t judge.
Storage Options:
-
Room Temperature: Keep in an airtight container for up to 5 days. If they last that long.
-
Fridge: Store for a week, though the texture will change a bit.
-
Freezer: Freeze the dough balls or baked cookies for up to 3 months. They’re just as good after thawing.
Variations and Substitutions:
-
Add Chocolate Chips: Because why not? Peanut butter and chocolate are a classic combo.
-
Gluten-Free Version: Swap out the all-purpose flour for a 1:1 gluten-free flour blend. No one will even know.
-
Salty-Sweet Magic: A sprinkle of sea salt on top before baking is pure bliss.
-
Stuff with Nutella: Feeling wild? Add a little dollop of Nutella in the center along with the marshmallow creme. It’s insane.

What to Serve with Fluffernutter Cookies?
-
Cold Milk: Because some things are just meant to be.
-
Coffee or Hot Chocolate: For the ultimate cozy experience.
-
Vanilla Ice Cream: Trust me on this one—cookie sandwiches are where it’s at.
Frequently Asked Questions:
Can I use crunchy peanut butter?
Absolutely! It adds a little extra texture and honestly, who’s complaining?
Can I freeze the dough?
Yes! Just scoop, roll, and freeze. Bake straight from frozen with a few extra minutes.
What’s the best way to store these cookies?
Airtight container at room temp for a few days, but good luck making them last that long.

Alright, I’ve rambled enough. Now I have to know—are you a purist or do you throw in chocolate chips, sea salt, or Nutella? Let me know in the comments!
Keep the Flavor Coming – Try These:
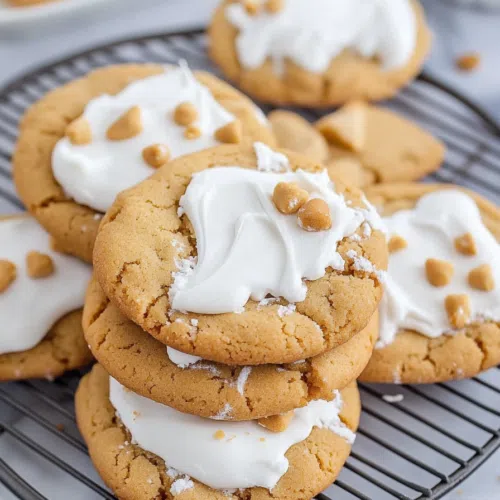
Fluffernutter Cookies
Ingredients
- 1/2 c 113 grams unsalted butter, room temperature
- 1/2 c 100 grams light brown sugar, packed
- 1/2 c 100 grams granulated sugar
- 1 c 280 grams smooth peanut butter (Skippy or Jif)
- 2 large eggs room temperature
- 1 1/2 tsp vanilla extract
- 1/2 c marshmallow creme Jet-Puffed
- 2 c 250 grams all-purpose flour, spooned and leveled
- 1 tsp baking soda
- 1 tsp baking powder
- 1/2 tsp salt
Instructions
- Preheat your oven to 350°F (175°C) and line two baking sheets, with parchment paper.
- In a mixer beat together the butter, brown sugar and granulated sugar until it becomes fluffy (3 minutes).
- Mix in the peanut butter until it becomes smooth. Then add the eggs one at a time making sure to mix after each addition.
- Stir in the vanilla extract.
- In a bowl whisk together the flour, baking soda, baking powder and salt.
- Gradually add the dry ingredients to the wet mixture. Mix until everything is just combined.
- Scoop out portions of dough. Roll them into balls. Create a well in each ball. Fill it with marshmallow creme. Seal the dough around the creme.
- Place these dough balls onto your baking sheets. Gently flatten them slightly. Bake, for 10 minutes until you notice that their edges are set.
- Let these cookies cool on their baking sheets for 10 minutes before transferring them onto a wire rack.
Notes
I’m Bitty, owner of nodashofgluten.com, where I share simple, delicious recipes for all tastes, including gluten-free. Check out my “About Me” page for more info!