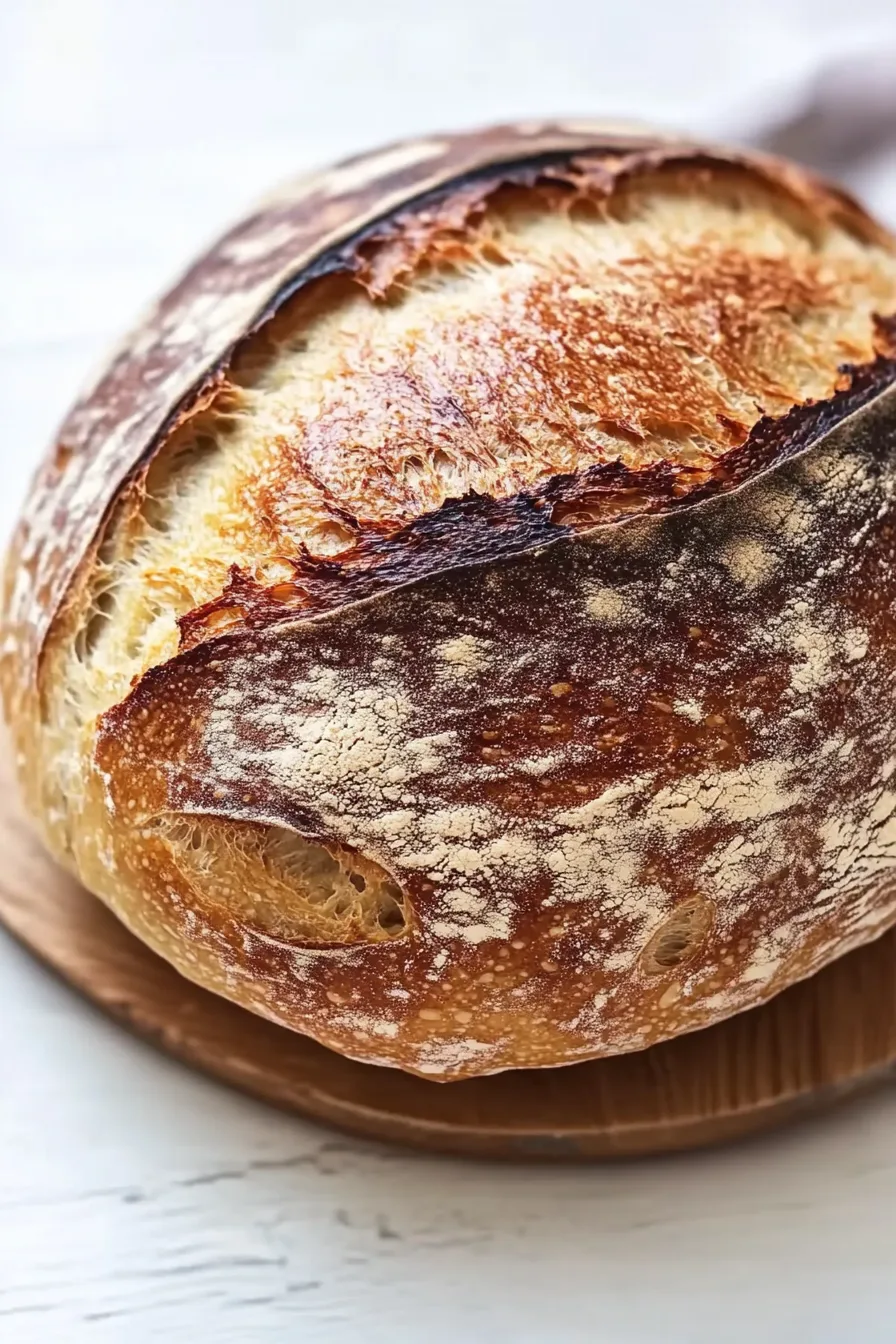
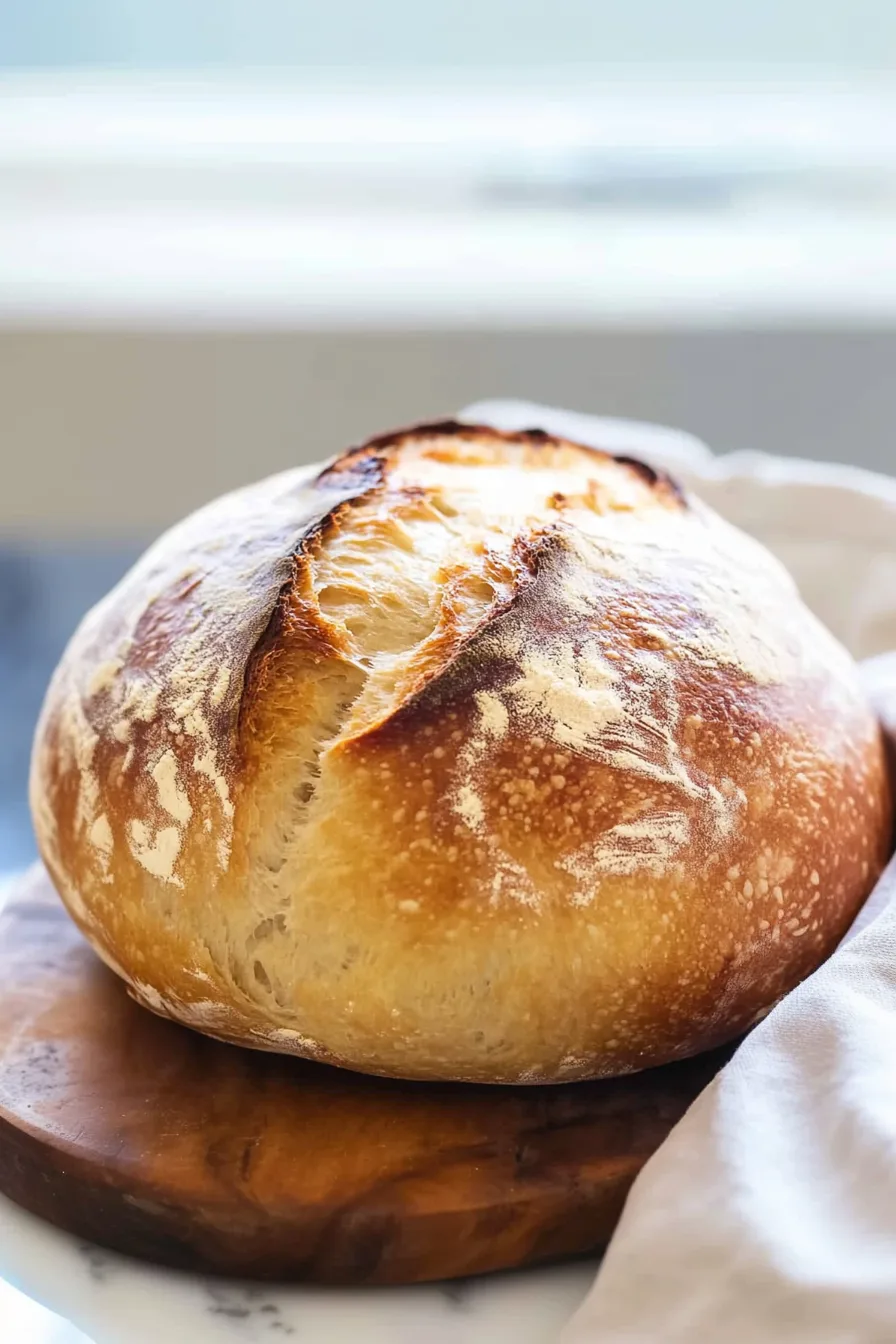
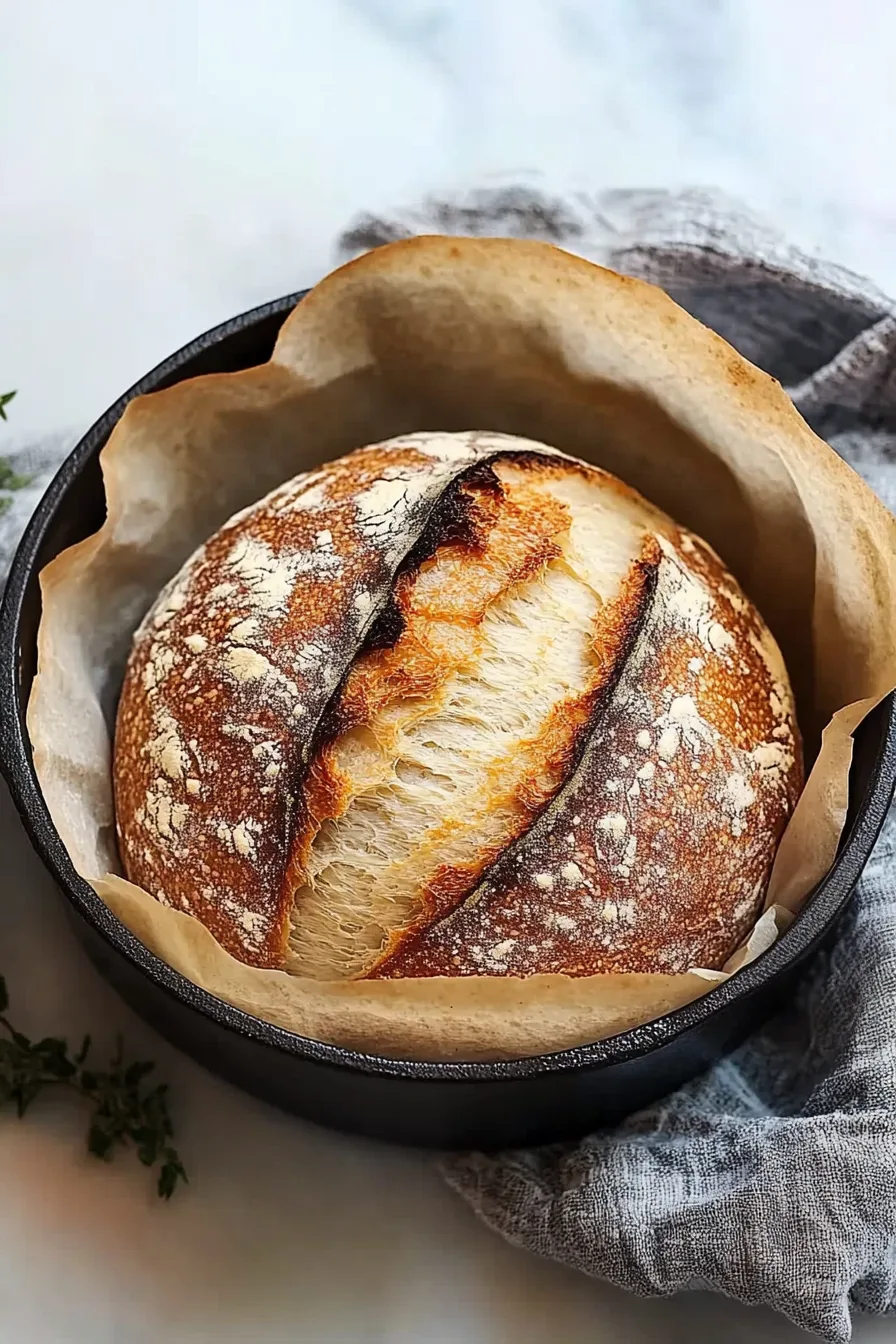
Golden, crusty Easy No-Knead Bread made with simple ingredients—flour, yeast, salt, and water. Zero kneading, just patience, heart, and a Dutch oven.
So, I’ve got a confession. For years, I thought “real bread” — you know, that gorgeous rustic loaf with the crispy crust and chewy inside — was something only patient, apron-wearing grandmas in French villages could make. I grew up watching my aunt knead dough for what felt like hours, her hands dusted in flour, humming along to some old song on the radio. It looked peaceful, sure, but I didn’t have that kind of patience.
Then came lockdown — remember those “everyone’s baking bread now” days? Yeah, I caved. But I wanted an easier way in. No kneading, no stress, no buying fancy tools I’d use once and forget. That’s when I stumbled into the Easy No-Knead Bread world — and honestly, it was love at first loaf.


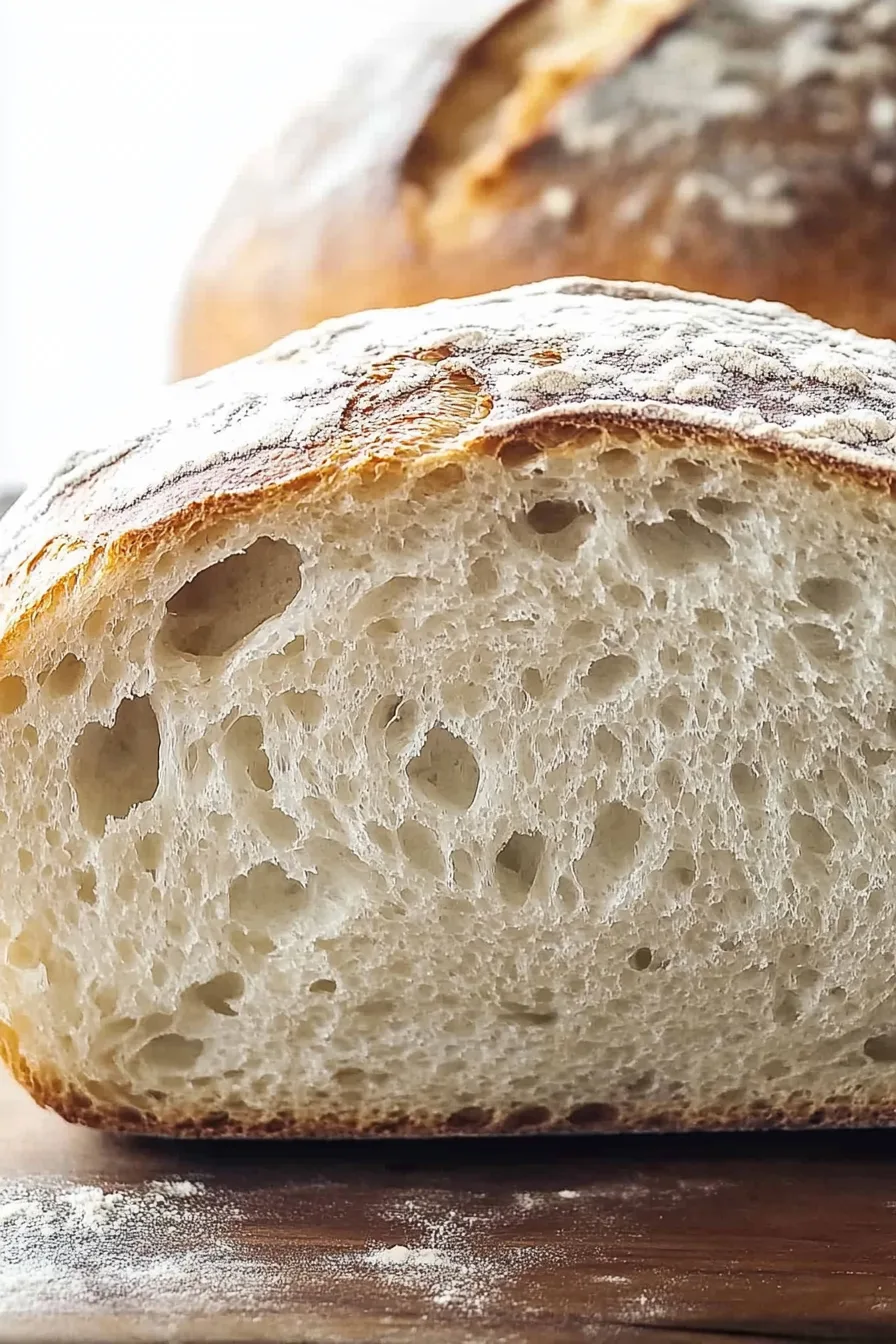
The first time I made it, my kitchen smelled like something out of a bakery — warm, toasty, slightly sweet. When I cracked into that loaf, it sounded like applause. No exaggeration. It was crisp and golden on the outside, fluffy on the inside, and I remember thinking, “Wait, I did this?”
Now, it’s become this comforting little ritual. When life feels chaotic, I mix flour, yeast, salt, and water, cover it, and let time do its thing. There’s something beautifully humbling about that — letting go and trusting it’ll rise, even when everything else in life feels like it won’t.
Why You’ll Love This Easy No-Knead Bread Recipe?
This bread feels like magic in a bowl. You stir four ingredients together, leave it alone, and somehow — through the quiet patience of time — you get a loaf that tastes like you bought it from a fancy bakery. Except you didn’t. You made it, barefoot in your kitchen, probably in pajamas.
It’s the ultimate “set it and forget it” recipe. No special skills, no kneading, no intimidation. Just mix, rest, bake. The crust comes out crackly and golden, the inside tender and slightly chewy, and it smells like the kind of cozy happiness you can’t fake.
What makes this Easy No-Knead Bread even better? It’s flexible. You can’t really mess it up. Even if your dough looks weird or your loaf cracks funny, it’ll still taste amazing. That’s the beauty of it — it forgives you for not being perfect.
And if we’re being honest? That’s kind of comforting, right?
Ingredient Notes:
Here’s the thing — you only need four main ingredients for Easy No-Knead Bread, and yet somehow, they turn into something that feels… almost special.
-
Flour: All-purpose flour is perfect. If you’ve got bread flour, even better. But seriously, don’t stress — any decent flour works.
-
Yeast: Instant yeast is your best friend here. You can use active dry too, just dissolve it in water first. I’ve done both — they both work.
-
Salt: Don’t skip it. Salt isn’t just flavor; it controls the rise and balances everything out.
-
Water: Room temperature is fine. You’re not brewing beer — don’t overthink it.
-
Cornmeal or Flour (for dusting): Keeps the loaf from sticking and adds a little rustic charm to the bottom crust.
Pro tip from someone who learned the messy way: when your dough looks sticky and uncooperative, that’s when it’s perfect. If it looks too pretty, you probably added too much flour. Bread’s like life — a little messy, but that’s where the good stuff happens.
How To Make Easy No-Knead Bread?
Let’s get into it. This isn’t a “follow every step precisely” kind of recipe — it’s more of a vibe. Think lazy Sunday morning with coffee in hand kind of cooking.
Step 1: Mix and Forget
In a large bowl, combine your flour, yeast, and salt. Pour in the water, mix it together with a spoon or even your hand — don’t overthink it. The dough should be sticky and rough. Cover the bowl with plastic wrap and let it sit at room temperature for 8 to 24 hours.
That’s it. Go live your life. Binge-watch something, go on a walk, or forget about it until tomorrow. When you come back, you’ll see a bubbly, airy dough that looks alive. Kind of like it did yoga while you weren’t looking.
Step 2: Shape (Kind Of)
Lightly flour a surface and turn out your dough. It’ll be soft and a little sticky — don’t panic. Using floured hands, fold the dough a few times, bringing the edges toward the center. You’re not sculpting — just giving it a bit of structure. Then, shape it into a ball.
Step 3: Second Rise
Place your dough on parchment paper dusted with cornmeal or flour. Cover it with a towel and let it rise again for about 1½ to 2 hours, until it’s doubled in size and feels light. This is when you start preheating your oven — set it to 500°F and put your Dutch oven inside. That pot needs to get super hot to create that signature crust.
Step 4: Bake Time
When your dough’s ready, make a few slashes on top with a sharp knife — purely for looks (and to let steam escape). Carefully lift the parchment and place the dough into the hot pot. Cover with the lid and bake for 30 minutes.
Then, remove the lid, lower the temperature to 450°F, and bake another 20–25 minutes until it’s golden and crisp. The smell will be outrageous.
Step 5: The Hardest Part — Waiting
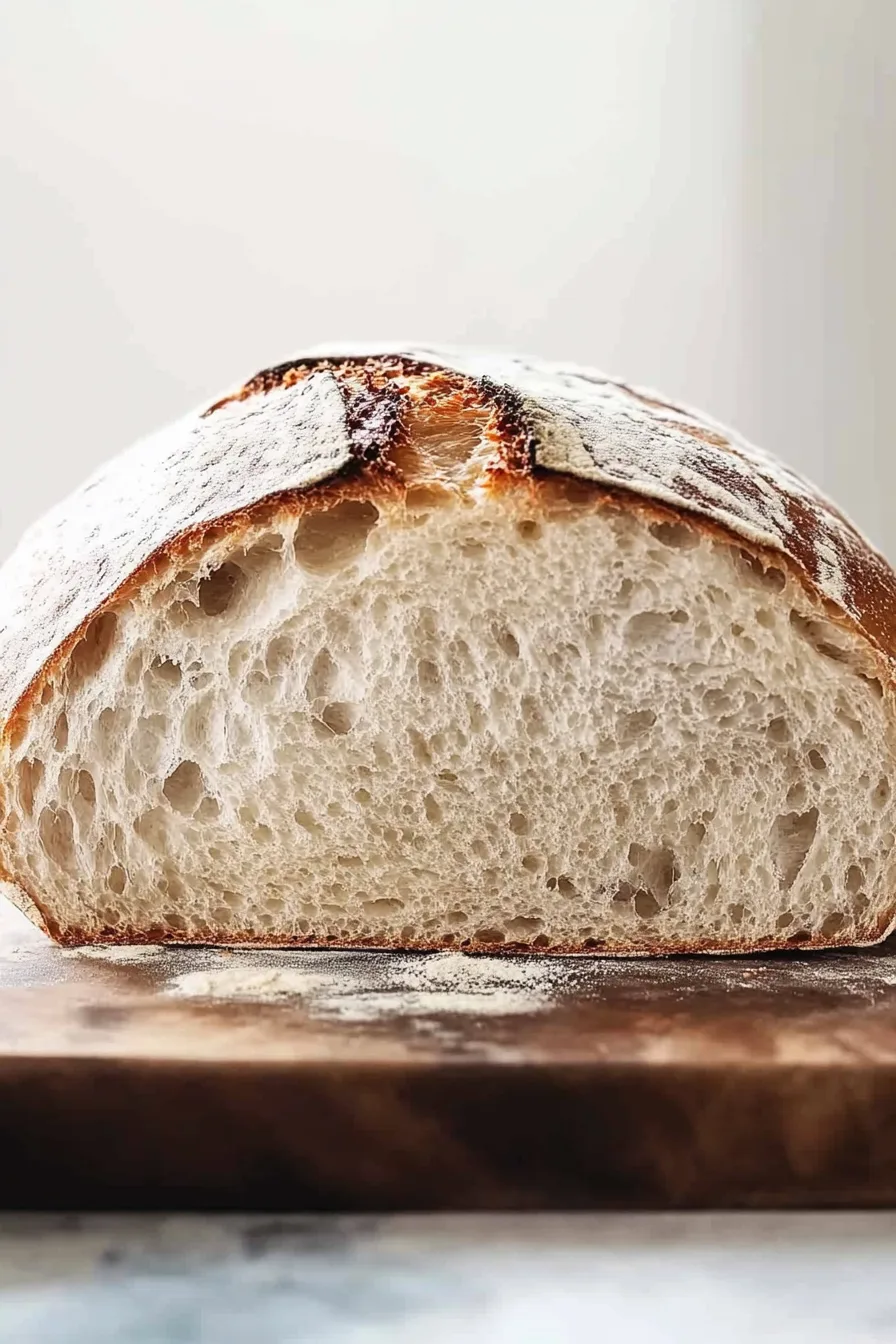
Take it out of the pot, set it on a wire rack, and don’t cut it yet. I know. It’s torture. But if you slice it too early, you’ll ruin that perfect texture inside. Let it cool completely — the crust will crackle as it settles. That sound? That’s pure happiness.
Storage Options:
If, and this is a big if, you don’t devour the whole loaf immediately — wrap it in a clean towel or store it in a paper bag. That keeps the crust crisp. Avoid plastic unless you prefer soft bread.
You can also freeze it. Slice it first so you can reheat just what you need. Pop a slice in the toaster or oven, and it’ll taste freshly baked all over again. Honestly, there’s something magical about pulling a piece of homemade bread out of the freezer on a random Tuesday.
Want To Save This Recipe?
Variations and Substitutions:
Once you nail the base recipe, the sky’s the limit. This Easy No-Knead Bread is like a blank canvas — here are a few fun spins.
-
Add herbs: Rosemary or thyme adds an earthy flavor that makes your kitchen smell divine.
-
Cheese: Parmesan, cheddar, or asiago. Trust me.
-
Whole Wheat: Swap half the flour for whole wheat for a heartier loaf.
-
Seeds: Add sesame, sunflower, or flax for crunch and texture.
-
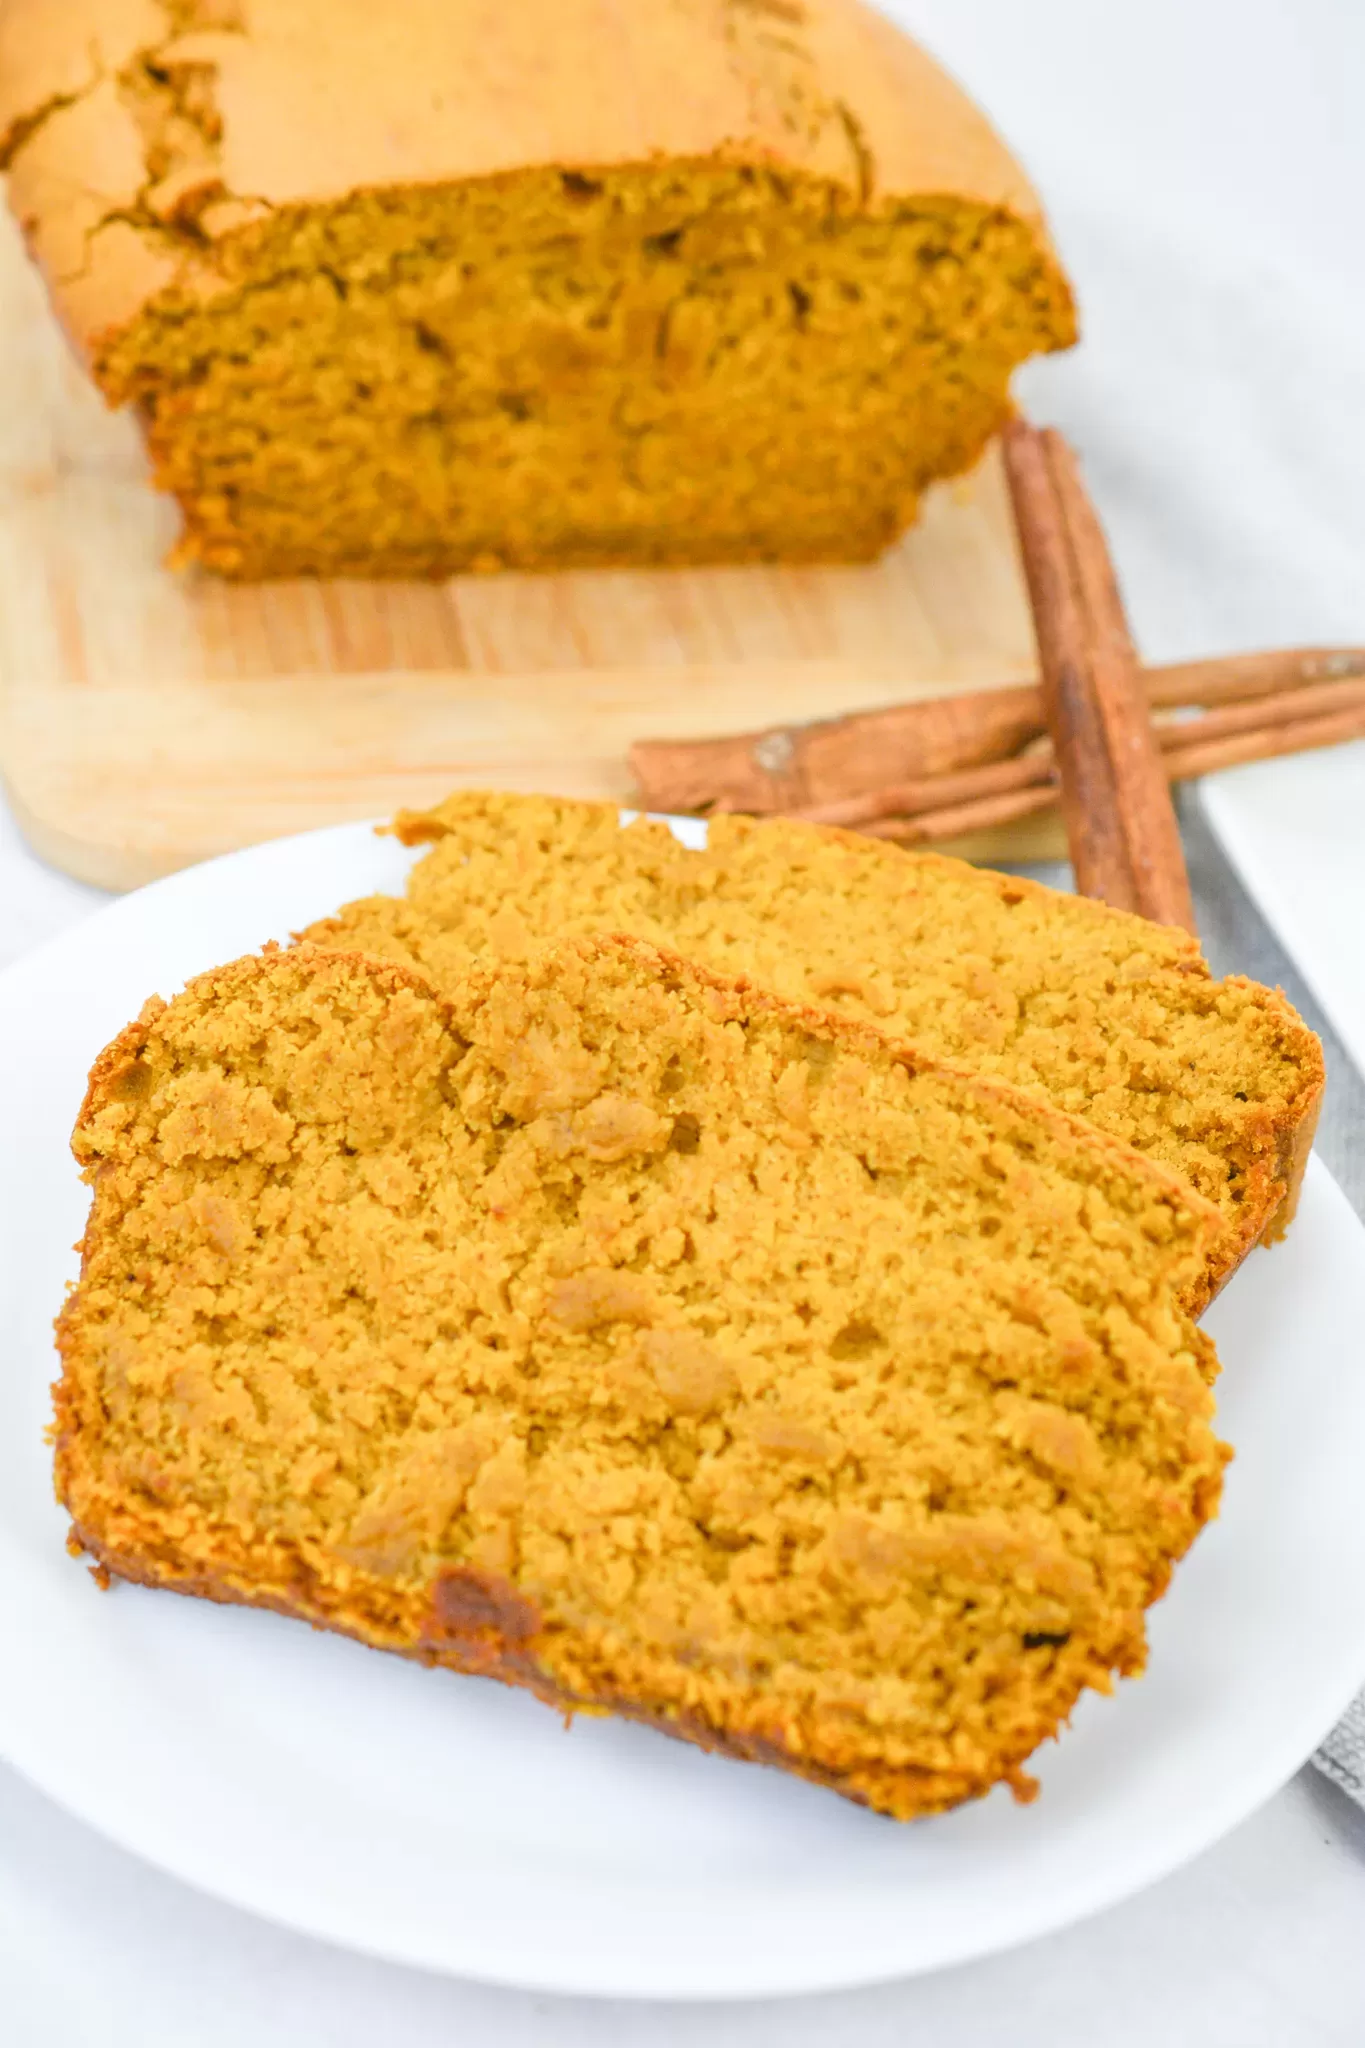
Sweet version: Replace some water with milk and add honey or cinnamon sugar for a breakfast twist.
Don’t be afraid to experiment. Bread doesn’t judge you. Worst case, it’s still edible.
What to Serve with Easy No-Knead Bread?
This bread’s a total show-off — it goes with everything.
-
Soups & Stews: Dip it into tomato soup, chili, or whatever’s simmering on the stove.
-
Pasta: Mop up that last bit of sauce. You know you want to.
-
Breakfast: Toast it, butter it, slather on jam or avocado. Heaven.
-
Cheese boards: It’s the best wingman to cheese and wine.
-
Olive oil: Just a drizzle, a pinch of salt, and maybe a glass of red wine on the side. Simple. Perfect.
Sometimes, I just eat it plain — standing over the counter, still warm, with a bit of butter melting into the cracks. No shame.
Frequently Asked Questions:
Can I use active dry yeast instead of instant?
Yep! Just dissolve it in a little warm water first. Works just fine.
What if I don’t have a Dutch oven?
Any heavy pot with a lid will do. Even a deep baking dish with foil on top in a pinch.
Can I add mix-ins?
Absolutely. Go wild — garlic, olives, nuts, dried fruit, herbs. Whatever makes you happy.
And that’s it — Easy No-Knead Bread. A humble, beautiful loaf that’ll make your home smell like an artisan bakery. The kind of bread that makes you slow down, even just for a minute.
Every time I bake it, I think about that first loaf — me, standing by the oven, listening to the crackle of cooling crust and feeling weirdly proud. You don’t need perfection for moments like that. Just patience, a little curiosity, and maybe a stick of butter nearby.
So, what do you say? Wanna give it a try? Just warning you — once you do, there’s no going back to store-bought.
Can’t wait to hear what your first loaf looks like.
Keep the Flavor Coming – Try These:


Easy No-Knead Bread
Ingredients
- 4 cups 480g all-purpose flour plus additional flour for shaping
- 1 teaspoon instant “rapid rise” yeast or active dry yeast (if using active dry, dissolve in water first)
- 1½ teaspoons salt
- 1½ cups room-temperature water
- ¼ cup cornmeal or all-purpose flour for dusting before final rise
Instructions
Mix the Dough
- In a large mixing bowl, whisk together the flour, yeast, and salt until evenly combined. Create a well in the center and pour in the water. Mix with a spoon or your hands until the ingredients form a soft, sticky dough.
- If preferred, this step can also be completed using a stand mixer with the paddle attachment. Mix just until the flour is fully incorporated. The dough should appear loose and slightly tacky.
First Rise
- Cover the bowl tightly with plastic wrap and let it rest at room temperature for 8 to 24 hours, allowing the dough to ferment and rise slowly. A longer resting time will produce a more complex flavor.
- After the first rise, the dough may be refrigerated for up to 5 days. Before proceeding to shaping, allow it to return to room temperature for approximately one hour.
Prepare for Shaping
- Line a baking sheet with parchment paper and dust it generously with cornmeal or flour. On a well-floured surface, gently turn out the dough. With floured hands, lift one edge of the dough and fold it over toward the center. Rotate it one-quarter turn and repeat the process two to four times. This folding technique strengthens the structure of the dough.
Shape the Dough
- Pat the dough gently into a thick square. Bring all four corners toward the center to form a round loaf, pinching the seams to seal them. Turn the dough seam-side down, and with lightly floured, cupped hands, shape it into a smooth ball. Transfer the dough onto the prepared parchment paper.
Second Rise
- Lightly dust the top of the loaf with flour and cover it loosely with a clean towel or cloth napkin. Allow the dough to rise for 1½ to 2 hours, or until doubled in size and soft to the touch.
Preheat the Oven and Dutch Oven
- Approximately 45 minutes before baking, preheat the oven to 500°F (260°C). Place an empty 5-quart cast-iron or enameled Dutch oven (with its lid) inside to preheat thoroughly.
- Note: If the Dutch oven has a non-metal knob, wrap it in foil to protect it from high heat.
Score the Loaf
- Once the dough has risen, make a series of shallow slashes across the top using a sharp serrated knife or bread lame. These cuts allow the bread to expand evenly during baking.
Bake the Bread
- Carefully remove the preheated pot from the oven. Lift the parchment paper with the dough and place it gently inside the Dutch oven. Cover with the lid and bake for 30 minutes.
Finish Baking
- Reduce the oven temperature to 450°F (230°C). Remove the lid and continue baking for 20–25 minutes, or until the crust is deeply golden brown and the internal temperature of the bread reaches 190–210°F (88–99°C) when tested with an instant-read thermometer.
Cool the Bread
- Using a spatula, lift the bread from the pot and transfer it to a wire cooling rack. Allow it to cool completely before slicing. Cutting the bread too soon may compromise its texture and structure.
Notes
I’m Bitty, owner of nodashofgluten.com, where I share simple, delicious recipes for all tastes, including gluten-free. Check out my “About Me” page for more info!