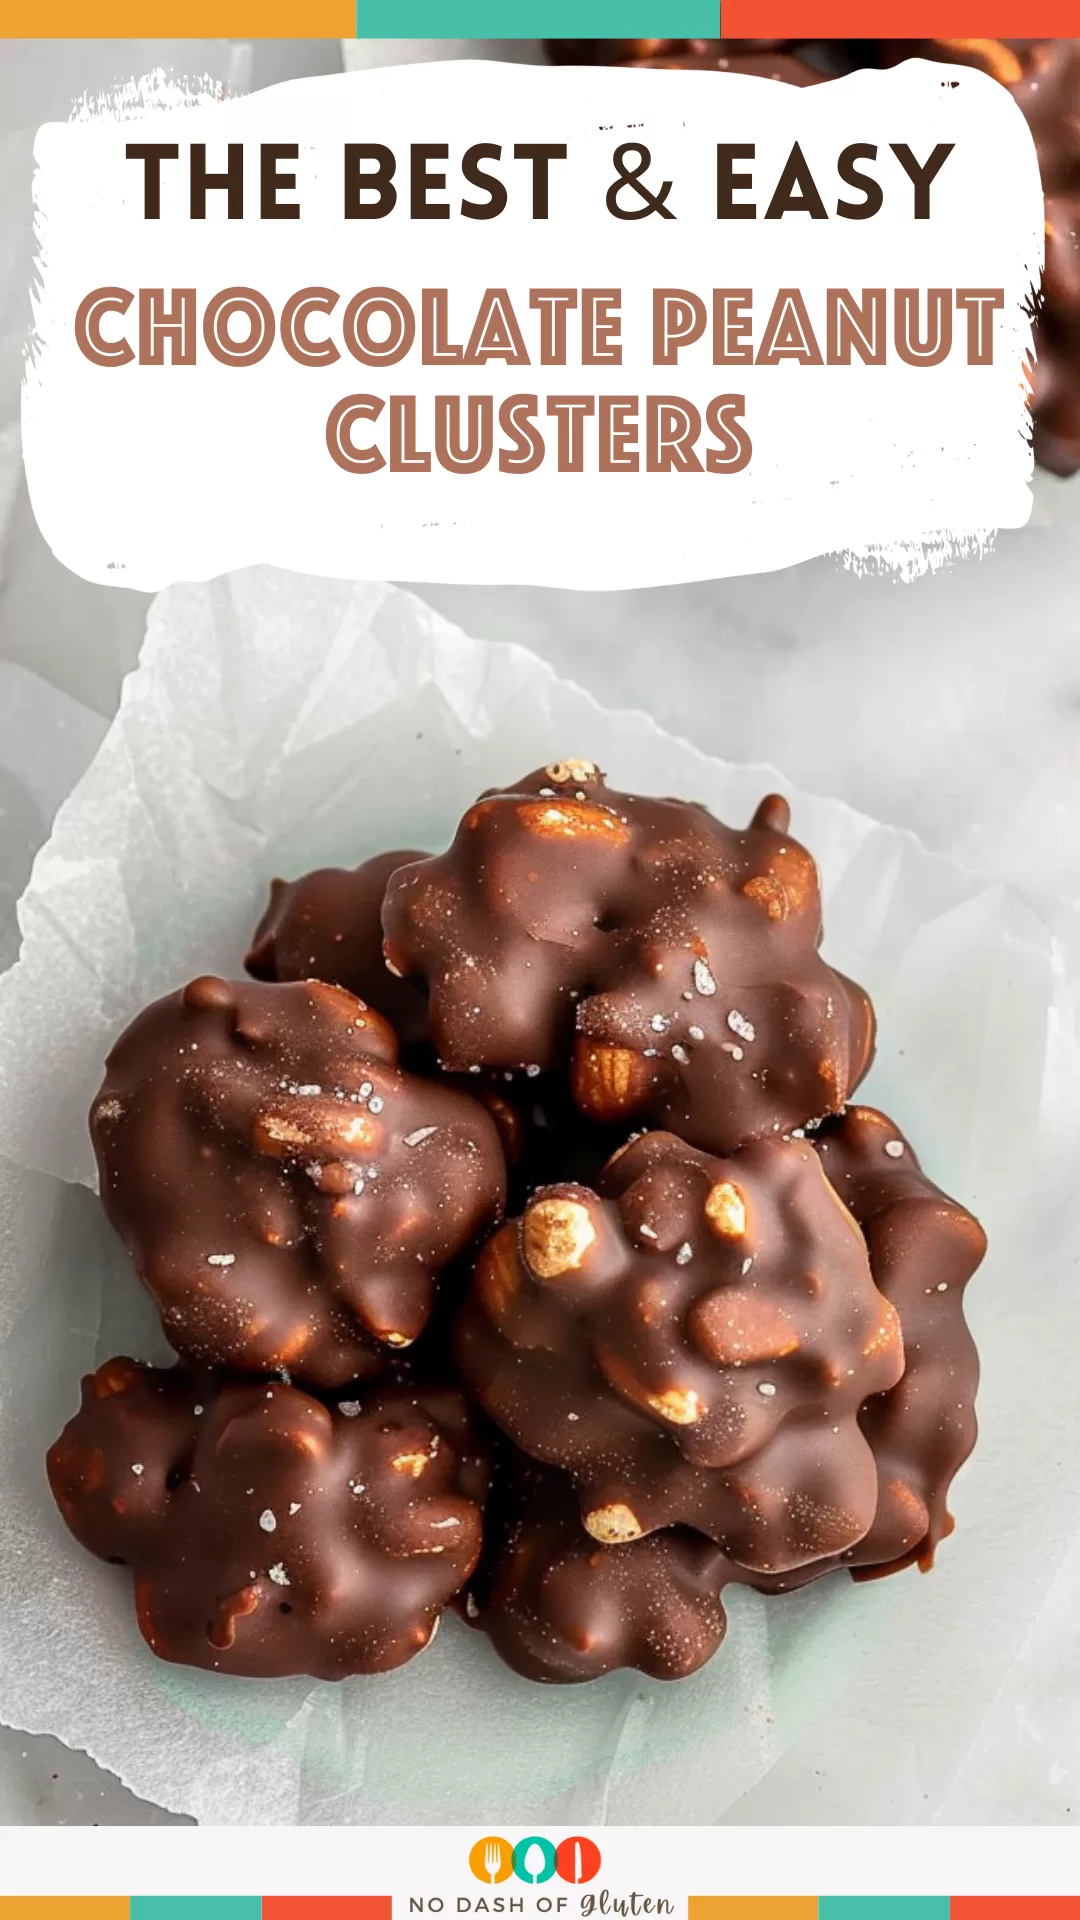
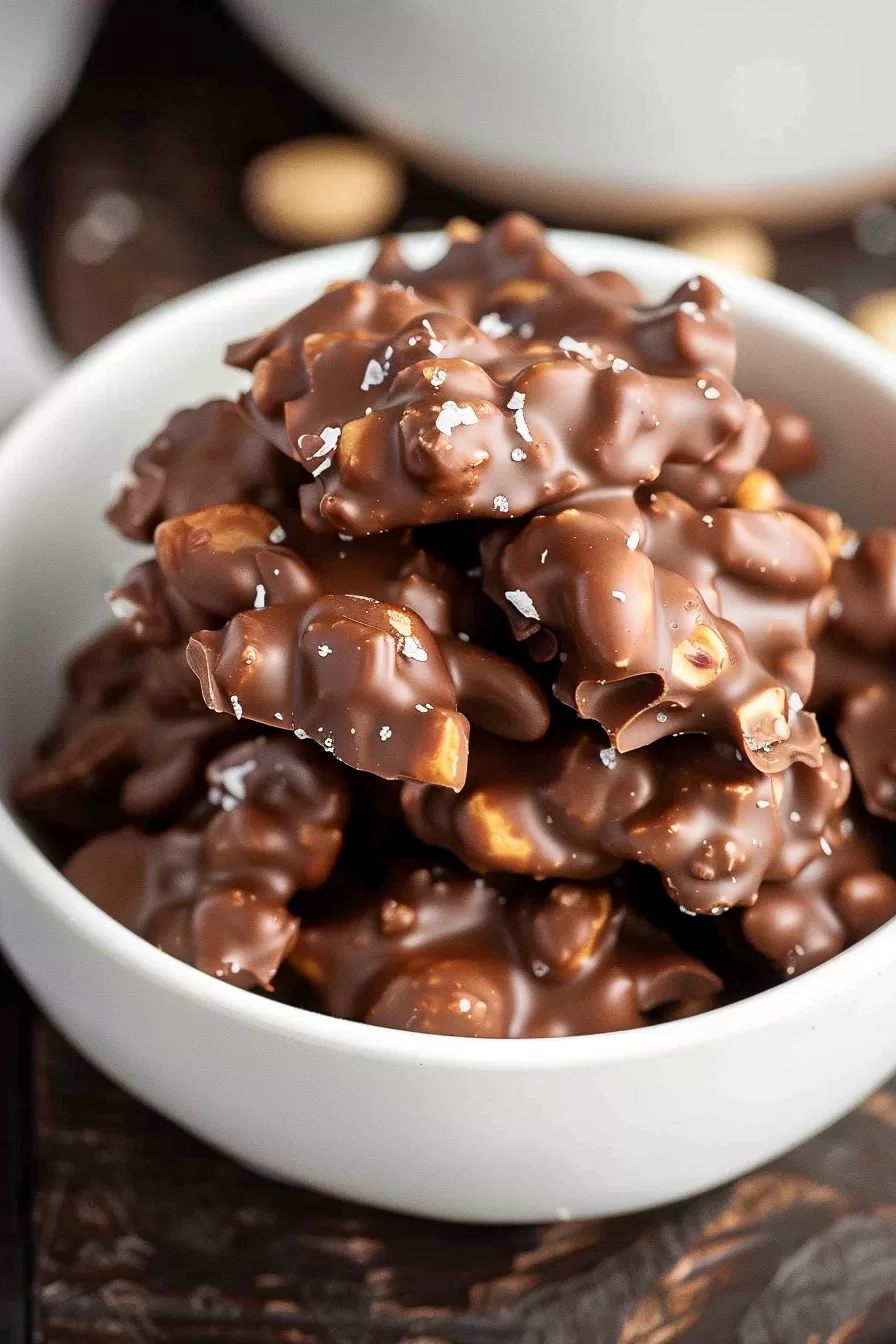
Quick and easy Chocolate Peanut Clusters made with creamy chocolate and crunchy peanuts. Perfect for snacking, gifting, or satisfying cravings!
You know those days when you’re craving something sweet but don’t want to put in the effort? That’s where these Chocolate Peanut Clusters come in. They’re my go-to treat when I want to feel like I’ve got it all together, even if I’m still in my pajamas at 3 PM.


I first made these during a snowstorm last winter. The kind where you can’t see out the window and you’re basically stuck inside. I was craving chocolate, and a regular candy bar wasn’t going to cut it. I raided my pantry and found some peanuts and a half-melted bar of chocolate (don’t ask—it was a leftover from holiday baking).
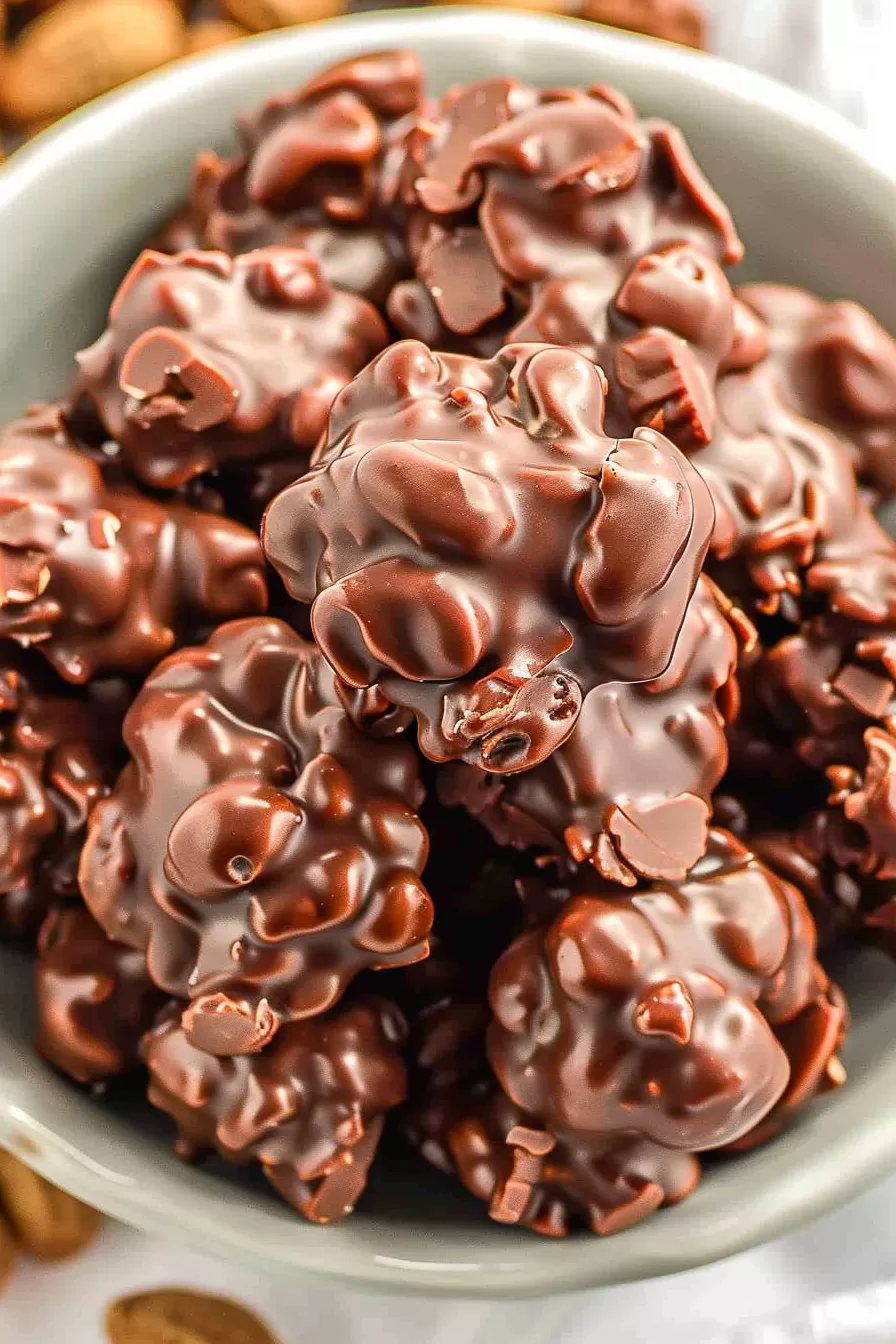
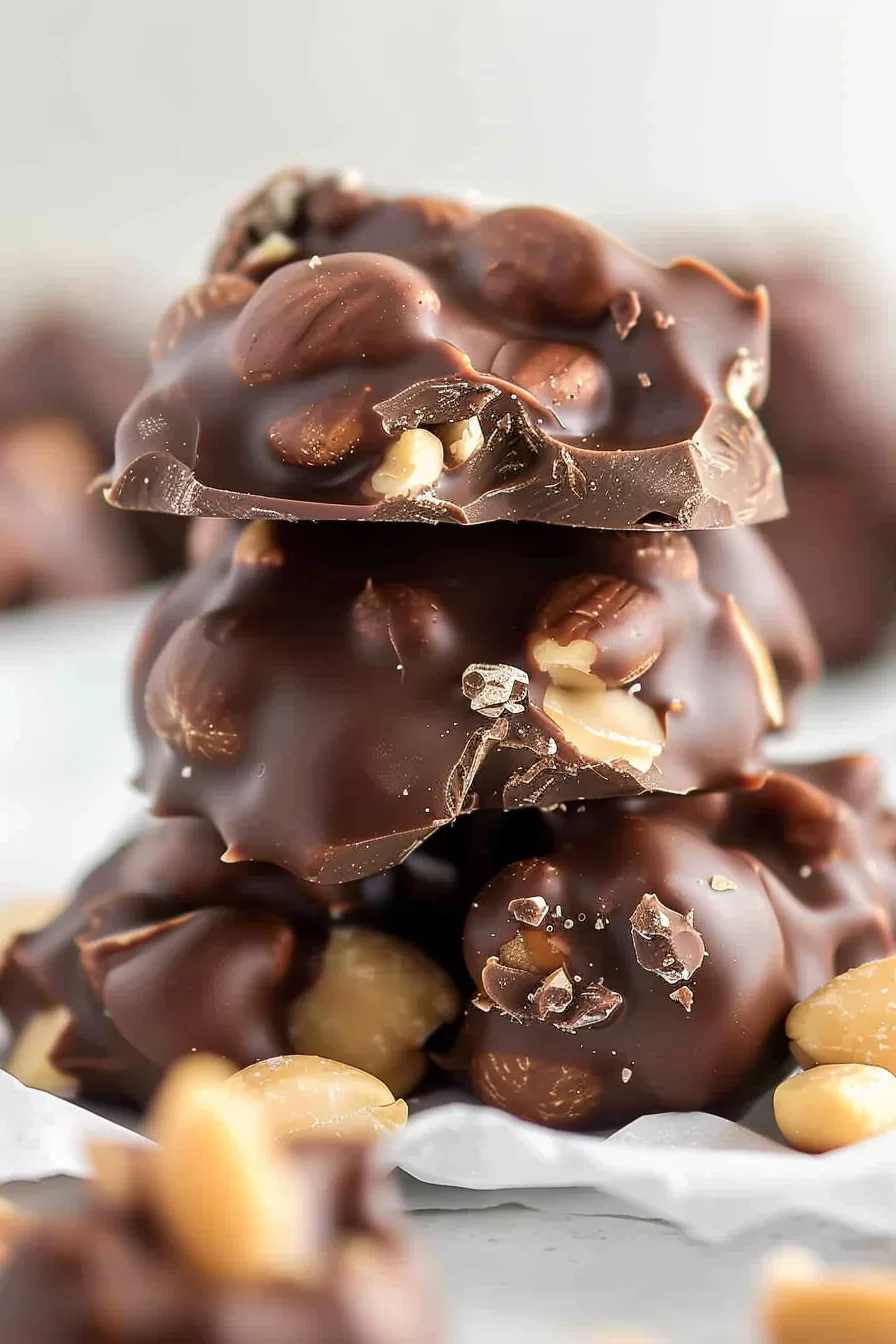
What came out of that experiment was nothing short of magic. Crunchy, chocolatey, and just a little messy to eat—exactly how a good snack should be. My kids loved them, my partner kept sneaking bites, and I felt like a kitchen rockstar. Now, these clusters are a staple, whether it’s for parties, holiday gifts, or just an indulgent Tuesday.
Why You’ll Love This Chocolate Peanut Clusters Recipe?
- Ridiculously Simple: Two ingredients, one bowl, and zero stress.
- Quick as a Flash: You can make these in under 10 minutes (no kidding).
- Perfect for Any Occasion: They work for casual snacks, fancy gifts, or even dessert emergencies.
- Customizable: Add sprinkles, sea salt, or dried fruit—whatever you’ve got on hand.
Ingredient Notes:
Let’s talk about why these two simple ingredients are a match made in heaven:
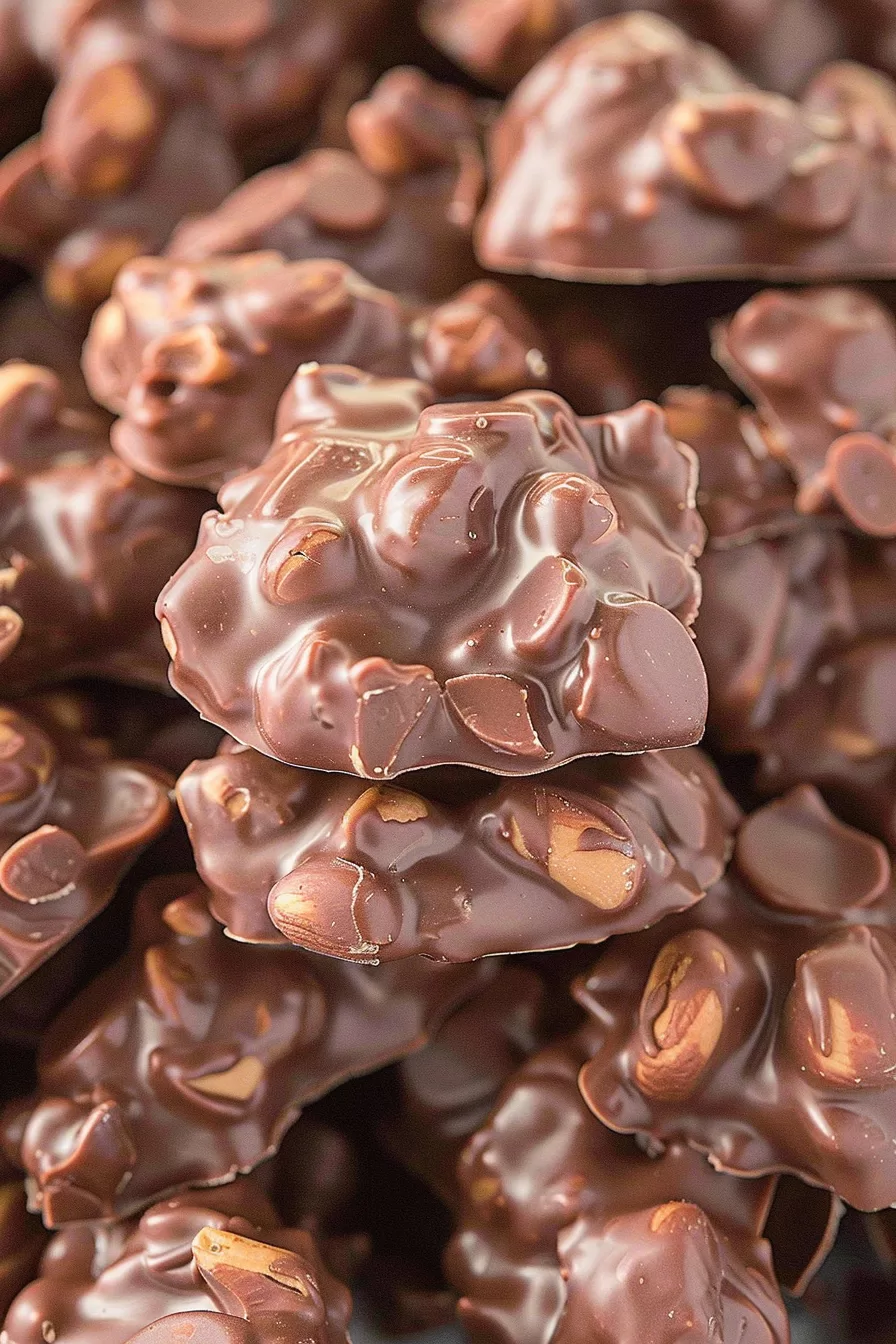
- Chocolate: Use the kind you’d actually want to eat. Dark, milk, or even white—it’s totally up to you. Good-quality chocolate makes all the difference.
- Peanuts: I like roasted, unsalted peanuts for maximum crunch, but salted peanuts give you that sweet-salty combo everyone loves.
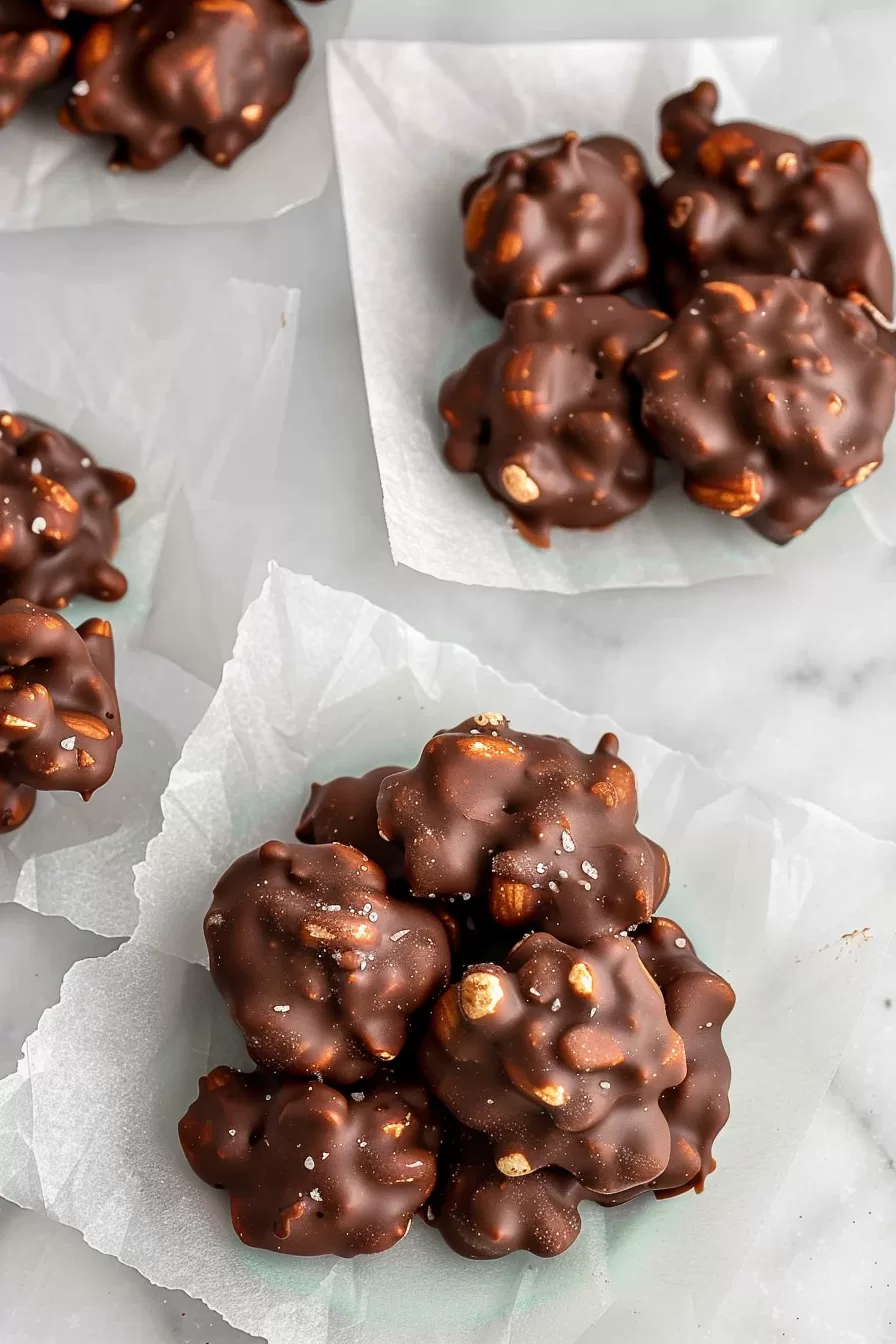
- Optional Add-Ins: Feeling fancy? Toss in shredded coconut, dried cranberries, or a pinch of flaky sea salt.
How To Make Chocolate Peanut Clusters?
Step 1. Get Your Tray Ready
First things first—line a baking sheet with
Step 2. Melt the Chocolate
Break your chocolate into pieces and melt it in a microwave-safe bowl. Heat it in 30-second bursts, stirring after each round, until it’s smooth and glossy. This part smells amazing, by the way.
Step 3. Add the Peanuts
Now for the fun part: dump in the peanuts and stir until every little nut is coated in chocolate. It’s oddly satisfying, like stirring edible gold.
Step 4. Form Your Clusters
Using a spoon, scoop small mounds of the chocolate-peanut mixture onto your prepared tray. Don’t worry about making them perfect—rustic is charming, right?
Step 5. Let Them Set
Leave the clusters to cool at room temperature. If you’re impatient (like me), stick them in the fridge to speed things up.
Step 6. Enjoy the Magic
Once they’re firm, transfer them to an airtight container—or just start snacking straight off the tray. No judgment here.
Want To Save This Recipe?
Storage Options:
Here’s how to keep your Chocolate Peanut Clusters fresh (if they don’t disappear immediately):
- Room Temperature: Store in an airtight container for up to a week.
- Refrigerator: Keep them in the fridge for up to two weeks. They’ll stay firm and delicious.
- Freezer: Freeze in a sealed container for up to three months. Pro tip: frozen clusters are amazing for summer snacking.
Variations and Substitutions:
Feeling creative? Here are some fun ways to switch things up:
- Different Nuts: Swap peanuts for almonds, cashews, or hazelnuts.
- Chocolate Variety: Try a mix of dark and white chocolate for a marbled effect.
- Add a Crunch: Crushed pretzels or toffee bits would add an extra layer of texture.
- Festive Flair: Add colorful sprinkles or edible glitter for holiday vibes.
What to Serve with Chocolate Peanut Clusters?
These little treats are versatile enough to pair with just about anything:
- Coffee or Tea: Perfect for your afternoon pick-me-up.
- Ice Cream: Crumble them over vanilla or chocolate ice cream for a decadent sundae.
- Red Wine: A bold red like Cabernet Sauvignon pairs beautifully with the chocolate.
Frequently Asked Questions:
Can I use chocolate chips instead of a bar?
Absolutely. Just make sure they’re good quality for the best flavor.
How do I keep the chocolate from burning in the microwave?
Heat it in short bursts (30 seconds max) and stir often. It’s better to go slow than to risk burning it.
Can I make these vegan?
Totally! Use dairy-free chocolate, and you’re good to go.
Chocolate Peanut Clusters are proof that you don’t need a fancy recipe to make something amazing. They’re quick, easy, and so customizable that you’ll never get bored. Whether you’re making them for a party, a gift, or just a sweet treat for yourself, they’re guaranteed to hit the spot.
What do you think? Ready to give them a try? Let me know how they turn out—and if you added your own twist, I’d love to hear about it. Happy snacking!
Keep the Flavor Coming – Try These:
Easy Chocolate Peanut Clusters
Ingredients
- 1 c. Peanuts 140 grams
- 7 ounces Chocolate 200 grams
Instructions
- Prepare a baking tray by lining it with parchment paper.
- Take the broken-up chocolate. Place it in a microwave bowl. Heat the chocolate in 30-second intervals making sure to stir between each interval until it has completely melted.
- Once the chocolate is melted mix in the peanuts ensuring that all the nuts are evenly coated with chocolate.
- Using a teaspoon or spoon, scoop out clusters of the chocolate-covered nuts onto the parchment paper.
- Allow the clusters to cool and set. Once they have cooled down store them in an airtight container. Enjoy your chocolate peanut clusters!
Notes
I’m Bitty, owner of nodashofgluten.com, where I share simple, delicious recipes for all tastes, including gluten-free. Check out my “About Me” page for more info!