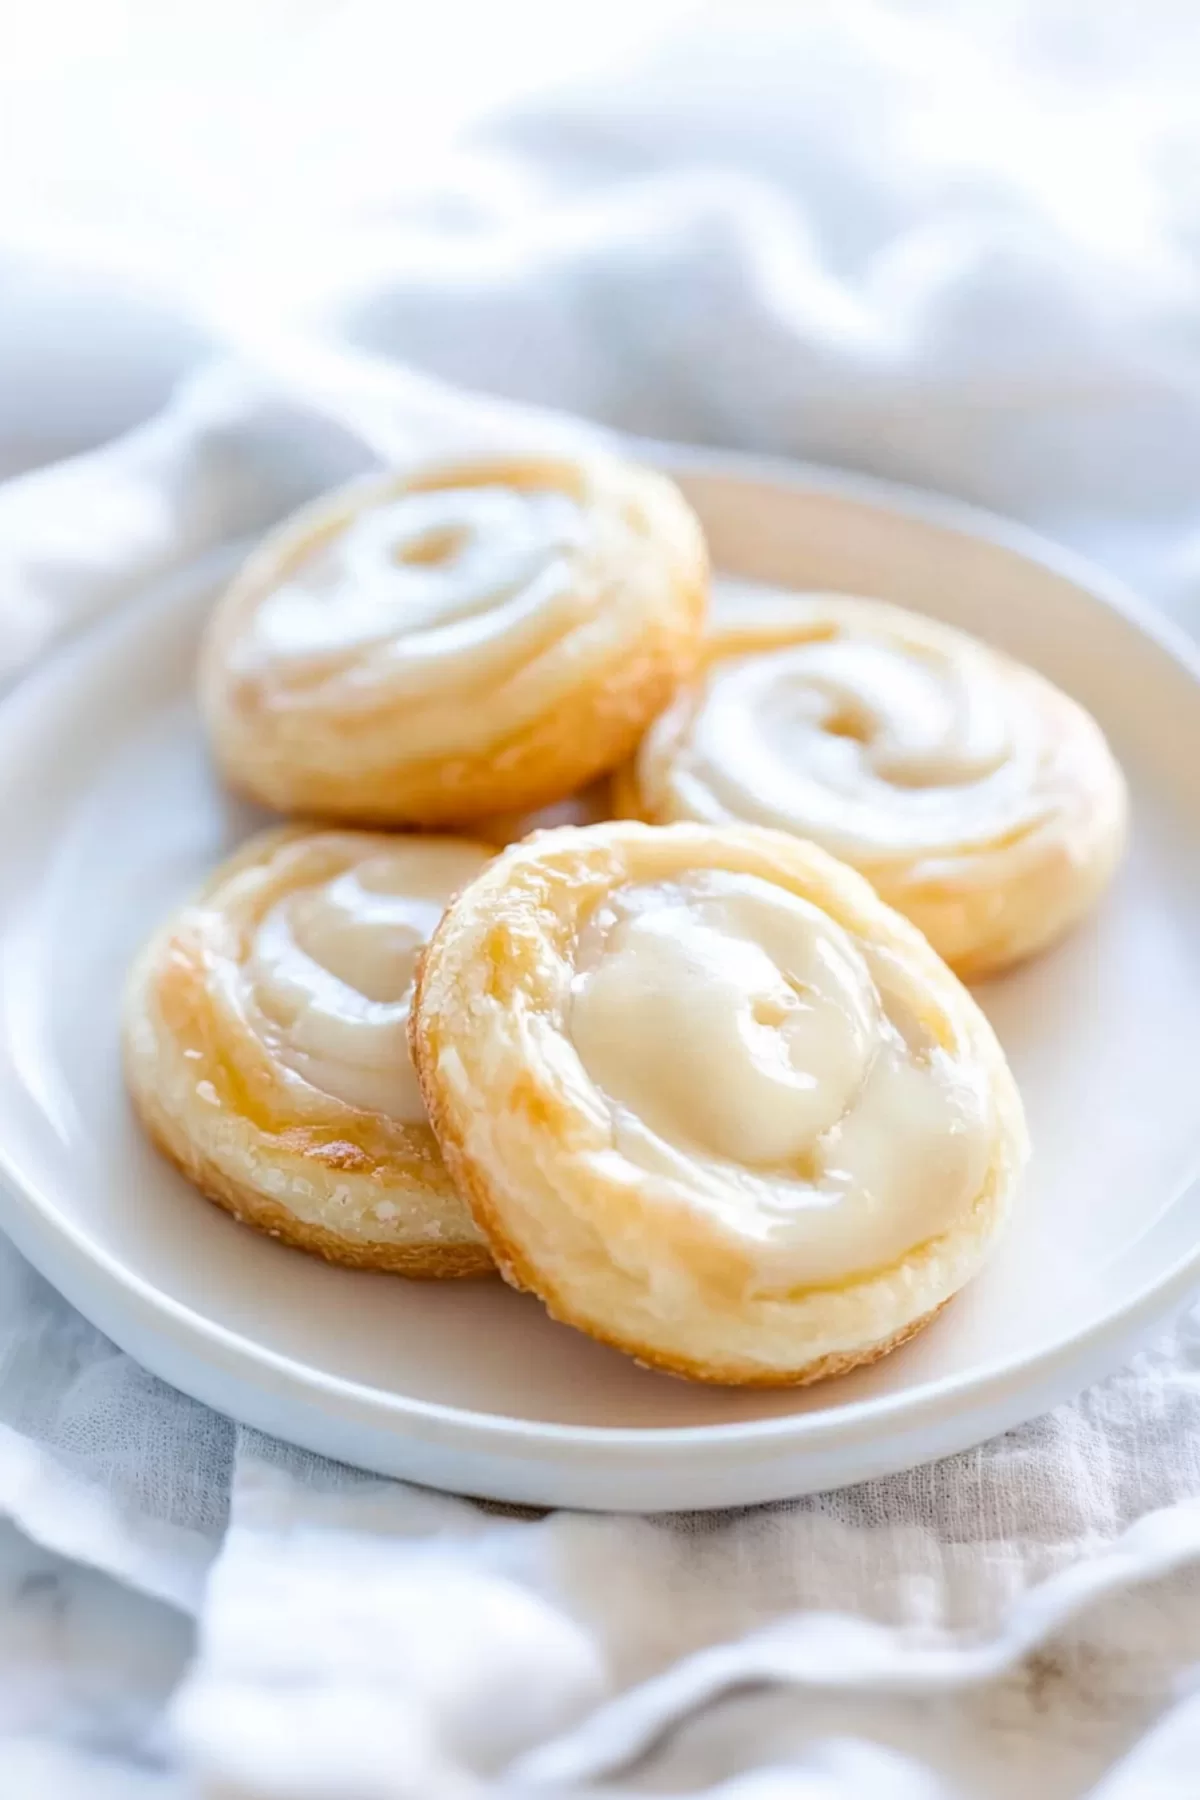
Flaky and creamy Cheese Danish made with crescent roll dough, cream cheese, lemon juice, and vanilla glaze. A quick and delicious pastry!
Okay, I have to tell you—Cheese Danishes hold a special place in my heart. They’re not just a pastry to me; they’re a reminder of cozy mornings at home when the smell of something baking fills the air. I still remember the first time I made these. It wasn’t some grand plan or a “let me impress everyone” moment. Nope, I found a lonely tube of crescent roll dough in the fridge and thought, Why not?


And wow, was it a win! The buttery, flaky dough combined with that creamy, slightly tangy filling? Pure magic. My family devoured them in minutes. My mom even asked if I’d picked them up from a bakery—talk about a proud moment!
These Cheese Danishes are one of those recipes you keep coming back to because they’re that good. They’re simple, quick, and honestly, they make you feel like a total pro in the kitchen (even if you’re still in your pajamas).
Why You’ll Love This Crescent Cheese Danishes Recipe?
Let’s be real—these Danishes are what pastry dreams are made of. Here’s why you’ll love them:
- Effortless elegance: Crescent roll dough makes them easy, but they look like they came from a fancy café.
- Creamy perfection: The cream cheese filling, with just a hint of lemon, is rich, tangy, and perfectly sweet.
- Customizable: Add fruit, jam, or even chocolate—whatever you’re craving!
- Quick turnaround: From start to finish, these take just 30 minutes. Perfect for last-minute guests or indulgent mornings.
- They’re a crowd-pleaser: Whether it’s brunch, a potluck, or a quiet weekend at home, these never fail to impress.

Ingredient Notes:
Here’s a closer look at what makes these Cheese Danishes so irresistible:
- Crescent Roll Dough: This is your shortcut to flaky, buttery pastry. No rolling pins or laminating required!
- Cream Cheese: Use room temperature cream cheese to ensure a silky-smooth filling.
- Lemon Juice: Just a splash gives the filling a bright, tangy edge that balances the sweetness.
- Granulated Sugar & Brown Sugar: Granulated sugar sweetens the filling, while brown sugar adds a caramel-like depth to the dough.
- Vanilla Extract: It’s the little touch that ties all the flavors together.
- Powdered Sugar & Milk: The foundation of a simple yet luscious glaze.
Pro Tip: If you have leftover fruit preserves, add a small dollop on top of the filling before baking. It’s an easy way to elevate these even more.

How To Make Crescent Cheese Danishes?
Here’s the step-by-step to pastry perfection:
Step 1: Preheat your oven.
Set your oven to 350°F and line a baking sheet with
Step 2: Make the cream cheese filling.
In a bowl, combine the cream cheese, lemon juice, vanilla extract, and granulated sugar. Mix it up until it’s smooth and creamy. Taste it—because honestly, you’ll want to.
Step 3: Slice the crescent dough.
Grab your crescent roll dough and slice it into ½ to ¾-inch thick disks. Arrange them on your baking sheet, leaving some space between each one (they’ll puff up beautifully).
Step 4: Create little nests.
Use your fingers (or the back of a spoon) to gently press the center of each dough disk, creating a small well for the filling.
Step 5: Brush with buttery goodness.
In a small bowl, mix melted butter with brown sugar. Brush this sweet, golden mixture over the dough—it’s the secret to that gorgeous caramelized finish.
Step 6: Fill the nests.
Spoon the cream cheese mixture into the wells. Don’t be shy—this is the heart of your Danish.
Step 7: Bake to golden perfection.
Bake in the preheated oven for 15-17 minutes. Keep an eye on them—you’re looking for golden brown edges and a deliciously creamy center.
Step 8: Make the glaze.
While the Danishes cool slightly, whisk together powdered sugar, milk, and vanilla extract until smooth. If you’re feeling extra fancy, add a pinch of lemon zest.
Want To Save This Recipe?
Step 9: Glaze and enjoy.
Drizzle the glaze over the slightly cooled Danishes. Be as generous as you like—this is your masterpiece!

Storage Options:
Wondering how to keep these Danishes fresh? Here’s the lowdown:
- Room Temperature: Store in an airtight container for up to 2 days.
- Refrigerator: These stay good for up to 4 days in the fridge. Pop them in the microwave for 10 seconds to bring back that fresh-baked vibe.
- Freezer: Freeze unglazed Danishes for up to 2 months. Thaw and glaze before serving for best results.
Variations and Substitutions:
Want to mix things up? Here are some ideas:
- Fruit Toppings: Add a dollop of jam or fresh fruit before baking. Strawberries, blueberries, or peaches work beautifully.
- Citrus Twist: Swap the lemon juice for orange or lime juice for a different flavor.
- Chocolate Danish: Sprinkle mini chocolate chips into the filling for a decadent twist.
- Gluten-Free: Use gluten-free crescent roll dough to make this recipe gluten-free.

What to Serve with Crescent Cheese Danishes?
Cheese Danishes are versatile enough to enjoy on their own, but here are some pairing ideas:
- Coffee or Tea: A strong cup of coffee or a soothing herbal tea is the perfect complement.
- Fruit Salad : Add some freshness with a side of mixed berries or a light fruit salad.
- Mimosas: Hosting brunch? These Danishes pair beautifully with a bubbly mimosa.
Frequently Asked Questions:
Can I make these ahead of time?
Absolutely! Assemble the Danishes (minus the glaze) and refrigerate overnight. Bake them fresh the next day for the best flavor.
Can I use puff pastry instead of crescent roll dough?
Yes! Puff pastry will give you an extra flaky texture, though it’s a bit more work.
How do I keep the glaze from hardening?
Cover the glaze with plastic wrap pressed directly onto the surface if you’re making it ahead of time.
So, are you ready to make these Cheese Danishes? Trust me, they’ll disappear faster than you can say “pastry perfection.” Let me know how yours turn out—I’d love to hear your twists and toppings!
Keep the Flavor Coming – Try These:
Crescent Cheese Danishes
Ingredients
- 2 packs of ready-made crescent roll dough
- 8 oz of room temperature cream cheese
- 2 tablespoons of unsalted butter melted
- 1 teaspoon of lemon juice
- 1/4 cup of light brown sugar
- 1/2 cup of white sugar granulated
- 1 teaspoon of vanilla extract
Glaze:
- 1/2 cup of powdered sugar
- 4 teaspoons of milk
- 1 teaspoon of vanilla extract
Instructions
- Let the baking fun begin! Preheat your oven to a toasty 350°F, because it's about to get delicious in here!
- Line your baking sheet with parchment paper. It's the trusty sidekick that ensures your Danishes slide off the sheet like a dream!
- Bring out the stars of the show - your tubes of crescent roll dough. No need to unroll, they're perfect just the way they are.
- In a medium bowl, combine cream cheese, lemon juice, vanilla extract, and granulated sugar. Mix until your ingredients are partying together in perfect harmony.
- Slice it Nice. Using a sharp knife, carve your dough into 1/2” to 3/4” thick slices. Arrange these dough disks on your lined baking trays.
- With gentle fingers, shape a cozy little nest on each slice. This will cradle your delicious filling.
- Melted butter and light brown sugar join forces in a small bowl. Brush this golden concoction onto each slice for that extra flavor kick!
- Filling Fiesta. Time to fill those nests! Spoon even amounts of your creamy filling onto each slice.
- Let your creations bake in the oven for 15-17 minutes, until they're blushing golden brown.
- While the Danishes are baking, make your glaze by combining powdered sugar, vanilla, and milk. Stir until it's smooth and drizzle-ready.
- Once your Danishes are cooled a bit, have fun drizzling the glaze all over each one. There's no such thing as too much glaze!
- Jazz up your Danish with a fruit topping of your choice, or let it shine in its original glory. Either way, it's ready to be savored and enjoyed. Happy baking!
Notes
I’m Bitty, owner of nodashofgluten.com, where I share simple, delicious recipes for all tastes, including gluten-free. Check out my “About Me” page for more info!