
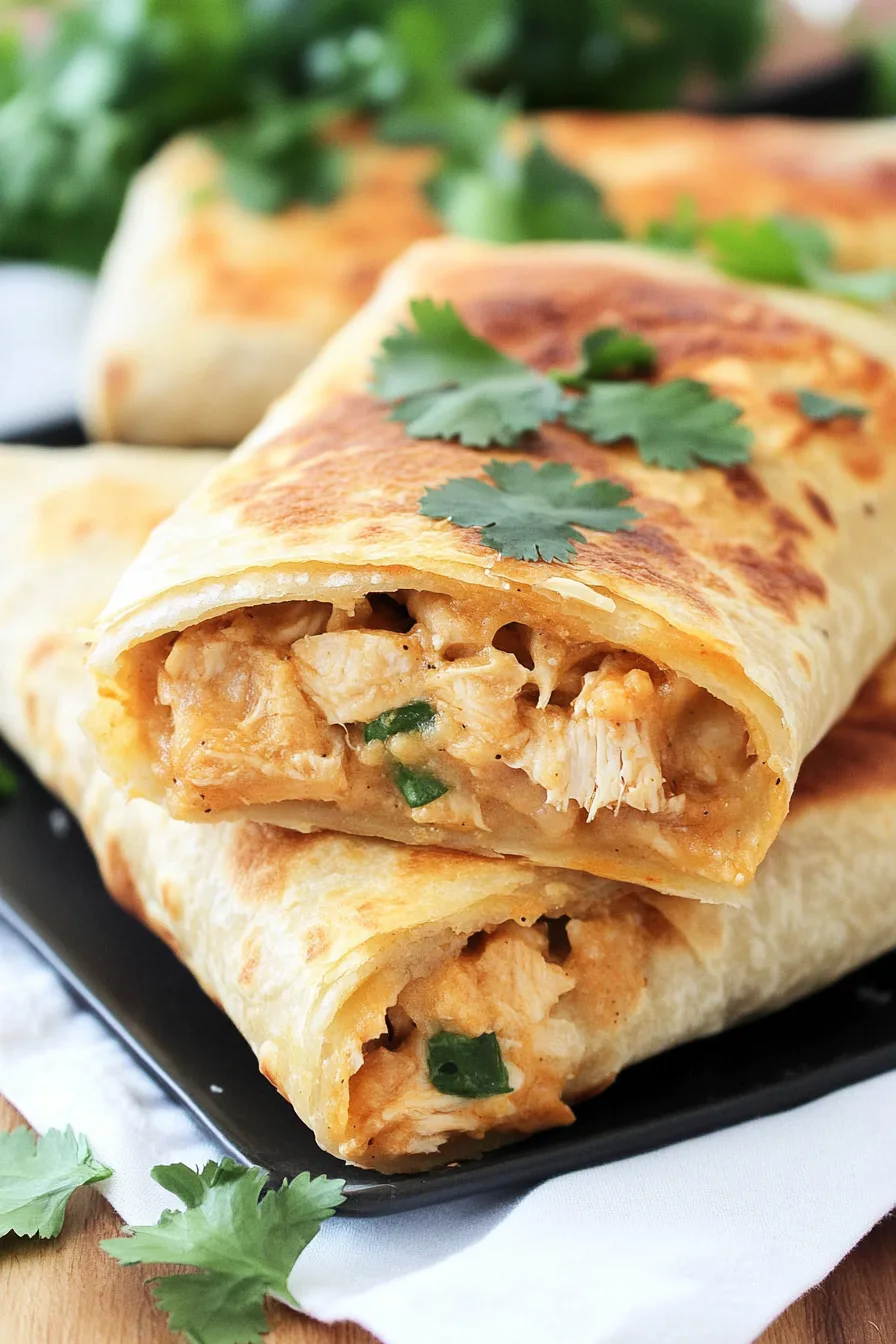
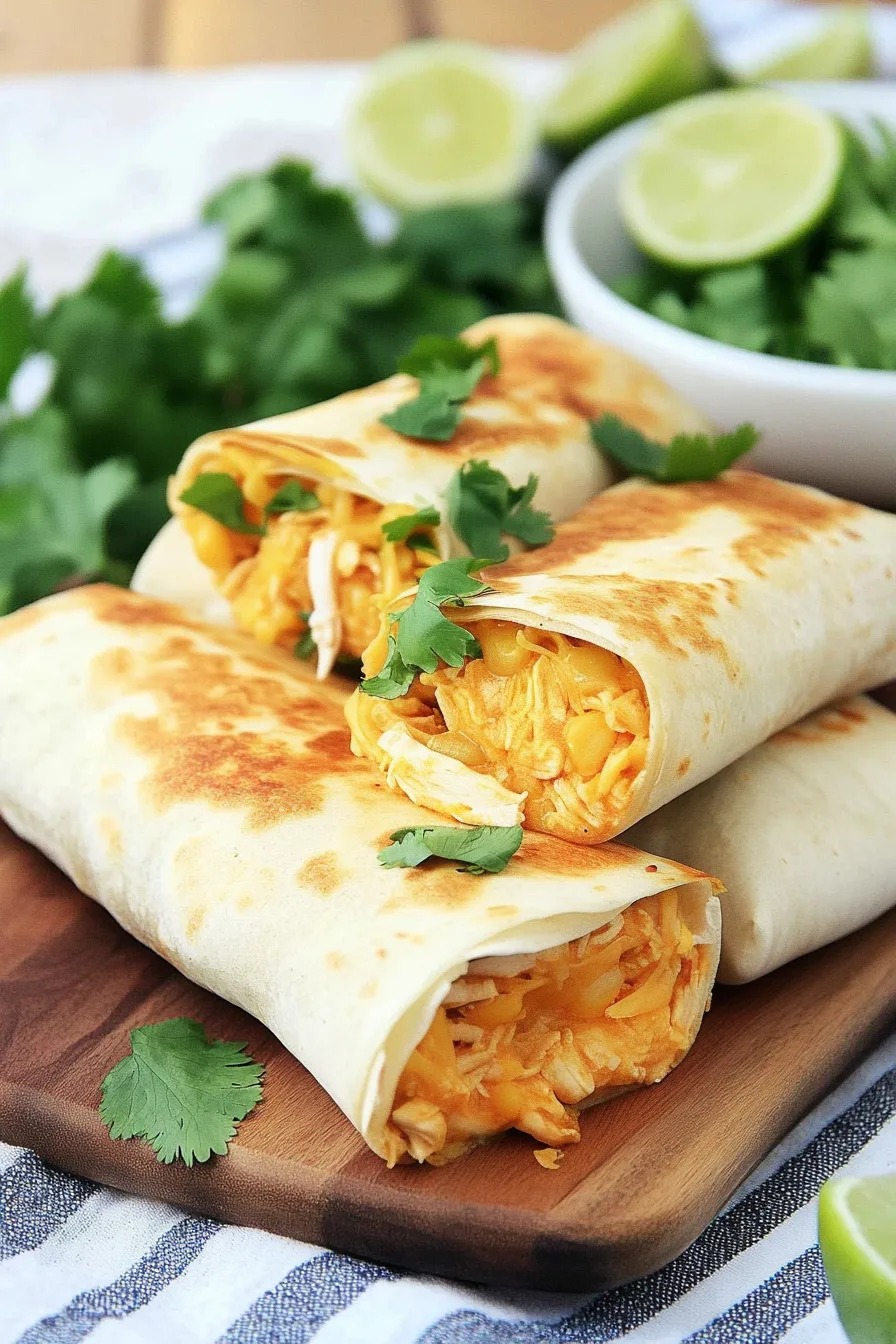
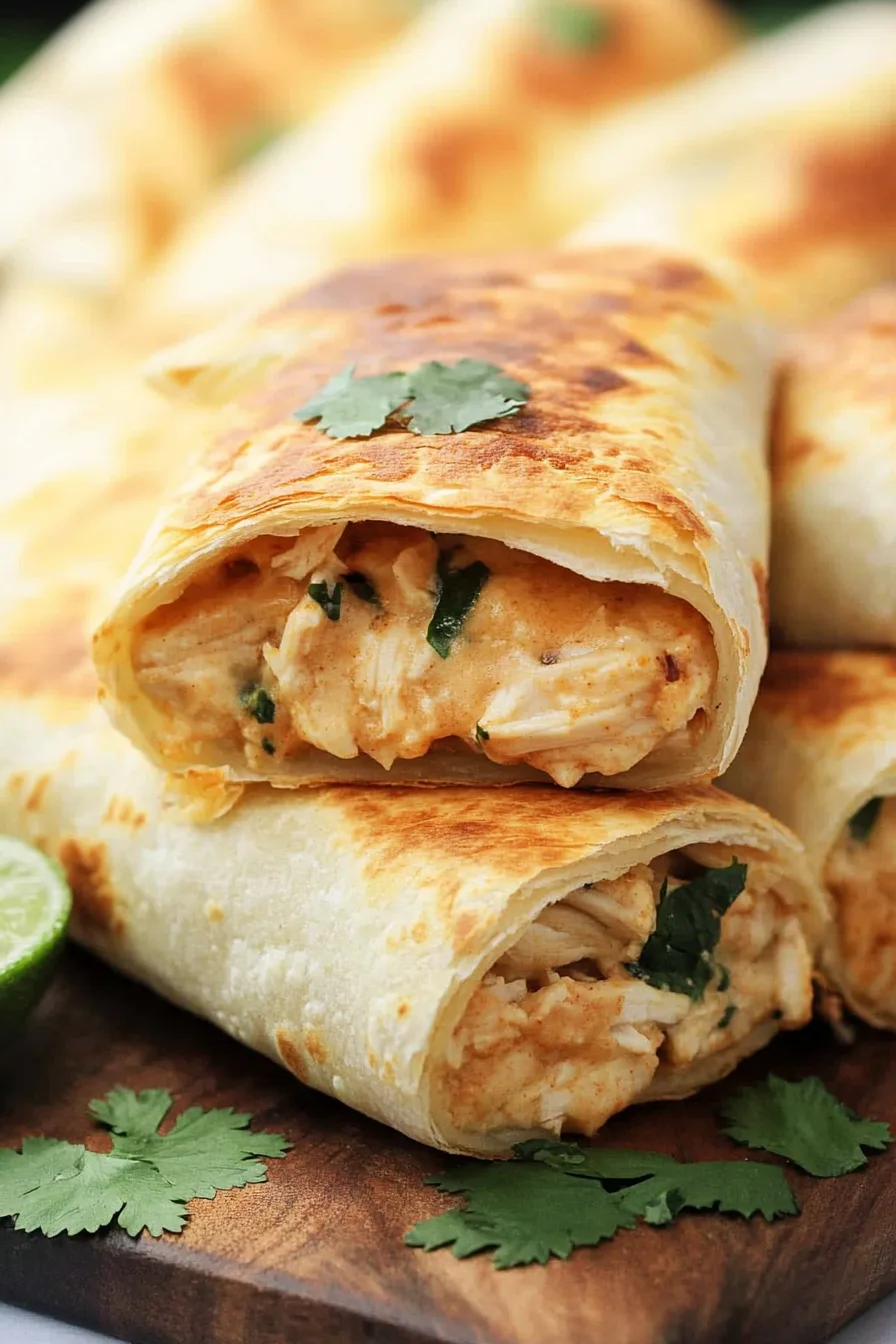
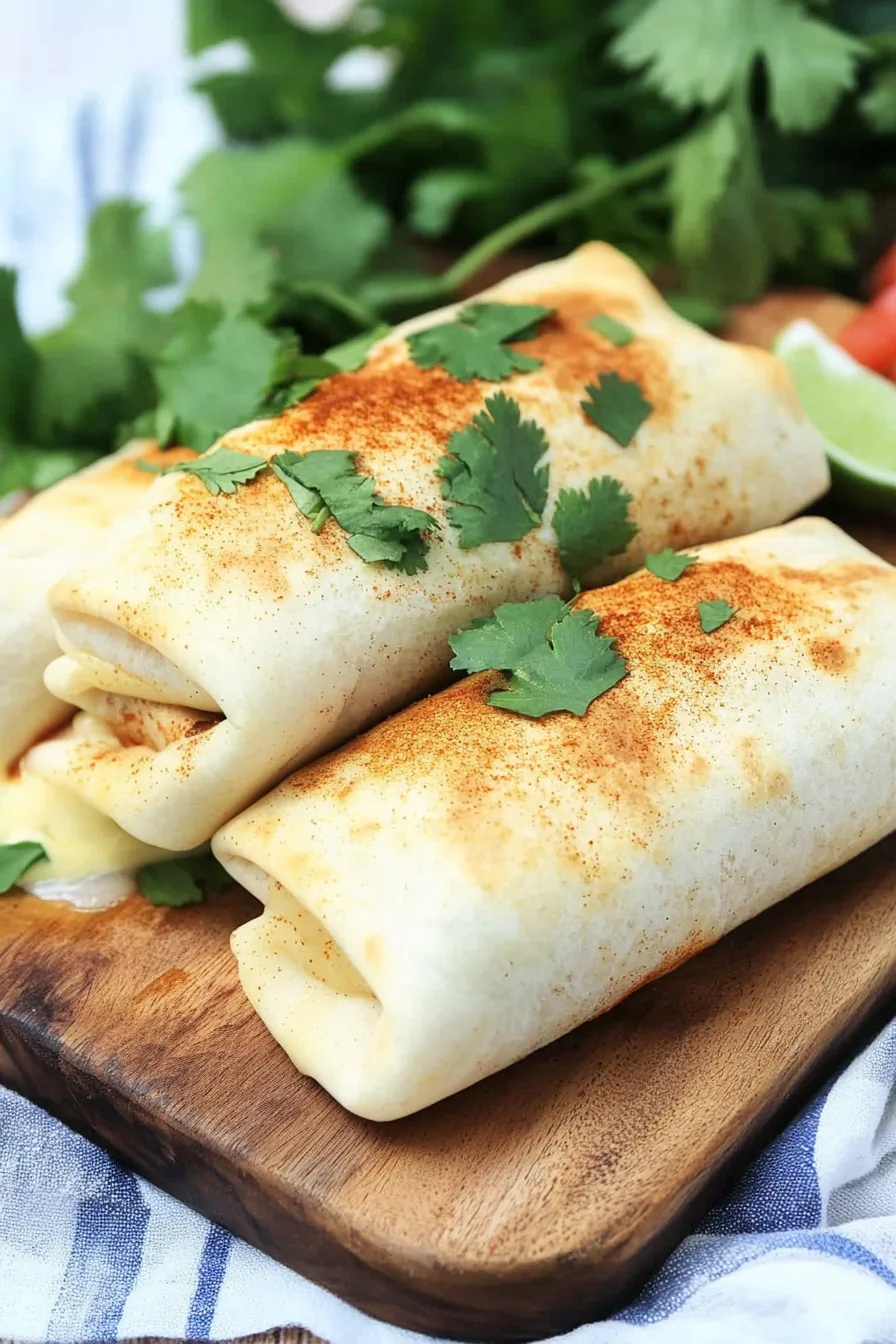
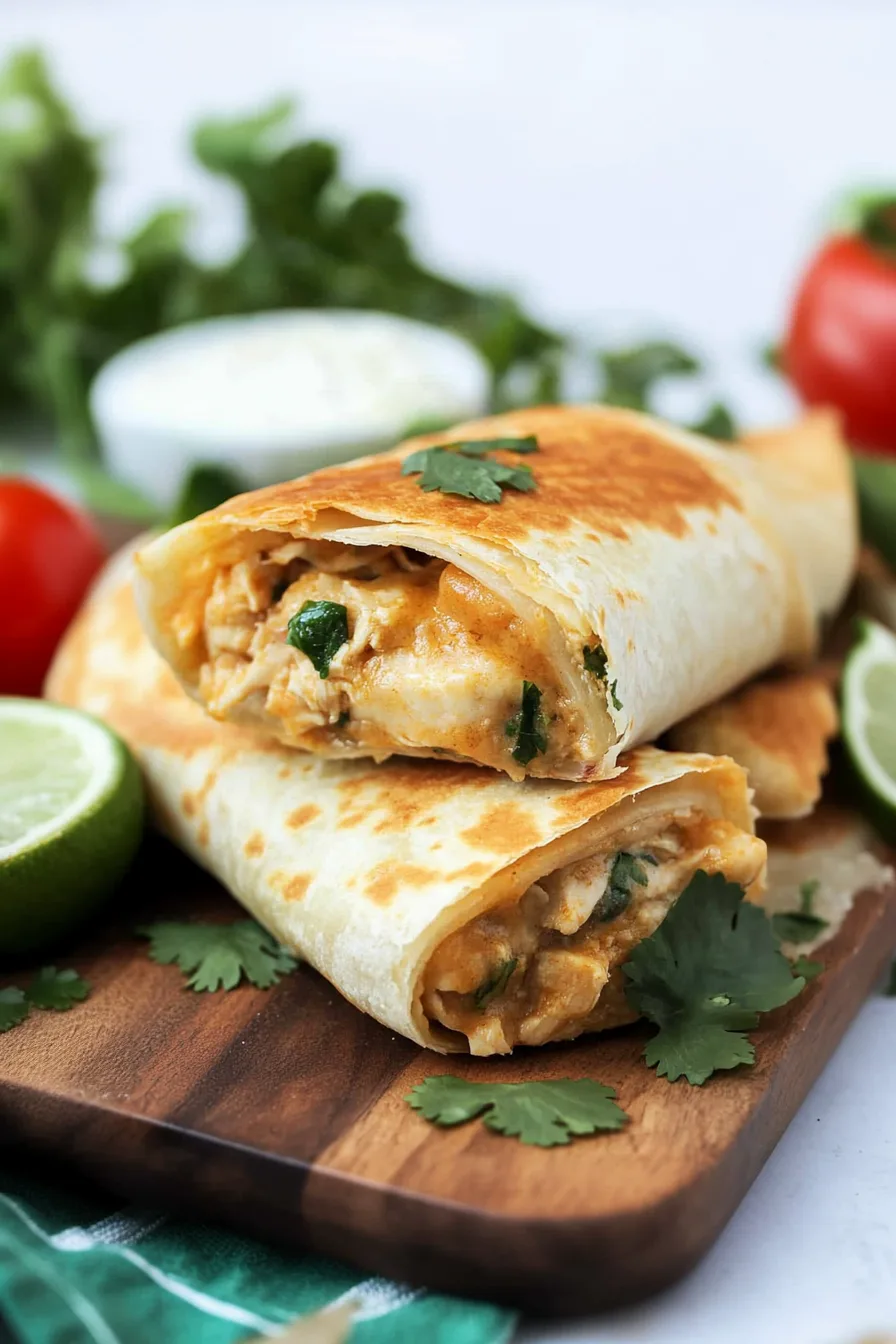
Creamy Baked Chicken Chimichangas with shredded chicken, cream cheese, Monterey Jack, taco seasoning, and soft flour tortillas baked golden.


I still remember the first time I made these Creamy Baked Chicken Chimichangas. Honestly? It was pure desperation. It was one of those nights where everyone was hungry, the fridge was looking sad, and the last thing I wanted was to deal with hot oil splattering all over my stove. Ever had one of those evenings?
I thought about ordering takeout—because let’s be real, burritos and chimichangas always sound better when someone else makes them—but then I spotted tortillas, leftover chicken, and an unopened block of cream cheese. And I thought, “Why not?” I rolled everything up, shoved it in the oven, and hoped for the best. When they came out all golden and bubbly, I braced myself for the “meh” reaction. Instead? My husband nodded mid-bite (the ultimate compliment), and my kids argued over the last one. That’s when I knew this recipe wasn’t just a fluke.
Why You’ll Love This Creamy Baked Chicken Chimichangas Recipe?
Here’s the thing—fried chimichangas are amazing, but frying at home? Total hassle. Baked chimichangas give you that same crispy outside, but without the grease, the mess, or the lingering “fried food smell” that clings to your house for two days. Do you know what I mean?
And the filling? It’s like cheesy, creamy, taco-seasoned happiness wrapped in a tortilla. The cream cheese makes everything melt together, and Monterey Jack adds that gooey pull when you cut into it. The best part? You can whip these up in about 30 minutes. Weeknight win.
Ingredient Notes:
Let’s talk ingredients because these Creamy Baked Chicken Chimichangas are simple but each thing pulls its weight:
-
Shredded chicken – Rotisserie chicken is my lifesaver here. It’s already cooked, seasoned, and makes this recipe about ten times faster.
-
Cream cheese – This is what gives the filling that “oh wow” creamy texture. Don’t skip it.
-
Monterey Jack cheese – Melts like a dream. Cheddar works too, but Monterey Jack is smoother.
-
Taco seasoning – Store-bought or homemade. Honestly, I use whatever’s on hand.
-
Flour tortillas – Soft, pliable, and perfect for wrapping without tearing. Warm them up for a few seconds if they feel stiff.
How To Make Creamy Baked Chicken Chimichangas?
Step 1: Prep your stuff.
Shred the chicken, preheat the oven to 350°F, and line a baking sheet with parchment or give it a good spray so nothing sticks.
Step 2: Mix the filling.
In a big bowl, stir together the shredded chicken, cream cheese, Monterey Jack, and taco seasoning. The smell alone will have you sneaking a bite before it even hits the tortillas.
Step 3: Fill and roll.
Scoop some of the filling into the center of each tortilla. Fold the sides in first, then roll it up tight—kind of like wrapping a present, but cheesier. Place seam-side down on the pan so they stay put.
Step 4: Butter them up.
Brush each chimichanga with melted butter or hit them with a little butter spray. This is what makes them crispy without frying.
Step 5: Bake and flip.
Bake for 15 minutes, flip them over, brush with more butter, and bake another 10–15 until golden brown.
Step 6: Top and serve.
Sprinkle on some extra cheese, cilantro, or parsley if you’re feeling fancy. Serve with salsa, sour cream, or guacamole. Or all three. (No one’s judging.)
Storage Options:
If you actually end up with leftovers—congrats, because mine vanish fast—store them in the fridge for up to 3 days. Reheat in the oven to get the crunch back (the microwave works too, but it softens them a bit). You can also freeze them: wrap each one in foil, then bake straight from frozen when the craving hits.
Variations and Substitutions:
One of my favorite things about these Creamy Baked Chicken Chimichangas is how easy they are to tweak:
Want To Save This Recipe?
-
Use beef, pork, or even beans instead of chicken.
-
Swap Monterey Jack for cheddar, pepper jack, or whatever cheese you’ve got.
-
Add jalapeños or hot sauce if you like things spicy.
-
Try whole wheat or low-carb tortillas if that’s your style.
What to Serve with Creamy Baked Chicken Chimichangas?
These are filling enough to stand on their own, but if you’re making a full spread:
-
Refried beans for something hearty on the side.
-
Fresh salsa or pico de gallo to brighten things up.
-
Guacamole—because avocado belongs everywhere.
-
Even just a simple green salad if you want something light.
Frequently Asked Questions:
Can I make them ahead of time?
Absolutely. Assemble them, stash them in the fridge, then bake when you’re ready.
Do they have to be chicken?
Nope. Ground beef, shredded pork, or even veggie fillings all work.
My tortillas keep tearing—help!
Warm them up in the microwave for 20 seconds first. Makes them way easier to roll.
And there you have it—Creamy Baked Chicken Chimichangas that are crispy, creamy, and way less fussy than the fried version. Honestly, they’re the kind of meal that makes you wonder why you ever ordered takeout in the first place. So… are you going to make a full batch for dinner, or are you already planning to sneak one straight off the pan before anyone else notices?
Keep the Flavor Coming – Try These:

Creamy Baked Chicken Chimichangas
Ingredients
- 2 cups shredded chicken
- 8 ounces cream cheese softened
- 8 ounces Monterey Jack cheese shredded
- 1 package taco seasoning
- 6 –8 flour tortillas
Instructions
Prepare the chicken and oven
- Preheat the oven to 350°F (175°C). Shred the chicken and divide it into portions as needed. Lightly spray a baking sheet with nonstick spray or line with parchment paper.
Combine the filling
- In a large mixing bowl, combine the shredded chicken, softened cream cheese, shredded Monterey Jack, and taco seasoning. Stir thoroughly until the mixture is evenly blended.
Assemble the chimichangas
- Divide the filling into 6–8 equal portions. Place one portion in the center of each tortilla. Fold in the sides, then roll tightly to enclose the filling, ensuring the seam is secure. Arrange the rolled chimichangas seam-side down on the prepared baking sheet.
Brush and bake
- Lightly brush or spray the chimichangas with melted butter. Bake for 15 minutes. Remove from the oven, carefully flip each chimichanga, and brush again with butter.
Finish baking and garnish
- Return to the oven and bake for an additional 10–15 minutes, or until golden brown and crisp. If desired, sprinkle with extra cheese, cilantro, or parsley before serving.
Notes
I’m Bitty, owner of nodashofgluten.com, where I share simple, delicious recipes for all tastes, including gluten-free. Check out my “About Me” page for more info!

