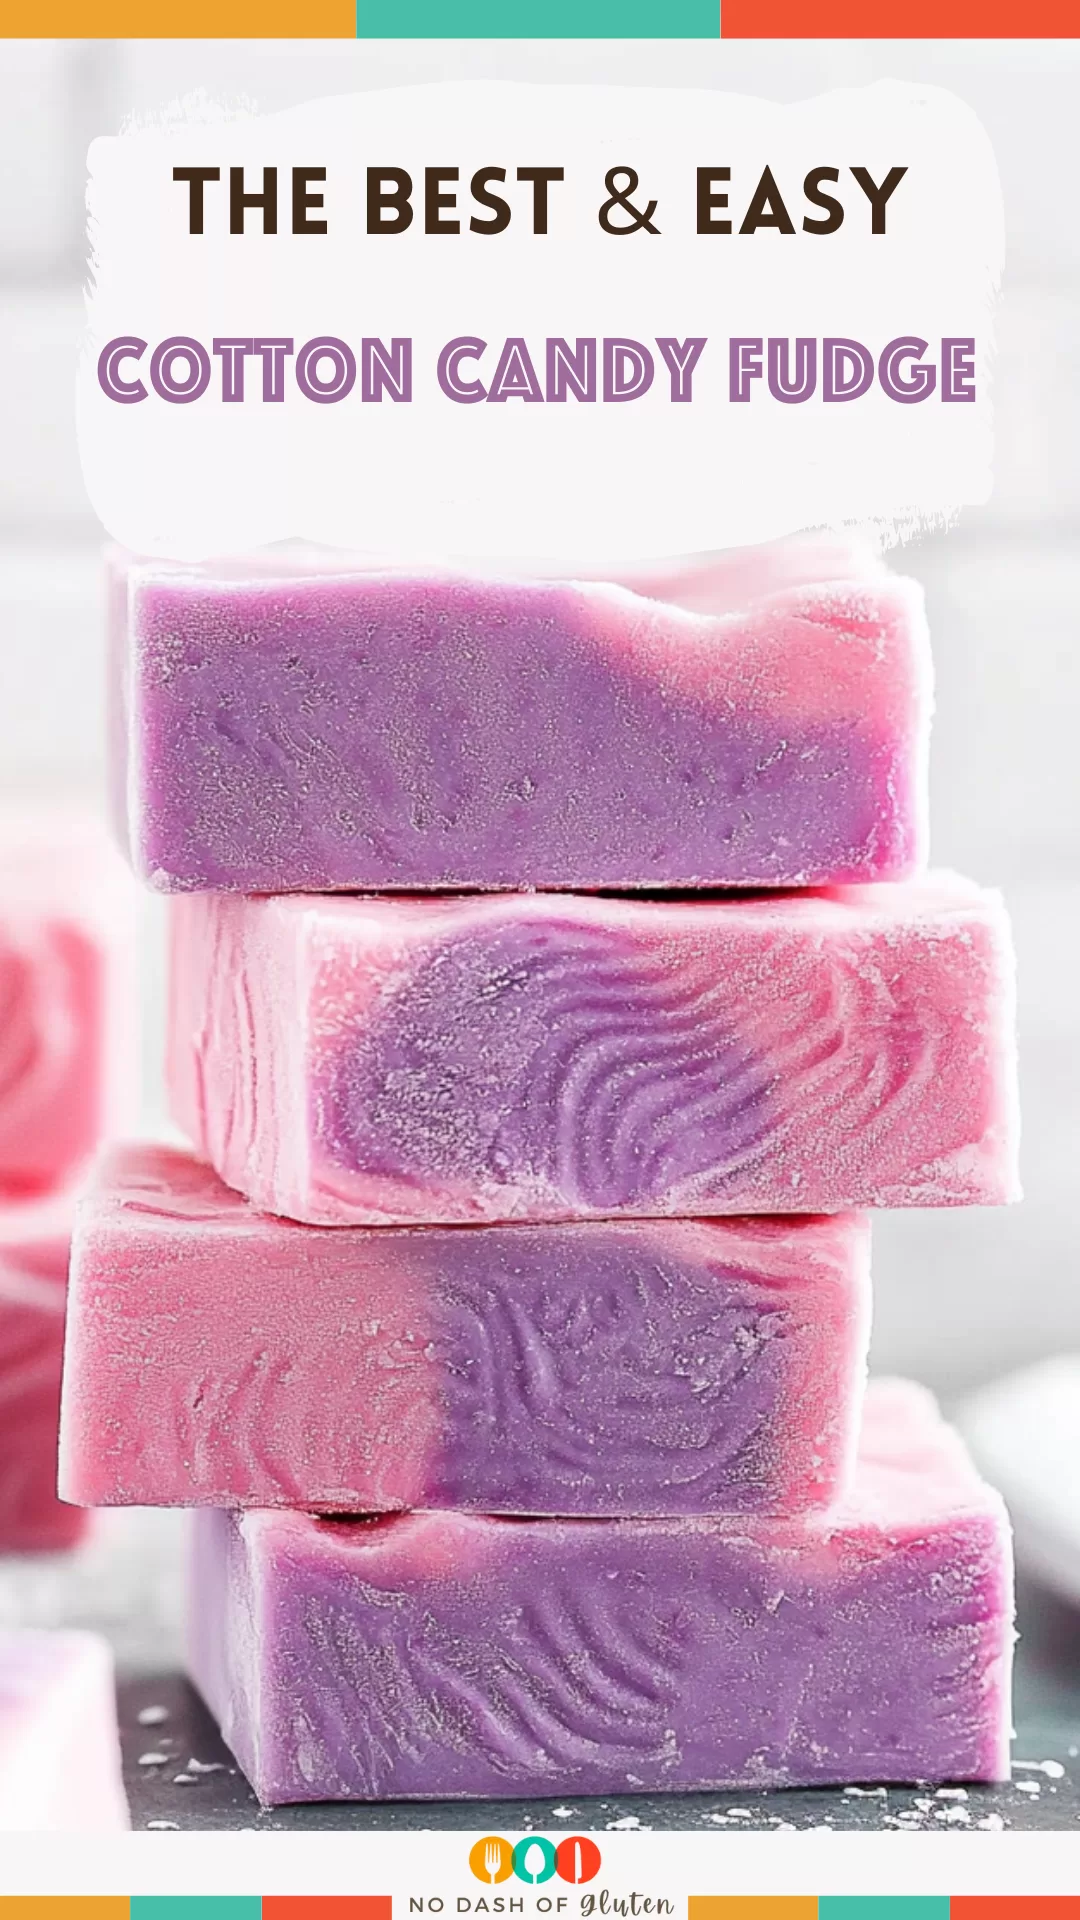
Cotton Candy Fudge – Do you ever have one of those days where everything just feels a little… blah? Like, the sky is gray, your mood matches it, and even your coffee isn’t doing the trick? That’s exactly the kind of day I had when I decided to make this Cotton Candy Fudge. I didn’t plan it—it was one of those random bursts of inspiration. You know the kind where you think, “What if I could turn fun into food?”

It took me back to the summer carnival in our little hometown, where cotton candy was the thing. You could smell the sugar in the air from miles away. Making this fudge? It felt like bringing a slice of that joy into my kitchen. My youngest took one bite and said, “Mom, it tastes like a Ferris wheel!” I laughed because, honestly, what does that even mean? But they were right—it’s pure happiness in fudge form. And now, it’s become a bit of a family tradition. Anytime we need a pick-me-up, this fudge makes an appearance. Trust me, you’re going to love it.
Why You’ll Love This Cotton Candy Fudge Recipe?
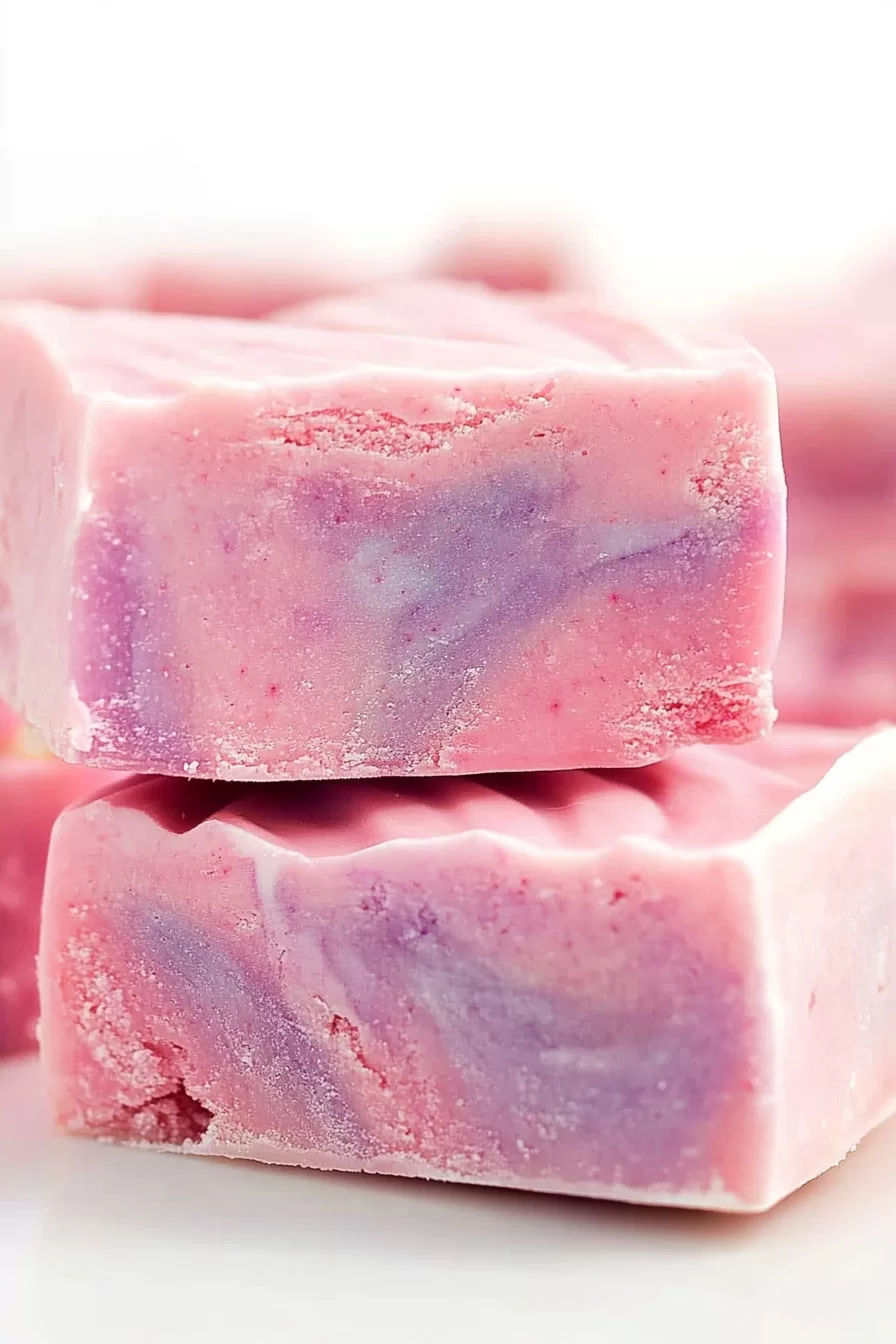
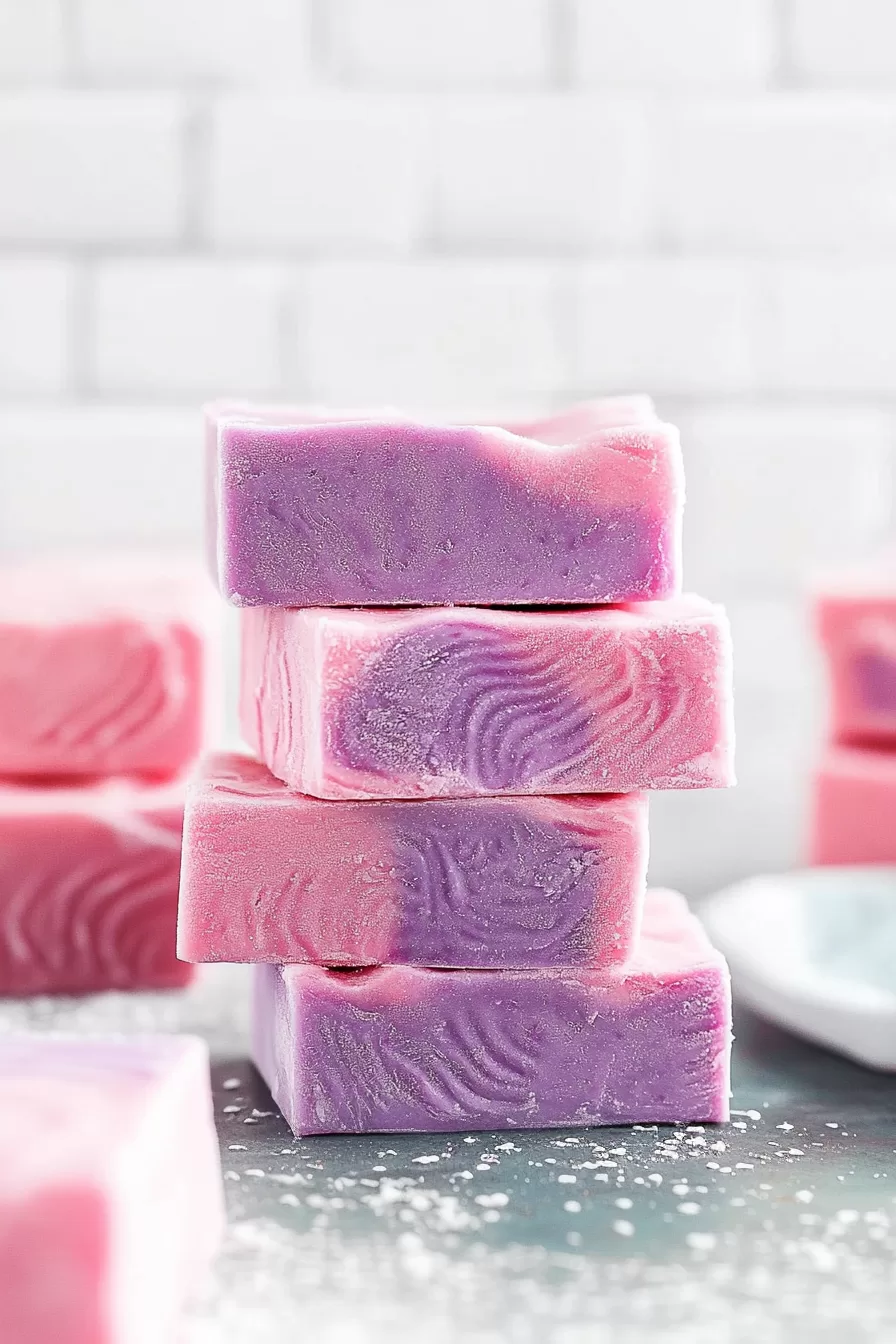
- It’s a mood-lifter: Bright pink swirls and that nostalgic cotton candy flavor are guaranteed to make anyone smile.
- Simple to make: No fancy tools or techniques, just good old-fashioned fun.
- Perfect for sharing: Whether it’s a birthday party, baby shower, or just a random Tuesday, this fudge is a showstopper.
- Kid-approved: And let’s be honest, isn’t that the ultimate seal of approval?
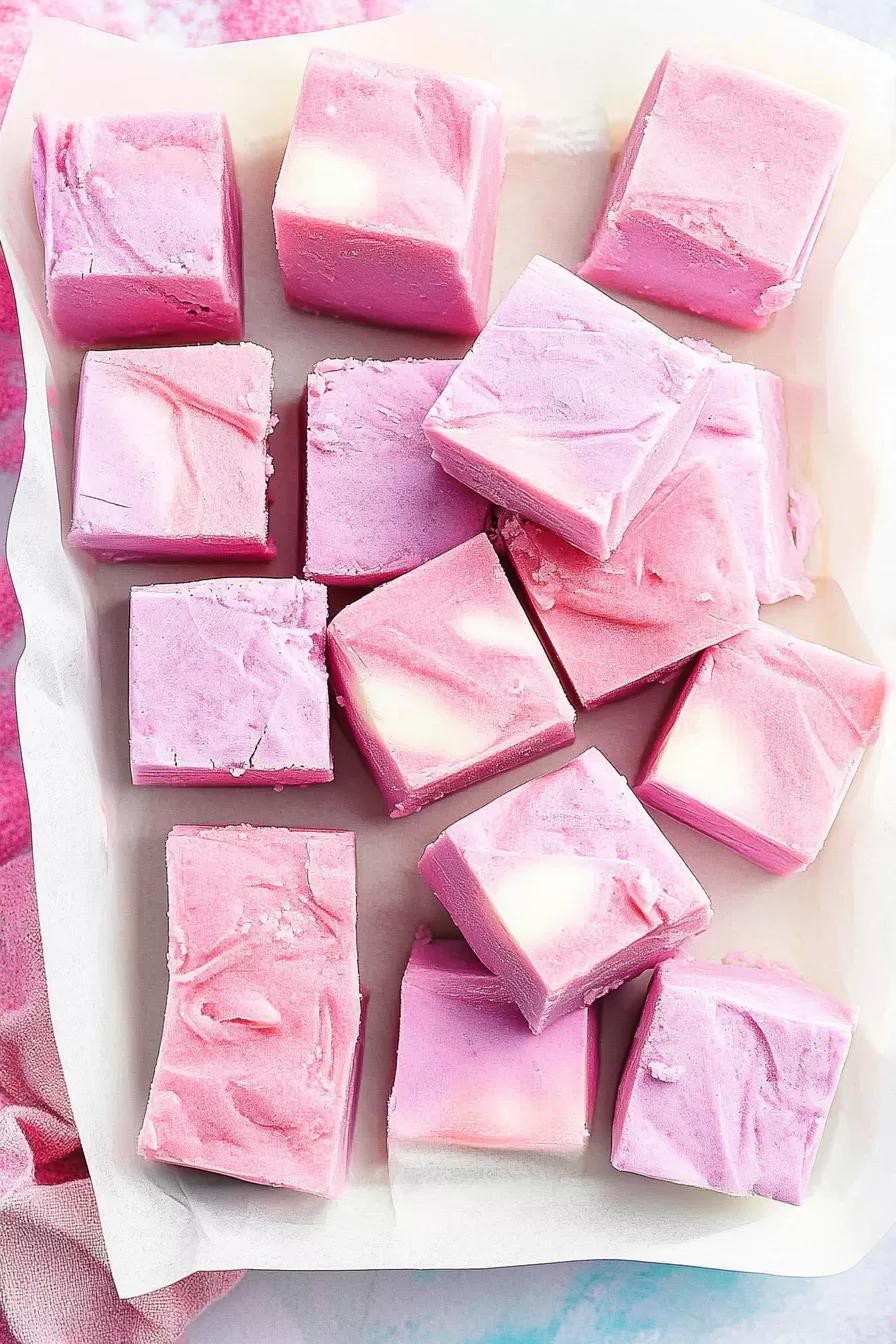
Ingredient Notes:
Let’s talk about what makes this Cotton Candy Fudge so magical. Every ingredient pulls its weight here:
- Sugar: The sweet foundation. Regular granulated sugar is perfect—don’t swap it out or the texture might get weird.
- Butter: Adds richness and that melt-in-your-mouth texture. I mean, it’s butter—enough said.
- Heavy cream: This is where the creaminess comes from. Don’t even think about replacing it with milk. Just don’t.
- White chocolate or vanilla chips: These melt beautifully and create the perfect base for all that cotton candy flavor.
- Marshmallow crème: The secret ingredient that makes your fudge light, fluffy, and absolutely irresistible.
- Cotton candy flavoring: This is the fun part. It transforms the fudge into a carnival treat you didn’t know you needed.
- Pink food coloring: Swirls of pink make this fudge not only taste amazing but look like a total party.
Pro Tip: If you’re feeling adventurous, try adding a touch of blue food coloring to the mix. Pink and blue swirls together? Chef’s kiss.
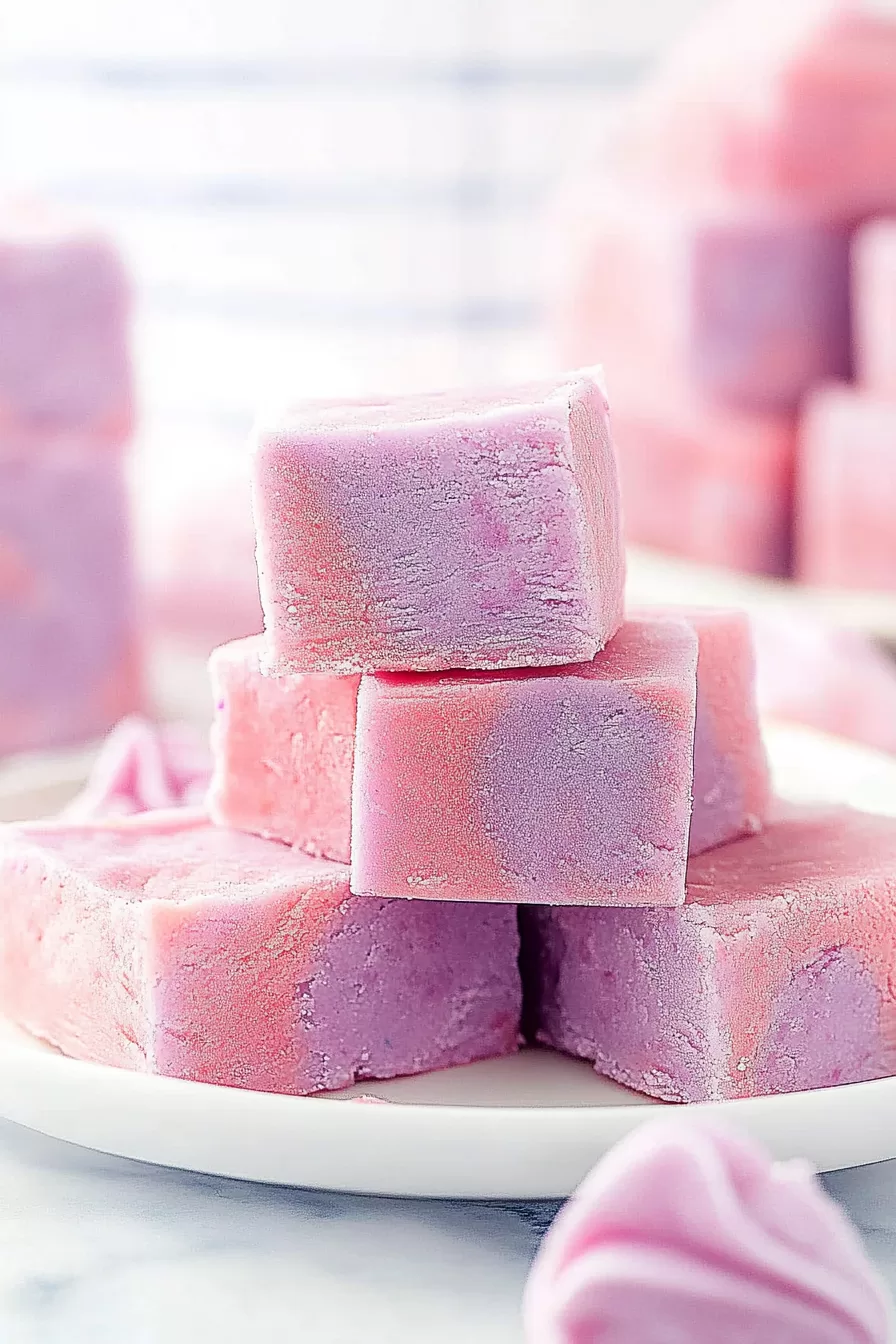
How To Make Cotton Candy Fudge?
Making this fudge is honestly half the fun. Here’s how to do it:
- Prep the pan.
Line a 13×9-inch pan with foil and spray it with nonstick spray. This step is key for easy cleanup later—trust me, you don’t want to skip it. - Cook the base mixture.
Combine the sugar, butter, and heavy cream in a saucepan over low heat. Stir it constantly until the sugar dissolves. (Pro tip: This is a good time to turn on some music because it takes a few minutes.) Once dissolved, bring it to a boil and stir for about 4 minutes. Your arms might get tired, but it’s worth it. - Add the magic.
Take the saucepan off the heat and stir in the marshmallow crème and white chocolate chips. Keep stirring until everything melts into a smooth, glossy mixture. It’ll smell amazing. - Layer the fudge.
Pour about ¾ of the mixture into your prepared pan and spread it out evenly. It doesn’t have to be perfect—this fudge is all about the fun. - Add the cotton candy flavor.
Stir the cotton candy flavoring into the remaining mixture. This is where the carnival magic starts to happen. - Create the swirls.
Drizzle the flavored mixture over the base layer. Then, drop a few dots of pink food coloring on top and use a butter knife to swirl everything together. Don’t overthink it—swirls are supposed to look random! - Set the fudge.
Cover the pan and refrigerate it for a couple of hours, or until the fudge is firm. This is the hardest part—waiting. - Cut and serve.
Lift the fudge out of the pan using the foil, peel it off, and cut the fudge into squares. And just like that, you’ve made something incredible.
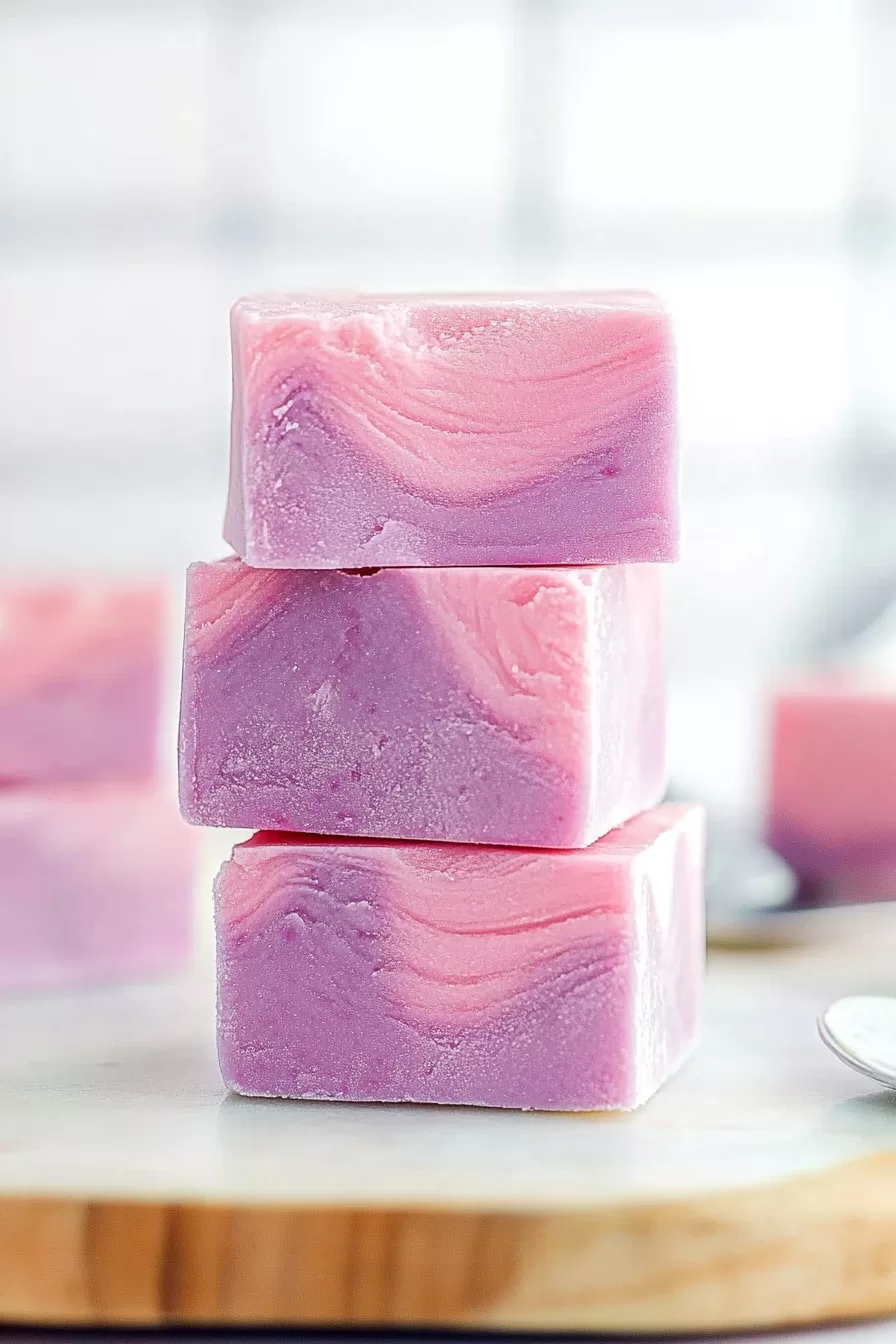
Storage Options:
- Fridge: Store your fudge in an airtight container in the fridge for up to two weeks. It’s best enjoyed chilled.
- Freezer: For longer storage, wrap individual pieces in wax paper, place them in a freezer-safe bag, and freeze for up to three months. Just let it thaw in the fridge before diving in.
Variations and Substitutions:
Want to make this fudge your own? Here are a few ideas:
Want To Save This Recipe?
Enter your email below and we'll send the recipe straight to your inbox.
- Different flavors: Try bubblegum, strawberry, or even blue raspberry flavoring for a fun twist.
- Extra colors: Add blue or purple food coloring to create a rainbow effect.
- Toppings: Sprinkles, edible glitter, or crushed candy add a fun finishing touch.
What to Serve with Cotton Candy Fudge?
This fudge is amazing on its own, but pairing it with something else can take it to the next level:
- Hot cocoa: The richness of cocoa balances the sweetness of the fudge.
- Popcorn: For a sweet-and-salty combo, pair it with buttery popcorn.
- Ice cream: Cube the fudge and sprinkle it over vanilla ice cream for an unforgettable dessert.
Frequently Asked Questions:
Can I use dark chocolate instead of white chocolate?
You can, but it’ll taste completely different. White chocolate is what keeps the flavor light and sweet.
Why is my fudge grainy?
Grainy fudge usually means the sugar didn’t dissolve properly. Stir constantly and make sure it’s fully dissolved before moving on to the next step.
How far in advance can I make this?
You can make it up to two weeks ahead. Just keep it in the fridge, and it’ll stay perfectly fresh.
So, what do you think? Ready to bring some carnival magic into your kitchen? Give this Cotton Candy Fudge a try and let me know how it turns out! And if you come up with any fun twists, I’d love to hear about those too.
<Remember it later>
Planning to try this recipe soon? Pin it for a quick find later!
<Remember it later>
Planning to try this recipe soon? Pin it for a quick find later!
Keep the Flavor Coming – Try These:
Cotton Candy Fudge
Ingredients
- 2 cups granulated sugar
- ¾ cup unsalted butter
- ¾ cup heavy cream
- 12 ounces white chocolate or vanilla chips
- 7 ounces marshmallow crème
- 1 ½ teaspoons cotton candy flavoring
- Pink food coloring approximately 2–3 drops
Instructions
Prepare the pan:
- Line a 13×9-inch baking pan with aluminum foil, ensuring the edges hang over the sides for easy removal. Lightly spray the foil with nonstick spray and set aside.
Create the base mixture:
- In a medium saucepan, combine the sugar, butter, and heavy cream. Cook over low heat, stirring frequently, until the sugar has fully dissolved. This process ensures the fudge has a smooth texture.
Bring to a boil:
- Increase the heat slightly and bring the mixture to a gentle boil. Stir continuously for approximately 4 minutes to prevent scorching and ensure even cooking.
Incorporate white chocolate and marshmallow crème:
- Remove the saucepan from heat. Immediately add the white chocolate chips and marshmallow crème to the mixture. Stir until the ingredients have fully melted and the mixture is smooth and glossy.
Pour the base layer:
- Pour approximately ¾ of the fudge mixture into the prepared pan. Spread it evenly using a spatula. Reserve the remaining mixture in the saucepan for the next step.
Add cotton candy flavoring:
- Stir the cotton candy flavoring into the reserved fudge mixture until well combined.
Layer and swirl the fudge:
- Drop or drizzle the cotton candy-flavored mixture over the base layer in the pan. Add 2–3 drops of pink food coloring at various spots on the surface. Use a butter knife to gently swirl the colors together, creating a marbled effect.
Set the fudge:
- Cover the pan and refrigerate for at least 2 hours, or until the fudge has fully set.
Cut and serve:
- Once the fudge is firm, lift it out of the pan using the foil overhang. Remove the foil and place the fudge on a cutting board. Cut it into squares or other desired shapes and serve.
Notes

I’m Bitty, owner of nodashofgluten.com, where I share simple, delicious recipes for all tastes, including gluten-free. Check out my “About Me” page for more info!


