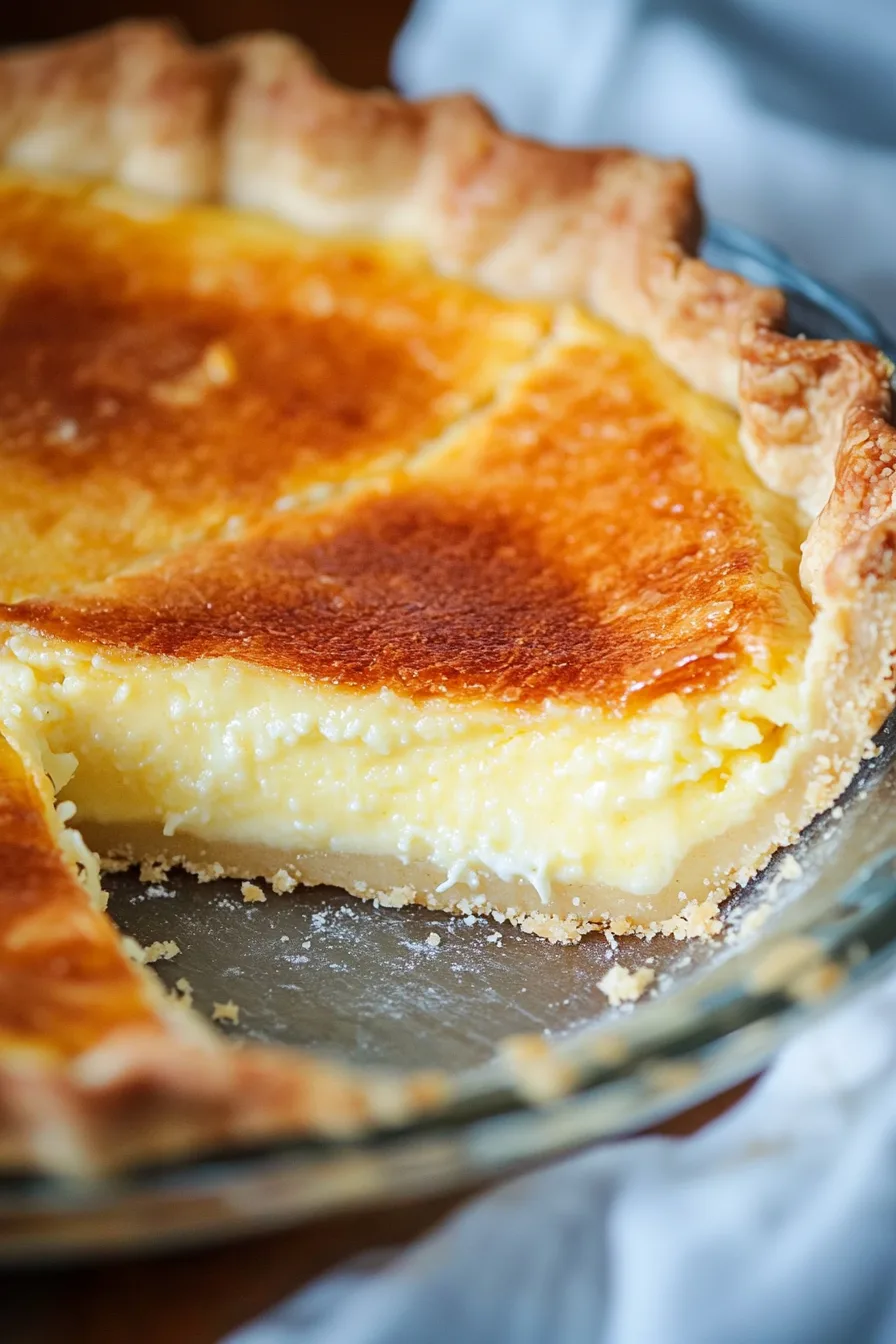
Buttermilk, eggs, butter, sugar, flour, lemon juice, vanilla, and nutmeg come together in this Classic Buttermilk Pie Recipe.


I still remember the first time I made this Classic Buttermilk Pie Recipe. It was one of those last-minute “I need a dessert, but the pantry’s not exactly stocked for greatness” kind of nights. I’d stumbled on an old church cookbook (you know the ones—spiral-bound, smudged with years of gravy fingerprints) and there it was: buttermilk pie. I actually laughed out loud. Buttermilk? In pie? Sounded about as appetizing as potato salad at a July picnic that’s been sitting out a little too long.
But curiosity (and, okay, desperation) won. I baked it. And when I pulled it out of the oven, it looked so ordinary I thought I’d messed it up. Then I tasted it—and wow. Smooth, custardy, with that tiny tang that makes you go back for a second bite before you’ve even swallowed the first. My husband didn’t say a word, just reached for another slice, which honestly said everything. And now, it’s become one of those recipes that just sticks. Like a hand-me-down quilt or that song your mom always played on Sundays.
Why You’ll Love This Classic Buttermilk Pie Recipe?
Here’s what I love about this pie: it’s humble. No fancy swirls, no frilly toppings, no three-page ingredient list that makes you sigh before you’ve even started. Just good, old-fashioned ingredients that somehow turn into magic in the oven. You can whip it up in under an hour, which is saying something in the pie world. And the flavor—let me just say, it’s not a sugar bomb. It’s sweet, yes, but that tang from the buttermilk and the brightness from lemon juice? They cut through it so the pie doesn’t feel heavy.
It’s the kind of recipe your grandma might’ve pulled out at Thanksgiving or the potluck at the church basement where everybody brought “their best.” And even though it’s been around since the 19th century, it still feels timeless. Comfort food that doesn’t need a glow-up.
Ingredient Notes:
Let’s be real, every ingredient has a job here, even the ones that feel “small.”
-
Pie crust: Store-bought is fine. (Don’t let anyone shame you—sometimes convenience wins.) But if you’ve got the time and patience, a flaky homemade crust makes this shine.
-
Butter: Softened. Because trying to cream cold butter? Nope. Been there, not doing it again.
-
Sugar: Without it, this pie would taste like scrambled eggs in pastry. Hard pass.
-
Flour: Just enough to keep the filling from turning into sweet soup.
-
Eggs: They’re the custard makers. Room temp makes them blend smoother, which means less drama later.
-
Buttermilk: The heart and soul. Tangy, creamy, a little funky in the best way.
-
Lemon juice: Like opening the curtains on a sunny morning—it brightens everything.
-
Vanilla: Quiet, but essential. Think background music—you don’t notice it until it’s gone.
-
Nutmeg: Just a pinch. You don’t want it screaming at you, but it whispers coziness.

How To Make Classic Buttermilk Pie?
This Classic Buttermilk Pie Recipe isn’t fussy, which I appreciate. But a few details make it shine.
Step 1 – Preheat the oven. 350°F. Get it going before you even touch the butter. Trust me, nothing’s worse than realizing your oven’s still cold after you’ve already poured the filling.
Step 2 – Cream butter and sugar. Grab your mixer and go until it’s light and fluffy. This is your sweet, buttery base. (And yes, licking the beater is a thing—I won’t judge.)
Step 3 – Add the eggs. One at a time. Watch how the mixture goes from grainy to glossy. That’s when you know you’re on the right track.
Step 4 – Mix in flour and salt. Nothing exciting here, but important. These two keep the custard together so it sets just right.
Step 5 – Add the flavor. Pour in the buttermilk, lemon juice, vanilla, and that little pinch of nutmeg. Mix until it looks smooth and creamy—like melted ice cream.
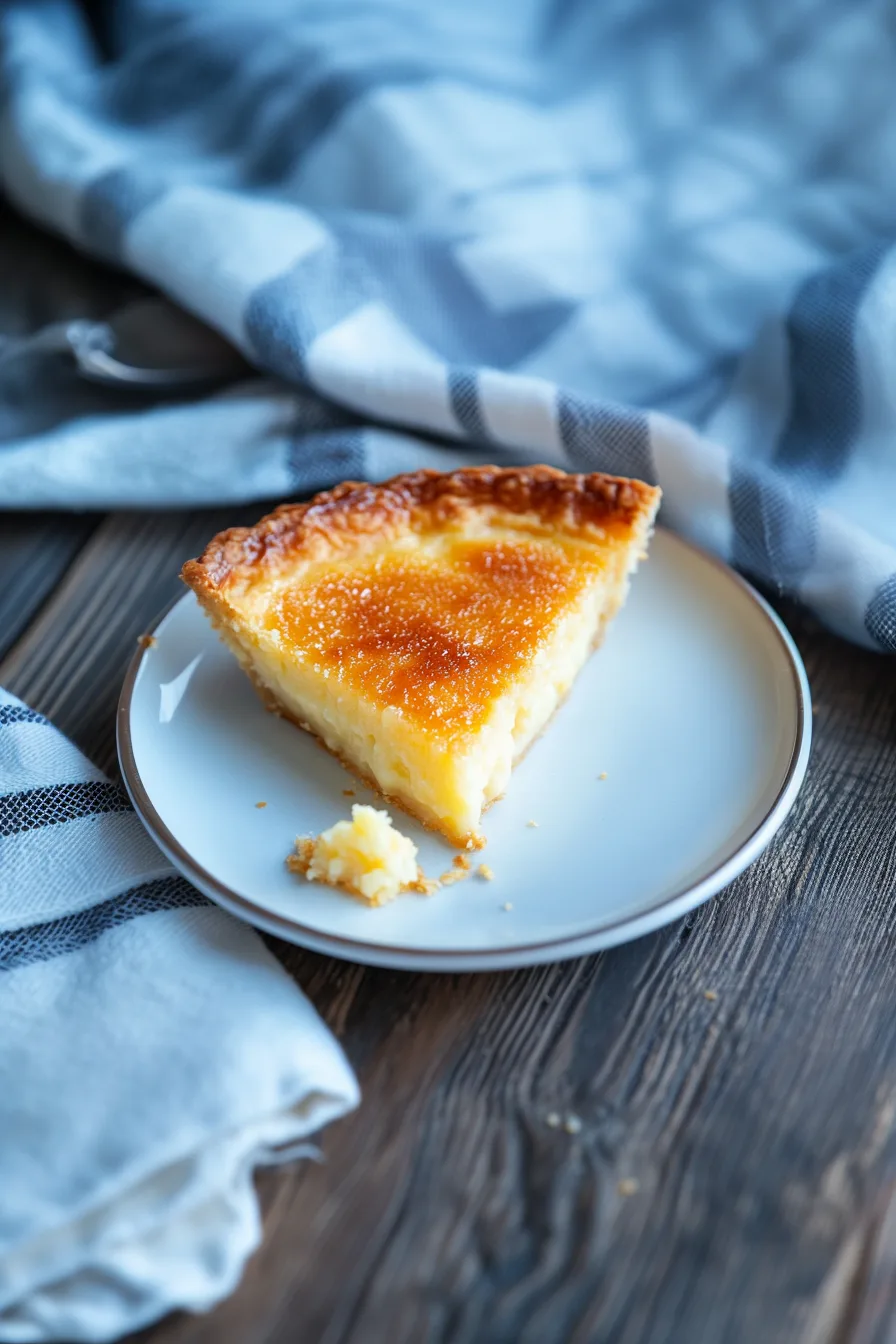
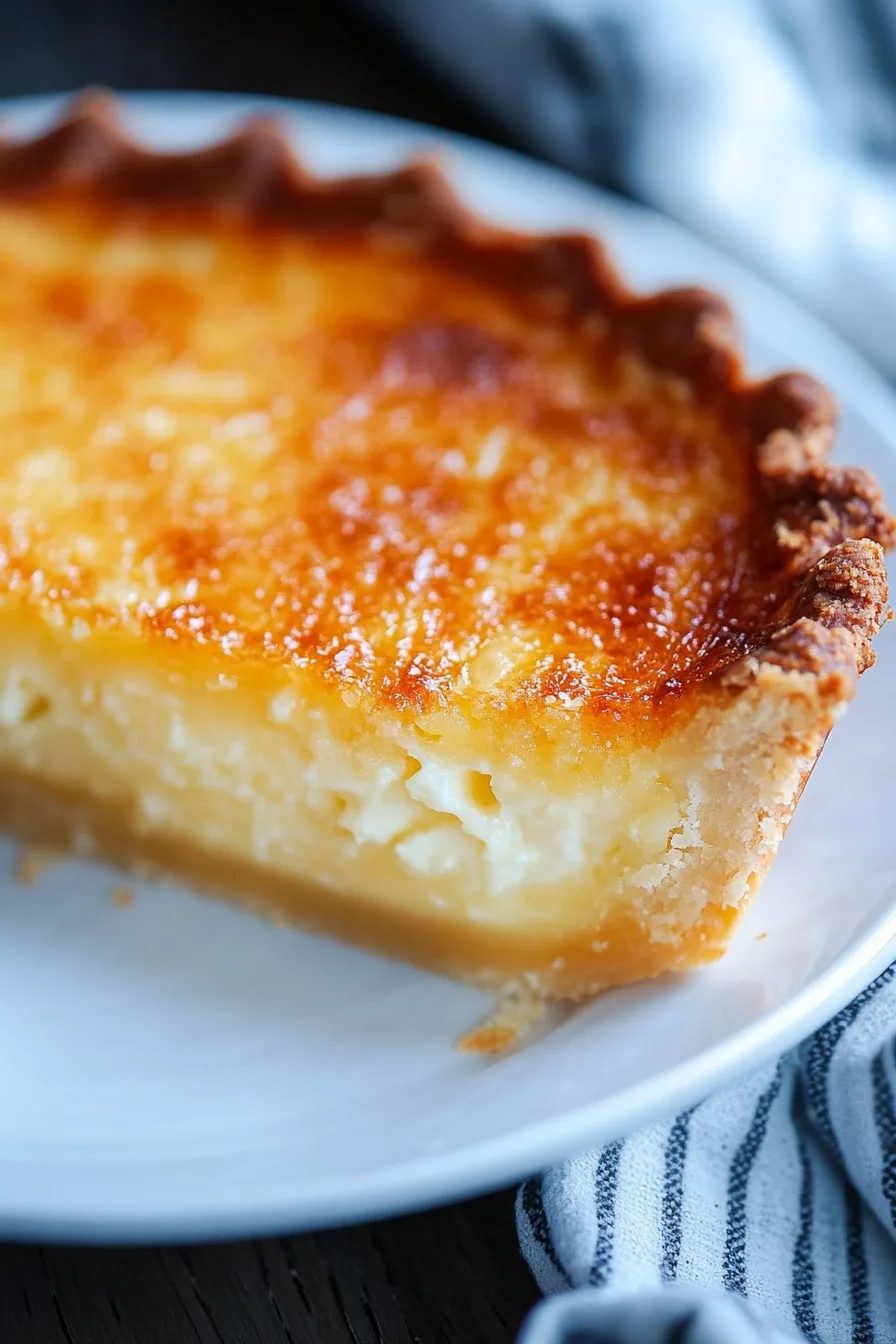
Step 6 – Bake. Pour the filling into your crust. Bake for 45–55 minutes. You’re looking for golden edges and a center that jiggles slightly. Like a cheesecake, not Jell-O.
Step 7 – Cool. The hardest step. Let it cool completely before slicing, or it’ll fall apart on your plate. (Learned that the hard way.)
Want To Save This Recipe?
Storage Options:
Here’s the good news: this pie ages well. You can cover it and keep it in the fridge for up to four days. And honestly? Cold buttermilk pie is kind of amazing. Like leftover pizza—different vibe, but still delicious. Freezing’s an option if you wrap it tight, but I’ll be real: the texture just isn’t the same. Fresh or next-day is the sweet spot.
Variations and Substitutions:
Want to tweak it? Go ahead—this recipe’s forgiving.
-
Swap the lemon juice for orange or lime. Each gives a new twist.
-
Add a dash of cinnamon or allspice for a little holiday flair.
-
Graham cracker crust instead of pastry for crunch lovers.
-
Gluten-free flour and crust swaps? Totally doable.
-
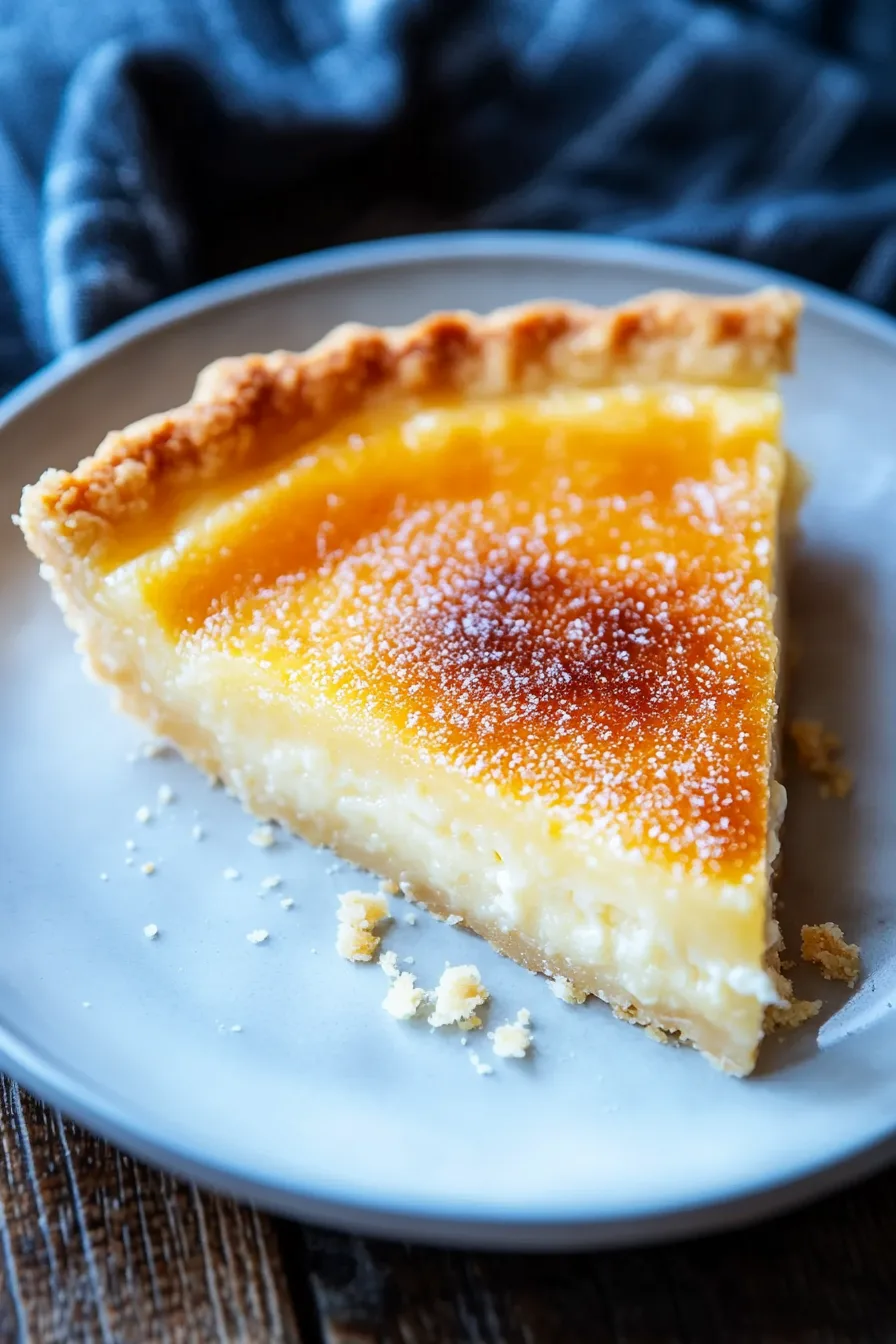
Top with whipped cream, fresh berries, or caramel drizzle if you’re feeling extra.
What to Serve with Classic Buttermilk Pie?
This pie can stand alone, but pairings make it even better:
-
Hot coffee or tea—it’s practically begging for it.
-
Fresh berries to cut the richness.
-
Whipped cream (because when’s that ever a bad idea?).
-
A scoop of vanilla ice cream if you want to take it over the top.
Frequently Asked Questions:
Can I make it ahead of time?
Yes! Honestly, it’s even better the next day. Chill it overnight and the slices hold together beautifully.
Does buttermilk pie taste sour?
Nope. It’s tangy in a good way—balanced by sugar and vanilla. More like a lemony custard than sour milk.
How do I know when it’s done baking?
The center should jiggle slightly, not slosh. Think cheesecake vibes. If it looks like a trampoline, it’s perfect.
This Classic Buttermilk Pie Recipe is one of those desserts that sneaks up on you. Simple, unassuming, then suddenly you’ve eaten half the pie and don’t feel sorry about it. It’s southern comfort at its best—nostalgic, sweet, and just a little tangy. Have you ever tried buttermilk pie before? Or are you about to take the plunge with your first one? Either way, I’d love to know—can’t wait to hear what you think!
Keep the Flavor Coming – Try These:

Classic Buttermilk Pie Recipe
Ingredients
- 1 9- inch pie crust store-bought or homemade
- ½ cup 1 stick unsalted butter , softened
- 1½ cups granulated sugar
- 3 tablespoons all-purpose flour
- ¼ teaspoon salt
- 3 large eggs at room temperature
- 1 cup buttermilk
- 1 tablespoon lemon juice
- 1 teaspoon vanilla extract
- Pinch of freshly grated nutmeg
Instructions
Preheat the oven
- Set the oven to 350°F (175°C) to ensure it is fully heated before baking.
Prepare the filling base
- In a large mixing bowl, cream the softened butter and granulated sugar using an electric mixer until the mixture is light and smooth.
Incorporate the eggs
- Add the eggs one at a time, mixing thoroughly after each addition, until fully combined and the mixture appears glossy.
Add the dry ingredients
- Sift in the flour and salt, and blend until evenly incorporated into the batter.
Incorporate the liquids and flavorings
- Pour in the buttermilk, lemon juice, vanilla extract, and a pinch of nutmeg. Beat until the filling is smooth and homogenous.
Assemble the pie
- Transfer the prepared filling into the pie crust, spreading it evenly. Place the pie on the center rack of the oven.
Bake
- Bake for 45–55 minutes, or until a tester inserted into the center comes out clean and the filling is set with a slight jiggle.
Cool before serving
- Remove the pie from the oven and allow it to cool completely at room temperature to allow the custard to set. Slice and serve once cooled.
Notes
I’m Bitty, owner of nodashofgluten.com, where I share simple, delicious recipes for all tastes, including gluten-free. Check out my “About Me” page for more info!