
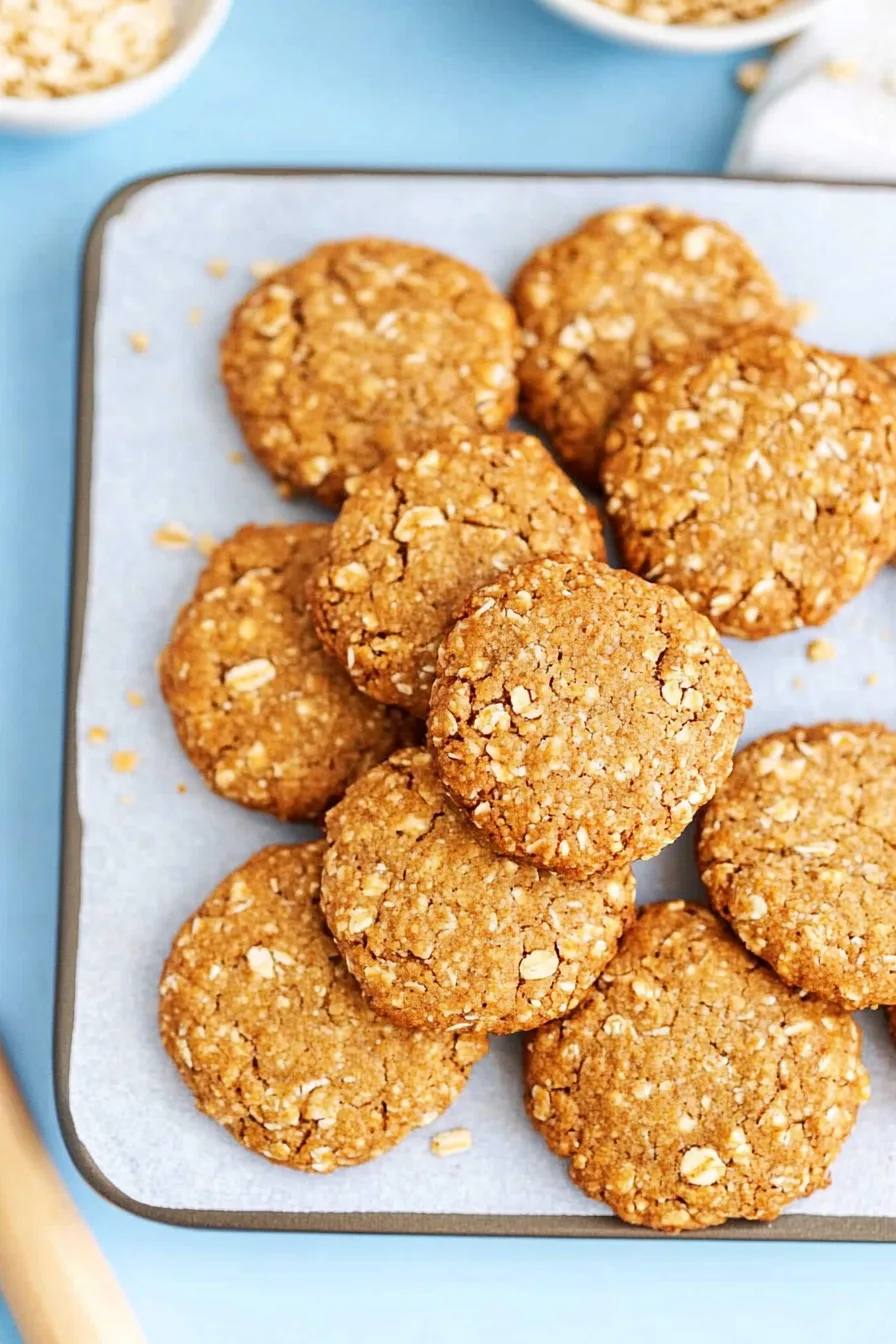
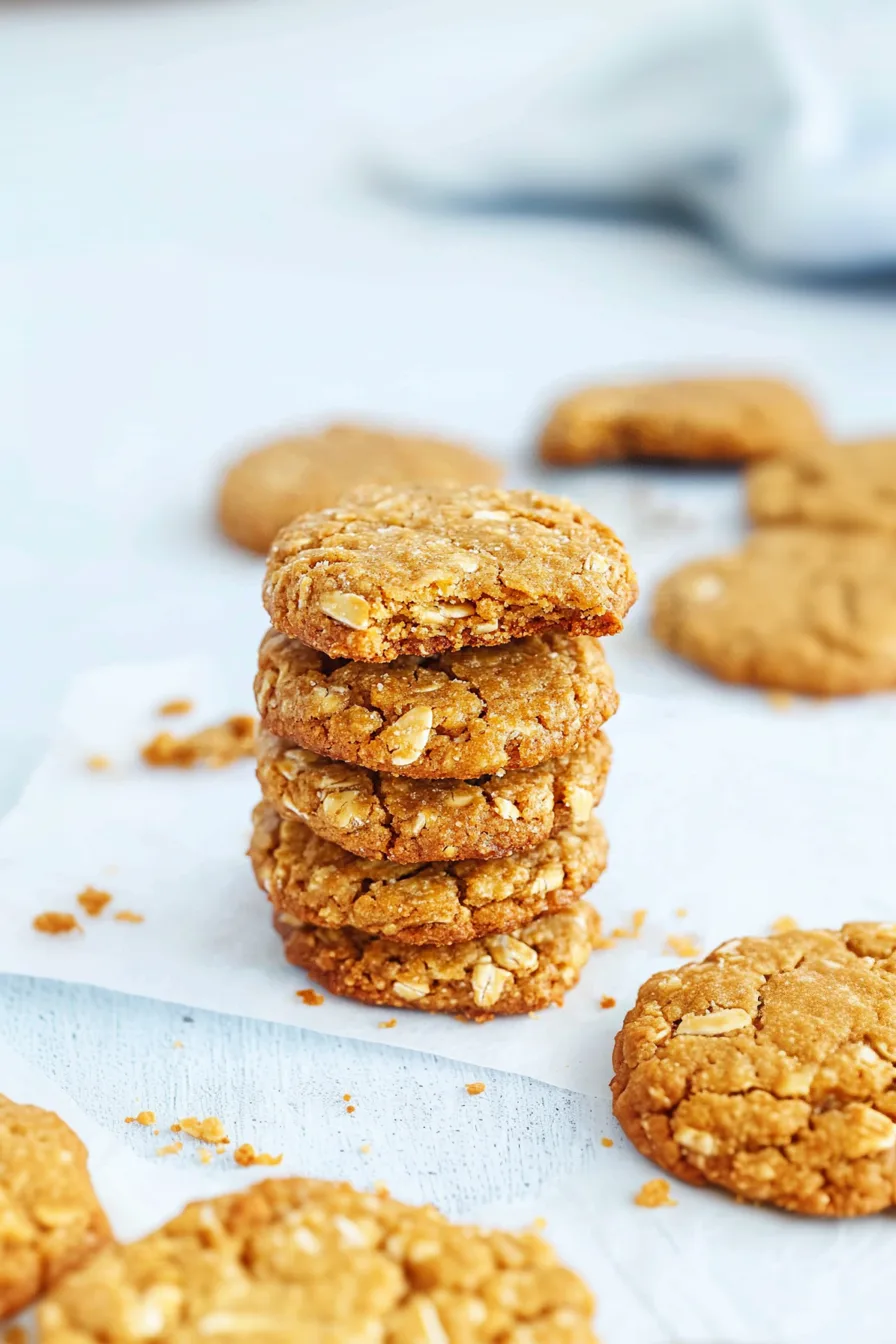
Buttery Classic ANZAC Biscuits made with oats, coconut, brown sugar, and golden syrup — chewy, nostalgic, and foolproof comfort.
Every time I make these Classic ANZAC Biscuits, I think of my grandma’s kitchen — you know, the kind of kitchen that always smelled like butter and sugar and had a tin of something sweet sitting on the counter, “just in case company came over.”
She used to make ANZAC biscuits around April every year, usually after catching something on the radio that reminded her of her childhood. I remember one year she asked if I wanted to “help,” which basically meant I got to lick the spoon and somehow spill half the oats on the floor. But the smell when those biscuits came out of the oven — caramelized, nutty, and buttery — it’s stuck with me ever since.


Fast-forward to a few years ago, I was living on my own, craving that same smell, that same comfort. I decided to bake a batch. I didn’t even have proper measuring cups (I used a coffee mug — sorry, Grandma), but they turned out beautifully. Maybe not perfect, but they felt right. Chewy in the middle, golden on the edges, and exactly the kind of thing you eat while standing by the window with a hot cup of tea, watching the rain.
That’s what I love most about these biscuits — they’re simple, old-fashioned, and kind of grounding. No mixer, no fancy tricks. Just a wooden spoon, a bowl, and a bit of butter and patience.
Why You’ll Love This Classic ANZAC Biscuits Recipe?
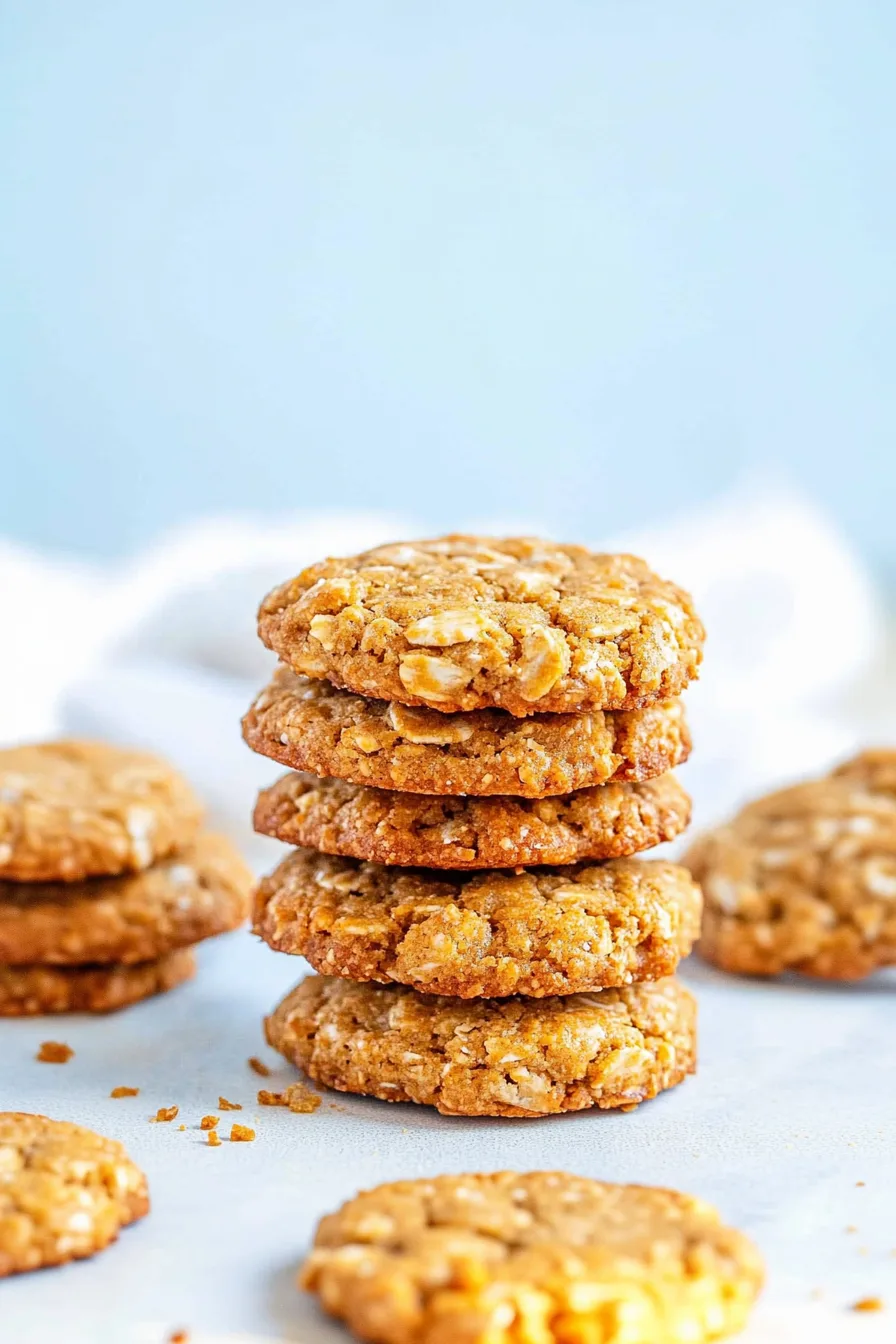
If you’ve never had ANZAC biscuits before, think of them as a cross between a chewy oatmeal cookie and a buttery shortbread — but with a history that makes them even more special.
What’s great is that they’re ridiculously easy. Like, you can whip these up half-asleep on a Sunday morning. They don’t require perfection — actually, a little unevenness adds charm. Some days mine spread more, other days they stay neat and round. Doesn’t matter. They always taste like home.
They also last forever (okay, maybe not forever, but close). Which makes sense — they were originally sent to soldiers because they could survive long journeys. If only all cookies were this resilient.
And here’s the best part: they taste even better a day or two later, once they’ve settled into that sweet spot between crisp and chewy. I dare you to keep them around that long.
Ingredient Notes:
Let’s talk about what makes these Classic ANZAC Biscuits so special — and trust me, you’ve probably already got everything you need sitting in your pantry.
-
Flour: Regular all-purpose flour works perfectly. It keeps things soft and structured without stealing the spotlight.
-
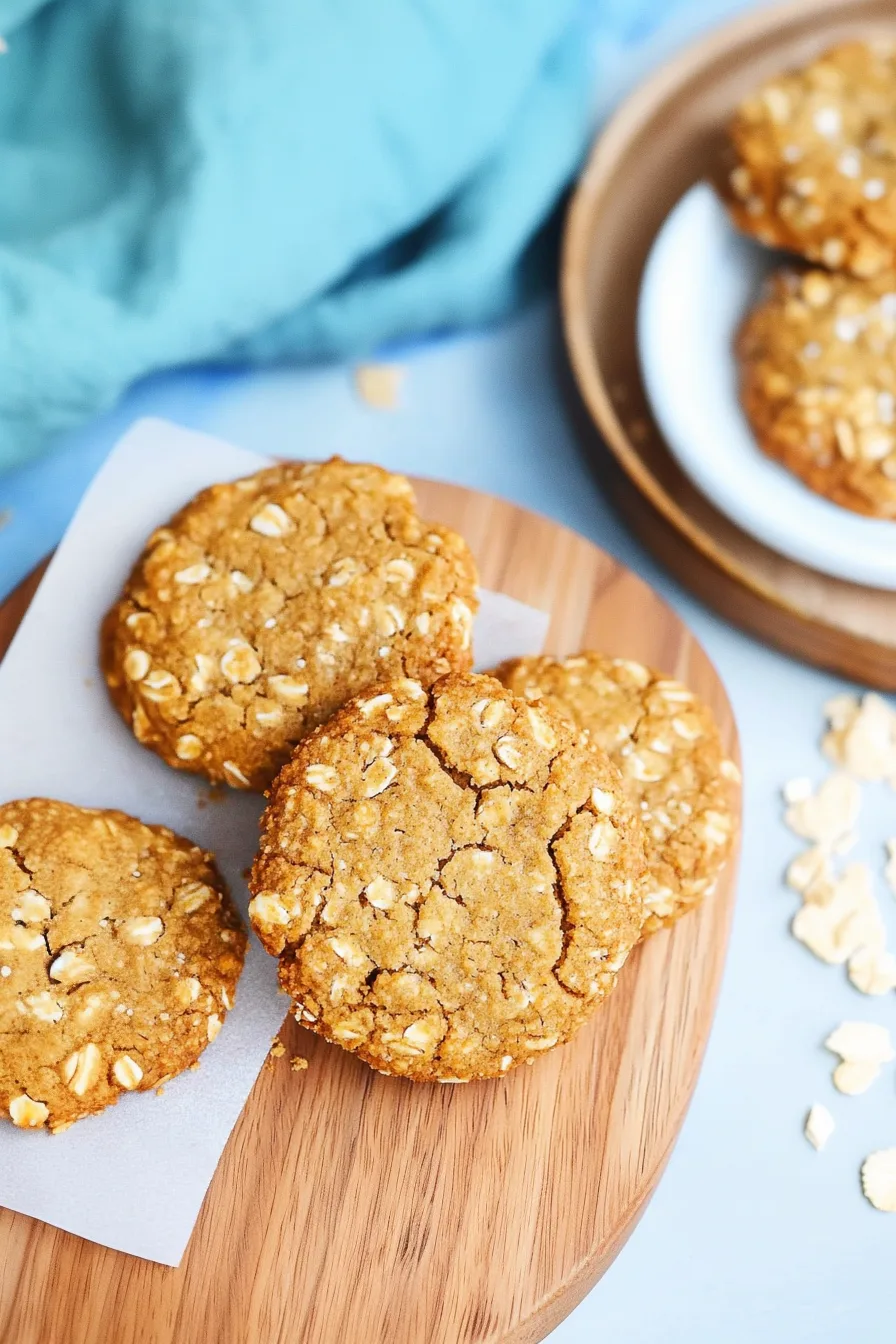
Rolled Oats: The heart of the biscuit. I love how they toast in the oven and give that nutty chew. Just don’t use quick oats — they don’t have the same personality.
-
Desiccated Coconut: This is what makes them distinctly ANZAC. It adds chew, flavor, and a little bit of that “Australian summer in a biscuit” vibe.
-
Brown and White Sugar: I know it’s tempting to pick one, but don’t. Brown sugar adds that caramel note, while white sugar gives you those crisp edges. Balance, my friend.
-
Butter: Because life’s too short for bad cookies. Melted butter gives richness and depth that margarine can’t even dream of.
-
Golden Syrup or Honey: Golden syrup is traditional — it adds that distinct, warm sweetness that’s halfway between caramel and molasses. Honey works fine in a pinch, but if you can find golden syrup, go for it.
-
Baking Soda: Just a little. It reacts with the syrup and creates those gorgeous air pockets that make the biscuits tender inside.
-
Water: Humble, but important. It brings the dough together and helps the soda do its bubbly thing.
I love how everything in this recipe has a purpose. No fluff, no filler — just simple ingredients doing exactly what they’re supposed to do.
How To Make Classic ANZAC Biscuits?
Okay, grab your apron — or don’t, I never actually wear mine — and let’s bake.
Step 1: Get your oven ready.
Preheat it to 325°F (160°C). Line a couple of baking sheets with parchment paper. You can use just one, but you’ll need to bake in batches — which, honestly, just gives you more time to “test” a warm one between rounds.
Step 2: Mix the dry ingredients.
In a big bowl, toss together your flour, oats, coconut, both sugars, and salt. Give it a good whisk. It should smell faintly of toasted oats already.
Step 3: Melt the butter and syrup.
In a small saucepan, melt the butter with the golden syrup over medium heat. Stir it gently — it’s not a race. This is where the kitchen starts smelling divine.
Step 4: Add the baking soda.
Once the butter’s melted, stir in the baking soda and water. It’ll fizz up a bit like a mini volcano — don’t panic, that’s the good kind of chemistry.
Step 5: Combine everything.
Pour the warm, bubbly butter mixture into your dry ingredients. Stir it all together with a spatula until it’s crumbly but sticks when you press it. If it’s too dry, add another splash of water — this dough’s forgiving.
Step 6: Shape and bake.
Roll heaping tablespoons of dough into balls and place them on your baking sheet about 2 inches apart. Flatten them slightly with your fingers. Bake for 15 minutes if you want chewy centers, or 20 if you like them crisp and snappy.
Step 7: Cool (sort of).
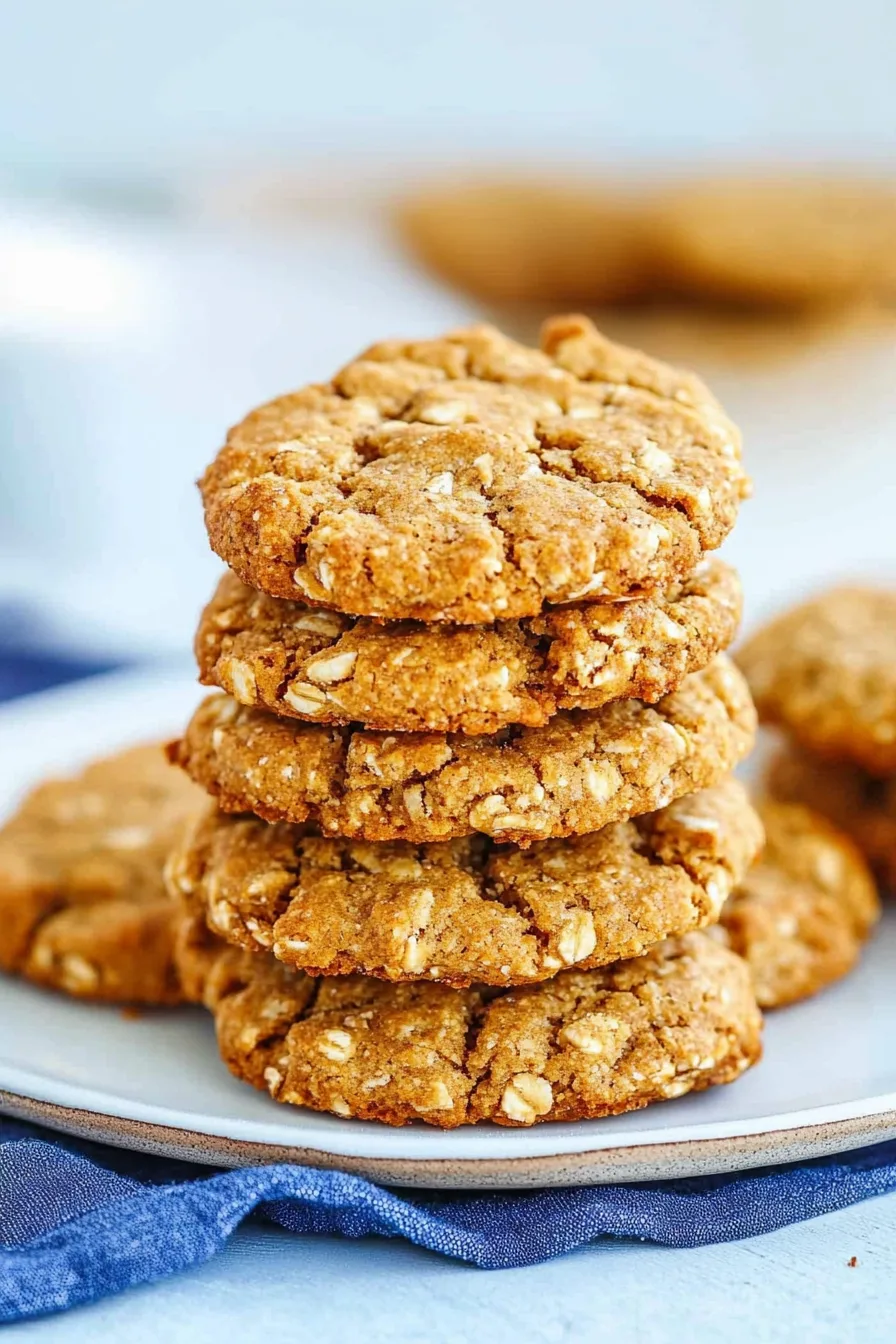
Let them sit on the tray for 5 minutes. They’ll feel too soft at first — like you messed up — but trust me, they’ll firm up as they cool. And if you “accidentally” eat one too soon? That’s just quality control.
Want To Save This Recipe?
Storage Options:
These biscuits are basically indestructible. Store them in an airtight container, and they’ll stay fresh for up to two weeks — assuming they last that long. Crunchy ones stay crisp for about a week before softening, and chewy ones mellow out beautifully over time.
If it’s humid where you live (looking at you, Queensland), pop a little piece of parchment or even a dry slice of bread in the container to absorb moisture. It’s an old trick, but it works.
They also freeze beautifully — baked or as dough balls. I once found a frozen batch two months later, baked them on a whim, and they were still perfect. Like finding forgotten money in a jacket pocket, but better.
Variations and Substitutions:
Here’s where you can get creative. I’m all for tradition, but baking should be fun — not strict.
-
Honey Swap: Don’t have golden syrup? Honey works just fine. The flavor’s lighter, but still lovely.
-
Add Spice: A pinch of cinnamon or nutmeg adds a cozy little twist.
-
Go Nutty: Toss in a handful of chopped almonds or macadamias if you like some crunch.
-
Chocolate Drizzle: Melt some dark chocolate and drizzle it over the cooled biscuits. Not traditional, but who’s complaining?
-
Gluten-Free: Just use gluten-free flour and certified GF oats. It works like a charm.
Basically, Classic ANZAC Biscuits don’t judge. You can dress them up or keep them plain, and they’ll always deliver.
What to Serve with Classic ANZAC Biscuits?
Let’s be honest — these biscuits are perfect on their own. But if you want to take things up a notch:
-
Dunk them in your morning coffee. Instant mood booster.
-
Pair with tea for that true “Grandma’s kitchen” moment.
-
Crumble them over vanilla ice cream (trust me, it’s life-changing).
-
Package a few in a jar with twine and gift them — they’re old-fashioned and heartfelt, just like handwritten notes.
Sometimes, I even sneak one or two into my bag before heading out. There’s something rebellious about eating cookies in public like a grown-up toddler.
Frequently Asked Questions:
Chewy or crunchy? Which is “right”?
Both! Bake them shorter for chewy, longer for crunchy. There’s no wrong way — it’s like the eternal debate between brownies with edges or fudgy centers.
Golden syrup or honey — which is better?
Golden syrup has that deep caramel note, but honey’s lovely if that’s what you’ve got. Think of it like choosing between tea and coffee — different moods, same comfort.
Can I freeze them?
Absolutely. Freeze either the baked biscuits or the dough balls. They bake perfectly from frozen — just add a couple minutes to the bake time.
You know those recipes that just feel right? That’s what Classic ANZAC Biscuits are. They don’t demand precision or perfection — they just ask you to show up with a little butter, a little time, and a lot of heart.
They remind me that food isn’t just about eating — it’s about connection. Every bite feels like a story, a memory, or a quiet pause in a busy day.
So go ahead, make a batch. Fill your kitchen with that sweet, buttery smell, and maybe set a few aside for later — though good luck actually doing that.
And when you take that first bite, tell me — are you Team Chewy or Team Crunchy? Personally, I still can’t decide… and I think that’s okay.
Keep the Flavor Coming – Try These:


Classic ANZAC Biscuits
Ingredients
- 1 cup 120g all-purpose flour
- 1 cup 100g rolled oats
- 1 cup 85g desiccated coconut
- ½ cup 107g packed light brown sugar
- ½ cup 100g granulated sugar
- ½ teaspoon kosher salt
- ½ cup 113g unsalted butter
- 2 tablespoons golden syrup or honey
- ½ teaspoon baking soda
- 1 tablespoon water plus more if needed
Instructions
Prepare the oven and baking sheets.
- Preheat the oven to 325°F (160°C). Position the racks in the top and bottom thirds. Line two large baking sheets with parchment paper to ensure even baking. If you have only one, bake in two batches.
Combine the dry ingredients.
- In a large mixing bowl, whisk together the flour, rolled oats, coconut, both sugars, and salt until well incorporated. This dry mixture forms the hearty base of the biscuits.
Melt the butter and syrup.
- In a small saucepan over medium heat, melt the butter with the golden syrup (or honey), stirring occasionally until smooth and blended. Remove from the heat once fully melted.
Activate the baking soda.
- Add the baking soda to the melted butter mixture, followed by the water. Stir well. The mixture will lightly fizz as the soda reacts with the syrup—this helps achieve the biscuits’ signature texture.
Combine the wet and dry ingredients.
- Pour the warm butter mixture into the dry ingredients. Stir with a spatula until just combined. The dough should appear crumbly but hold together when gently pressed. If it feels too dry, add a small splash of water.
Shape the biscuits.
- Scoop heaping tablespoons of the dough and roll them into small balls. Place them on the prepared baking sheets about 2 inches apart, allowing space for spreading during baking.
Bake to perfection.
- Bake for 15–20 minutes, rotating the trays halfway through for even coloring.
- For chewy biscuits: remove after about 15 minutes, when the edges are lightly golden.
- For crisp biscuits: bake closer to 20 minutes, until deep golden brown.
Cool and store.
- Let the biscuits rest on the tray for 5 minutes before transferring them to a wire rack to cool completely. They will firm up as they cool. Store in an airtight container once cooled to preserve freshness.
Notes
I’m Bitty, owner of nodashofgluten.com, where I share simple, delicious recipes for all tastes, including gluten-free. Check out my “About Me” page for more info!


3 Responses
Best recipe everyone loved them
Family loved these. Just fyi though when you click to 2x or 3x the recipe the weight values don’t change (thankfully I noticed before I started lol).
Oh Alison, I’m so glad your family loved them! And thank you for catching that — I really appreciate you letting me know about the scaling issue with the weights; that’s exactly the kind of thing that helps me keep the recipe working smoothly for everyone.