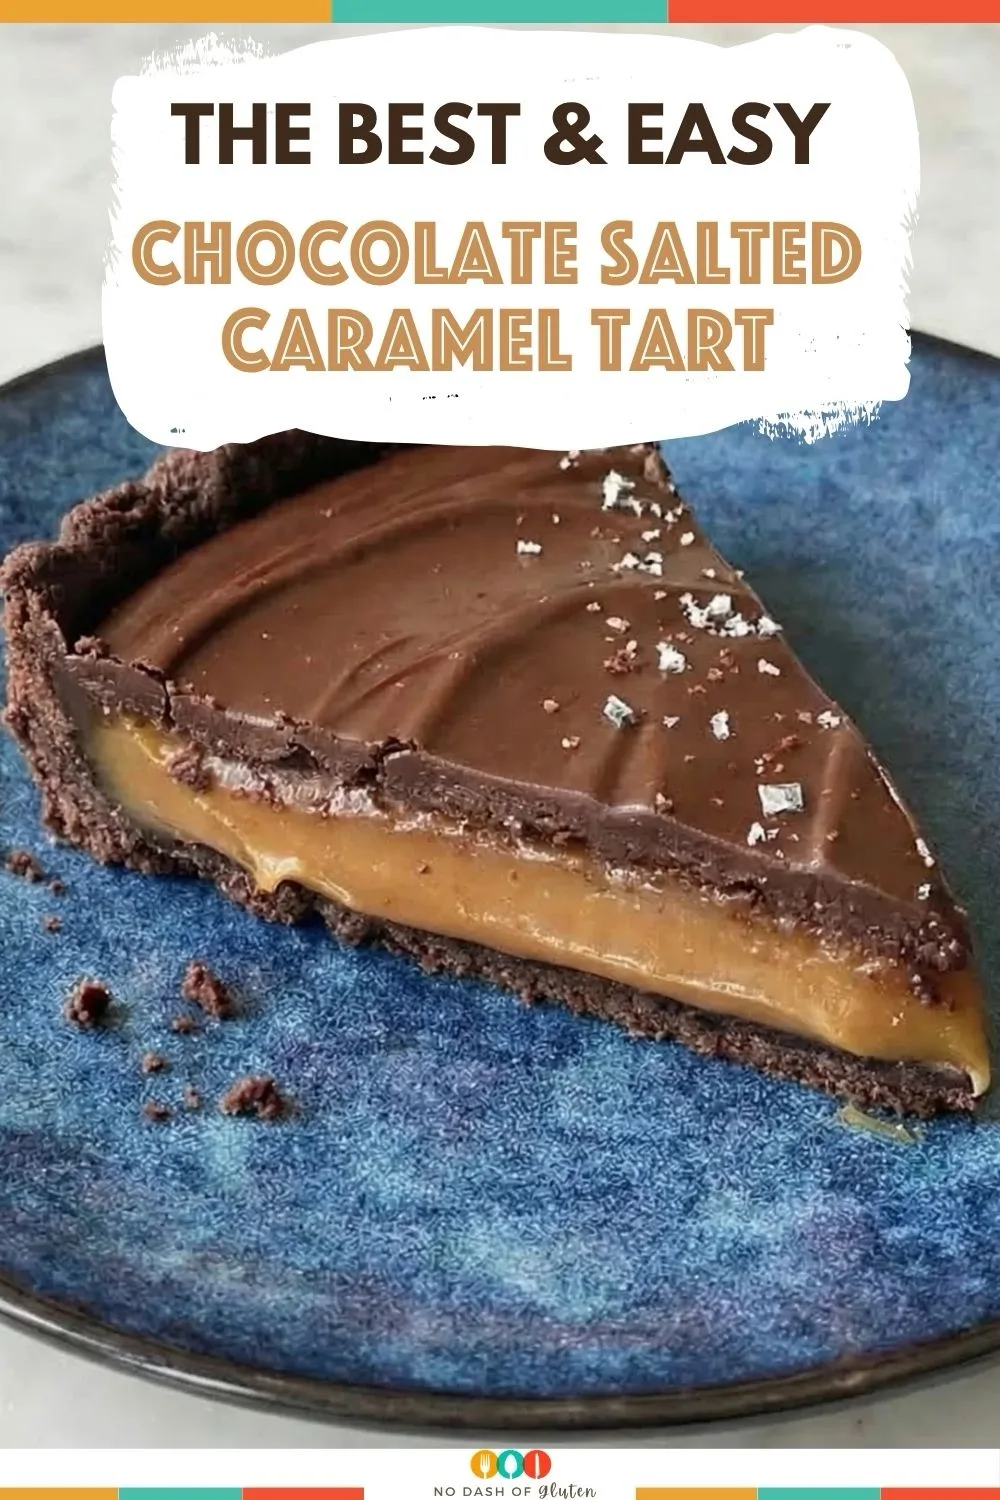
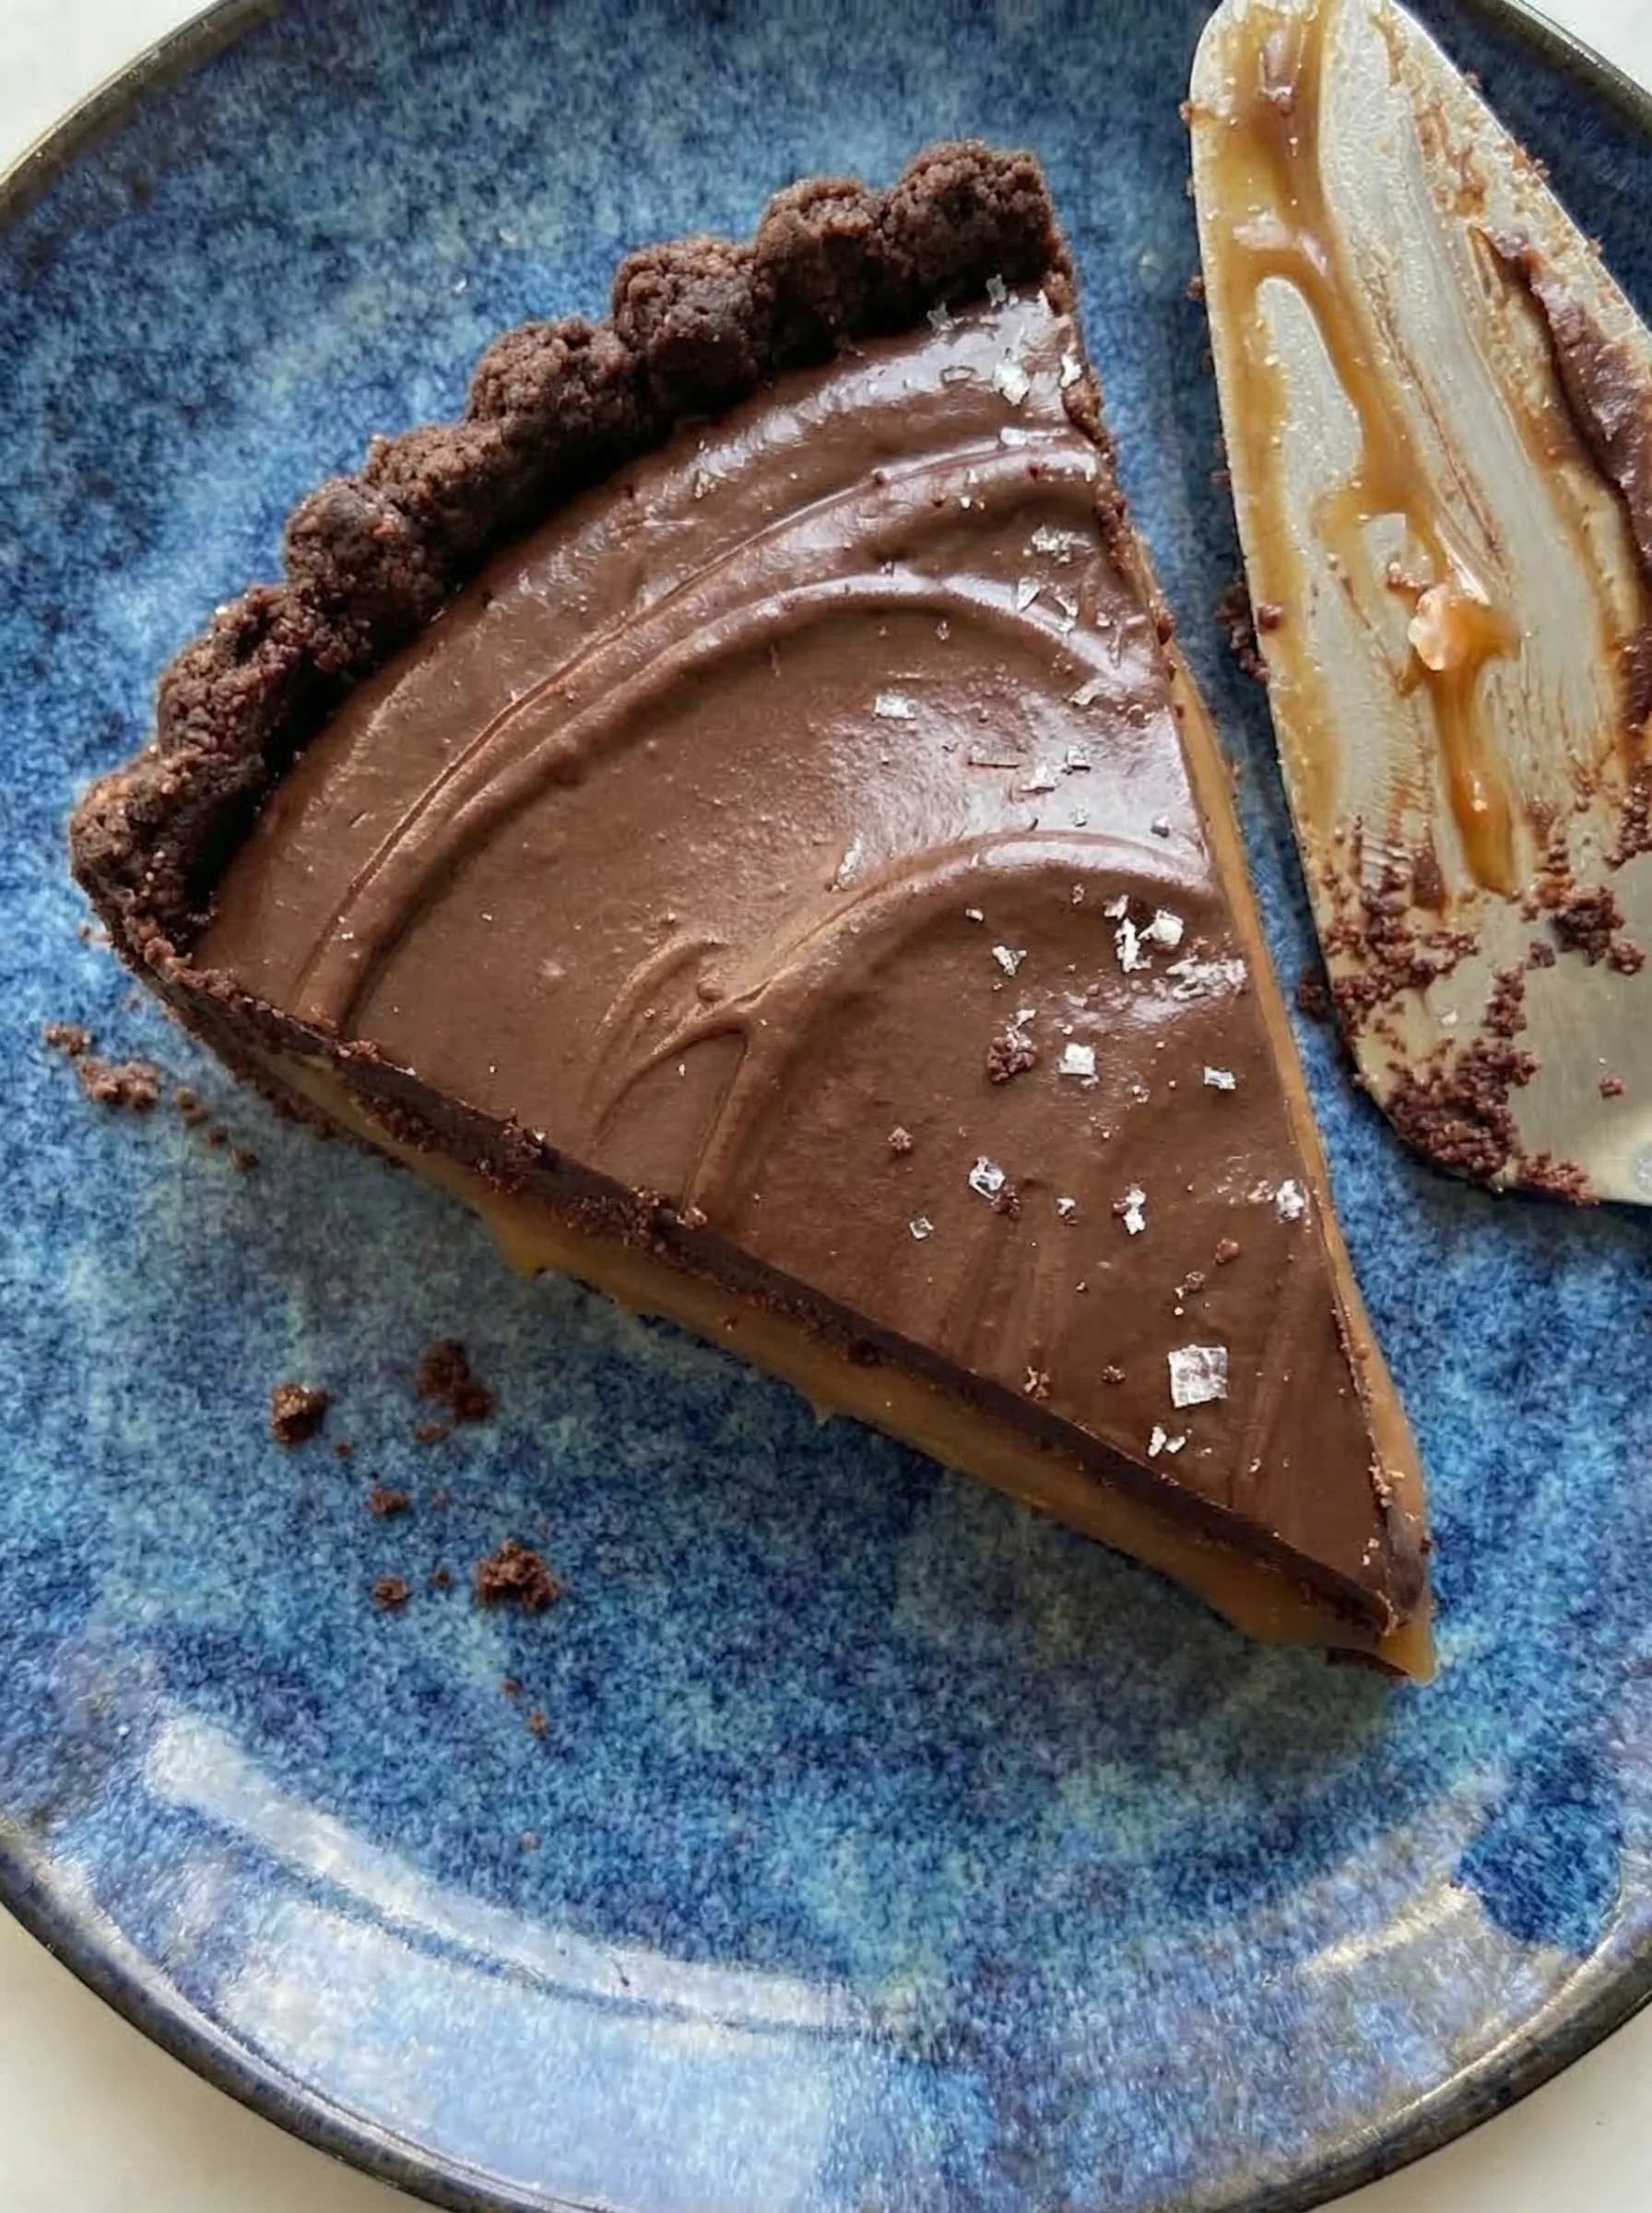
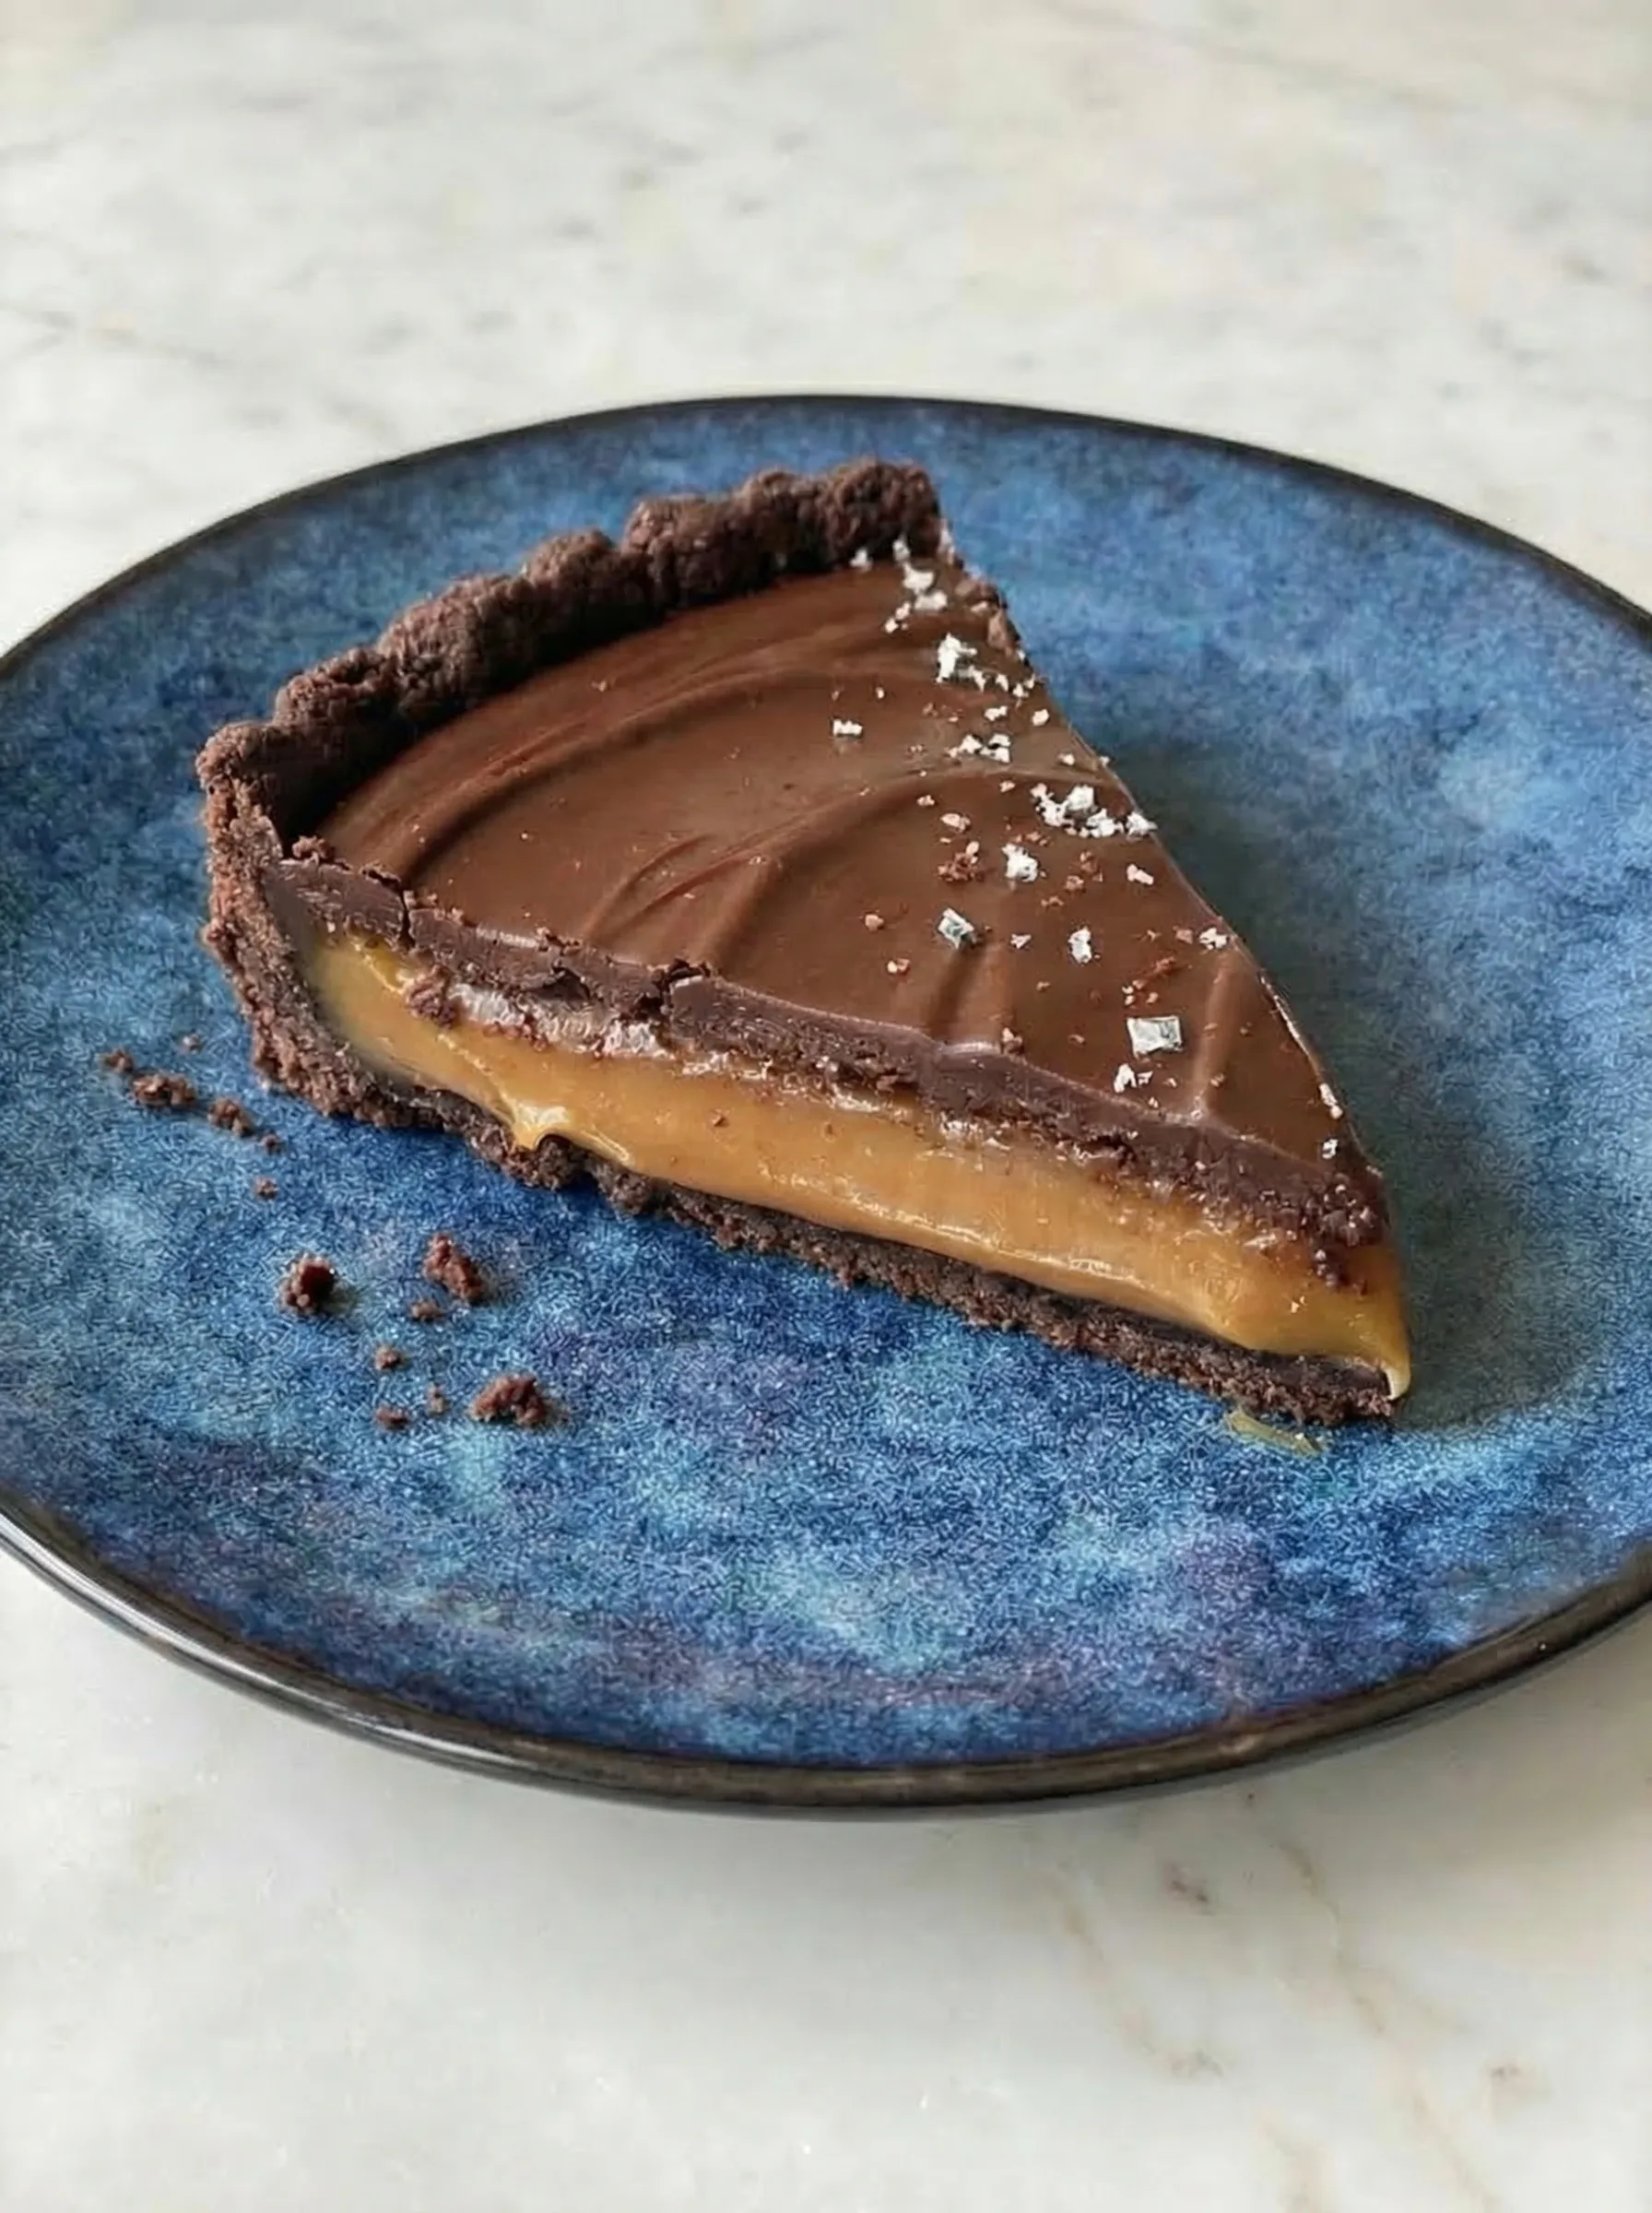
Chocolate Salted Caramel Tart – If you’re a fan of the perfect balance between sweet and salty, this Chocolate Salted Caramel Tart Recipe is made just for you. A rich, buttery almond chocolate crust is filled with luscious caramel, topped with a silky chocolate ganache, and garnished with sea salt for the ultimate indulgence. This show-stopping dessert is a luxurious treat for special occasions and an elegant way to satisfy any chocolate craving.

The first time I made this tart, I was aiming for a decadent dessert for my family’s weekend gathering. My husband, who’s a chocolate lover, couldn’t stop raving about how the saltiness of the caramel perfectly complemented the bittersweet chocolate. Even my kids, who usually go for simpler sweets, asked for seconds! This tart has since become a special request for our celebrations, and I love how easy it is to prepare in advance, so there’s no last-minute stress.
Why You’ll Love This Chocolate Salted Caramel Tart?
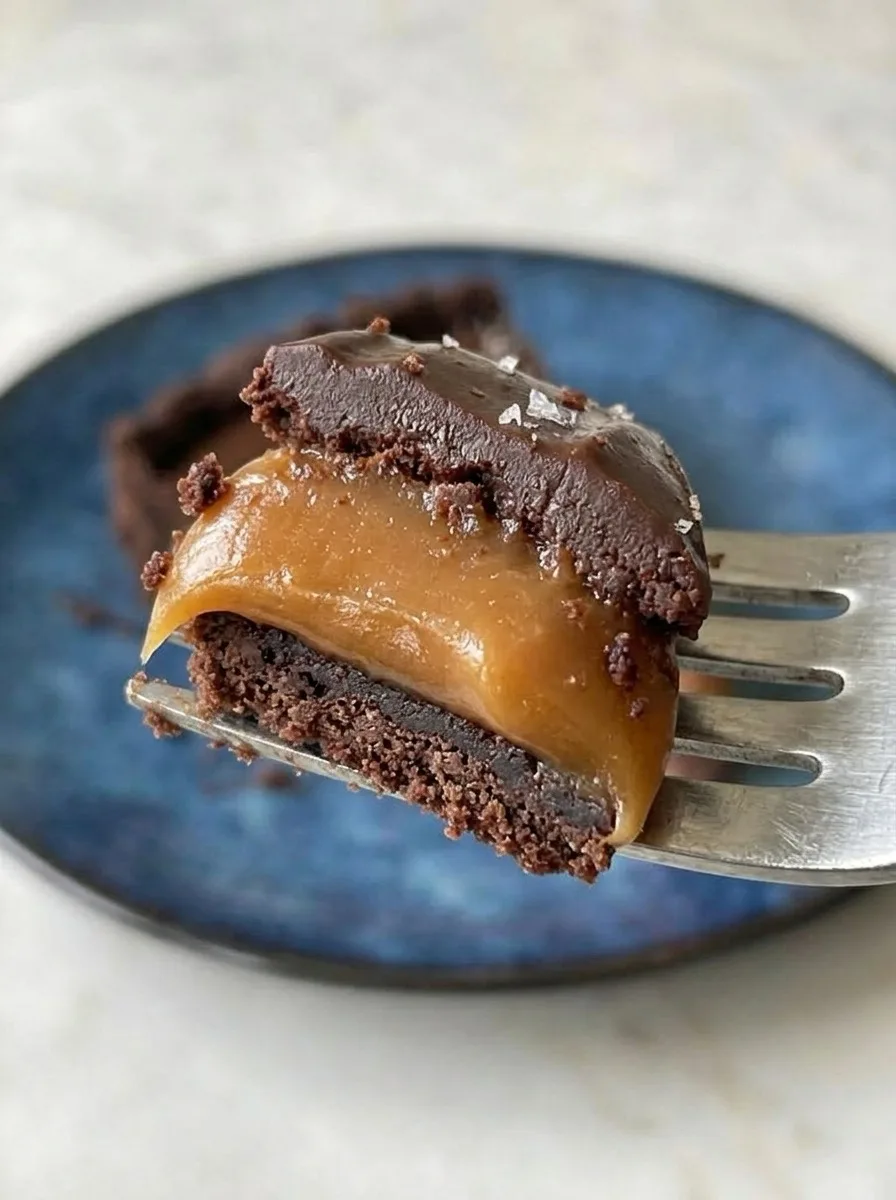
This tart isn’t just any dessert—it’s the ultimate indulgence. With its crunchy chocolate almond crust, smooth and buttery caramel filling, and rich chocolate ganache, each bite melts in your mouth. The sprinkle of sea salt enhances the flavors and elevates the experience, making it the perfect balance of sweet and salty. Plus, it’s surprisingly easy to make for such a sophisticated treat.
Ingredient Notes:
Nothing complicated here, just a few quality ingredients that really make a difference in flavor and texture.
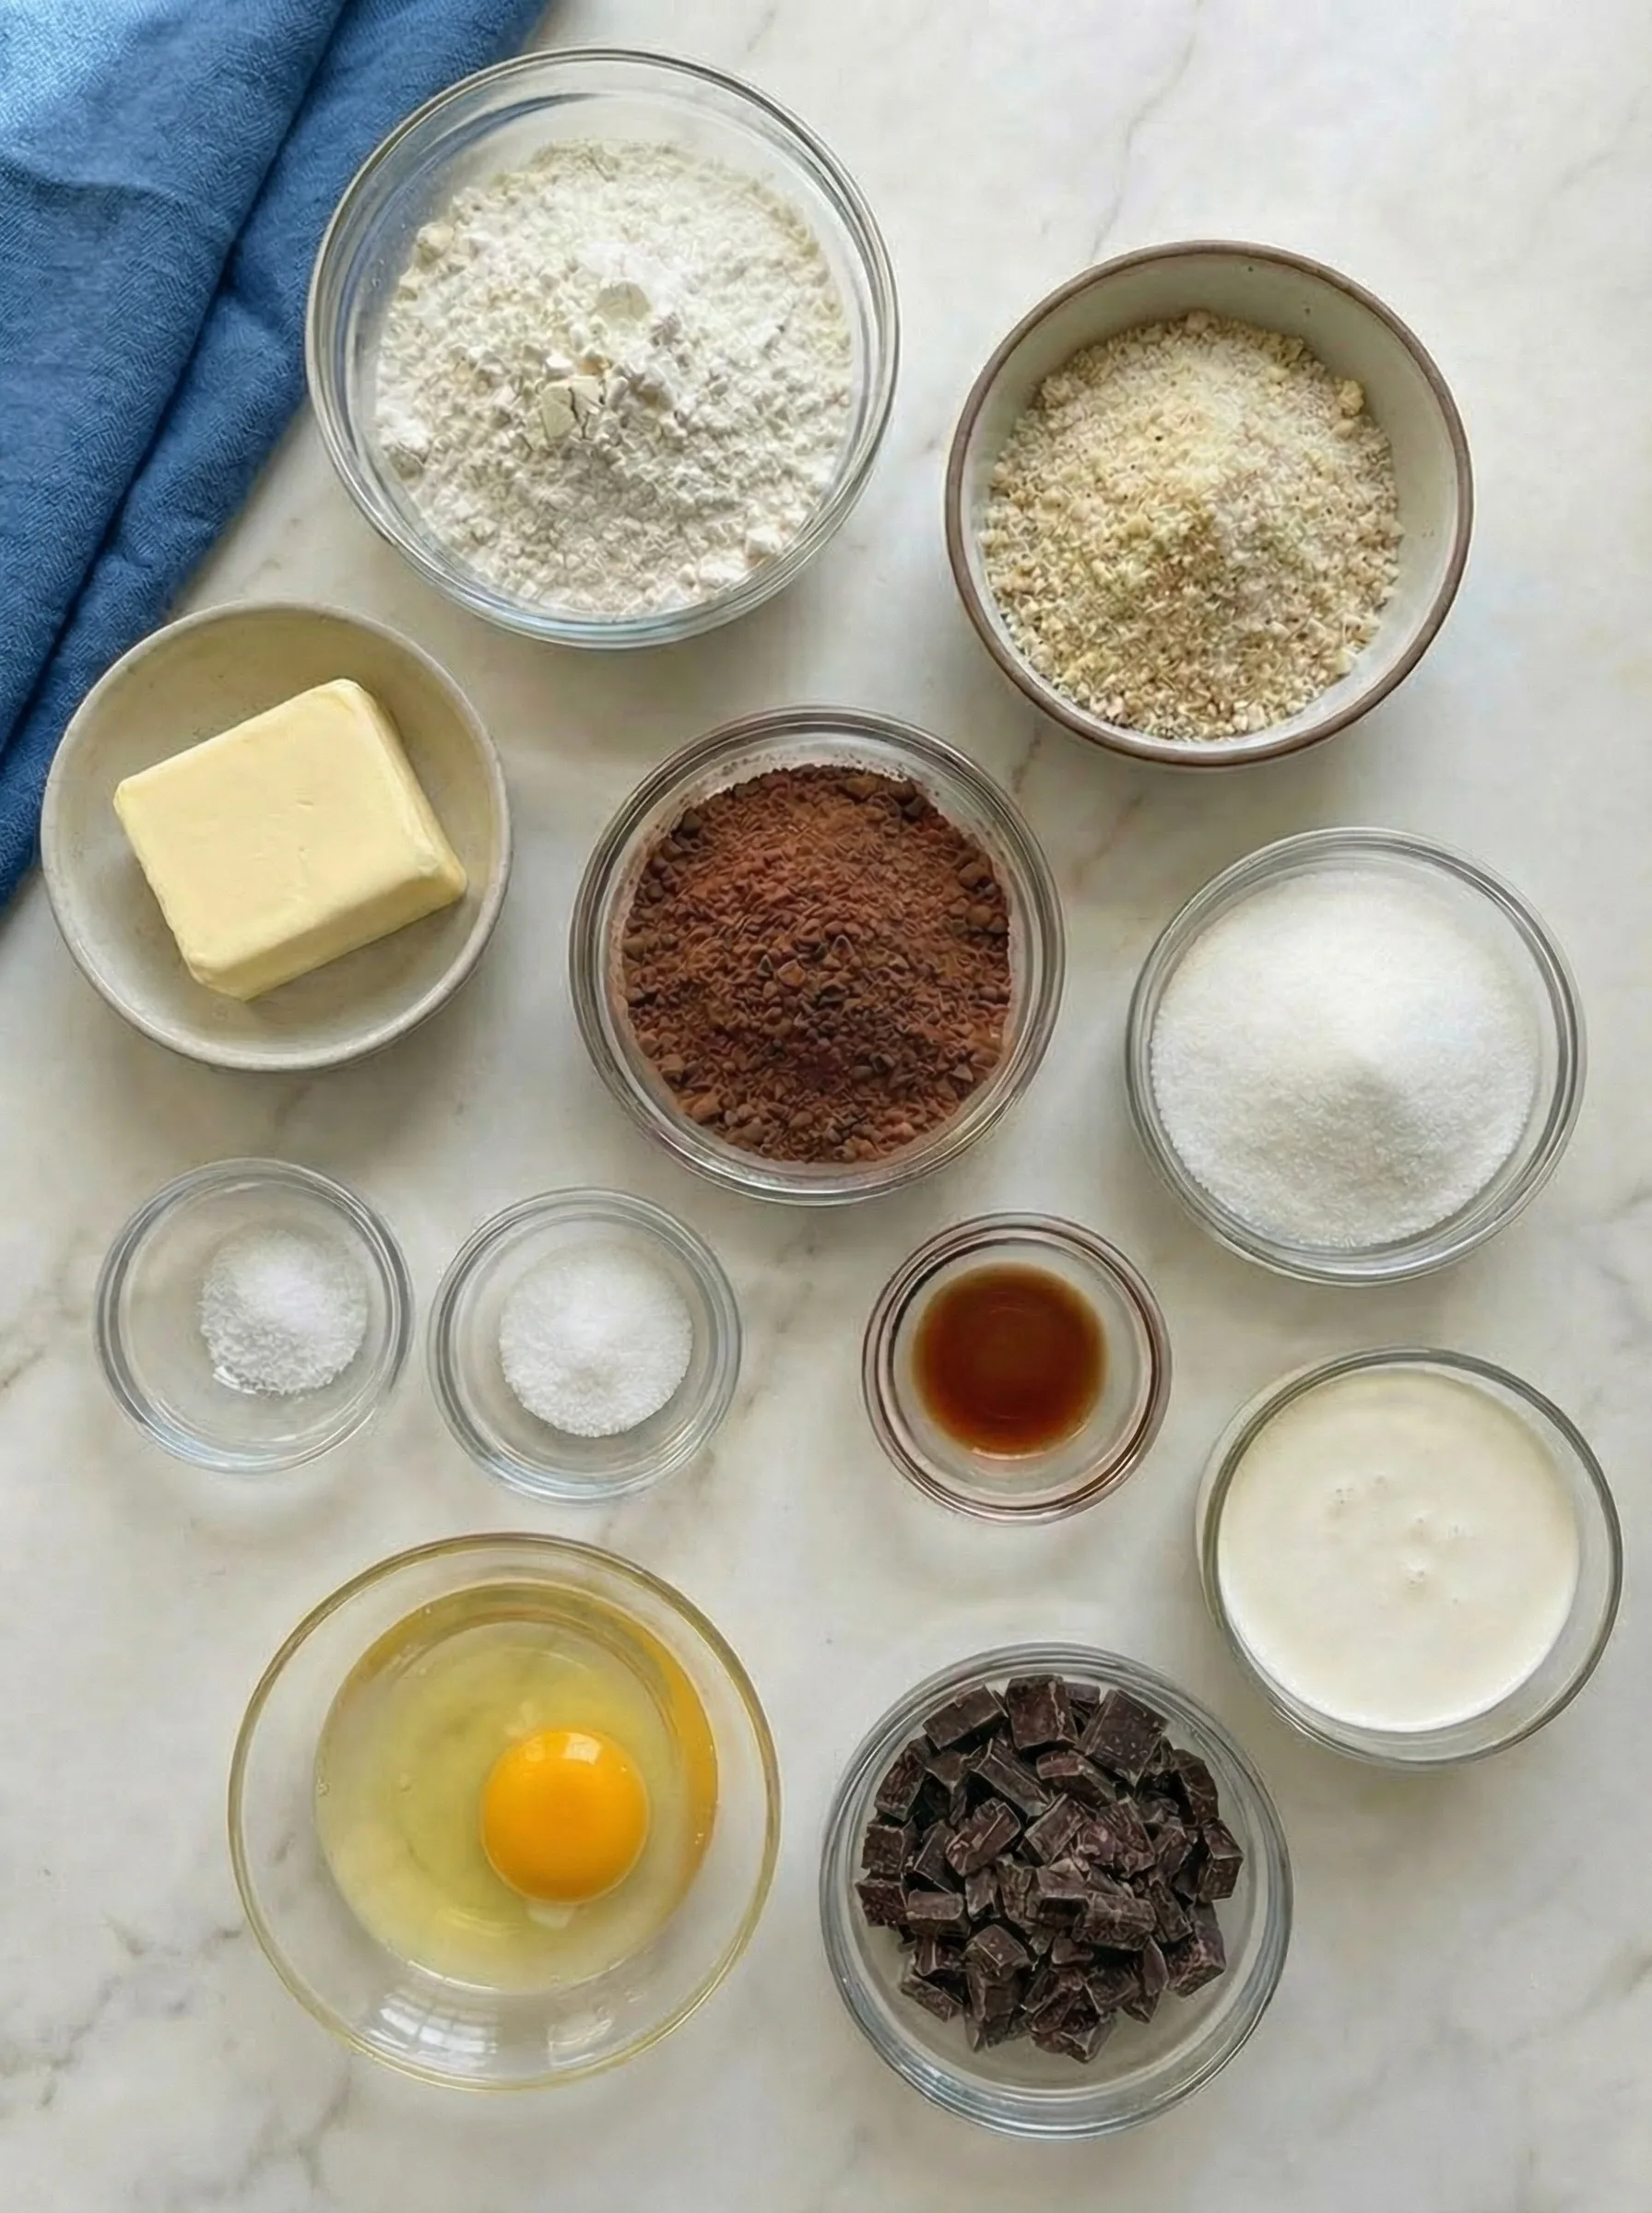
- Almonds: Ground almonds add a rich, nutty flavor to the crust, giving it that extra touch of sophistication. You can substitute with other nuts if you want to experiment, but almonds are perfect here.
- Cocoa Powder: Choose a high-quality unsweetened cocoa powder for a deep, intense chocolate flavor in the crust.
- Heavy Cream: Essential for both the caramel and the ganache, the heavy cream makes these layers silky and smooth.
- Bittersweet Chocolate: Use good-quality chocolate with 50-70% cacao for the ganache, as it provides the right balance of richness and sweetness.
How To Make Chocolate Salted Caramel Tart:
Take it one step at a time, and you’ll see how easily this elegant dessert comes together.
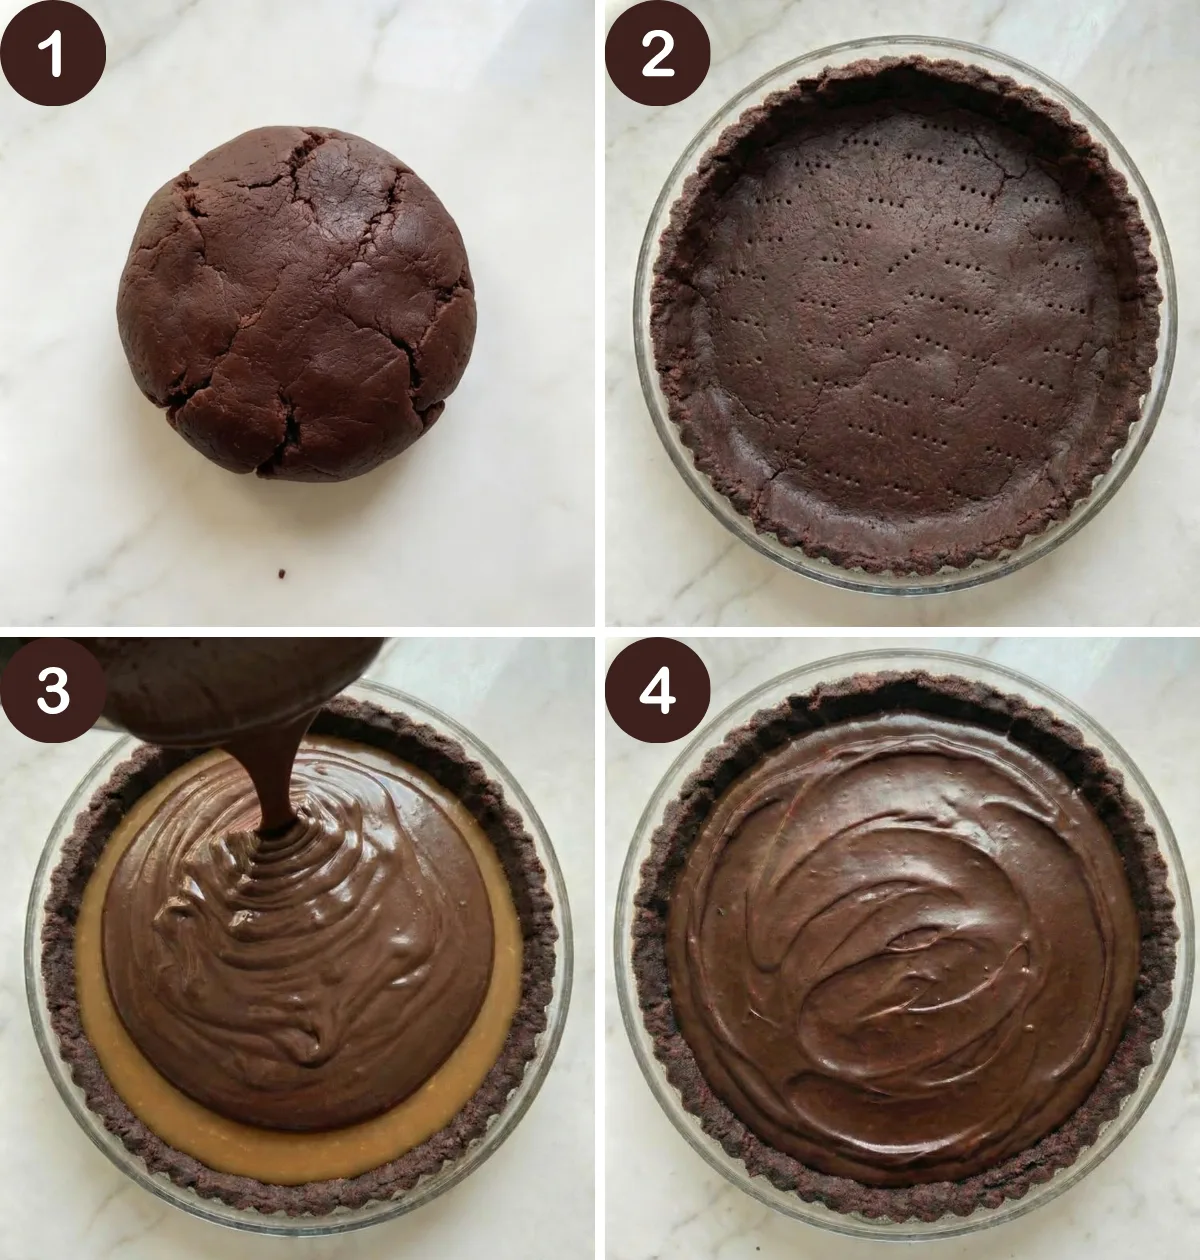
- Prepare the Pastry: Start by mixing the flour with ground almonds and cocoa powder, sugar, and salt in a large bowl. Incorporate the cold butter into the dry ingredients using a pastry blender or your fingertips until the mixture resembles coarse crumbs. Add in the egg and vanilla extract. Slowly add ice water, one tablespoon at a time, until the dough comes together. Shape it into a disc, wrap it in plastic, and refrigerate for 30 minutes.
- Roll and Bake the Crust: Roll out the dough on a floured surface to about 1 ½ inches larger than your tart pan. Place the dough in a greased 9-inch tart pan, trimming the edges. Chill for another 30 minutes. Preheat the oven to **350°F** (180°C). Prick the dough with a fork, line it with parchment paper, and fill with pie weights. Bake for 15 minutes, then remove the weights and bake for another 10-15 minutes. Let it cool completely.
- Make the Caramel: In a saucepan, dissolve the sugar in water over medium-high heat without stirring until it turns a golden caramel color. Remove from heat and carefully add the cream, stirring until smooth. Return to the heat for 1-2 minutes, stirring continuously. Remove from heat and add the butter and salt, stirring until combined. Let the caramel cool slightly, then pour it over the cooled crust. Refrigerate for 4-5 hours.
Can You Use Store-Bought Caramel or Melted Caramels for the Filling?
If you’re short on time or maybe just want to skip a step, you absolutely can use store-bought caramel or melted caramels for the filling. Simply melt soft caramel candies (like Kraft or Werther’s) with a splash of heavy cream in the microwave, stirring every 20-30 seconds until smooth. Pour your shortcut caramel right into the crust, just as you would with homemade.
It’s not quite the same depth of flavor as homemade caramel, but it’s still delicious and wonderfully gooey! Just keep an eye on the texture: if the caramel seems too thick, add a bit more cream until you reach a pourable consistency. It’s all about making the recipe work for you.
- Make the Chocolate Ganache: Heat the cream until it begins to simmer, then pour it over the chopped chocolate. Let it sit for a minute, then stir until smooth. Pour the ganache over the caramel layer, spreading it evenly. Chill for another 2-3 hours.
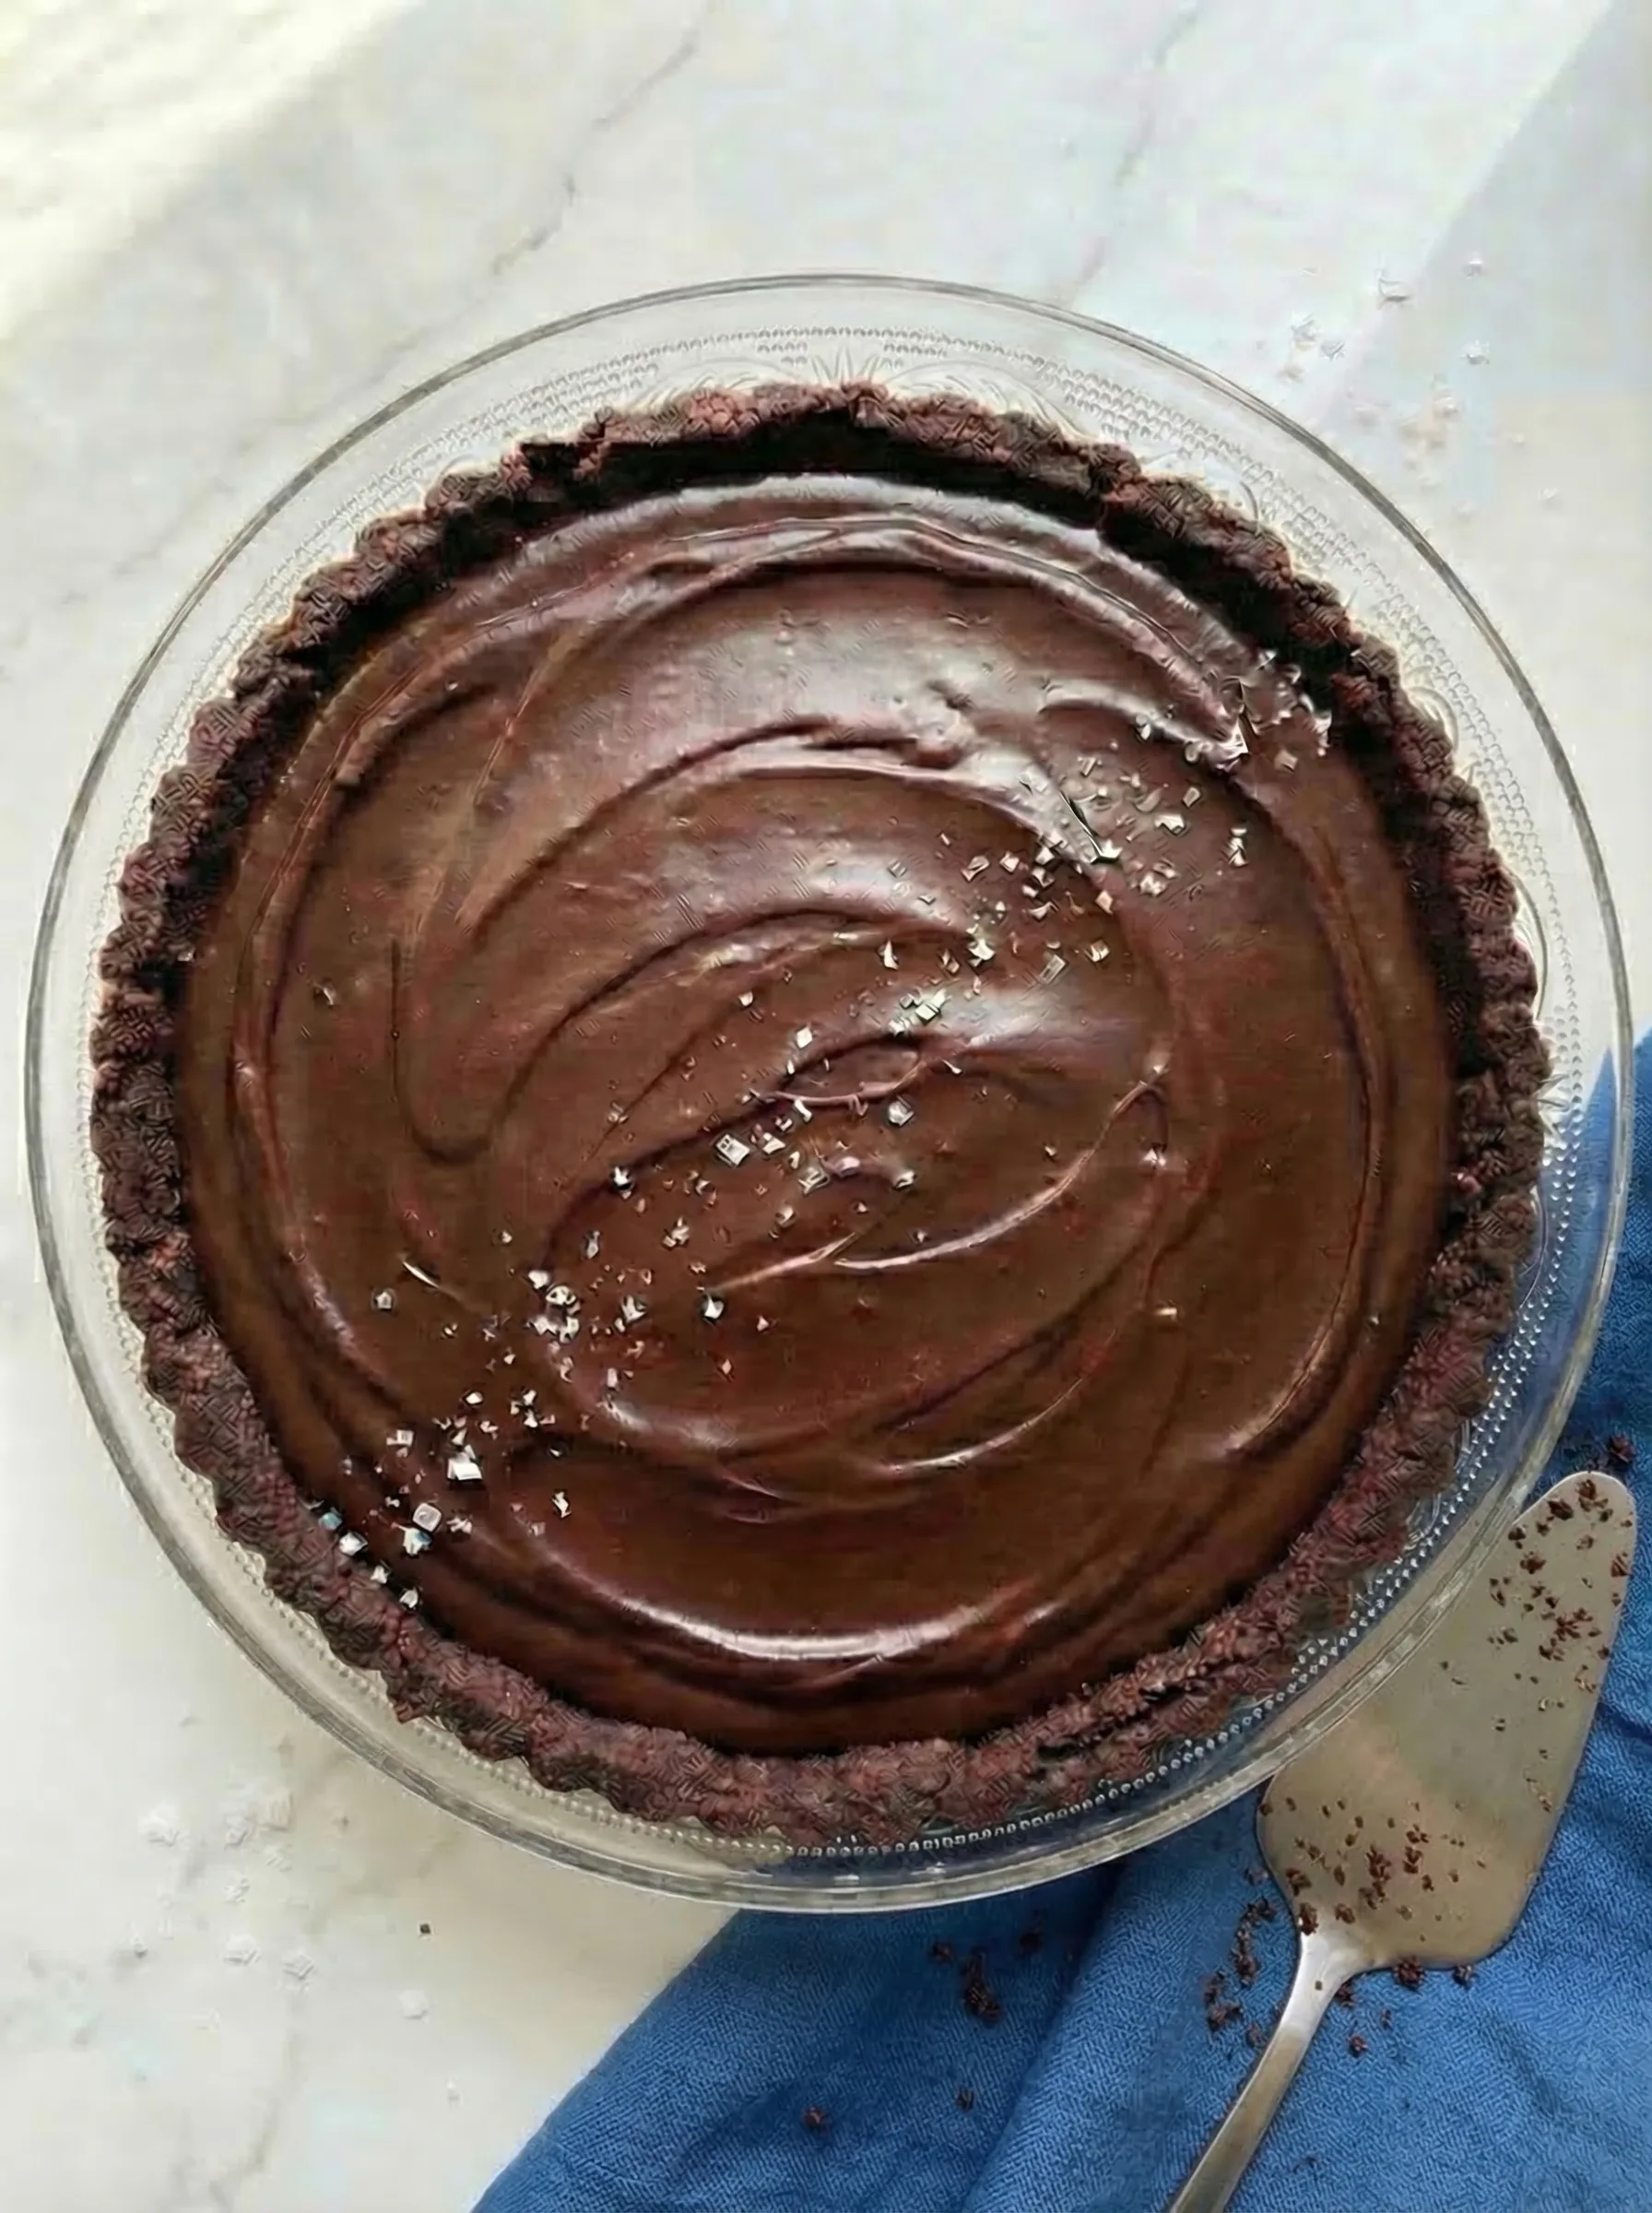
- Serve: Before serving, sprinkle sea salt flakes over the tart for a finishing touch. Enjoy!
Why Use Parchment Paper and Pie Weights?
When you bake the crust, you’ll want to line it with parchment paper and fill it with pie weights (or you can use dry beans or uncooked rice). This little trick is called “blind baking a pie crust.” It helps in two major ways:
- Prevents Puffing: The parchment and weights keep the dough from puffing up or shrinking away from the sides of the pan while it bakes.
- Creates a Perfect Base: You’ll end up with a flat, even shell—just right for holding all that luscious caramel and chocolate.
Don’t skip this step! It’s the secret behind that crisp, delicate tart crust that makes each bite so satisfying.
Can You Use a Mini Cupcake Pan to Shape the Tart Shells?
Absolutely! If you want to get a bit creative—or maybe you’re planning individual tarts for a party—try turning a mini cupcake pan upside down. Gently mold pieces of the dough over the bottoms of the wells (lightly butter the outside first to help with release). Place parchment paper over the shaped dough and set a baking sheet on top to keep them flat while baking. Just remember: because the dough is on the softer side, chilling the shaped shells in the fridge before baking will really help them keep their shape.
And if you’re short on time, melting soft caramels in the microwave is a doable shortcut for the filling. Although homemade caramel gives a rich, buttery flavor, store-bought caramels can save the day when you need something quick and simple.
Pro Tip: When making the caramel for your Chocolate Salted Caramel Tart, be patient and avoid stirring while the sugar dissolves—this helps prevent crystallization and ensures a smooth, velvety texture. For a deeper flavor, let the caramel turn a rich amber color, but be careful not to burn it. Adding the cream gradually while whisking will prevent splattering. Once you’ve poured the caramel into the tart crust, allow it to cool completely before adding the ganache to maintain the distinct layers.
Storage Options
Refrigerator: Store the tart covered loosely with plastic wrap or in an airtight container in the refrigerator for up to 3 days. The caramel and ganache stay perfectly set, and honestly… the flavor gets even better after a few hours of chilling.
Freezer: This tart freezes surprisingly well. Wrap it tightly in plastic wrap, then a layer of foil to prevent freezer burn. Freeze for up to 2 months. When ready to enjoy, thaw overnight in the fridge, then let it sit at room temperature for about 20–30 minutes before serving for the best texture.
Make Ahead Tip: You can prepare the crust and caramel layer a day in advance, then add the ganache the next day. Perfect if you want zero stress before guests arrive.
Variations and Substitutions
Different Chocolate: Swap bittersweet chocolate for dark chocolate if you prefer a deeper cocoa flavor, or milk chocolate for a sweeter, more mellow finish. Just keep in mind that milk chocolate will make the tart noticeably sweeter.
Nut-Free Option: Replace the ground almonds with all-purpose flour or finely ground sunflower seeds if you need a nut-free crust. The texture will still be deliciously tender.
Gluten-Free Version: Use a gluten-free all-purpose flour blend that contains xanthan gum. The crust holds together beautifully with the right blend.
Salted Caramel Shortcut: Short on time? Melt soft caramel candies with a splash of heavy cream for a quick filling. It’s not exactly the same depth of flavor, but still incredibly indulgent.
Want To Save This Recipe?
Espresso Twist: Add ½ teaspoon espresso powder to the ganache to intensify the chocolate flavor. You won’t taste coffee… just a richer chocolate experience.
Orange Chocolate Variation: Add ½ teaspoon orange zest to the ganache for a subtle citrus note that pairs beautifully with chocolate and caramel.
Mini Tartlets: Divide the dough into smaller portions and make individual tartlets using a muffin tin. They look elegant and are perfect for parties (plus no slicing required).
What to Serve With Chocolate Salted Caramel Tart
Fresh Berries: Raspberries or strawberries add a bright, slightly tart contrast that balances the richness beautifully.
Whipped Cream: A dollop of lightly sweetened whipped cream makes each bite feel extra luxurious without overpowering the flavors.
Vanilla Ice Cream: Cold, creamy vanilla ice cream with the rich chocolate and caramel is honestly hard to beat. Classic for a reason.
Espresso or Coffee: A strong coffee or espresso helps cut through the sweetness and keeps the dessert from feeling too heavy.
Dessert Wine: Serve with a small glass of port or a sweet dessert wine for a truly elegant finish.
Sea Salt Caramel Latte (if you’re feeling extra): Yes, it’s indulgent on indulgent… but sometimes that’s exactly the vibe.
Frequently Asked Questions:
Can I make this tart ahead of time?
Yes! You can make this tart the day before. It actually tastes even better after chilling for a few hours. Just store it in the refrigerator until you’re ready to serve.
Can I use milk chocolate instead of bittersweet chocolate?
You can substitute milk chocolate, but keep in mind the tart will be sweeter. Bittersweet chocolate helps balance the sweetness of the caramel.
How long does this tart last?
The tart will keep in the refrigerator for up to 3 days. Cover it tightly so it doesn’t absorb any fridge odors.
Can I freeze the tart?
Yes, this tart freezes very well. Let it cool completely, then wrap it tightly in plastic wrap and foil. Freeze for up to a couple of months. Thaw overnight in the refrigerator and let it come to room temperature before serving.
Any tips for shaping the dough?
If the dough feels sticky, chill it briefly in the refrigerator to make it easier to handle. For mini tarts, you can shape the dough over the bottom of a mini muffin pan turned upside down. Cover with parchment and place a baking sheet on top to help keep the crust flat during baking.
Is there a shortcut for the caramel?
Yes. You can melt store-bought caramels in the microwave and use them as a filling. It’s a great option if you want to save time or avoid making caramel from scratch.
Can I make mini versions of this tart?
Absolutely. The dough is very pliable, so you can roll it into balls and press them directly into the wells of a mini cupcake pan. No need to roll it out unless you want a more uniform finish.
Why use parchment paper and weights when baking the crust?
When blind-baking the crust, parchment paper and pie weights help keep the crust flat and prevent it from puffing up. For mini tarts, a small piece of parchment with dried beans or pie weights works perfectly.
Still have questions? Feel free to experiment, this tart is forgiving and delicious no matter how you slice it!
Keep the Flavor Coming – Try These:


Chocolate Salted Caramel Tart Recipe
Ingredients
Almond Chocolate Sweet Pastry:
- 1 1/4 c flour 160 grams
- 1/4 c ground almonds 30 grams
- 1/4 c unsweetened cocoa powder 30 grams
- 1/4 c sugar 50g
- 1/4 teaspoon salt
- 1 stick 110 grams cold unsalted butter, cut into small cubes
- 1 teaspoon vanilla extract
- 1 egg
- 1-2 tablespoons ice-cold water
Caramel:
- 1 1/2 c sugar 300 grams
- 1/2 c water
- 1/2 c heavy cream 120 grams
- 5 tablespoons unsalted butter 70 grams
- 1 teaspoon salt
Chocolate Ganache:
- 1/2 c heavy cream 120 grams
- 4 ounces bittersweet chocolate, chopped 120 grams
Garnish:
- Sea salt flakes
Instructions
Prepare the Almond Chocolate Crust
- In a large bowl, combine the flour with ground almonds, cocoa powder, sugar, and salt. Cut in the cold butter using a pastry blender or fork until the mixture forms small crumbs. Add the egg and vanilla, and mix gently. If needed, add ice water a tablespoon at a time until the dough starts to come together. Shape it into a disc, wrap it in plastic wrap, and refrigerate for at least 30 minutes, or overnight for better results.
For the classic tart:
- On a lightly floured surface, or between sheets of plastic wrap, roll the dough out to about 1½ inches wider than your 9-inch tart pan. Transfer the rolled dough to the greased tart pan, trimming any excess. Refrigerate the dough-lined pan for another 30 minutes before baking.
For individual tartlets:
- Roll the dough on a floured surface to about 1/4 inch thick. Use a round cookie or biscuit cutter (about 3.5 inches in diameter) to cut out circles. Gently press each circle into the wells of a standard cupcake tin. Re-roll and cut the scraps as needed until you’ve filled 9 wells. Refrigerate the dough-lined tin for 30 minutes before baking.
- Using a fork, prick the base of the dough. Cover it with parchment paper and fill it with pie weights or dry beans to keep it from puffing up. Bake in a preheated oven at 350°F (180°C) for 15 minutes. Then remove the parchment and weights, and bake for another 10 to 15 minutes, until fully set. Let the crust cool before removing it from the tart pan or cupcake tin..
Caramel Preparation:
- In a medium heavy-bottomed saucepan, combine the sugar and water over medium-high heat. Cook without stirring until the sugar dissolves and turns a deep amber color. Carefully remove the pan from heat and slowly stir in the cream—it will bubble up. Stir the mixture for 1–2 minutes until smooth. Add the butter and salt, mixing thoroughly. Allow the caramel to cool slightly.
- Pour the caramel over the baked tart crust. For a large tart, pour it all in. For tartlets, spoon about 3 tablespoons of caramel into each shell. Refrigerate for 4–5 hours (or at least 4 hours for tartlets) until the caramel is set and firm.
Chocolate Ganache Preparation:
- Heat the cream in a small saucepan until it just starts to bubble at the edges. Remove from the heat and pour it over the chopped chocolate. Let it sit for one minute, then stir until smooth. Pour the ganache over the cooled caramel layer, spreading it evenly. Refrigerate for an additional 2–3 hours.
- Pour the ganache over the cooled caramel layer, spreading it evenly. If making tartlets, divide the ganache among the shells. Refrigerate for an additional 2–3 hours.
- Before serving, sprinkle sea salt flakes on top for the perfect finishing touch.
Notes
Nutrition
I’m Bitty, owner of nodashofgluten.com, where I share simple, delicious recipes for all tastes, including gluten-free. Check out my “About Me” page for more info!