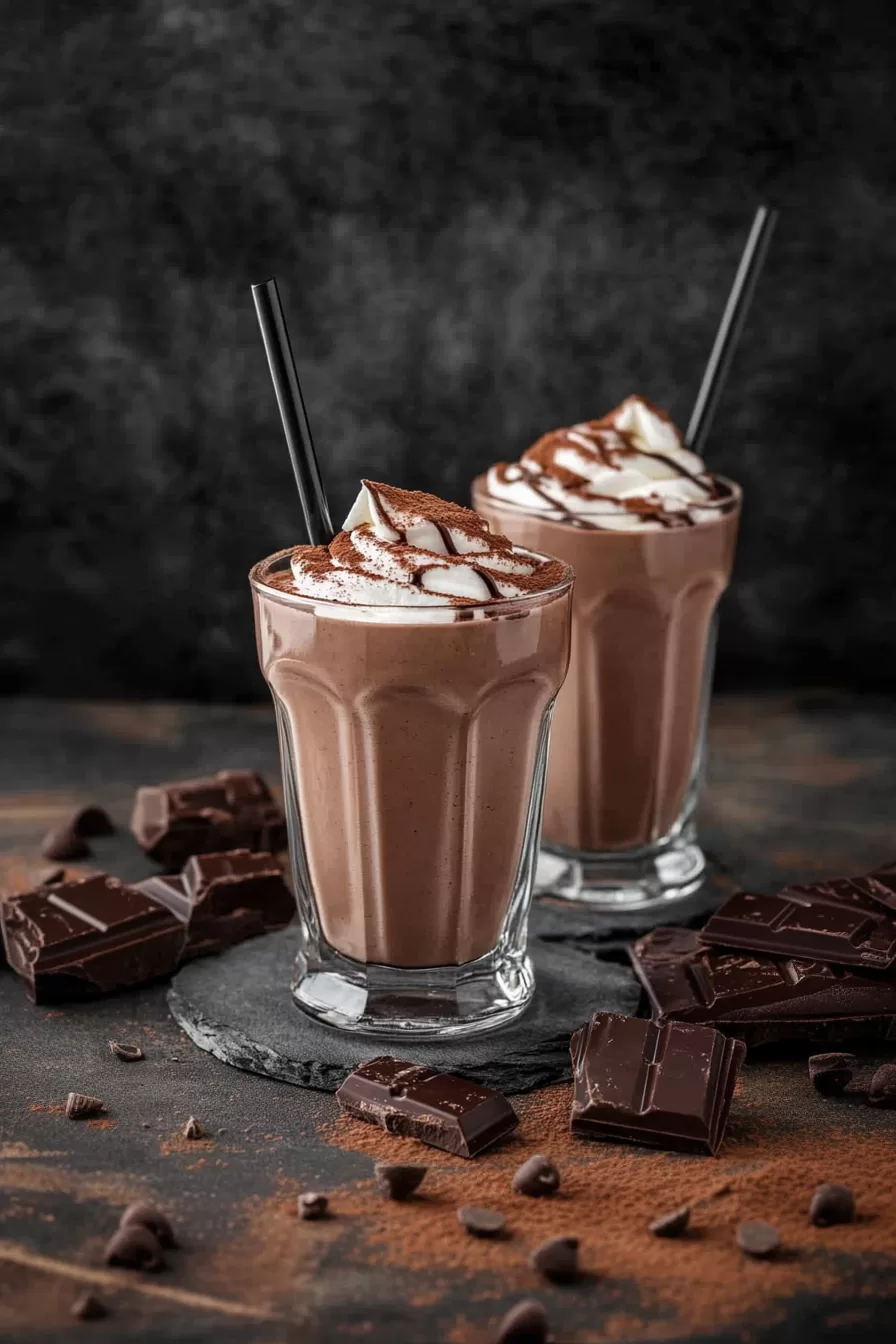
Chocolate Milkshake – Have you ever been so hot and tired that you’d trade your left shoe for something cold and sweet? That’s exactly how I felt last summer. We’d just spent the day at a local farmers’ market, where I managed to eat way too much street food (fried pickles, I’m looking at you). The sun was relentless, and by the time we got home, I was desperate for something icy and indulgent.

Remember it later!
Planning to try this recipe soon? Pin it for a quick find later!
Remember it later!
Planning to try this recipe soon? Pin it for a quick find later!
I rummaged through the fridge and freezer—because who has the energy for a grocery store run after a day like that? Found milk. Spotted some chocolate syrup hiding behind a jar of salsa. And jackpot: a tub of chocolate ice cream! In less than five minutes, I had a milkshake that tasted better than the ones from those retro diners (you know, the ones with the checkered floors and neon signs).
Now, whenever I make a chocolate milkshake, I’m reminded of that day—the sticky heat, the laughter at the market, and the sheer joy of finding that tub of ice cream when I needed it most.
Here’s a quick peek at what’s inside:
Table of content
Why You’ll Love This Chocolate Milkshake Recipe?
Not all chocolate milkshakes are created equal, and this one proves it. First off, it’s ridiculously simple. No exotic ingredients, no special techniques. Just good old-fashioned, chocolatey goodness.
But the real magic? You can tweak it however you like. Want it thicker? Add extra ice cream. Craving an over-the-top dessert? Pile on whipped cream and sprinkles. It’s not just a recipe; it’s a vibe. And the best part? It takes about as much time to make as it does to scroll through your favorite app. Win-win, right?
Ingredient Notes:
Let’s give some love to the MVPs of this recipe. Without these, there’s no milkshake magic.
- Milk: Whole milk makes it creamy, but use what you have. Skim milk, almond milk, or even oat milk will do the trick. Just don’t ask me about water—I’ve never been that desperate.
- Chocolate Syrup: This is where the chocolate flavor shines. The more you add, the richer it gets. I sometimes sneak in an extra drizzle—don’t judge me.
- Chocolate Ice Cream: Use your favorite brand. If it’s the good stuff, you’ll taste the difference. Oh, and let it sit out for a few minutes—it blends so much better when it’s a little soft.
- Ice: Crushed ice blends faster, but regular cubes work too. It gives your shake that frosty texture we all love.
- Whipped Cream & Sprinkles: Are these optional? Technically, yes. Realistically, absolutely not.
How To Make Chocolate Milkshake?
Making a milkshake isn’t exactly rocket science, but I’ve got a few tips to make sure yours is epic every time.
- Start with Milk
Pour a cup of milk into your blender. Starting with the liquid helps everything mix better—no weird chunks of ice cream stuck at the bottom. - Add the Chocolate Syrup
Toss in two tablespoons of chocolate syrup. Or three. I’m not here to limit your chocolate dreams. - Scoop in the Ice Cream
Two big scoops of chocolate ice cream go next. And by “scoops,” I mean the kind you’d serve yourself when no one’s watching. - Add the Ice
A cup and a half of ice for that frosty, thick texture. If you don’t have ice, just add extra ice cream—it’s not like anyone will complain. - Blend It Up
Blend until smooth. If it’s too thick, add a splash of milk. Too thin? Throw in more ice or ice cream. Taste it—does it need more chocolate? Go ahead, you’re the boss here. - Serve & Top
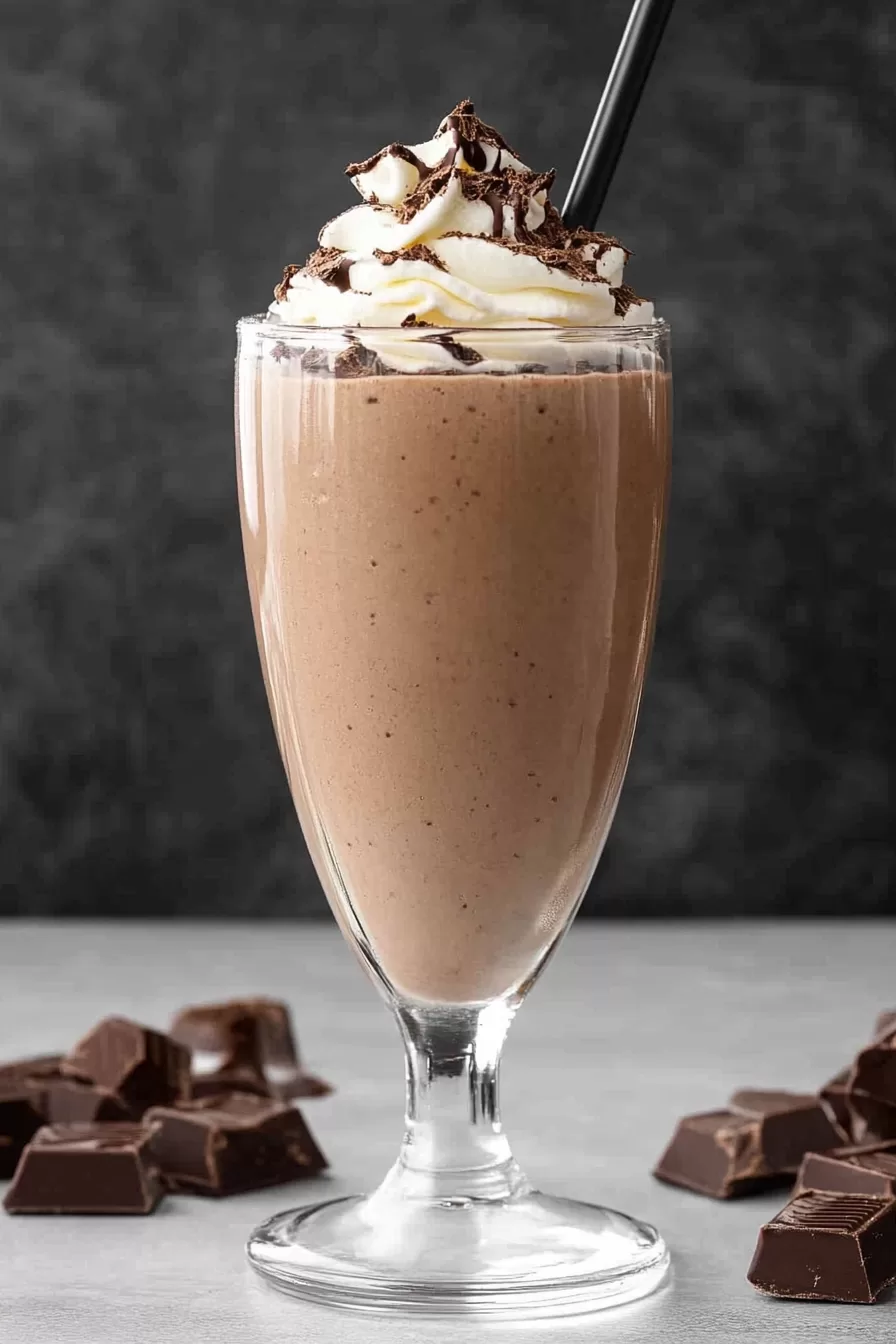
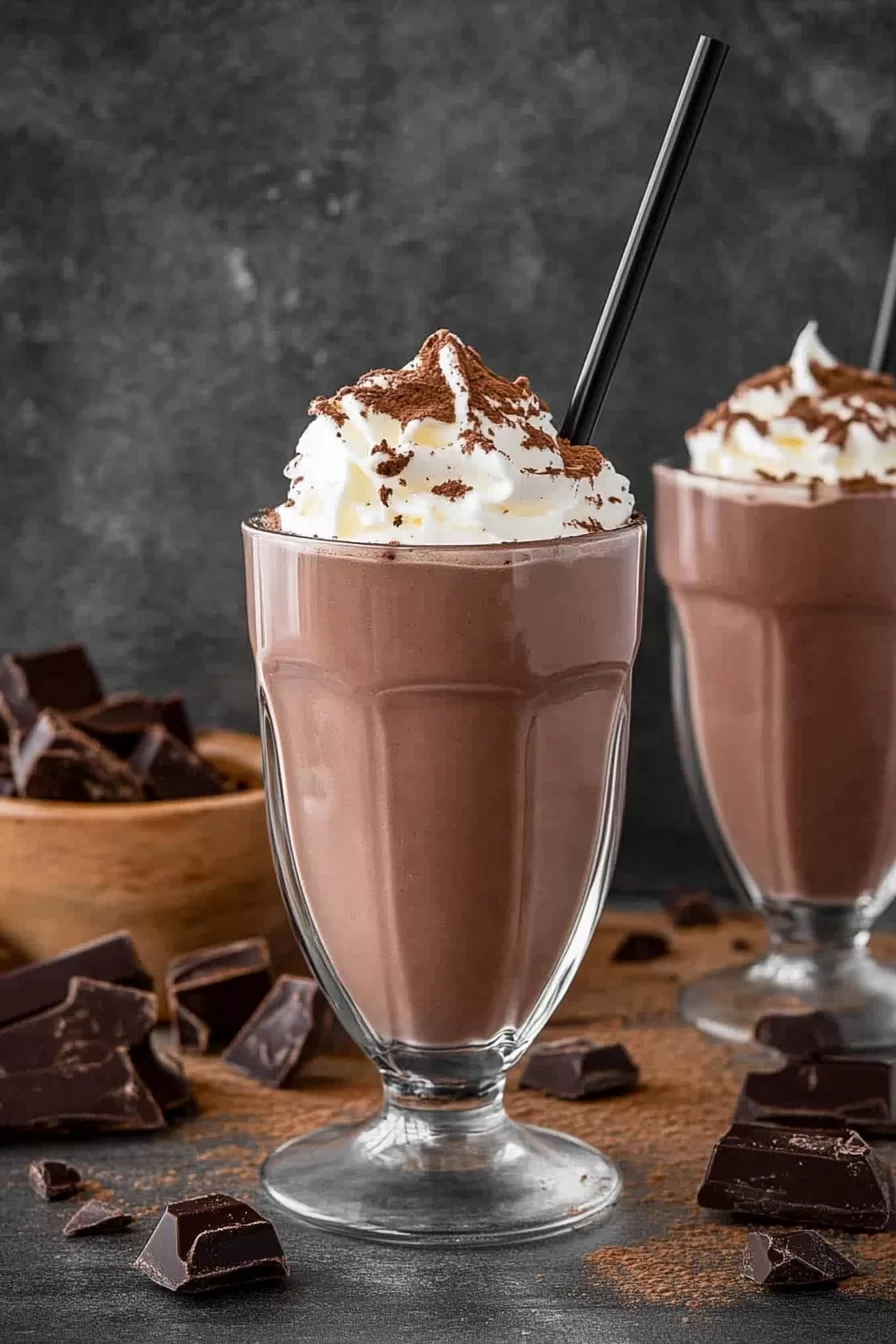
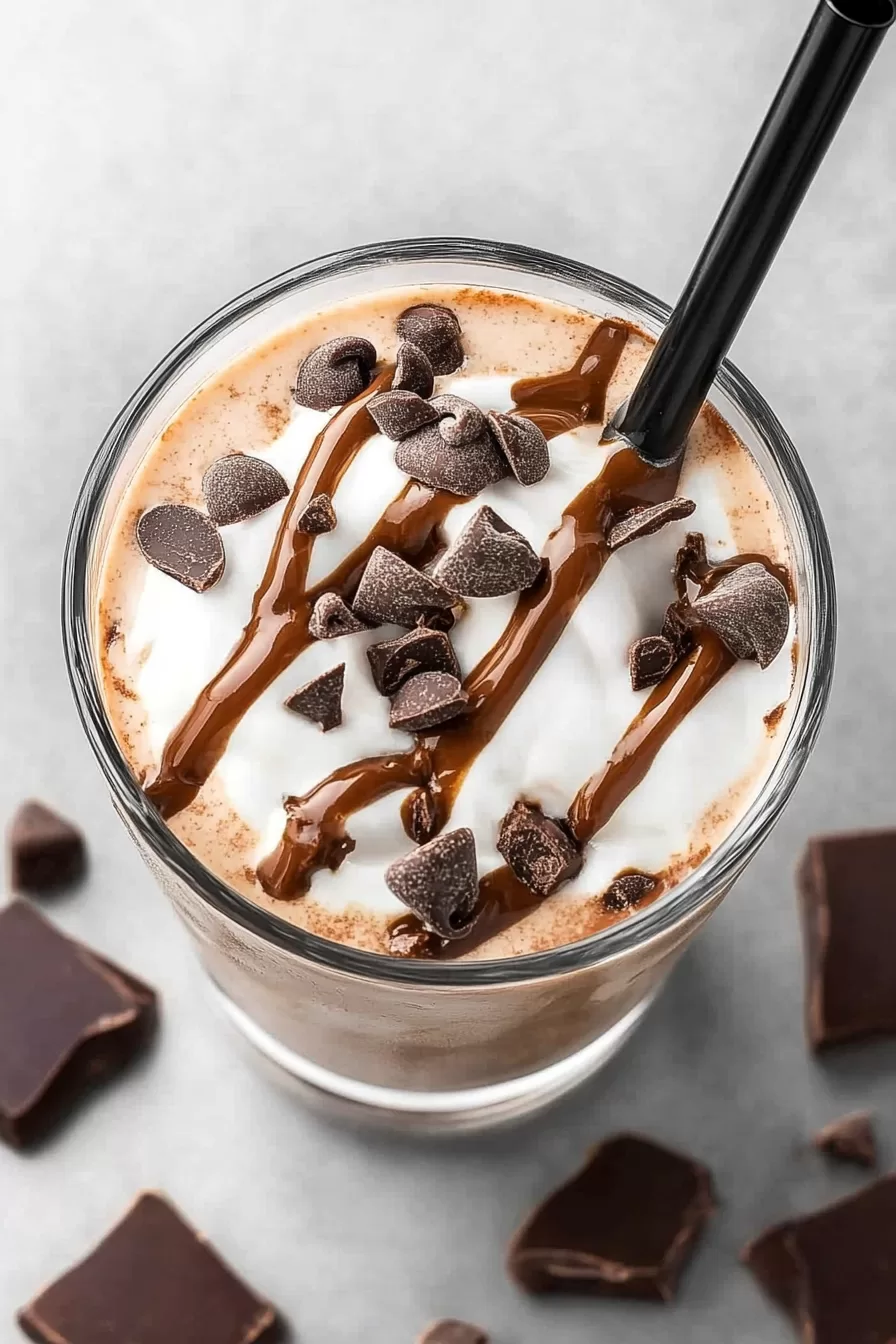
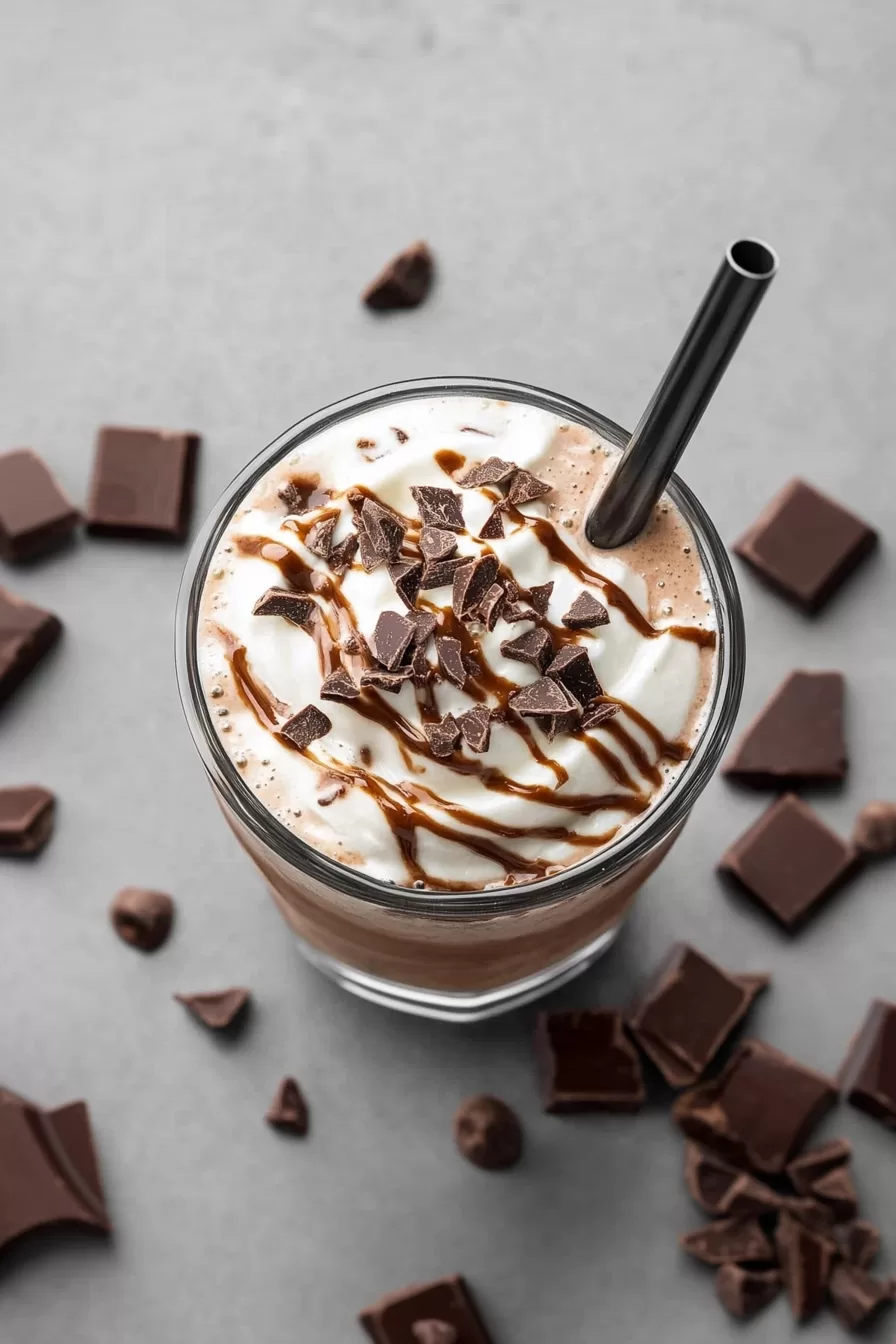
Pour your milkshake into a glass and top with whipped cream and sprinkles. Or go wild with chocolate shavings, a drizzle of caramel, or even a cherry on top. Why not?
Storage Options:
Okay, real talk—this milkshake is best enjoyed immediately. But if you’ve got leftovers (who are you?!), here’s what to do:
- Pour the rest into an airtight container and freeze it.
- When you’re ready to drink, let it thaw for a few minutes, then re-blend to get that creamy texture back.
But honestly, just drink it fresh. It’s worth it.
Variations and Substitutions:
Feeling creative? This chocolate milkshake is the perfect base for all kinds of fun twists:
- Peanut Butter Bliss: Add a tablespoon of peanut butter for that classic chocolate-PB combo.
- Mint Chocolate Chip: Use mint chocolate chip ice cream and a few drops of peppermint extract.
- Caramel Chocolate Dream: Replace the chocolate syrup with caramel sauce, or use both if you’re feeling fancy.
- Dairy-Free Option: Swap the milk for almond or coconut milk, and use dairy-free chocolate ice cream.
Want To Save This Recipe?
Enter your email below and we'll send the recipe straight to your inbox.
What to Serve with Chocolate Milkshake?
Sure, it’s great on its own, but pair it with one of these, and you’re in dessert heaven:
- Burgers & Fries: Because who doesn’t love that classic diner vibe?
- Brownies: Warm, fudgy brownies and a cold milkshake? Game over.
- Cookies: Dunking encouraged.
- Popcorn: Sweet, salty, and totally addictive.
Frequently Asked Questions:
Can I make this milkshake ahead of time?
You can, but why would you? It’s best fresh. If you must, freeze it and re-blend before serving.
How do I make it thicker?
Easy—add more ice cream or a few extra ice cubes. And blend a little less if you like it chunky.
Can I use a different flavor of ice cream?
Of course! Vanilla, peanut butter swirl, even rocky road—it’s your milkshake, your rules.
So, what do you think? Ready to blend up some chocolatey goodness? I promise it’s worth the five minutes. Try it out and let me know what you think—bonus points if you top it with all the whipped cream!
Remember it later!
Planning to try this recipe soon? Pin it for a quick find later!
Remember it later!
Planning to try this recipe soon? Pin it for a quick find later!
Keep the Flavor Coming – Try These:
Ingredients
- 1 cup milk whole milk recommended
- 2 tablespoons chocolate syrup
- 2 scoops chocolate ice cream
- 1 ½ cups ice crushed if possible
- Whipped cream optional, for topping
- Chocolate sprinkles optional, for topping
Instructions
Prepare the Milk Base:
- Begin by pouring one cup of milk into a blender. Using whole milk will yield a creamier texture, but alternatives such as almond or oat milk can be used if preferred.
Incorporate Chocolate Syrup:
- Add two tablespoons of chocolate syrup to the milk. This ingredient is key to enhancing the chocolate flavor. Adjust the amount based on your desired sweetness level.
Add Ice Cream:
- Place two scoops of chocolate ice cream into the blender. For best results, allow the ice cream to soften slightly before adding, as this aids in smoother blending.
Include the Ice:
- Add one and a half cups of ice to the blender. Crushed ice works well as it blends more evenly, but standard ice cubes are equally effective.
Blend the Mixture:
- Blend all ingredients together until the texture is smooth and creamy. Pause occasionally to check the consistency. For a thicker milkshake, add additional ice or ice cream. For a thinner consistency, incorporate a small amount of milk.
Serve and Garnish:
- Pour the milkshake into a serving glass. If desired, top with whipped cream and chocolate sprinkles for an added touch of indulgence. Serve immediately for the best experience.
Notes

I’m Bitty, owner of nodashofgluten.com, where I share simple, delicious recipes for all tastes, including gluten-free. Check out my “About Me” page for more info!


