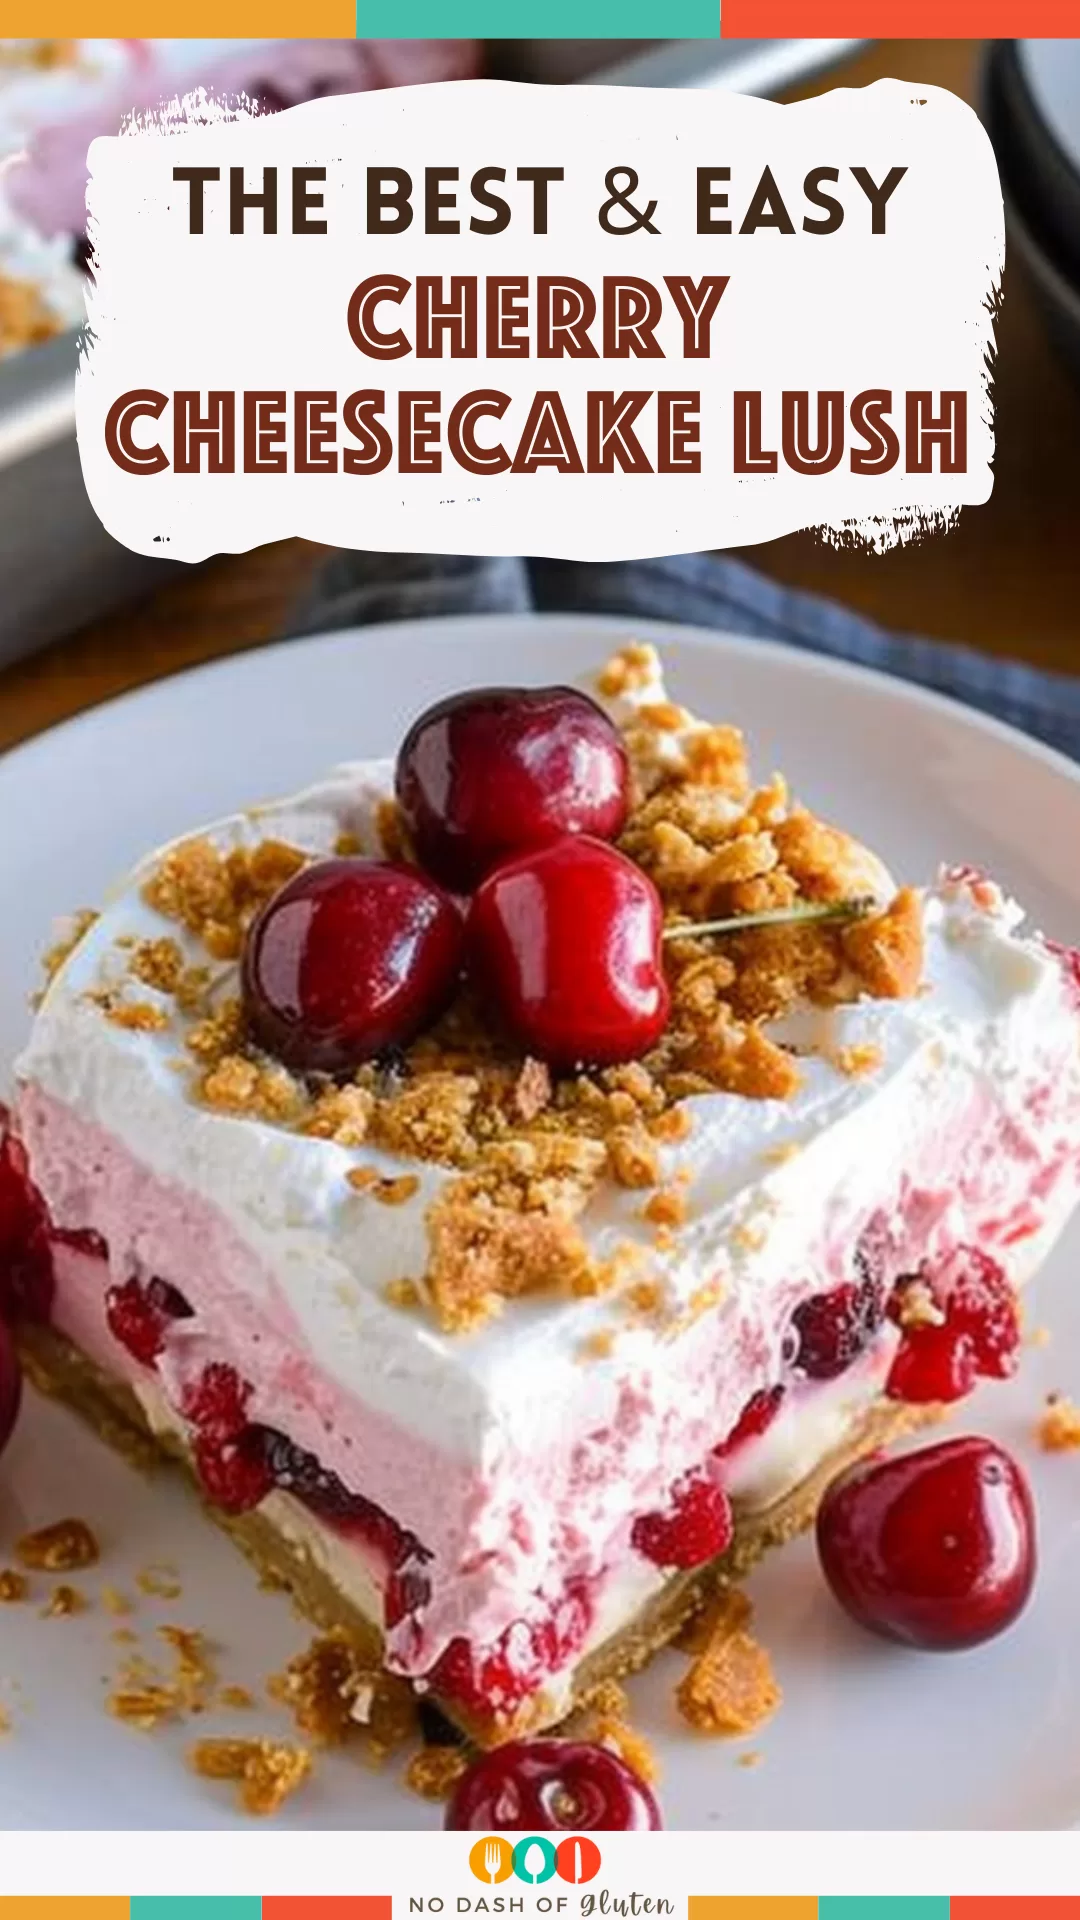
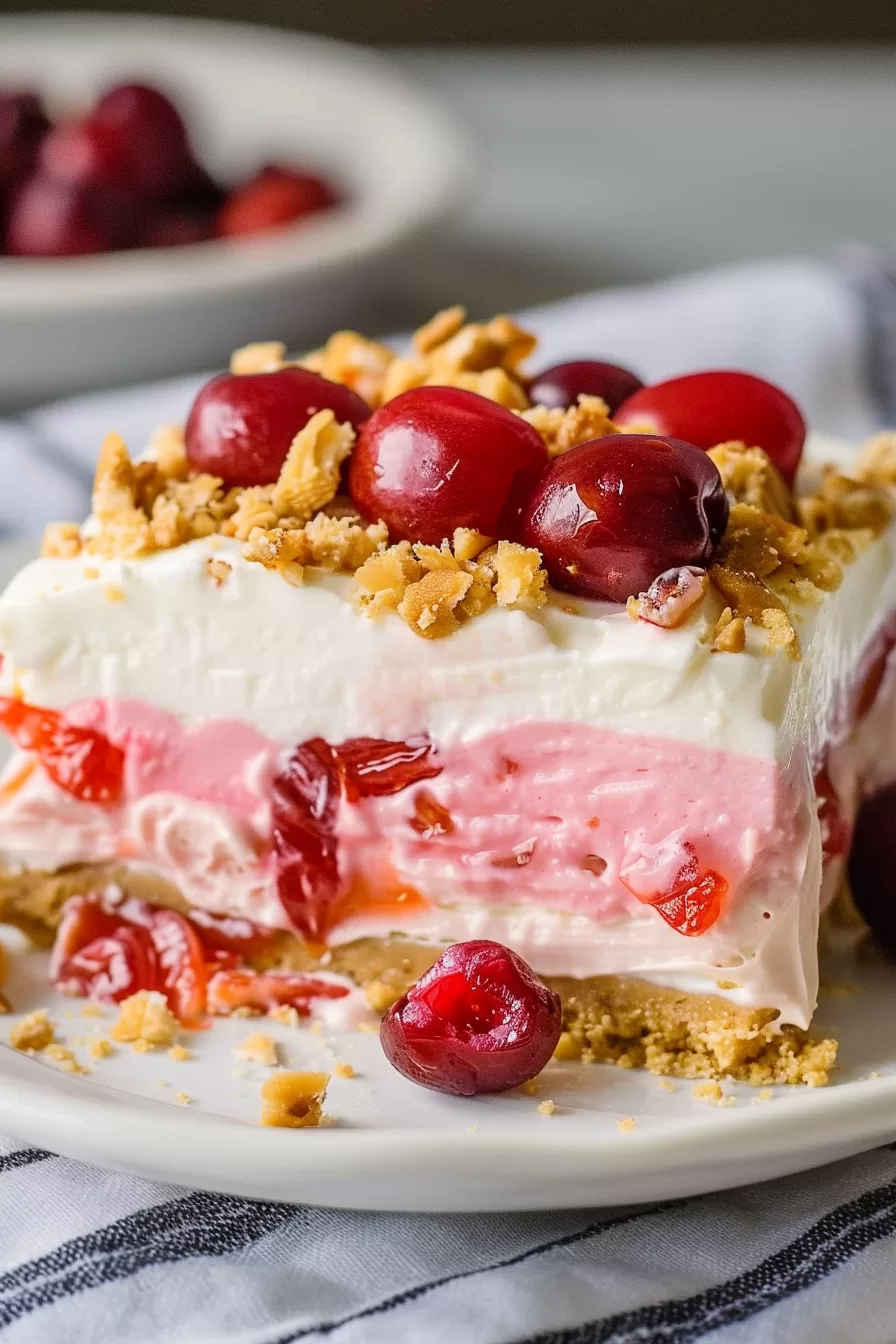
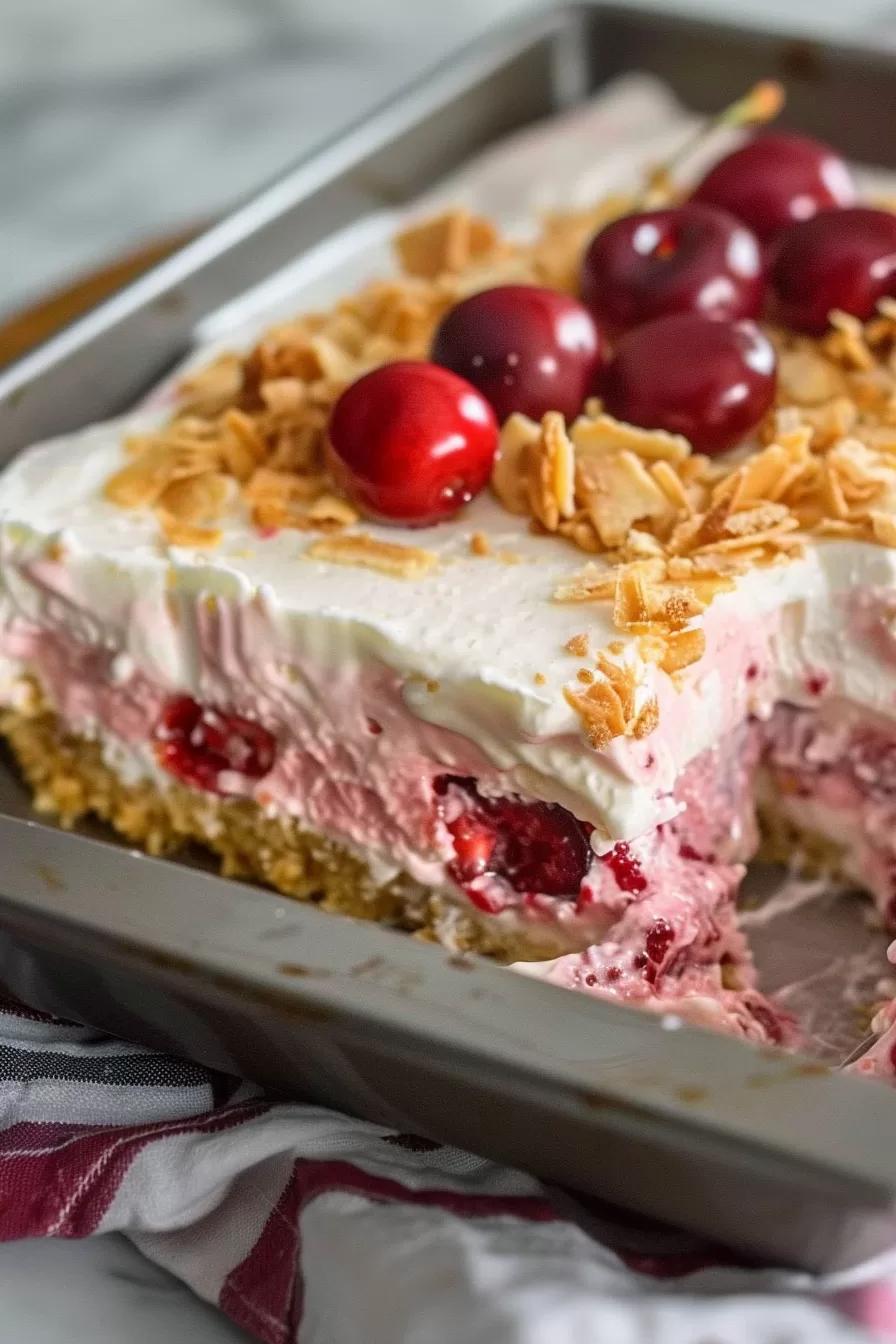
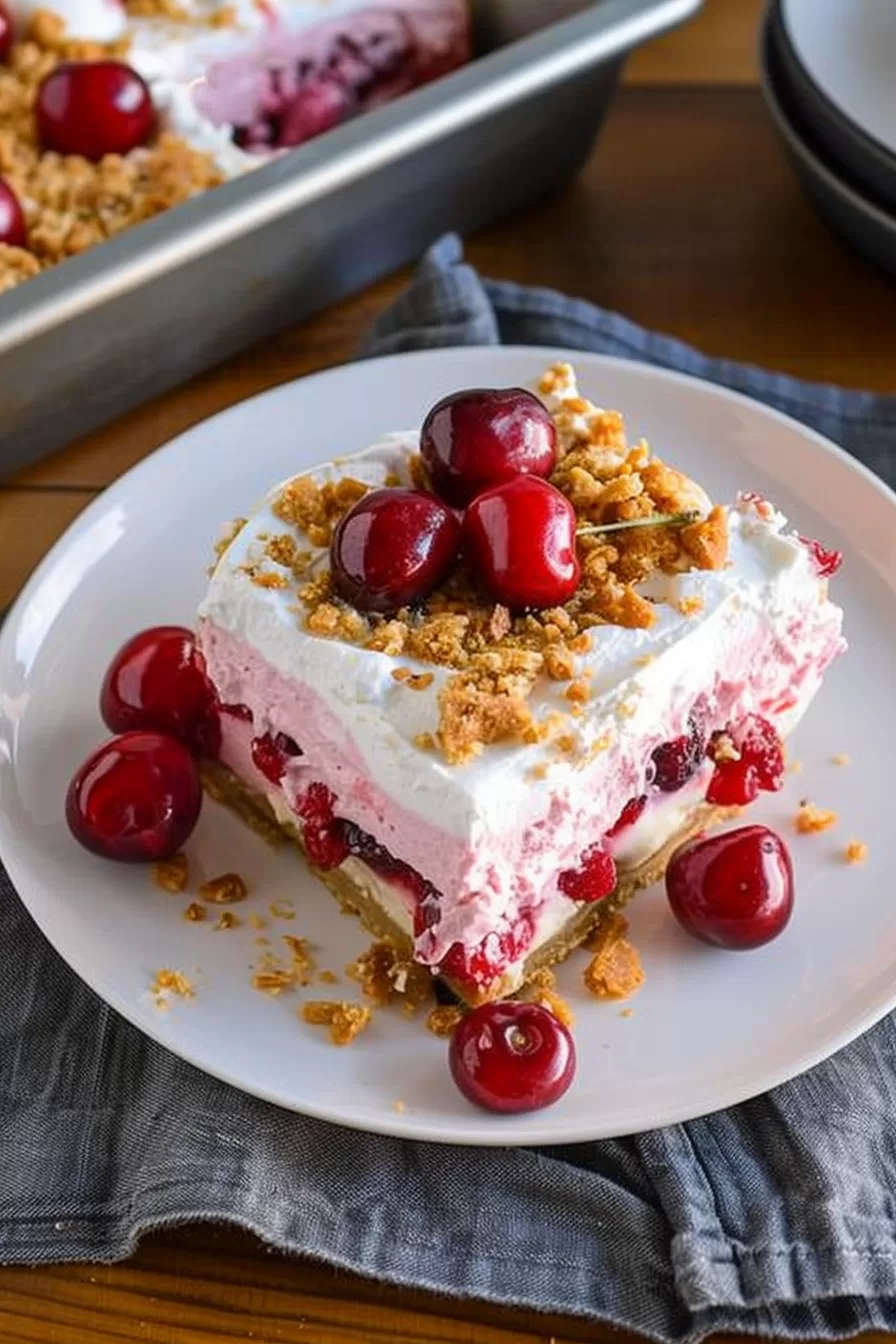
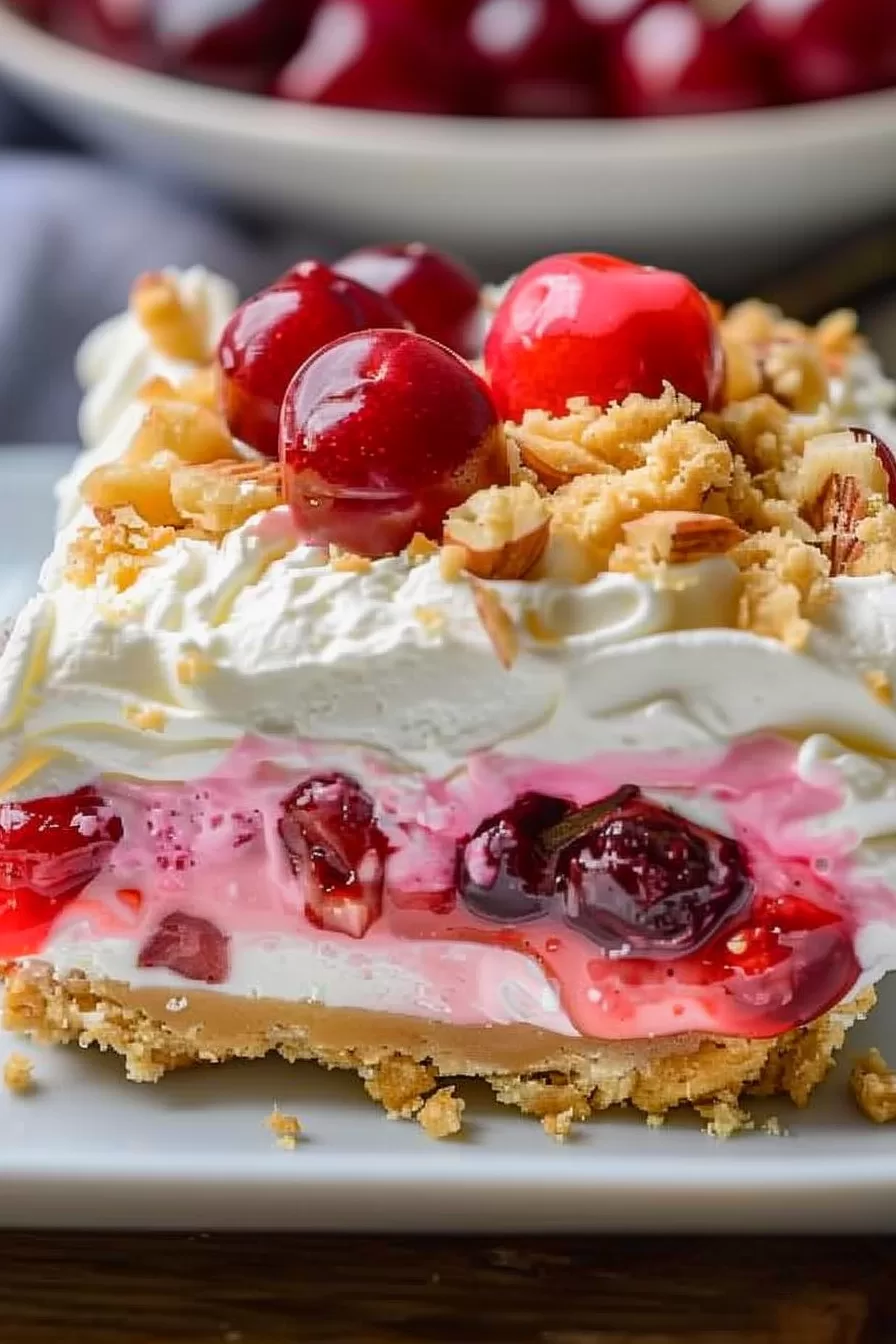
Creamy Cherry Cheesecake Lush with layers of golden Oreo crust, cheesecake pudding, whipped topping, and tangy cherry pie filling. A must-try!
Let me set the scene for you. It was one of those chaotic family gatherings—you know the kind where everyone shows up late, the kids are running wild, and the food table is a mix of casseroles and chips. I had promised to bring dessert, but (classic me) I’d totally forgotten. Enter the Cherry Cheesecake Lush, my last-minute lifesaver.

Remember it later!
Planning to try this recipe soon? Pin it for a quick find later!
Remember it later!
Planning to try this recipe soon? Pin it for a quick find later!
I threw it together in a bit of a panic, layering cookies, cream cheese, pudding, and cherries like my life depended on it. I wasn’t even sure it would set in time. But when I brought it out, everyone acted like I’d just unveiled a five-star masterpiece. “Did you make this from scratch?” they asked. “Uh, yeah, totally,” I replied, trying not to laugh at the irony.
That was years ago, but this dessert has become my go-to ever since. It’s not just easy; it’s a showstopper. And honestly, isn’t that the dream? Minimum effort, maximum wow-factor.
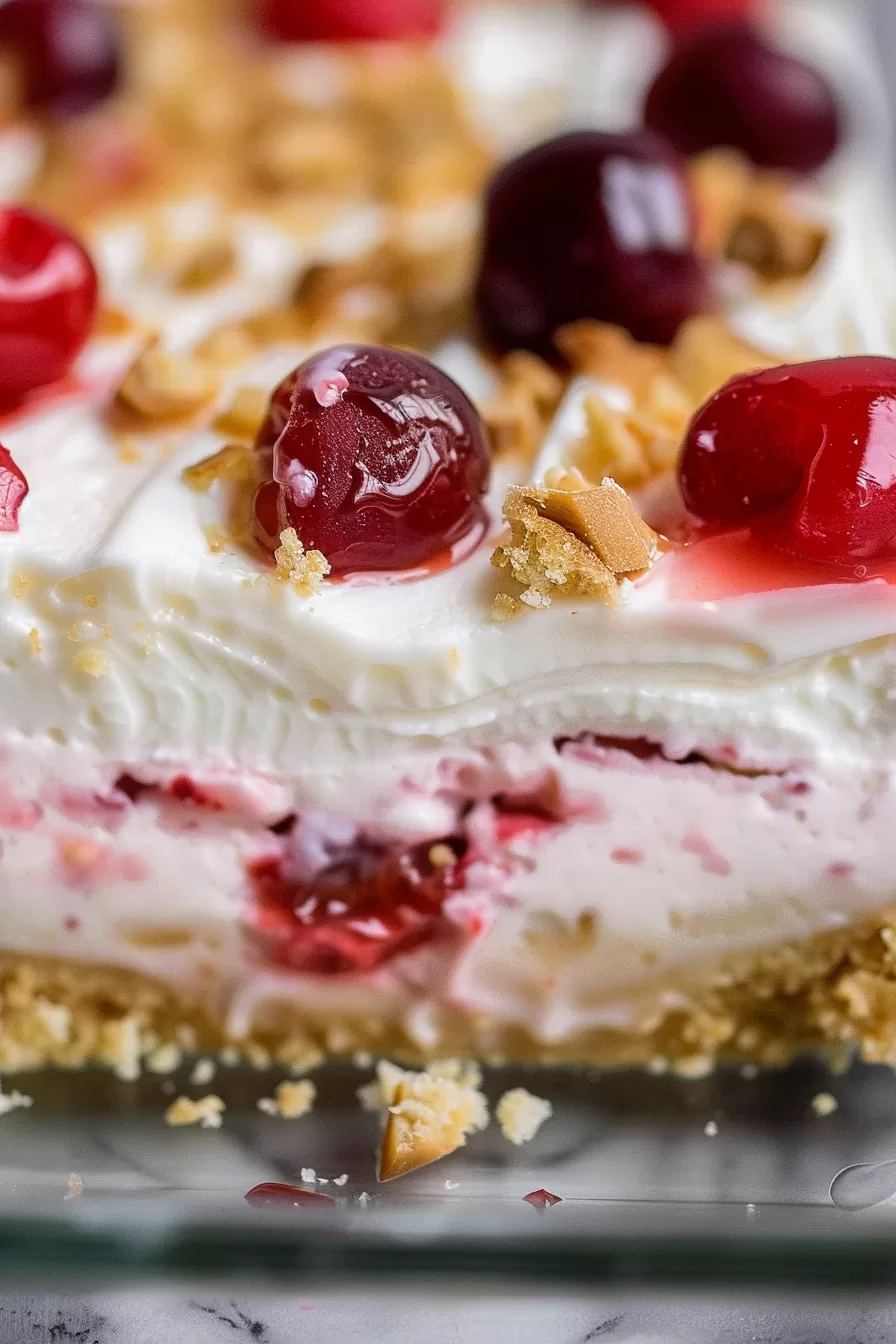
Here’s a quick peek at what’s inside:
Table of content
Why You’ll Love This Cherry Cheesecake Lush Recipe?
What makes this Cherry Cheesecake Lush the dessert you didn’t know you needed? Let me count the ways:
- No-Bake Hero: No oven, no stress. Perfect for summer days or when your kitchen feels like a sauna.
- Layers of Bliss: Crunchy crust, creamy cheesecake, tangy cherries—it’s got everything.
- Total Crowd-Pleaser: Even the pickiest eaters love it. Seriously, try finding someone who says no to cheesecake and cherries.
- Easy Elegance: It looks fancy enough for a dinner party but takes barely any time to make.
- Customizable: Swap out the cherries, play with the nuts, or even change the crust—it’s like dessert Legos.
Ingredient Notes:
Let’s chat about what makes this dessert so irresistible:
- Golden Oreos: Sweet and buttery, these cookies are the perfect base. They’re like the unsung heroes of the dessert world.
- Cream Cheese: Room temperature is key! It blends smoother and makes that cheesecake layer ridiculously creamy.
- Cheesecake Pudding Mix: Adds an extra punch of cheesecake flavor without any extra effort.
- Cherry Pie Filling: Tangy and bright, it balances all the richness.
- Whipped Topping: Light, fluffy, and perfect for tying all the layers together.
- Pecans or Walnuts: A crunchy topping that adds texture and a hint of nuttiness.
Pro Tip: Don’t skip chilling between layers. It’s the secret to keeping them neat and Insta-worthy.
How To Make Cherry Cheesecake Lush?
Making Cherry Cheesecake Lush is way easier than it looks. Here’s how to nail it:
- Prep the Pan
Grease a 9×13 baking dish with butter or nonstick spray. It’s a small step, but it makes slicing and serving a breeze. - Make the Crust
Crush your Golden Oreos into fine crumbs—let the food processor do the heavy lifting. Mix the crumbs with melted butter until it’s like wet sand, then press it firmly into the dish. Freeze for 10 minutes. - Cheesecake Layer
Beat softened cream cheese with sugar, vanilla, and a bit of whipped topping until smooth and creamy. Spread it over the crust and freeze again for 10 minutes. - Pudding Layer
Whisk the pudding mix, milk, and some whipped topping until it thickens. Spread it gently over the cheesecake layer, making sure it’s even. Chill for 30 minutes. - Cherry Topping
Spoon the cherry pie filling over the pudding layer. Take your time—it’s worth keeping those layers looking gorgeous. - Final Touches
Spread the remaining whipped topping over the cherries, then sprinkle chopped nuts on top for that perfect crunch. - Chill and Serve
Refrigerate the whole dish for at least 1–2 hours. Once it’s set, slice into squares and watch them disappear.
Storage Options:
Wondering how to keep your Cherry Cheesecake Lush fresh? Here’s the lowdown:
- Refrigerator: Store it in an airtight container for up to 3 days. It gets even better as the flavors meld together!
- Freezer: Freeze individual portions for up to a month. Thaw in the fridge overnight before serving.
Variations and Substitutions:
Feeling adventurous? Try these twists:
- Different Fruits: Swap the cherry pie filling for blueberry, strawberry, or even pineapple.
- Chocolate Base : Use classic chocolate Oreos instead of Golden for a richer flavor.
- Nut-Free: Skip the nuts and top with cookie crumbs or chocolate shavings instead.
- Citrus Kick: Add lemon zest to the cream cheese layer for a bright, zesty twist.
Want To Save This Recipe?
Enter your email below and we'll send the recipe straight to your inbox.
What to Serve with Cherry Cheesecake Lush?
While this dessert is a star on its own, here are a few pairing ideas:
- Coffee: The bitterness balances out the sweetness perfectly.
- Sparkling Water with Lemon: Refreshing and light, it’s the perfect contrast to the richness.
- Vanilla Ice Cream: Because more dessert is always a good idea.
- Mint Garnish: A sprig of mint adds a pop of color and a hint of freshness.
Frequently Asked Questions:
Can I use homemade whipped cream instead of store-bought?
Totally! Just whip heavy cream with a little sugar and vanilla until it’s fluffy.
How far in advance can I make this?
You can make it a day ahead—it actually tastes even better after sitting overnight in the fridge.
What if I don’t have Golden Oreos?
No problem! Graham crackers or vanilla wafers work just as well.
So, what do you think? Ready to whip up this Cherry Cheesecake Lush? Whether it’s for a special occasion or just because (no reason needed), this dessert is guaranteed to impress. Let me know how yours turns out—and don’t forget to share a picture of those perfect layers!
Remember it later!
Planning to try this recipe soon? Pin it for a quick find later!
Remember it later!
Planning to try this recipe soon? Pin it for a quick find later!
Keep the Flavor Coming – Try These:
Cherry Cheesecake Lush
Ingredients
- 1 package 14 ounces of golden Oreos, crushed in a processor
- ⅓ cup melted salted butter
- 1 tablespoon for preparing the pan
- 8 ounces cream cheese softened to room temperature
- ¾ cup white sugar
- 16 ounces frozen whipped topping thawed
- 2 small boxes of cheesecake flavored instant pudding mix
- 3 cups whole milk
- 2 large cans of cherry pie filling
- 1 cup chopped pecans or chopped walnuts
Instructions
- Start by greasing the inside of a 9x13 baking dish. Set it aside.
- Crush the Oreos into crumbs using a food processor.
- Combine the butter with the crumbs and mix until thoroughly blended.
- Press the cookie mixture onto the bottom of the baking dish creating an even layer.
- Place the crust in the freezer for 10 minutes while you get ready, with the filling.
- In a bowl beat together cream cheese, sugar, vanilla extract and 1 cup of whipped topping until it becomes smooth and creamy.
- Spread this cream cheese mixture over the cookie crust. Return it to the freezer for 10 minutes.
- In another bowl mix together pudding mix, milk and ½ cup of whipped topping. Whisk until it starts to thicken
- Spread this pudding mixture over the chilled cream cheese layer to create a smooth layer. Let it chill for 30 minutes or until set.
- After half an hour has passed pour cherry pie filling over the pudding layer without mixing them.
- Gently spread out the remaining whipped topping over the dessert.
- Finish off by sprinkling chopped pecans or walnuts on top. Chill for 1 to 2 hours, before serving.
Notes

I’m Bitty, owner of nodashofgluten.com, where I share simple, delicious recipes for all tastes, including gluten-free. Check out my “About Me” page for more info!


