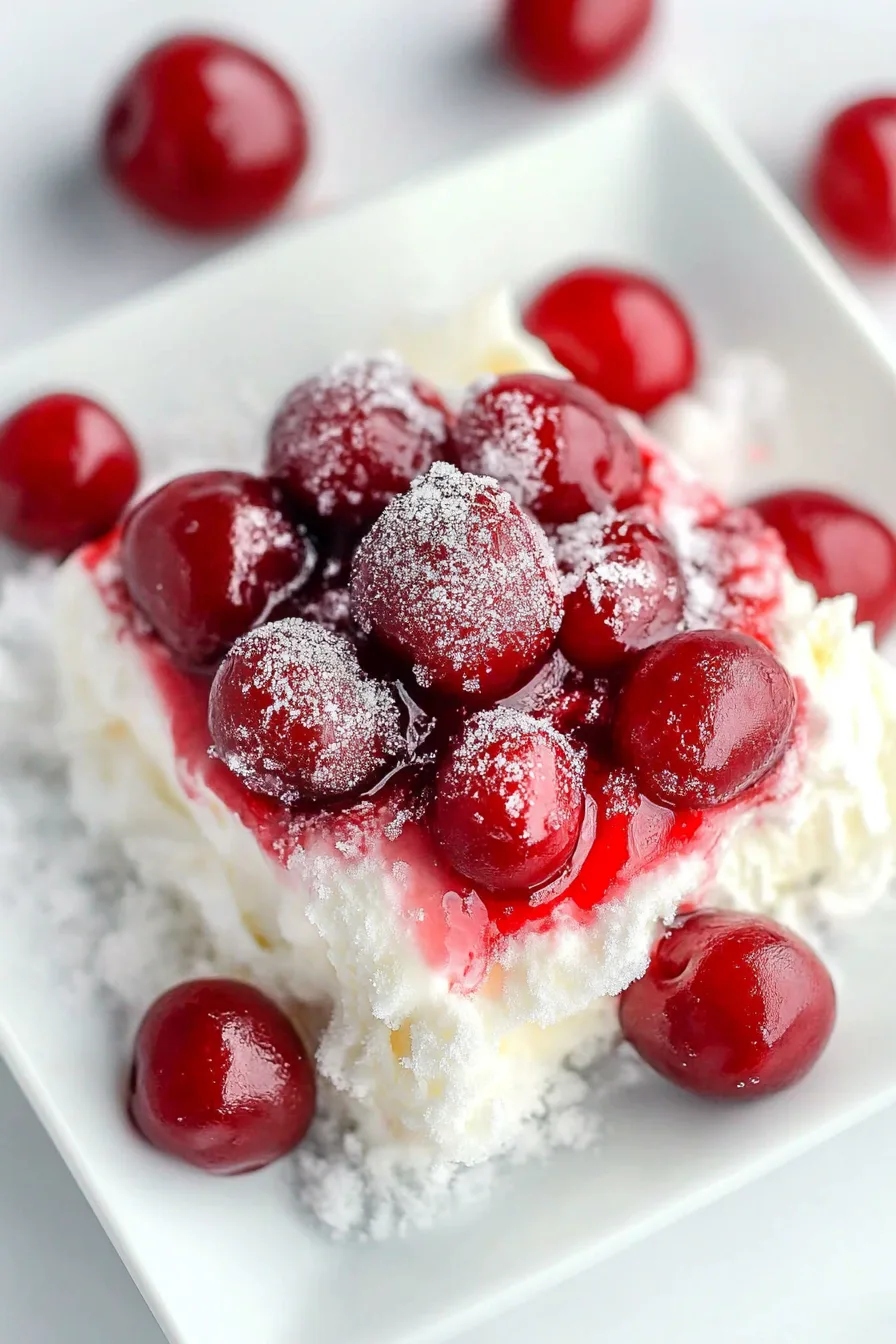
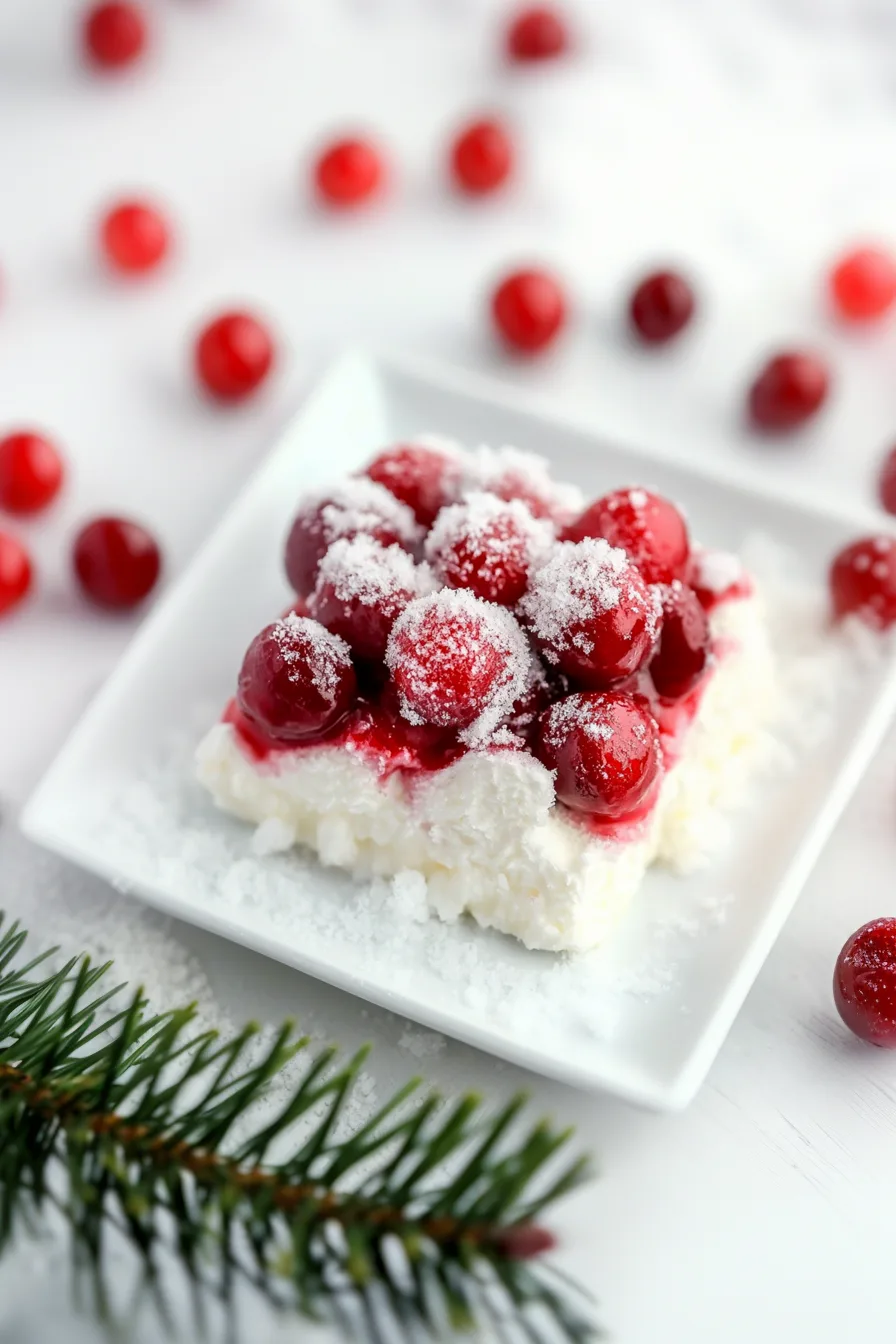
Cherries in the Snow layered with cream cheese, cherry pie filling, whipped topping, angel food cake, sugar, flour, and vanilla.
The first time I ever had Cherries in the Snow, I was at one of those chaotic holiday gatherings where half the family shows up early and the other half arrives two hours late holding gifts they clearly wrapped in the car. You know the type — mismatched chairs, people yelling over each other about parking, kids running around like sugar-powered tornadoes. And there, on the dessert table between a store-bought pie and someone’s slightly burnt brownies, was this bright red, glossy-topped dessert in a glass dish.
Honestly, I only tried it because the name Cherries in the Snow sounded like something from an old Hallmark recipe card. It felt whimsical in a way I really needed in that moment — I’d been dealing with a weirdly stressful week, Christmas traffic, and one of those winter colds that isn’t bad enough to stay home but annoying enough to complain about.
The moment I took a bite, though… oof. It hit me right in the nostalgia. It tasted like the kind of dessert someone makes to cheer you up, not impress you. Soft, creamy, a little tart, a little messy — kind of like how December feels. I ended up standing there with my plate, eyes closed for a sec like some dramatic movie character, thinking, “Why does this taste like childhood even though I never actually had it as a kid?”
I cornered the lady who brought it — you know how every family gathering has that one relative who’s Good At Dessert? — and she just shrugged and said, “Oh, honey, it’s nothing. You dump, layer, mix, chill. That’s it.”


I swear, every magical recipe begins with someone saying “it’s nothing.”
And maybe it’s silly, but now I make Cherries in the Snow whenever I need something comforting. Not fancy, not fussy — just… happy. Do you ever have a recipe like that? One that sneaks into your life unexpectedly and suddenly you’re making it every winter like it’s part of your personality now?
Why You’ll Love This Cherries in the Snow Recipe?
What I adore about Cherries in the Snow is how it has this quiet charm. It’s not trying to be a cheesecake. It’s not trying to be a trifle. It’s something in-between, and honestly, I like that it doesn’t know exactly what it is. Same.
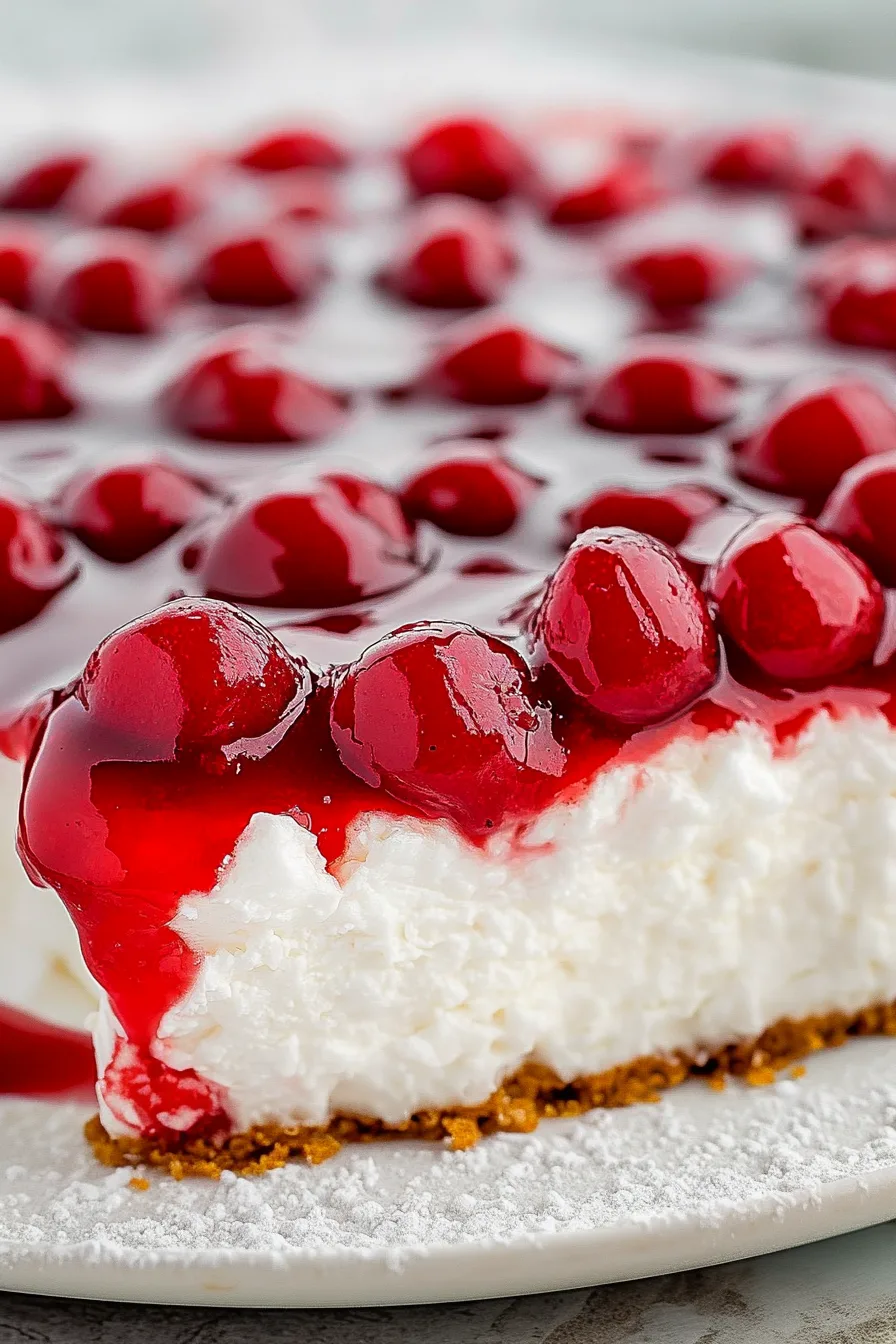
It feels light, even with cream cheese in the mix — airy and fluffy because of the whipped topping. The angel food cake gives it that cloud-like texture (I always think of snow that’s been stepped on once, you know? A little compressed but still soft). And the cherry topping… it’s bright, sweet, a bit nostalgic. Very “holiday potluck in the Midwest,” whether you’re from there or not.
And the fact that it’s no-bake? That’s like the holiday equivalent of hitting all green lights on the way home.
Ingredient Notes:
Here’s my totally-not-fancy breakdown of the ingredients in Cherries in the Snow and why they work together like some weirdly perfect boy band:
-
Cherry pie filling: The star. Red, shiny, festive — the Beyoncé of this dessert.
-
Sugar + flour: They thicken the cherry mixture a bit so it sits nicely on top instead of oozing everywhere (though a little ooze is fine).
-
Cream cheese: Smooth, rich, but not overwhelming. Like the “cool aunt” ingredient.
-
Vanilla: Makes everything taste warmer and more… intentional.
-
Whipped topping: The reason this dessert feels like a pillow.
-
Angel food cake: Soaks up the creamy filling like it’s living its best life.
You probably have half this stuff in your fridge already, which is another reason this recipe is a win.
How To Make Cherries in the Snow?
Let’s walk through it in the real-world way, not the “perfect little cooking show” way.
Step 1: Make the cherry mixture
Throw the cherry filling, sugar, and flour into a saucepan. Medium heat. Stir like you’re avoiding lumps (because you are). When it bubbles and thickens, pull it off the heat and let it cool. Try not to burn your tongue taste-testing it — I’ve done it more than once.
Step 2: Make the creamy layer
Beat the cream cheese and vanilla until smooth. Fold in the whipped topping. The word fold might sound fancy, but honestly, just mix gently until it looks fluffy and pretty. It should remind you a little of frosting and a little of clouds.
Step 3: First layer
Spread half the cream mixture into a glass dish. Smooth it out. Feel slightly proud.
Step 4: Add the cake
Crumble the angel food cake on top. It’s okay if the pieces aren’t uniform — this dessert was never meant to look perfect.
Step 5: Second layer
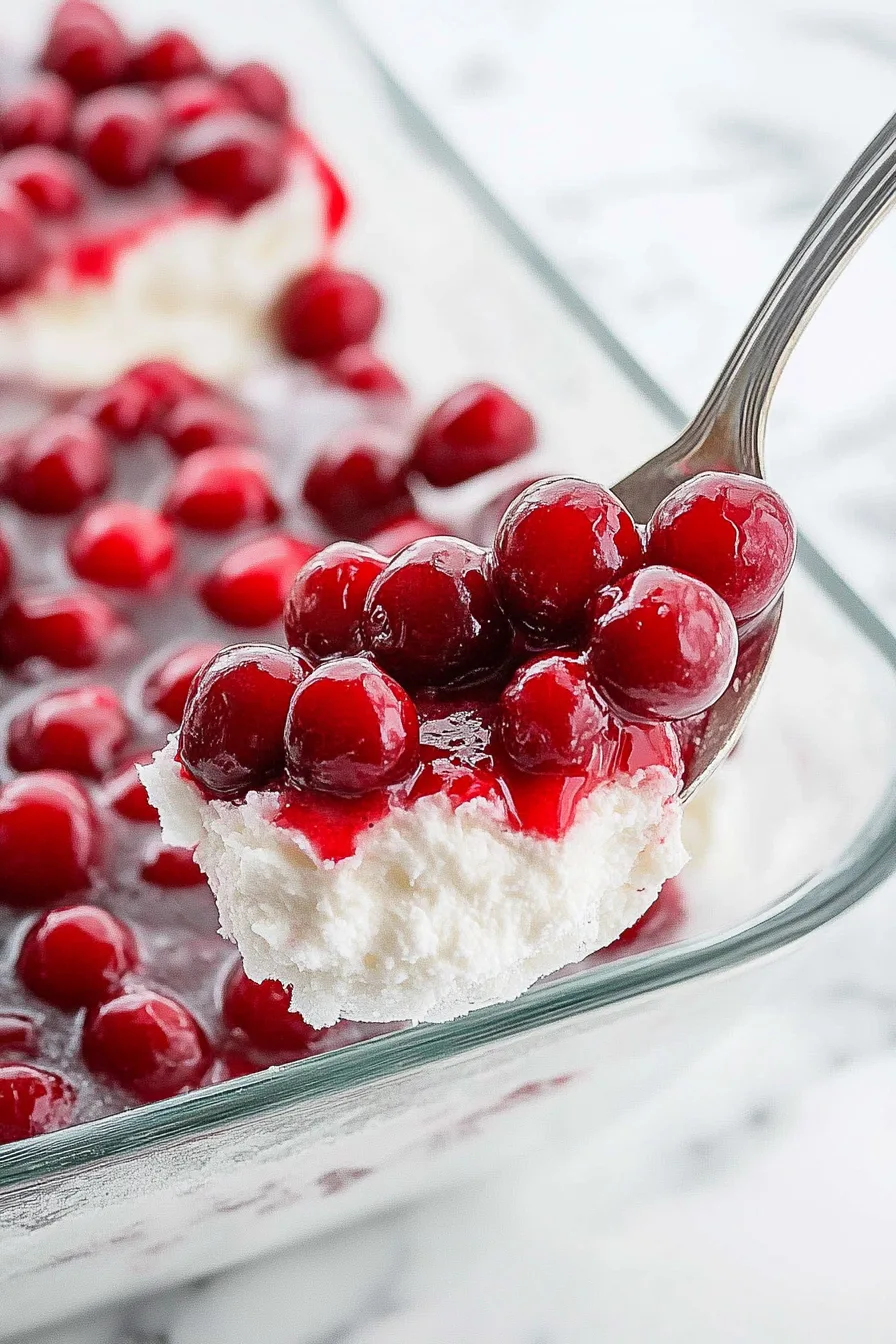
Spread the remaining cream cheese mixture over the cake. This is the “snow” part of Cherries in the Snow and it’s weirdly satisfying.
Step 6: Cherry topping
Want To Save This Recipe?
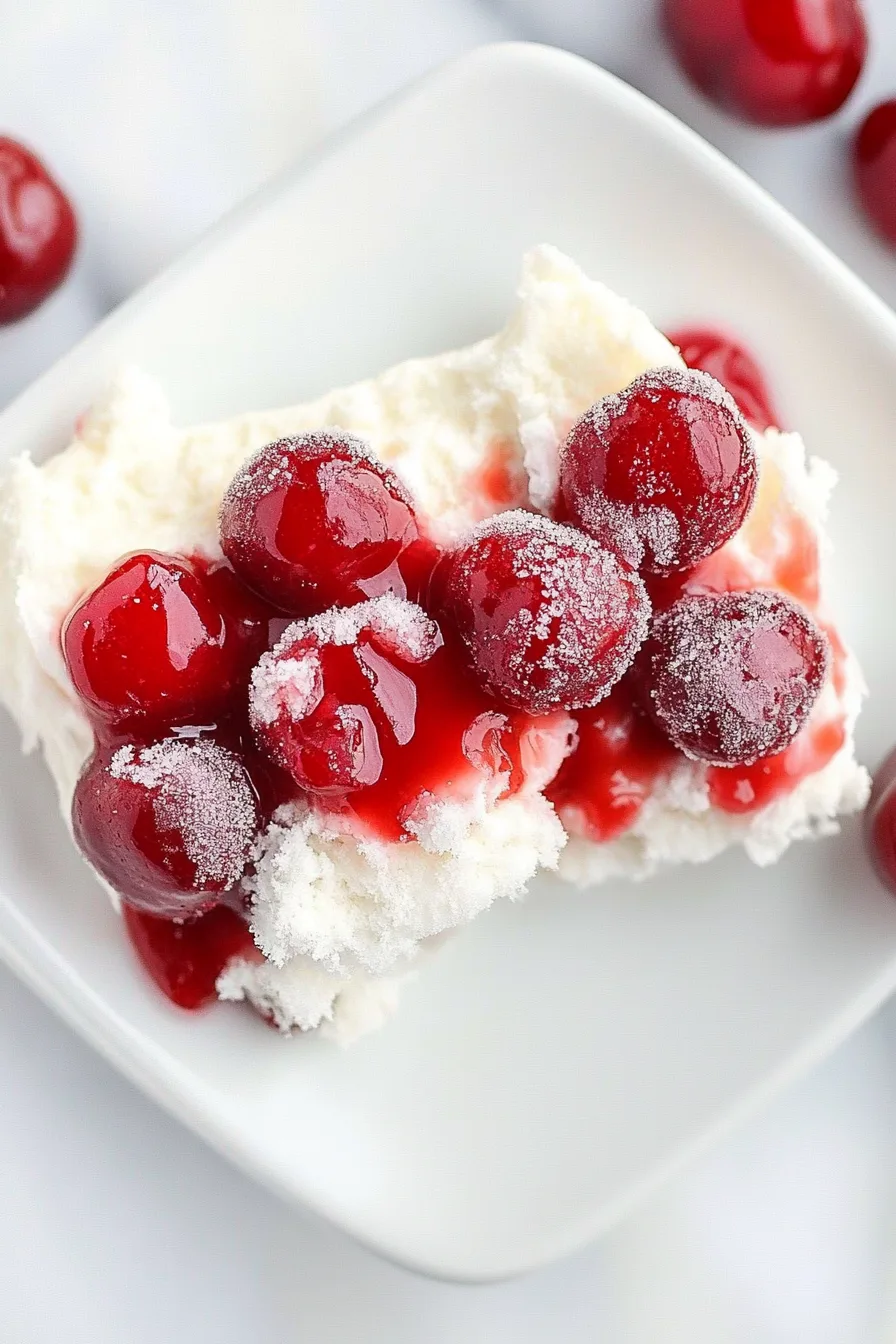
Finish with the cooled cherry mixture. It’ll look like a holiday postcard.
Step 7: Chill (the dessert… and you)
Refrigerate for at least 5 hours. This step is important, even though waiting is the worst.
Storage Options:
Store Cherries in the Snow in the fridge, covered, for up to 3 days. It gets softer over time, almost pudding-like, which honestly is delicious in its own way. Not great for freezing — the texture goes weird — but it holds up beautifully chilled.
Variations and Substitutions:
This dessert is forgiving. Like, really forgiving. Changing things rarely ends in disaster.
-
Blueberry or strawberry pie filling instead of cherry? Yep.
-
Pound cake instead of angel food cake? Richer, but amazing.
-
Add a little almond extract to the cream cheese? Chef’s kiss.
-
Use real whipped cream instead of whipped topping? Go for it.
-
Add crushed cookies or graham crackers between layers? Why not.
Basically, Cherries in the Snow is the kind of recipe that lets you be creative without punishing you.
What to Serve with Cherries in the Snow?
This dessert plays well with:
-
Coffee (especially the strong stuff)
-
Brunch spreads
-
Holiday dinners where everything else is heavy
-
Hot cocoa nights
-
That weird “in-between meals” moment at family gatherings
I’ve even eaten it for breakfast. No regrets.
Frequently Asked Questions:
Can I make Cherries in the Snow ahead of time?
Yes — honestly, it’s better that way.
Can I use homemade cake?
Absolutely. Store-bought works, but homemade is a vibe.
Is there a less-sweet option?
Use low-sugar pie filling or reduce the sugar in the cherry mixture.
If you do make Cherries in the Snow, I hope it brings you even a tiny bit of the cozy, unexpected comfort it brought me the first time I tried it. There’s just something soft and hopeful about this dessert… maybe because it looks like winter but tastes like home.
Let me know if it becomes part of your holiday rotation — or if you eat half of it before it ever hits the table. No judgment here.
Keep the Flavor Coming – Try These:

Cherries in the Snow
Ingredients
- 2 21-ounce cans cherry pie filling
- 1 cup white granulated sugar
- ½ cup all-purpose flour
- 2 8-ounce packages cream cheese softened
- 1 teaspoon vanilla extract
- 1 12-ounce container frozen whipped topping thawed
- 1 9-inch angel food cake
Instructions
Prepare the Cherry Layer
- Combine the cherry pie filling, granulated sugar, and all-purpose flour in a medium saucepan.
- Cook over medium-high heat, stirring continuously, until the mixture reaches a boil.
- Allow the mixture to boil for approximately 5 minutes to thicken.
- Remove from the heat and set aside to cool completely.
Prepare the Cream Layer
- In a large mixing bowl, beat the cream cheese and vanilla extract together until the texture is completely smooth.
- Gently fold the thawed whipped topping into the cream cheese mixture until fully incorporated.
- Spread one-half of this mixture evenly into the base of a 9×12-inch glass dish.
Add the Cake Layer
- Crumble the angel food cake into small, even pieces.
- Distribute the cake crumbles evenly over the cream cheese layer in the dish.
Add the Second Cream Layer
- Spread the remaining cream cheese mixture evenly across the top of the cake layer, ensuring complete coverage.
Finish with the Cherry Topping
- Once the cherry mixture has cooled, spread it carefully over the top layer of cream.
- Cover the dish and refrigerate for a minimum of 5 hours, or until fully chilled and set.
Notes
- Replace angel food cake with a gluten-free angel food cake or gluten-free sponge cake.
- Ensure the cherry pie filling is labeled gluten-free (most are naturally gluten-free, but some brands add thickeners).
- Substitute the all-purpose flour with a gluten-free all-purpose blend or cornstarch for thickening.
- Verify that the vanilla extract and whipped topping are certified gluten-free.
I’m Bitty, owner of nodashofgluten.com, where I share simple, delicious recipes for all tastes, including gluten-free. Check out my “About Me” page for more info!