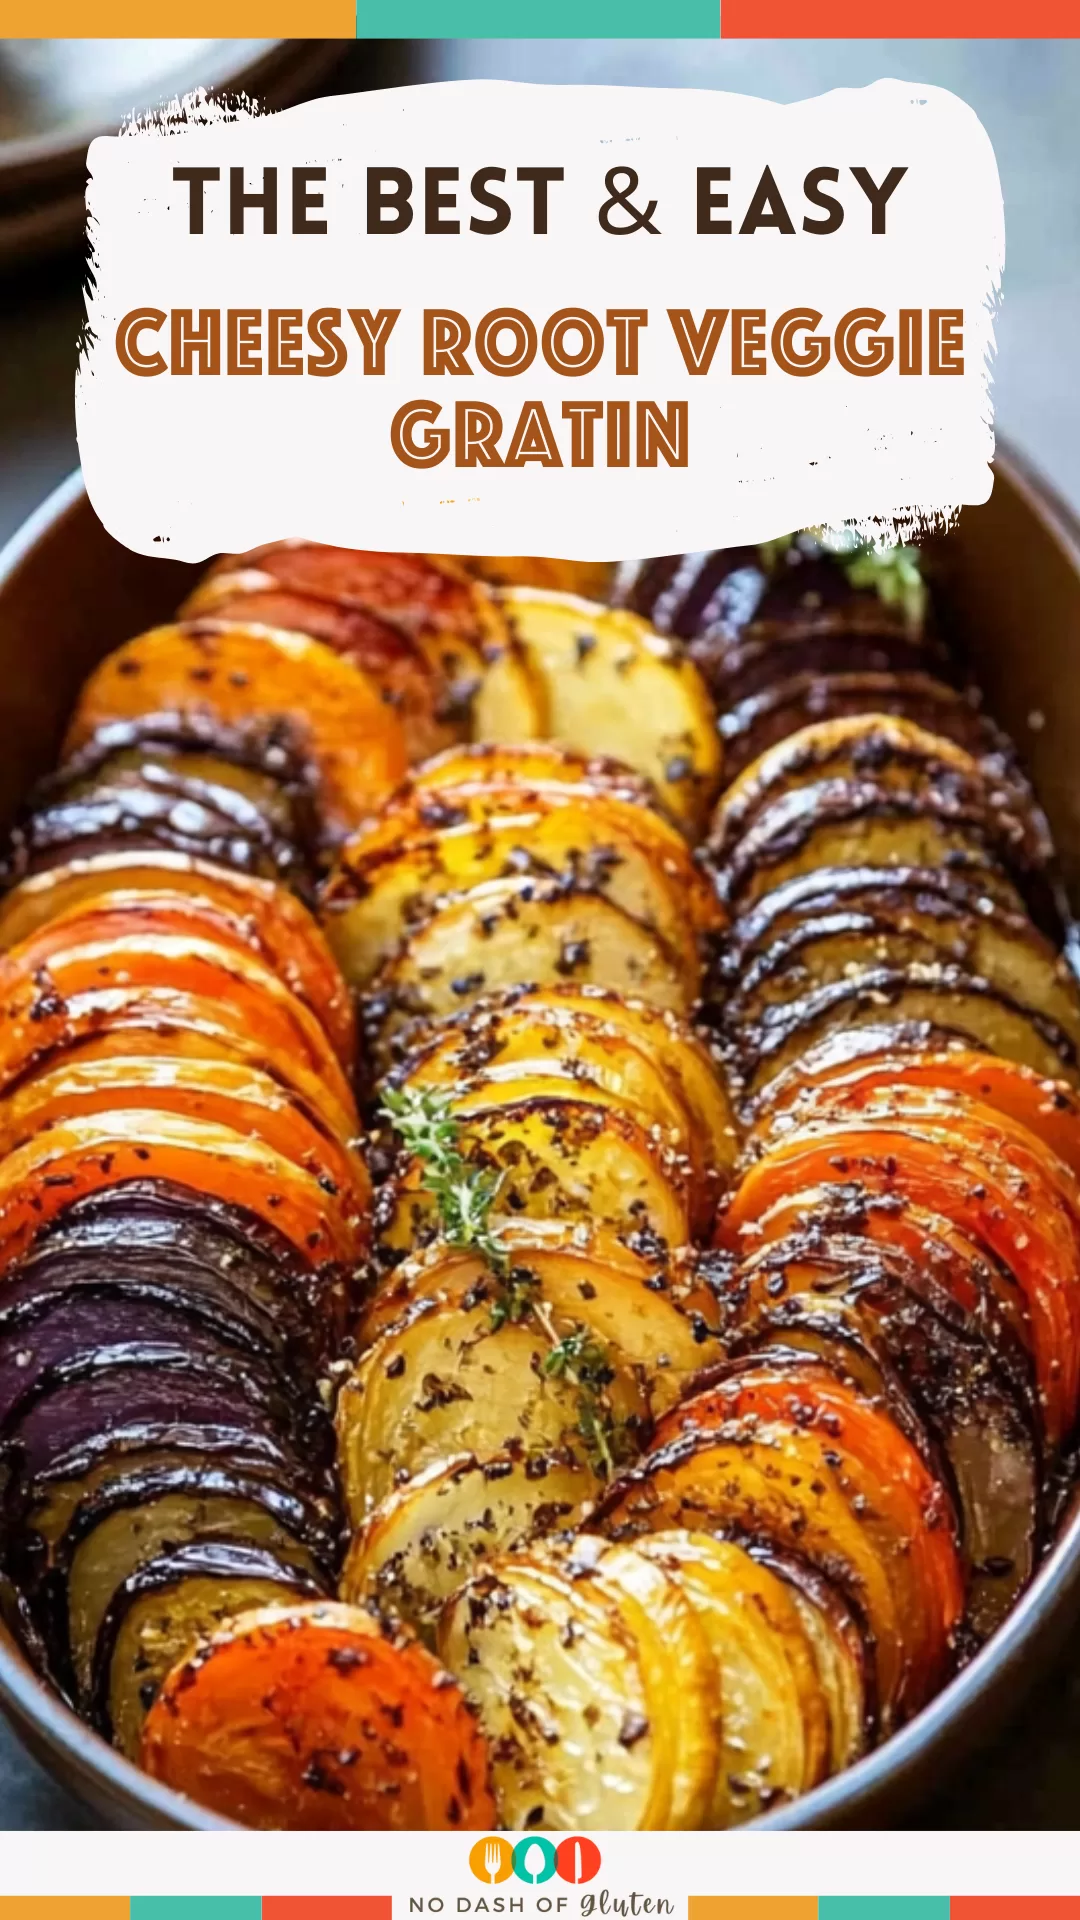
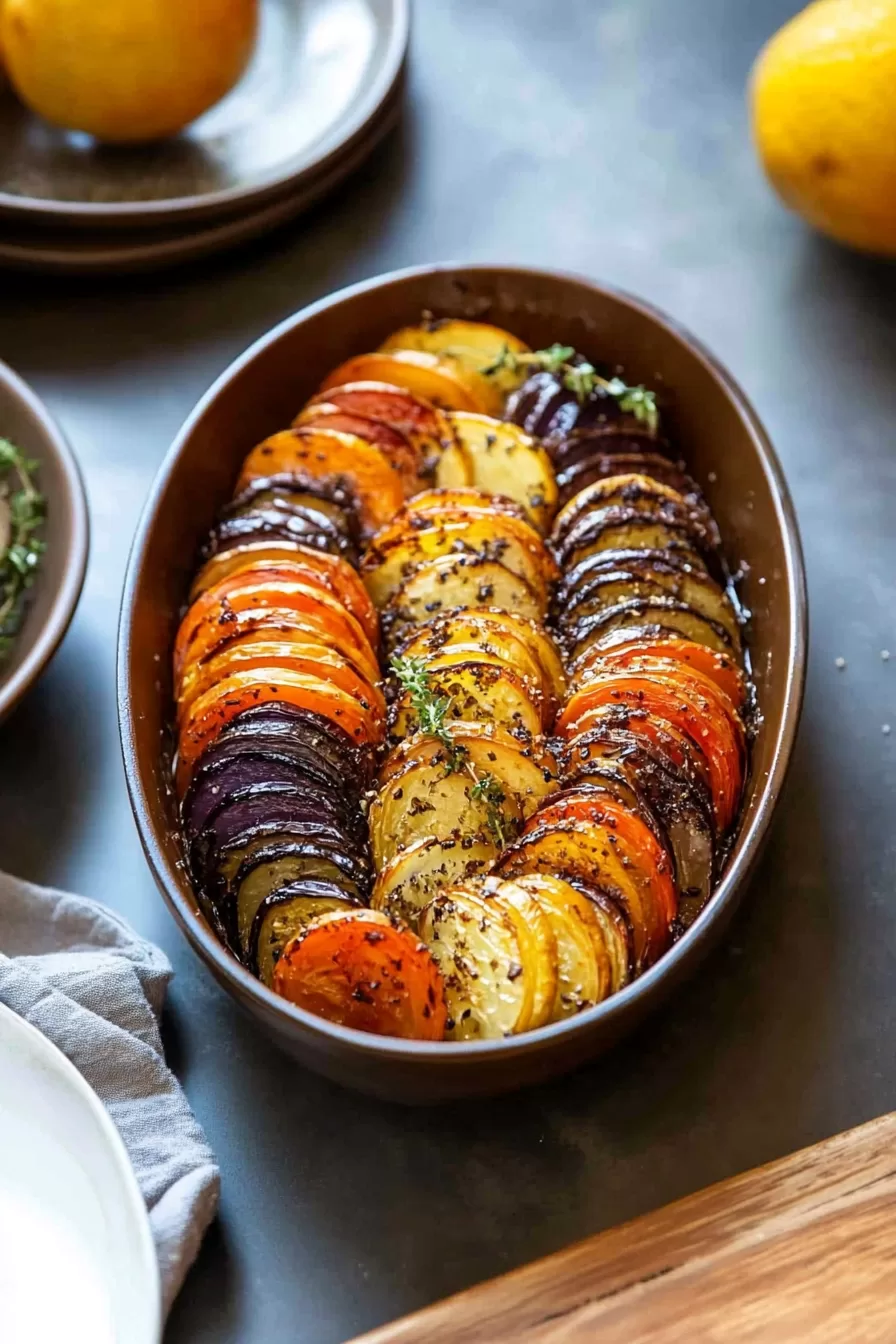
Cheesy Root Veggie Gratin – Cheesy Root Veggie Gratin—yep, this dish is as good as it sounds. Picture this: tender slices of sweet potatoes, parsnips, and beets, all cozying up together under a blanket of melty, golden cheese. It’s rich, creamy, and just the kind of thing you crave when you need something warm and satisfying. Perfect for family dinners, holiday spreads, or whenever you just want to treat yourself. Trust me, one bite, and you’ll be hooked.

Remember it later!
Planning to try this recipe soon? Pin it for a quick find later!
Remember it later!
Planning to try this recipe soon? Pin it for a quick find later!
The first time I whipped up this gratin, it was a total experiment. I had some sweet potatoes, parsnips, and beets that needed using, so I thought, “Why not throw them together and add some cheese?” Best decision ever. I remember how the kitchen filled with that warm, cheesy aroma, and my family kept sneaking peeks in the oven. When I finally served it, they all dove in—and yeah, it was a hit. It’s one of those dishes that brings everyone to the table and makes them stay a little longer.
Here’s a quick peek at what’s inside:
Table of content
What makes this Cheesy Root Veggie Gratin truly special?
It’s creamy, it’s cheesy, and it’s got all the best root veggies packed into one delicious dish. You get the sweetness of the sweet potatoes, the slight earthiness from the parsnips, and that pop of color from the beets—plus, everything’s tied together with melty, golden cheese. It’s the kind of dish that looks fancy, but is super easy to make. Perfect for impressing guests or just treating yourself to something really, really good.
What You Need To Make This Cheesy Root Veggie Gratin Recipe?
Sweet Potatoes – These bring a lovely natural sweetness to the dish, which pairs perfectly with the creaminess. Plus, they’re full of vitamins, so you can almost convince yourself this gratin is healthy, right? Slice them thin so they cook evenly and soak up all that flavor.
Parsnips – If you haven’t used parsnips much, you’re in for a treat. They’re like a sweeter, nuttier cousin to carrots, and they add a bit of earthiness to the gratin. Make sure they’re sliced thin, so they soften up nicely.
Beets – These little gems give the dish a pop of color and a subtle, earthy sweetness. Don’t worry if you get a little pink on your hands while slicing—just think of it as adding a bit of love to the dish.
Heavy Cream – This is where the magic happens. It makes everything rich and luxurious, helping the veggies soften and blend their flavors together. Whole milk works in a pinch, but cream is where it’s at if you want that dreamy, velvety texture.
Parmesan & Gruyere – Okay, the cheeses. Parmesan adds that sharp, salty bite, while Gruyere brings the melty, gooey goodness. They work together to make this dish taste way more decadent than it should.
Fresh Herbs (Thyme & Garlic) – Fresh thyme and a little minced garlic bring that aromatic, herby goodness. Just a little goes a long way in lifting the whole dish. Plus, it makes your kitchen smell amazing!
Salt & Pepper – Don’t skimp on these. Seasoning at each step makes sure every bite is full of flavor.
Steps To Make Cheesy Root Veggie Gratin:
Preheat & Prep: Start by heating your oven to 400°F. Grab a 3-quart baking dish and grease it with a little softened butter—just to make sure nothing sticks later.
Slice the Veggies: Get those sweet potatoes, parsnips, and beets sliced nice and thin. A mandoline works best if you’ve got one, but a sharp knife will do the trick too. Keep each type of veggie in its own bowl.
Mix & Season: Pour about 4 tablespoons of cream over the sweet potatoes and parsnips, and 2 tablespoons over the beets. Then, add ½ ounce of Parmesan and a teaspoon of minced thyme to each bowl. Season generously with salt and pepper. Give everything a good toss so the veggies are well coated.
Prepare the Baking Dish: Pour the last ¼ cup of cream into the bottom of your baking dish, and sprinkle in ½ ounce of Parmesan along with the minced garlic. This will give the base a lovely flavor kick.
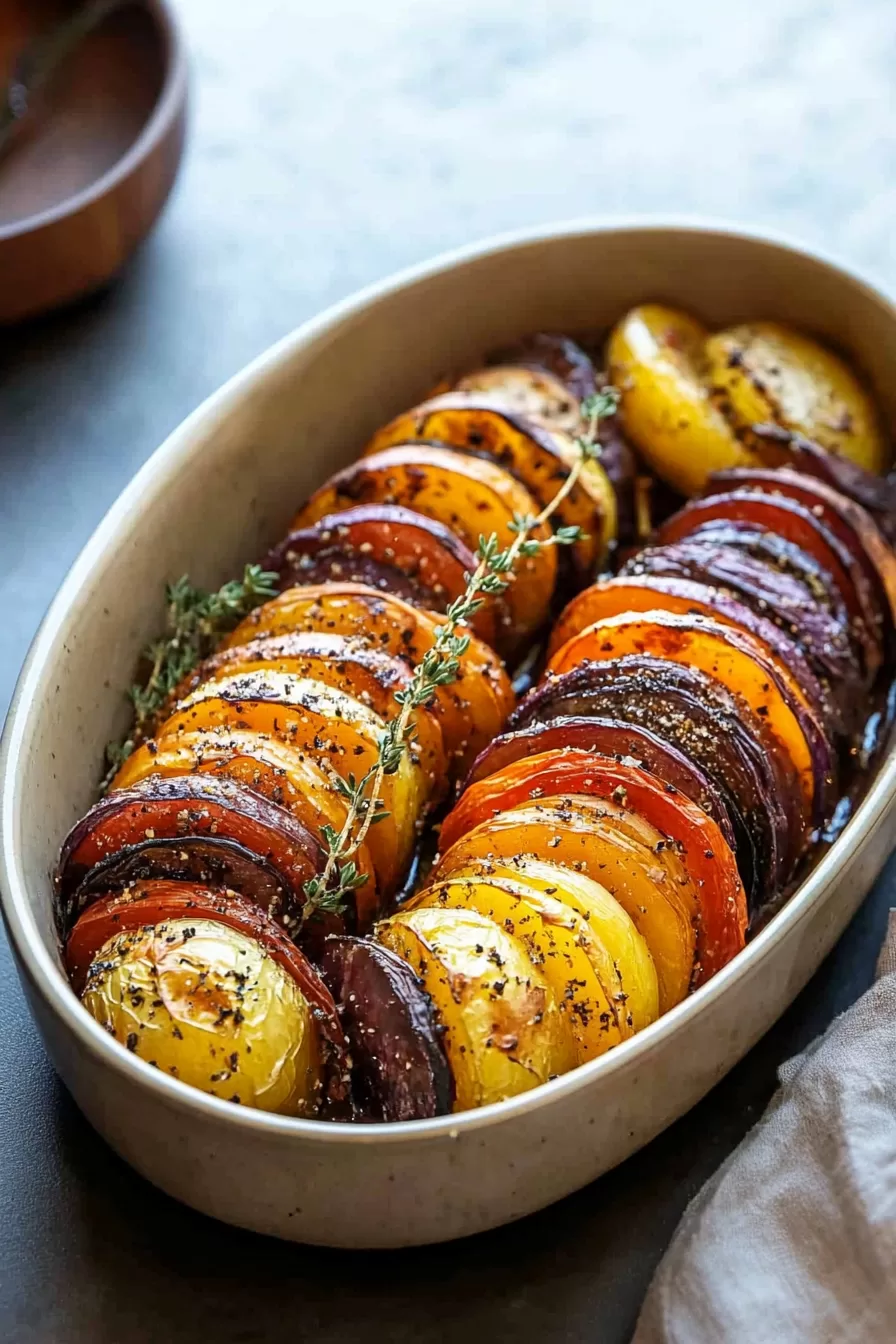
Layer It Up: Time for some stacking! Take a handful of sweet potato slices and line them up at a slight angle at the top of the dish. Follow with a row of parsnips, then beets. Keep alternating like this until you’ve got 6 neat rows of colorful, creamy veggies.
Want To Save This Recipe?
Enter your email below and we'll send the recipe straight to your inbox.
First Bake: Sprinkle the top of the gratin with a bit more salt, pepper, and Parmesan. Cover the whole dish with foil and bake for about 30 minutes, or until the veggies are starting to soften.
Add the Cheese & Finish Baking: Take off the foil, sprinkle the shredded Gruyere on top, and pop it back in the oven, uncovered. Let it bake for another 18 to 20 minutes, or until the veggies are tender, the cheese is melted, and the top is golden and slightly crisp.
Garnish & Serve: Once it’s out of the oven, finish it off with a sprinkle of fresh thyme. Serve it warm, and get ready for everyone to ask for seconds!
Tip:
To make your Cheesy Root Veggie Gratin even better, here’s a trick I swear by: before layering everything in the dish, give the veggies a quick roast. It might feel like an extra step, but it makes a world of difference. Just lay those thin slices of sweet potatoes, parsnips, and beets on a baking sheet, drizzle a little olive oil, sprinkle with salt, and pop them in the oven at 375°F for about 10 minutes. This will caramelize the edges a bit and bring out all that natural sweetness. Trust me, when you layer them into the dish, they’ll be more flavorful, cook faster, and you’ll get those crispy golden edges that make this gratin so irresistible.
Frequently Asked Questions:
Can I use other root vegetables instead of sweet potatoes, parsnips, and beets?
Absolutely! Feel free to switch things up with carrots, turnips, or even rutabaga. Just keep in mind that some veggies might cook a bit faster or slower, so you may need to adjust the cooking time.
How can I make this dish ahead of time?
You can prep everything up to the baking step. Layer the veggies in the dish, cover it tightly, and keep it in the fridge for up to 24 hours. When you’re ready to serve, just bake as directed. If it’s been chilling, add a few extra minutes to the cooking time to ensure it heats through.
Can I make this without dairy?
Sure thing! Swap out the butter for a dairy-free margarine or olive oil, and use coconut cream or a plant-based heavy cream alternative instead of regular cream. For the cheese, there are plenty of great dairy-free options out there, so use your favorite one.
Remember it later!
Planning to try this recipe soon? Pin it for a quick find later!
Remember it later!
Planning to try this recipe soon? Pin it for a quick find later!
Keep the Flavor Coming – Try These:

Cheesy Root Veggie Gratin
Ingredients
- 1 tablespoon unsalted butter softened
- 12 long sweet potatoes each about 2 inches thick, peeled
- 3 to 4 large parsnips trimmed and peeled
- 3 to 5 small beets peeled
- 1 1/4 cup heavy cream divided (you can use whole milk, but it won’t be as thick or creamy)
- 4 ounces grated Parmesan cheese divided
- 1 tablespoon fresh thyme minced, divided (plus a little extra for garnish)
- 1 clove garlic minced
- 1 ounce shredded Gruyere cheese
- Salt and freshly ground black pepper to taste
Instructions
- Start by preheating your oven to 400˚F. Grease a 3-quart baking dish with softened butter and set it aside.
- Slice your sweet potatoes, parsnips, and beets into thin rounds. If you have a mandoline, now’s the time to use it—it’ll make the slicing super easy and even. Place each veggie in its own separate bowl.
- Pour 4 tablespoons of cream over the sweet potatoes and parsnips, and 2 tablespoons over the beets. Sprinkle each bowl with 1/2 ounce of grated Parmesan and 1 teaspoon of minced thyme. Don’t forget a generous pinch of salt and a few cracks of black pepper. Toss each bowl until the veggie slices are well coated.
- Pour the remaining 1/4 cup of cream into the bottom of your greased baking dish. Sprinkle in 1/2 ounce of Parmesan and add the minced garlic, spreading it out evenly.
- Time to layer! Start with a stack of sweet potatoes and arrange them standing up diagonally at the top of the dish. Next, add a row of parsnips, then a row of beets right after that. Keep alternating until you’ve filled the dish, creating about 6 rows of colorful, layered veggies.
- Sprinkle the top with a little extra salt, pepper, and the rest of the Parmesan. Cover the dish with foil, then slide it into the oven.
- Let it bake, covered, for about 30 minutes or until the veggies have softened.
- Remove the foil, sprinkle shredded Gruyere over the top, and place the dish back in the oven. Bake, uncovered, for another 18-20 minutes. You’ll know it’s ready when the veggies are tender, the cheese is melted, and the top is nicely browned.
- Finish with a sprinkle of fresh thyme leaves. Serve it hot, and watch it disappear!
Notes

I’m Bitty, owner of nodashofgluten.com, where I share simple, delicious recipes for all tastes, including gluten-free. Check out my “About Me” page for more info!


