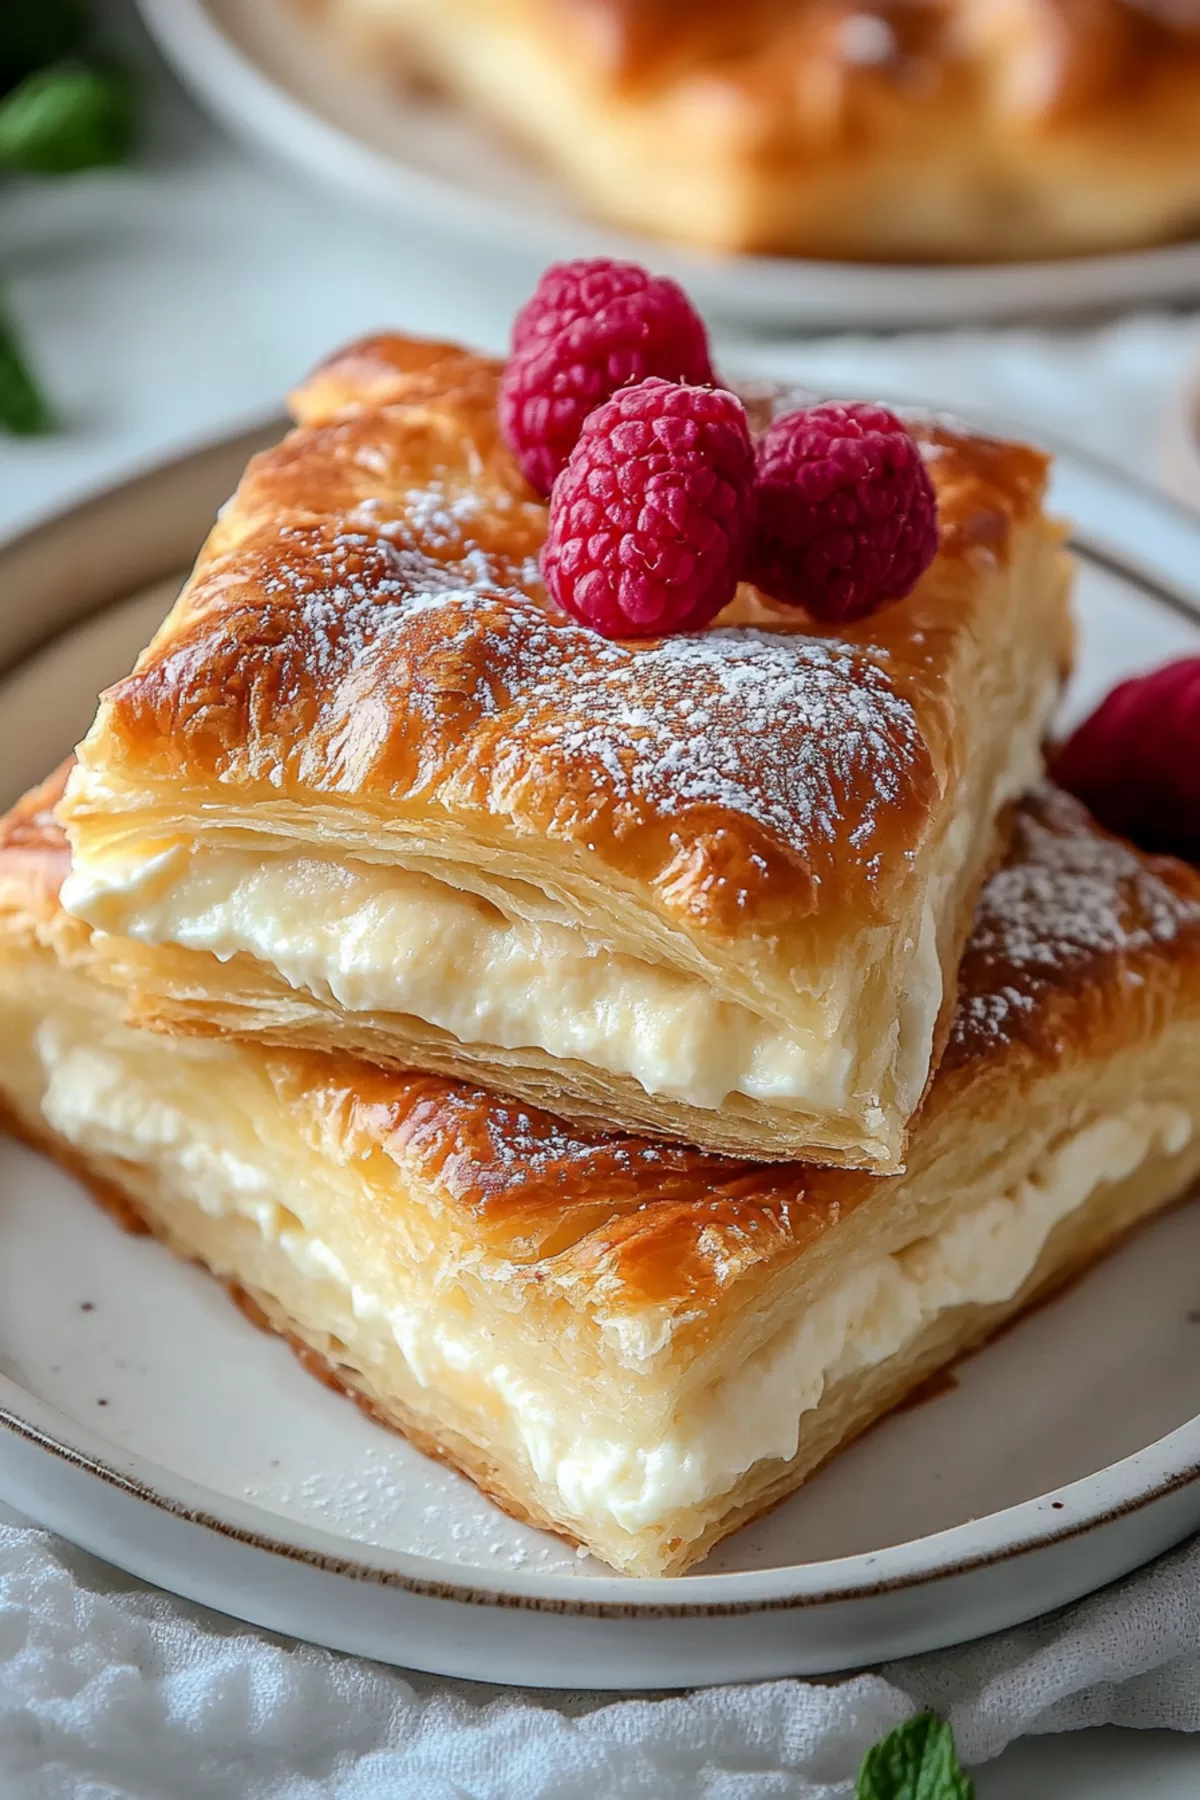
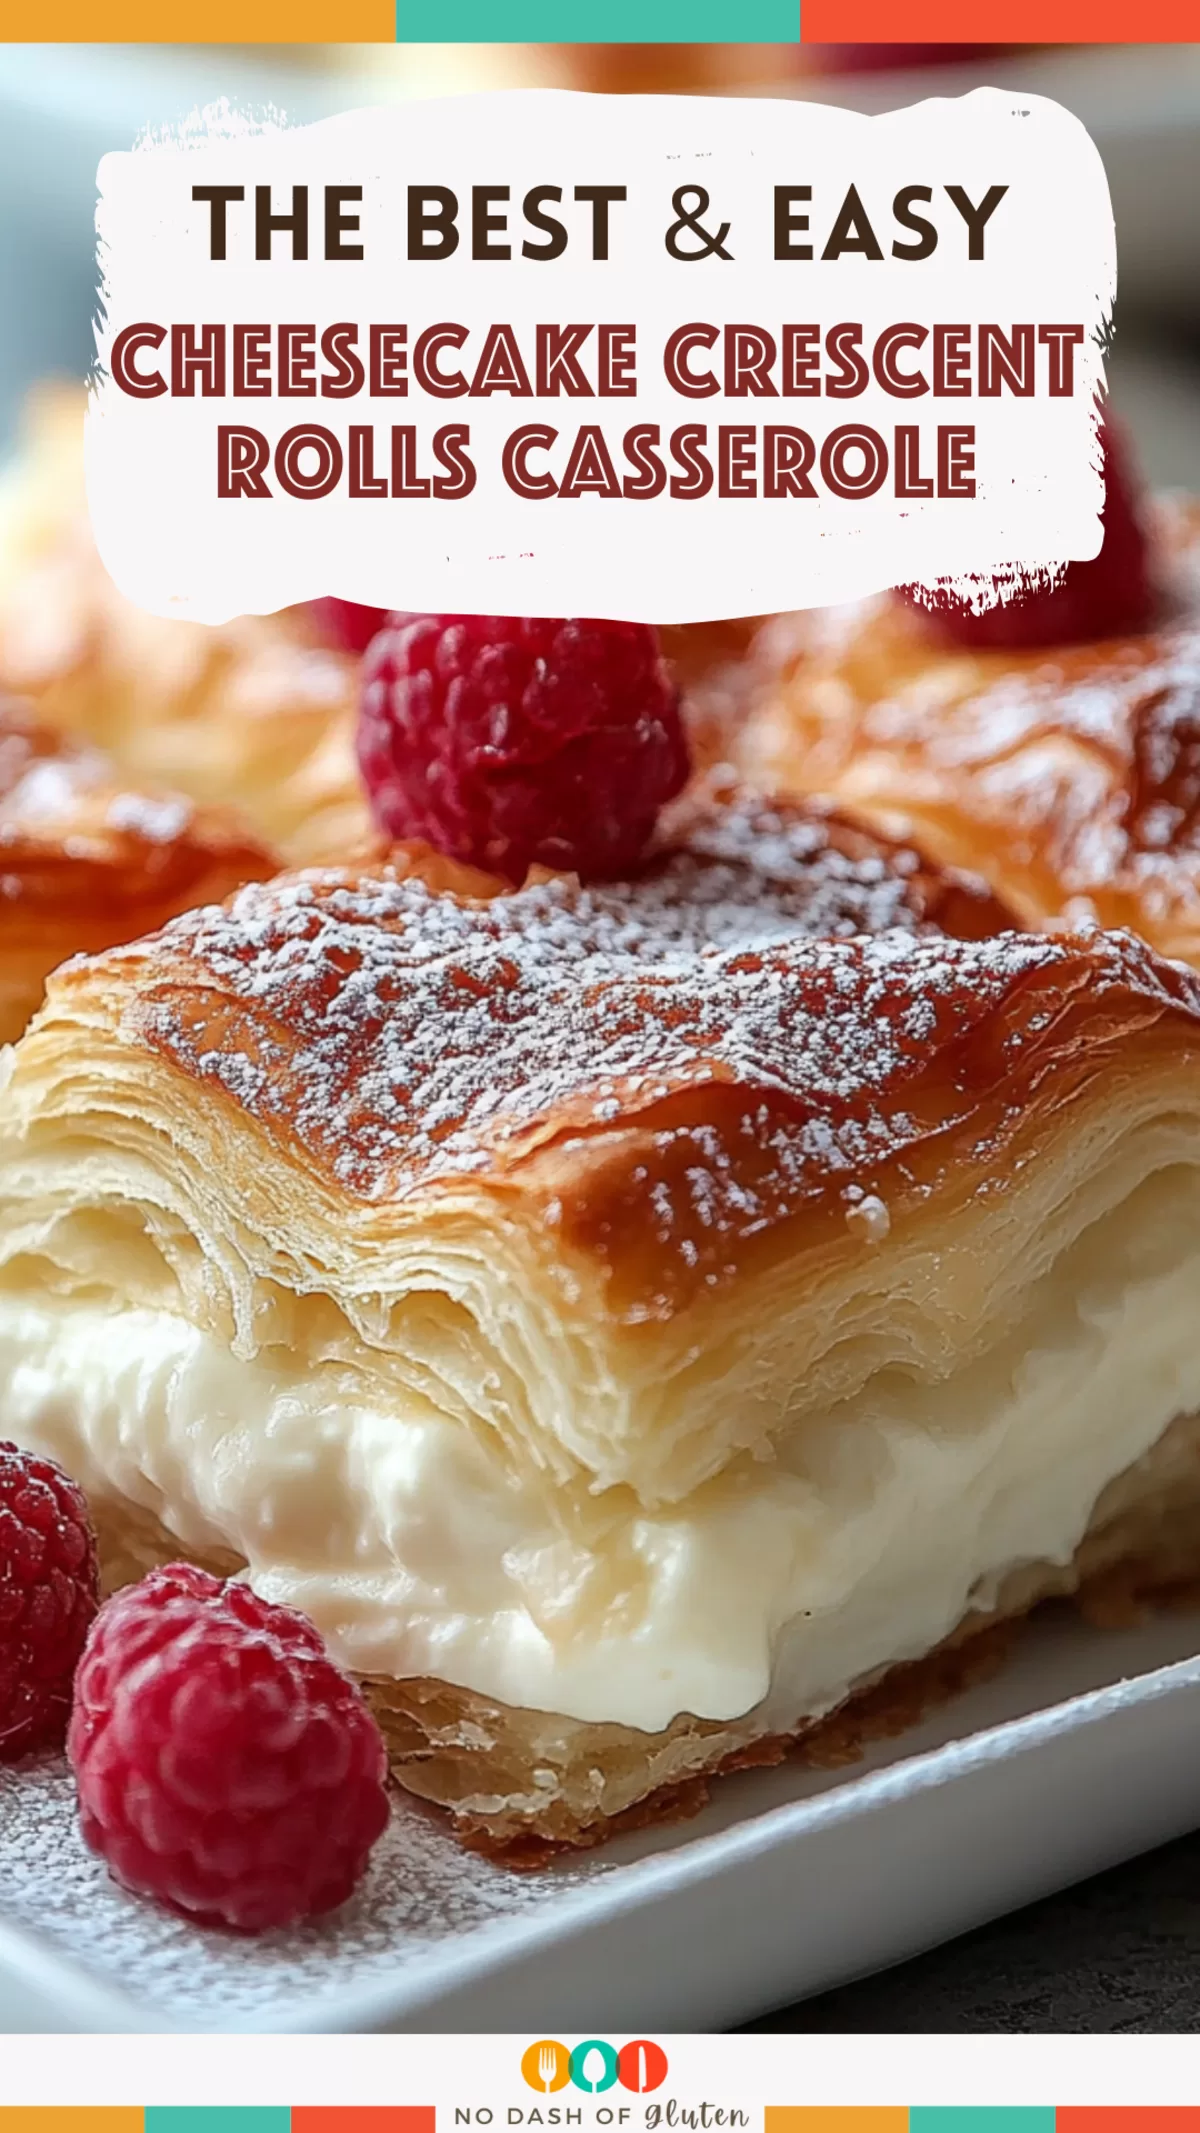
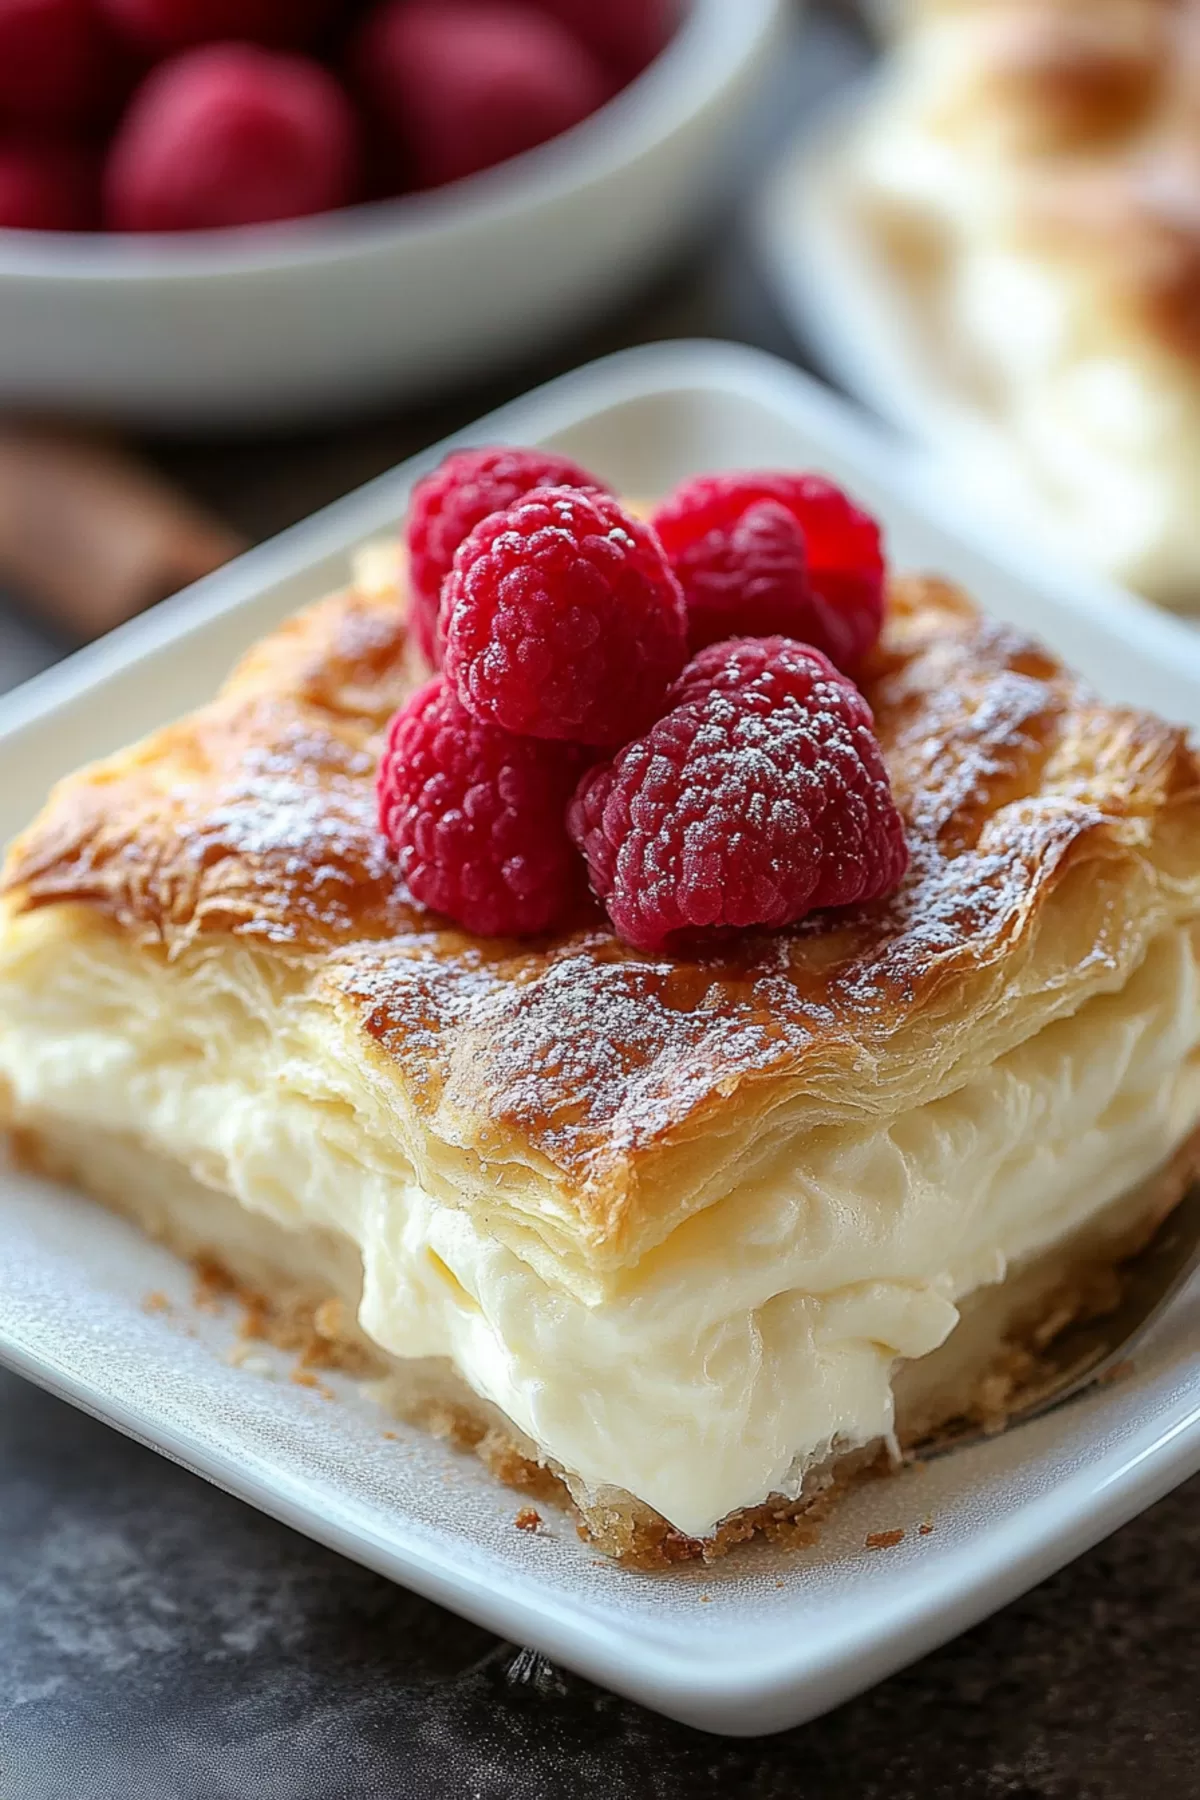
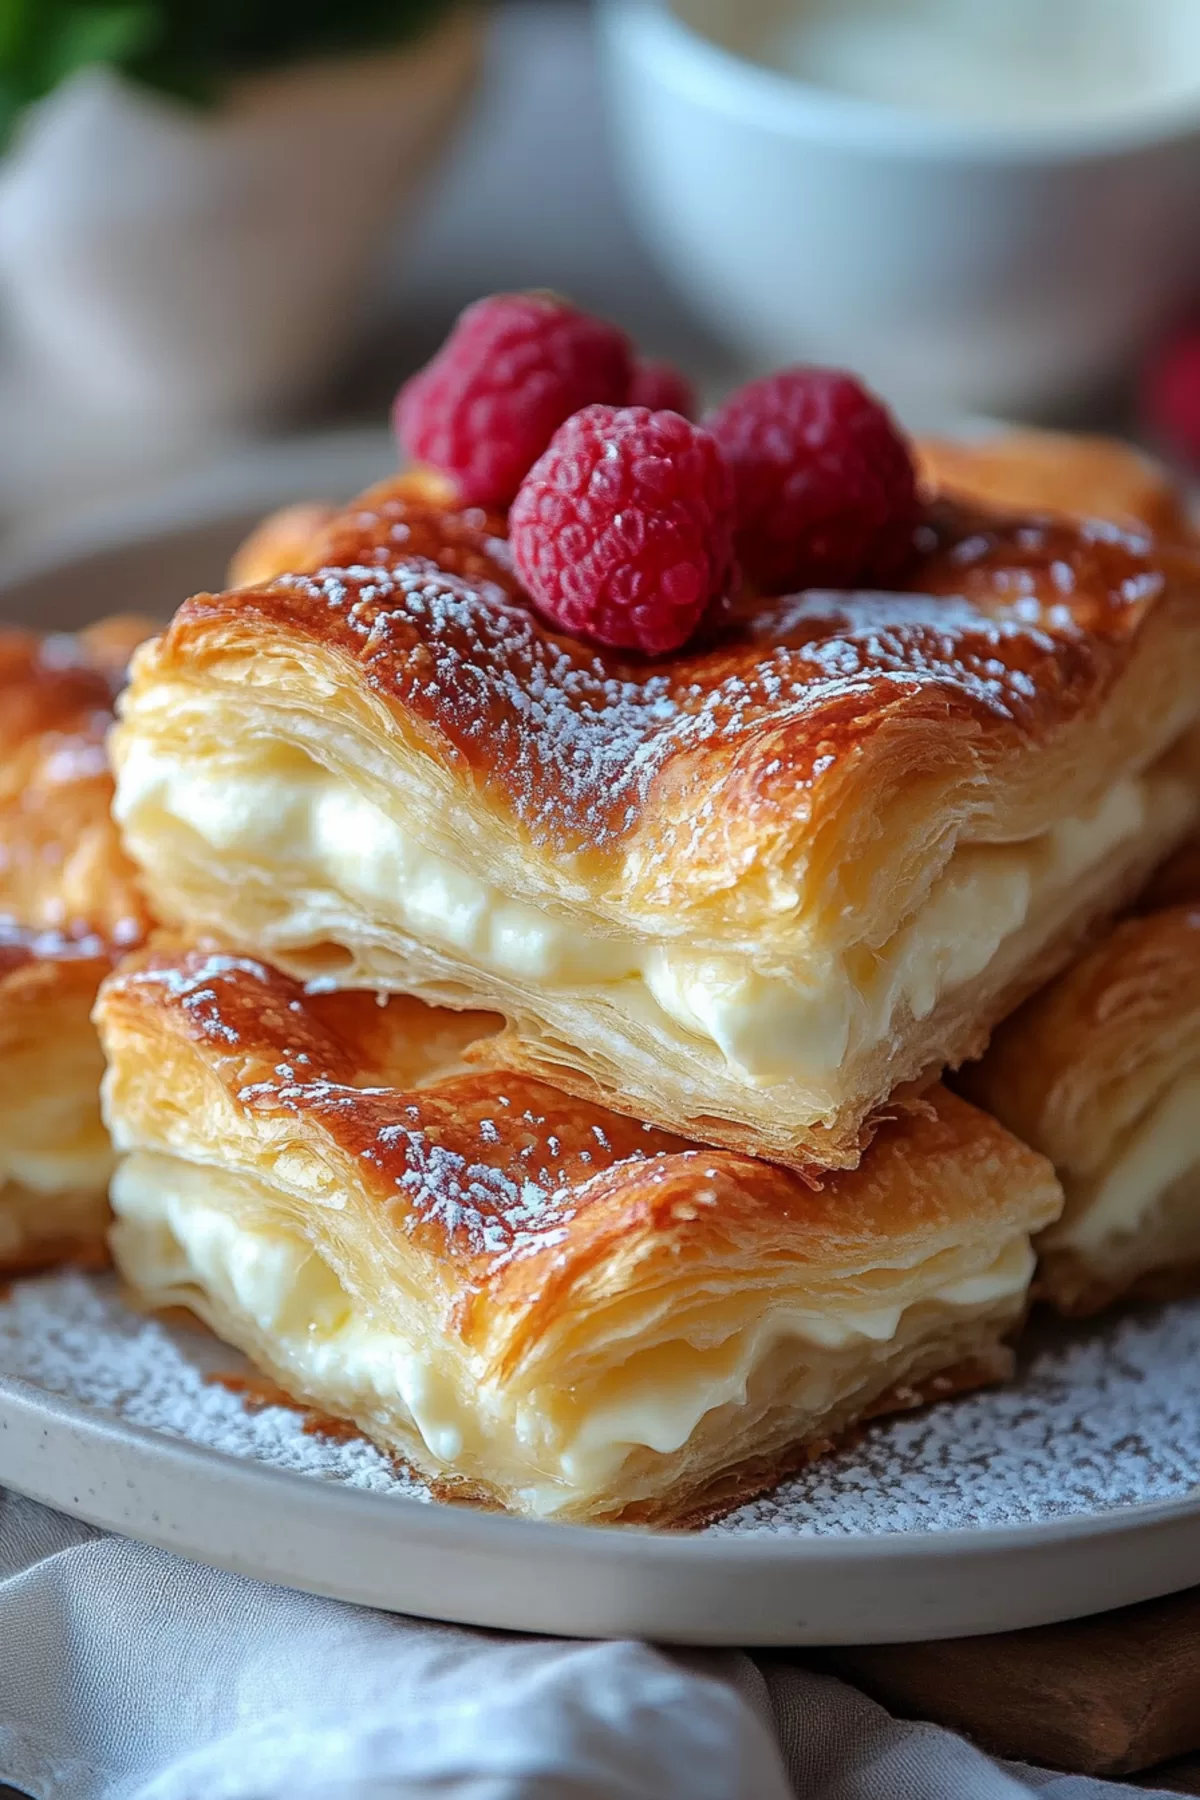
Cheesecake Crescent Rolls Casserole – Have you ever made something so ridiculously easy that people assume you slaved over it for hours? That’s exactly what happened to me with this Cheesecake Crescent Rolls Casserole. I first made it during one of those “I’ve got 20 minutes to whip up a dessert” situations. It was for a casual dinner at a friend’s house, and I figured, worst case scenario, it’s crescent rolls with some cream cheese—how bad could it be?
Turns out, it wasn’t just good—it was amazing. Like, “people fighting over the last piece” amazing. My friend thought I’d been baking all day, and her husband asked for the recipe on the spot. Honestly, I felt like a dessert ninja.

Remember it later!
Planning to try this recipe soon? Pin it for a quick find later!
Remember it later!
Planning to try this recipe soon? Pin it for a quick find later!
What makes this dish so special? It’s the way the buttery crescent rolls get all flaky and golden, sandwiching that creamy cheesecake layer in the middle. And the cinnamon-sugar topping? It’s the perfect mix of sweet and crunchy, like the best part of a churro. It’s also foolproof—seriously, if you can open a can of crescent rolls, you’ve got this.
Now, it’s my go-to for everything from brunches to potlucks. It’s simple, comforting, and just the kind of dessert you want when you need something fast but still impressive.
Here’s a quick peek at what’s inside:
Table of content
Why You’ll Love This Cheesecake Crescent Rolls Casserole Recipe?
- Super Easy: There’s no way to mess this up—trust me, I’ve tried.
- Deliciously Indulgent: Creamy cheesecake filling, flaky dough, and that sweet cinnamon-sugar topping? Yes, please.
- Crowd Favorite: Whether it’s a family dinner or a potluck, people will ask for seconds (and the recipe).
- Customizable: Add fruit, drizzle with chocolate, or even try it with flavored cream cheese.
- Great for Any Occasion: It works for dessert, brunch, or just because you’re craving something sweet.
Ingredient Notes:
Here’s why each ingredient is essential:
- Crescent Roll Dough: The star of the show. It’s buttery, flaky, and easy to work with. You can’t go wrong.
- Cream Cheese: This gives the casserole that rich, cheesecake-like filling. Make sure it’s softened for easy mixing.
- Granulated Sugar: Sweetens the filling and adds crunch to the cinnamon-sugar topping.
- Vanilla Extract: Adds warmth and a little extra depth to the filling.
- Melted Butter: Helps the topping stick and gives the casserole that golden, glossy finish.
- Ground Cinnamon: Brings a cozy, spicy-sweet flavor to every bite.
How To Make Cheesecake Crescent Rolls Casserole?
This recipe is so simple, you’ll have it in the oven before your coffee’s done brewing.
- Preheat and Prep:
Preheat your oven to 350°F (175°C) and grease a 9×13-inch baking dish. Seriously, don’t skip this step—crescent rolls can be sticky little guys. - Lay Down the First Dough Layer:
Unroll one can of crescent roll dough and press it into the bottom of the baking dish. Pinch the seams together so you have a nice, solid layer. - Make the Cheesecake Filling:
In a mixing bowl, beat the softened cream cheese with 1 cup of sugar and the vanilla extract until smooth. You’ll want to sneak a taste—it’s that good. - Spread the Filling:
Pour the cream cheese mixture over the crescent roll layer and spread it evenly. This is where things start to get exciting. - Add the Top Dough Layer:
Unroll the second can of crescent roll dough and carefully lay it over the filling. Pinch the seams again for a neat finish. - Butter and Sprinkle:
Brush melted butter all over the top layer of dough. Mix the remaining sugar with cinnamon, and sprinkle it generously over the butter. Don’t hold back—this topping is everything. - Bake and Cool:
Pop the dish into the oven and bake for about 30 minutes, or until the top is golden brown. Let it cool for at least 20 minutes before slicing—it’s hard to wait, but trust me, it’s worth it.
Storage Options:
If you’re lucky enough to have leftovers, store them in an airtight container in the fridge for up to three days. Reheat slices in the microwave for 10–15 seconds, and they’re just as delicious as when they came out of the oven. Want to freeze it? Wrap individual pieces tightly in plastic wrap and foil, then freeze for up to two months. Thaw overnight in the fridge and warm them up before serving.
Variations and Substitutions:
Feel like experimenting? Here are a few ideas:
- Add Fruit: Swirl in some raspberry or blueberry preserves with the cream cheese filling.
- Chocolate Version: Sprinkle mini chocolate chips over the filling for a chocolaty twist.
- Lemon Lovers: Add a teaspoon of lemon zest to the filling for a bright, citrusy flavor.
- Nutty Crunch: Sprinkle chopped pecans or walnuts over the cinnamon-sugar topping before baking.
- Gluten-Free: Use gluten-free crescent roll dough if available—same great taste!
Want To Save This Recipe?
Enter your email below and we'll send the recipe straight to your inbox.
What to Serve with Cheesecake Crescent Rolls Casserole?
This casserole is already amazing on its own, but here are some fun pairings:
- Fresh Fruit: Strawberries, raspberries, or blueberries add a pop of color and freshness.
- Coffee or Tea: The richness of the casserole pairs beautifully with a hot drink.
- Ice Cream: A scoop of vanilla or cinnamon ice cream makes this dessert even more indulgent.
- Whipped Cream: Light, fluffy, and the perfect finishing touch.
Frequently Asked Questions:
Can I make this ahead of time?
Absolutely! Assemble it the night before, cover it tightly, and bake it fresh in the morning.
Can I use puff pastry instead of crescent rolls?
Yes! Puff pastry will give it a flakier texture, but it’s just as delicious. You might need to adjust the baking time slightly.
Can I freeze this casserole?
Totally! Once it’s cooled, wrap it tightly and freeze. Thaw in the fridge and reheat in the oven or microwave before serving.
And there you have it—Cheesecake Crescent Rolls Casserole that’s easy, delicious, and guaranteed to impress. Whether you’re making it for a party or just treating yourself, this recipe is a total winner. Let me know how it turns out—I can’t wait to hear about your twists and toppings!
Remember it later!
Planning to try this recipe soon? Pin it for a quick find later!
Remember it later!
Planning to try this recipe soon? Pin it for a quick find later!
Keep the Flavor Coming – Try These:
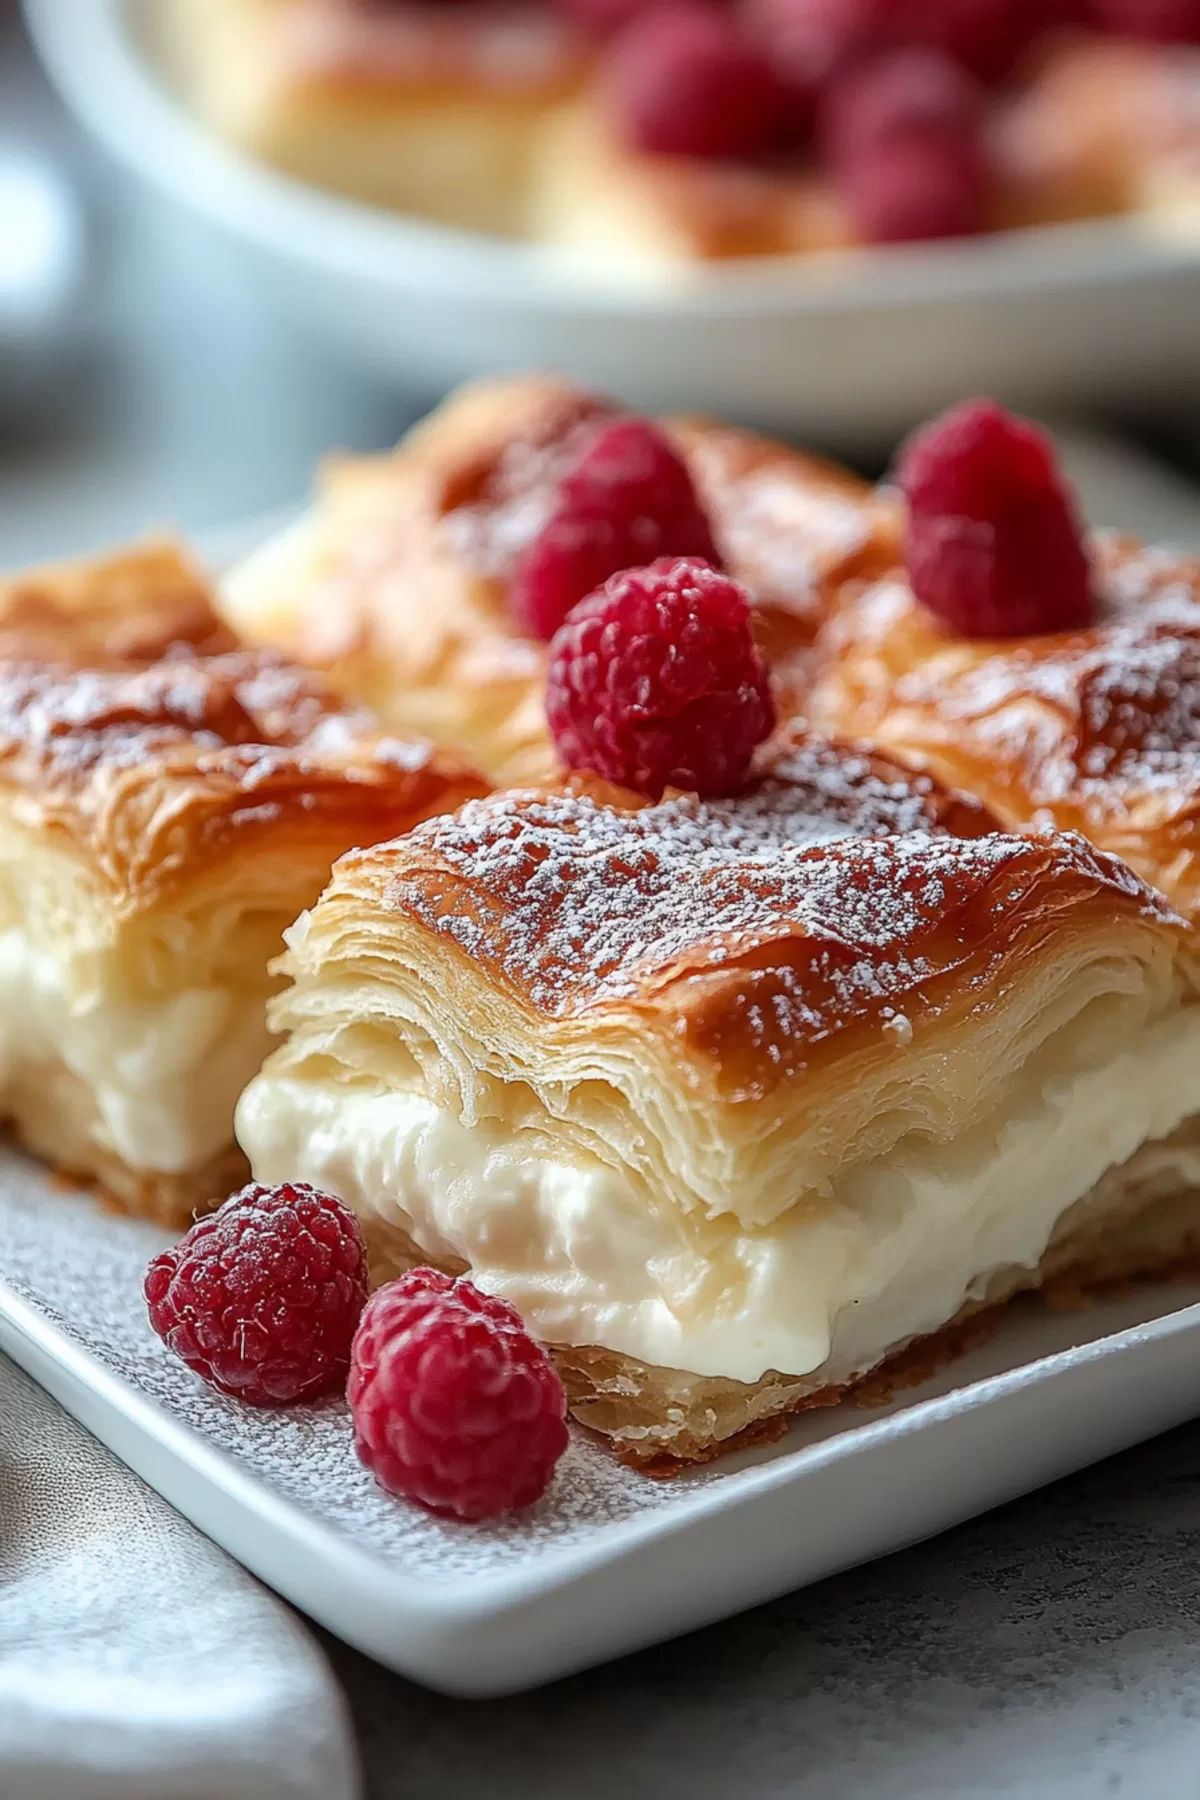
Cheesecake Crescent Rolls Casserole
Ingredients
- 2 cans crescent roll dough refrigerated
- 16 ounces cream cheese softened
- 1 cup granulated sugar divided
- 1 teaspoon vanilla extract
- 1/4 cup butter melted
- 1 tablespoon ground cinnamon
Instructions
Preheat and Prepare the Baking Dish:
- Preheat the oven to 350°F (175°C). Grease a 9×13-inch baking dish to prevent sticking and ensure easy removal of the casserole after baking.
Prepare the First Layer of Dough:
- Unroll one can of crescent roll dough and carefully lay it evenly across the bottom of the greased baking dish. Pinch the seams together to create a uniform layer.
Create the Cream Cheese Filling:
- In a large mixing bowl, combine the softened cream cheese, 1 cup of granulated sugar, and the vanilla extract. Beat the ingredients together until the mixture is smooth and creamy, ensuring no lumps remain.
Spread the Filling:
- Evenly distribute the cream cheese mixture over the layer of crescent roll dough in the baking dish, spreading it to the edges to create a consistent layer.
Add the Top Layer of Dough:
- Unroll the second can of crescent roll dough and carefully place it over the cream cheese filling. Pinch the seams of the dough together to form a smooth top layer.
Prepare the Topping:
- Brush the melted butter evenly over the top layer of dough. In a small bowl, mix the remaining 2 tablespoons of granulated sugar with the ground cinnamon. Sprinkle this mixture generously over the buttered dough to create a flavorful topping.
Bake the Casserole:
- Place the baking dish in the preheated oven and bake for approximately 30 minutes, or until the top is crisp and golden brown.
Cool and Serve:
- Allow the casserole to cool for at least 20 minutes before slicing into squares and serving. For an added touch of sweetness, consider drizzling each serving with honey.
Notes

I’m Bitty, owner of nodashofgluten.com, where I share simple, delicious recipes for all tastes, including gluten-free. Check out my “About Me” page for more info!


