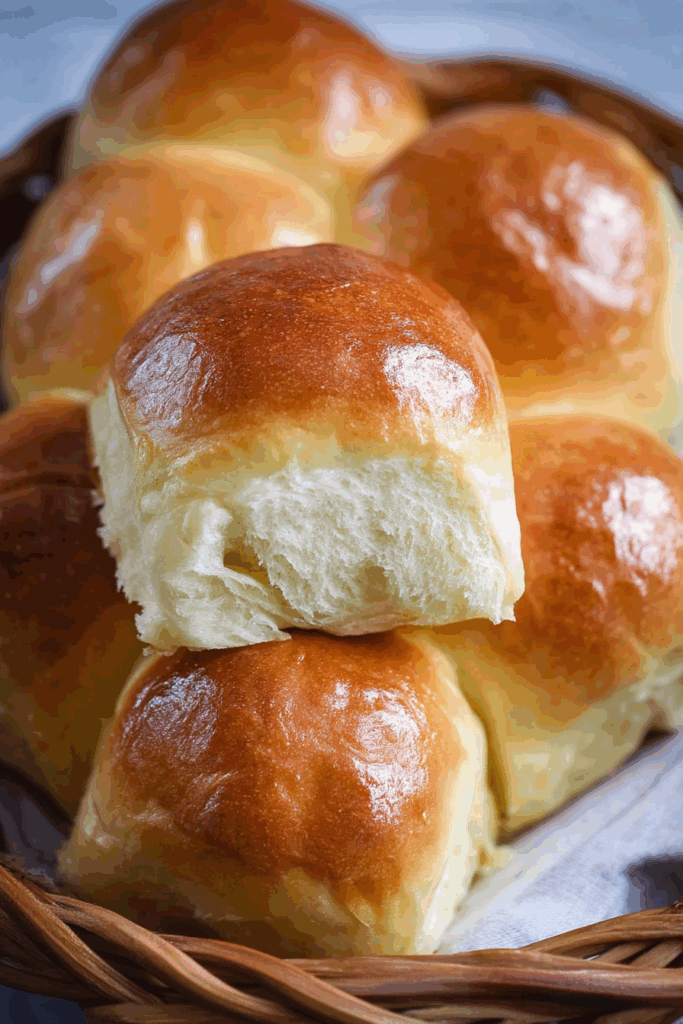
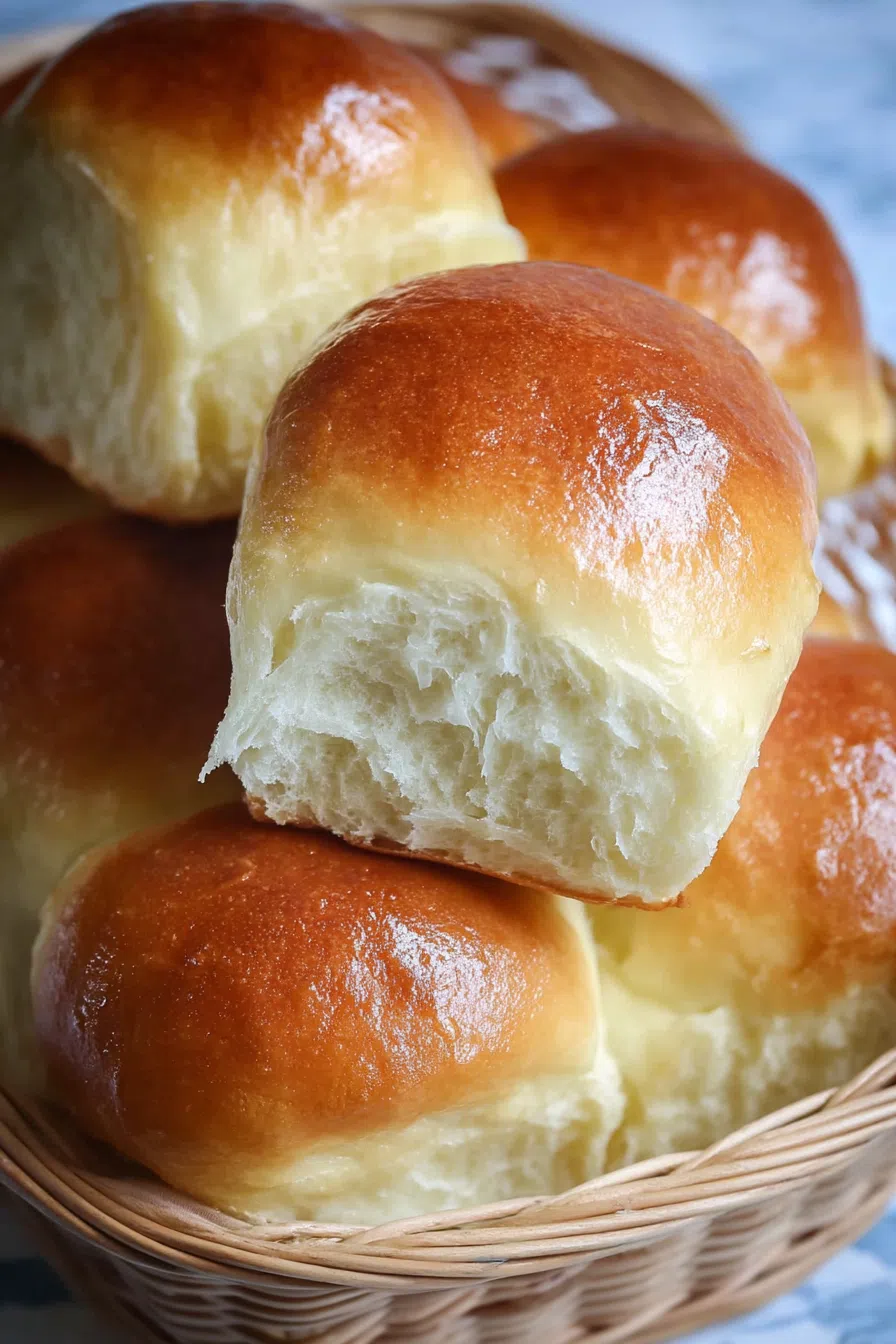
These homemade brioche rolls use flour, eggs, milk, sugar, and butter to create pillowy, golden bread that’s soft, rich, and totally irresistible.
Look, I didn’t grow up eating homemade brioche. We were more Pillsbury crescent roll people—pop the can, bake, boom. Done. But last fall, in a totally unplanned moment of “I need to make something from scratch or I’ll lose my mind,” I stumbled into brioche-making territory.


It started with a Pinterest scroll, a half-used packet of yeast, and a slightly weird craving for something soft and buttery. Not a muffin. Not a biscuit. I wanted something that felt like Sunday morning… even though it was Tuesday and I was still wearing the same sweatshirt from the weekend (don’t judge). So I made these Buttery Bliss Brioche Rolls—and I’m not exaggerating when I say they changed the vibe of my whole day.
The house smelled like a bakery. The dough was silky and forgiving, like it wanted me to succeed. And when I pulled those golden rolls out of the oven? I stood there in the kitchen, tore one open, buttered it while it was still steaming, and just stood silently chewing like, Okay. This is what I needed today.
Why You’ll Love This Buttery Bliss Brioche Rolls Recipe?
Okay, so there are plenty of roll recipes out there, right? But these? These brioche rolls are next-level comfort wrapped in golden brown fluff. They’re soft—like, pillowy, melt-in-your-mouth soft. Rich, without being heavy. Sweet but not dessert-y. Basically, everything you want from a homemade roll without having to fake a French accent or use a proofing drawer (although if you do have one, I’m jealous).
Here’s what makes them magic:
-
The yeast dough is buttery and rich but still super light.
-
They hold their shape beautifully, making them perfect for holidays or, let’s be honest, weeknight snacking.
-
They’re so much easier than you think. (I used to be intimidated by yeast recipes. Now? I’m like “bring it.”)
-
They freeze well, reheat like a dream, and go with basically everything short of cereal.
And bonus: making them makes you feel like a baker. Like someone who has their life together. (Even if your flour is all over the counter and your butter has mysteriously vanished into your sleeves. Again.)

Ingredient Notes:
This isn’t one of those “15-ingredient gourmet” situations. You probably already have most of this stuff, and the beauty of it? Simple stuff, made slowly, turns into something amazing.
Milk (¾ cup):
Warm it, don’t scald it. Think “bathwater for a baby,” not “lava.” The yeast needs it warm and cozy to wake up properly.
Dry Active Yeast (1½ tsp):
This is your rise-and-shine ingredient. If it doesn’t foam after 10 minutes, your yeast might be past its prime. (RIP.)
Sugar (¼ cup + 1 tbsp):
Just the right amount to give a whisper of sweetness. The extra tablespoon feeds the yeast at the start—like breakfast for your dough.
Salt (1 tsp):
Crucial. Without salt, your rolls will taste like regret. Trust me.
All-Purpose Flour (4 cups):
You could use bread flour, but I always just go with AP. No need to overthink it.
Eggs (3 in the dough + 1 for brushing):
Make sure they’re room temp (or at least not freezing cold). They help with texture and richness.
Unsalted Butter (½ cup):
This is what makes them taste like bliss. Room temp is best—it should squish when you press but not melt in your hand. Kind of like… modeling clay? (Weird comparison, but it tracks.)
How To Make Buttery Bliss Brioche Rolls?
Step 1: Yeast Wake-Up Call
Warm your milk, stir in that tablespoon of sugar and yeast, and let it hang out for 10 minutes. If it looks foamy and bubbly, congrats—you’re in business. If not, try again with new yeast. I’ve definitely poured out more than one bowl of sad, flat nothing.
Step 2: Mix Everything Together
Toss the yeast mixture, flour, salt, sugar, and eggs into a bowl (stand mixer helps here). Mix until the dough starts to come together. It’ll look shaggy and weird at first—just keep going.
Want To Save This Recipe?
Step 3: Add That Butter
Now comes the fun (and slightly greasy) part. Add the butter, one piece at a time, while mixing. The dough will look like a mess and you’ll think you broke it—but trust the process. Eventually, it turns smooth, stretchy, and glossy.
Step 4: First Rise
Plop that dough into a greased bowl, cover it with a damp towel or plastic wrap, and let it rise somewhere warm for about an hour. It should double in size. I usually pop mine in the oven (turned off, light on).
Step 5: Shape and Second Rise
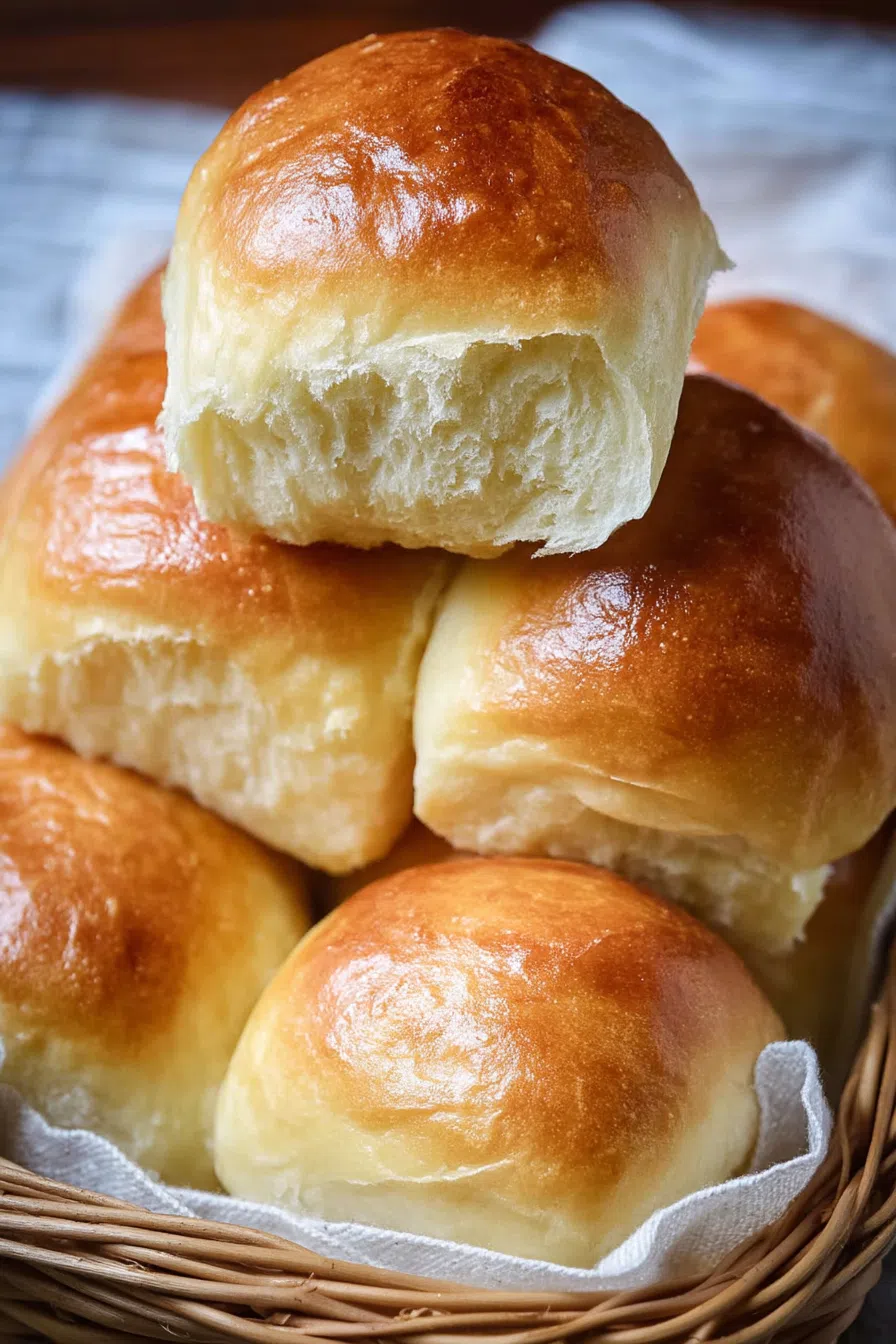
Punch the dough down (gently!), divide into 12 equal-ish pieces, roll them into little balls, and arrange them in a greased 9×13 pan. Cover and let them rise again for another hour. They’ll puff up like perfect dough clouds.
Step 6: Bake
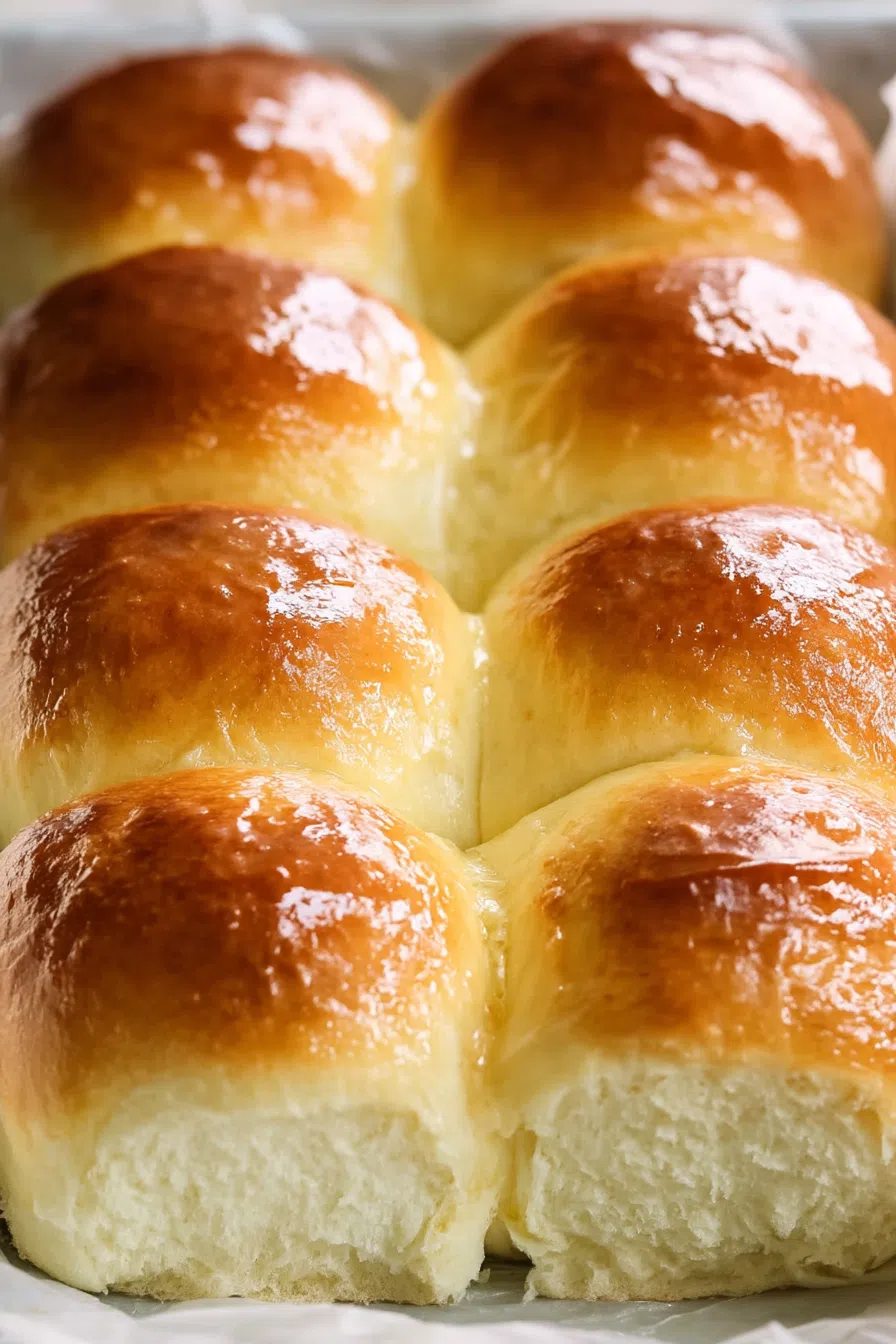
Brush the tops with an egg wash (makes them all shiny and golden), and bake at 350°F for 25-ish minutes until beautifully browned. Your kitchen will smell like you hired a professional baker. (You didn’t. It was you. Be proud.)
Storage Options:
-
Room Temp: Keep in an airtight container for 2–3 days. Reheat in the oven or microwave. Slather with butter.
-
Freezer: Let them cool completely, then wrap individually and freeze. Reheat straight from frozen in a low oven.
Variations and Substitutions:
-
Cinnamon Sugar Version: Add a swirl before shaping. Basically turns them into brioche cinnamon rolls. Which… YES.
-
Garlic Herb Butter: Brush on top after baking. Fancy dinner-party vibes.
-
Cheese-Stuffed Rolls: I tried it once with cubes of cheddar inside. Do I regret it? Absolutely not.
-
Mini Rolls: Make 24 small ones for dinner parties or Thanksgiving baskets. No one will complain.
What to Serve with Buttery Bliss Brioche Rolls?
-
Soup: Tomato, chicken noodle, whatever. These rolls don’t judge.
-
Eggs + bacon: Sunday breakfast just got an upgrade.
-
Holiday dinners: Honestly, these deserve a seat at the grown-up table.
-
Butter + honey: If you know, you know.
Frequently Asked Questions:
What if I don’t have a stand mixer?
Roll up your sleeves and knead by hand. You’ll get an arm workout, but you’ll also get bragging rights.
My dough didn’t rise!
Either the yeast was dead, or your kitchen was cold. Try putting it in a slightly warmed oven (just turned off) with the light on.
Can I double the recipe?
Yes, but make sure you’ve got room in your oven. And maybe some neighbors to share with.

Making these Buttery Bliss Brioche Rolls is more than just following a recipe—it’s an act of love. For yourself, your family, your weird roommate who always steals the last roll… whoever. These rolls are soft, golden proof that a little butter, a little time, and a whole lot of heart can turn a random Tuesday into something really special.
So go ahead. Get flour on your face. Let the dough stick to your fingers. Burn the first batch a little. Laugh. Bake. And when you bite into that first warm, buttery roll?
Just pause and let it be what it is: pure, buttery bliss.
Tried it? Messed it up? Nailed it? Tell me everything. I wanna hear your brioche story.
Keep the Flavor Coming – Try These:
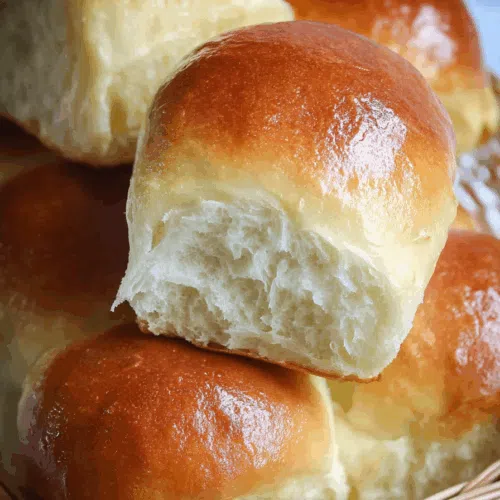
Buttery Bliss Brioche Rolls
Ingredients
- 3/4 c milk
- 1 1/2 teaspoon dry active yeast
- 1/4 c sugar + 1 tablespoon
- 1 teaspoon salt
- 4 c all-purpose flour
- 3 large eggs + 1 extra for egg wash
- 1/2 c unsalted butter
Instructions
- Activate Yeast: Warm the milk slightly, then mix with yeast and a tablespoon of sugar. Wait about 10 minutes until it's frothy.
- Mix Dough: In a stand mixer with a hook attachment, combine the activated yeast mixture, flour, the rest of the sugar, salt, and eggs. Start mixing on low, then increase to high until a dough forms.
- Add Butter: Cut the room temperature butter into chunks and gradually add to the dough, mixing on high until the dough is smooth and elastic.
- First Rise: Transfer the dough to a greased bowl, cover, and let it rise until doubled in size, about 1 hour.
- Shape Rolls: Punch down the dough and divide it into 12 pieces. Shape each piece into a ball and place it in a 9x13-inch baking dish. Cover and let them rise again for about an hour.
- Bake: Brush the rolls with an egg wash (1 beaten egg mixed with a teaspoon of water). Bake at 350°F for about 25 minutes until golden.
- Enjoy your freshly baked brioche rolls!
Notes
I’m Bitty, owner of nodashofgluten.com, where I share simple, delicious recipes for all tastes, including gluten-free. Check out my “About Me” page for more info!