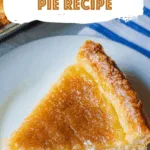
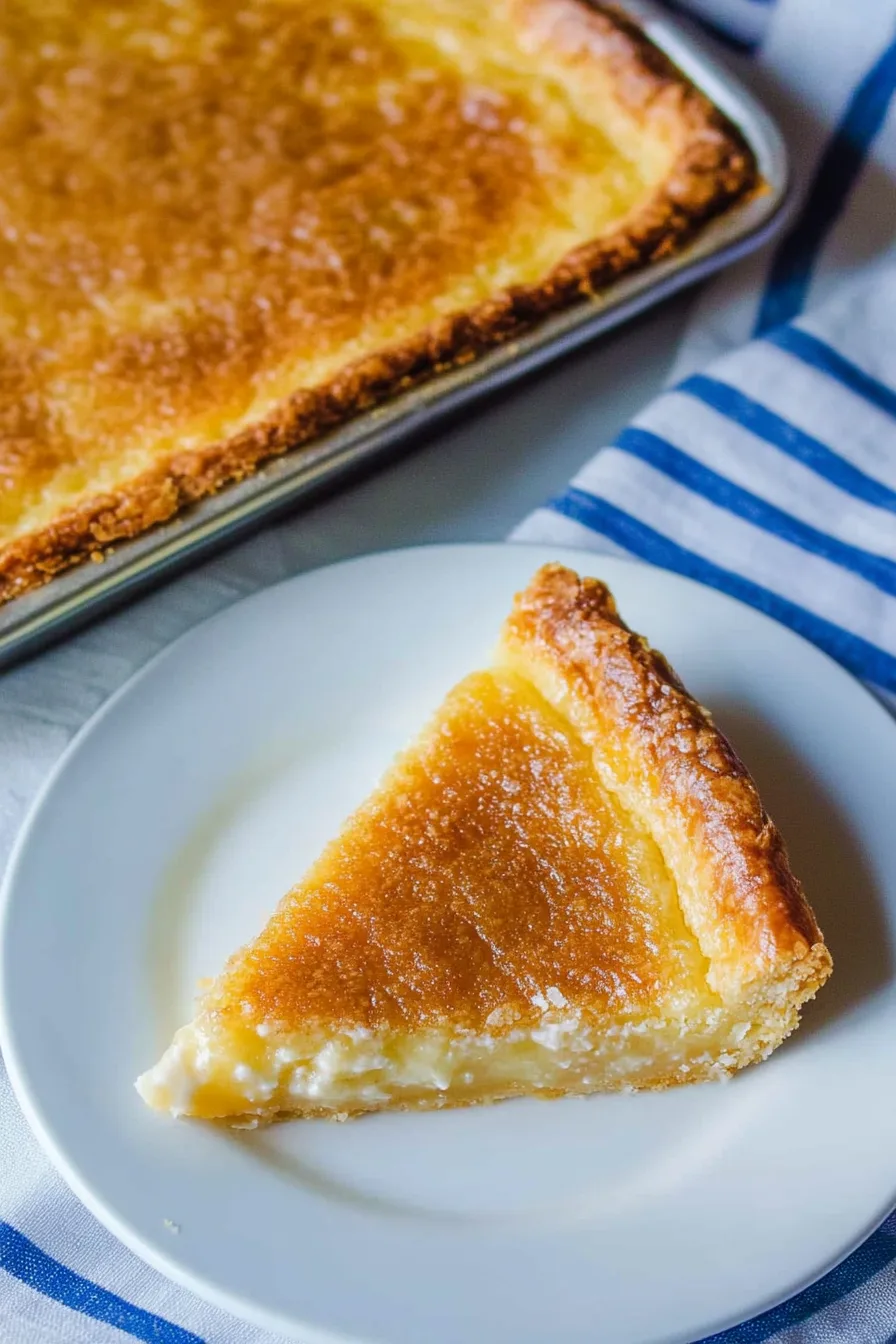
Pie crust, sugar, butter, buttermilk, eggs, vanilla, and nutmeg—this Buttermilk Slab Pie Recipe is creamy, custardy, and feeds a crowd.


So here’s the thing. The first time I made this Buttermilk Slab Pie Recipe, I wasn’t trying to be clever or unique. I was just… desperate. We had one of those community potlucks—you know the kind where Aunt Linda shows up with her famous potato salad, and somehow there are four trays of brownies but no actual “main” food? I got signed up for dessert duty (without my consent, I might add), and I panicked.
Regular pie wouldn’t cut it. I mean, a 9-inch pie feeds maybe eight people if you cut it small and hide the knife. But this pan? This glorious slab pie? It looked like I was bringing dessert for an entire marching band. And honestly, that’s what it felt like when I set it on the table—people swarmed it. Someone whispered, “Who brought this?” like it was contraband. My cousin even asked me if I bought it at Costco, which stung a little, but also… fair. It does look like something you’d pay way too much for in a bakery.
Why You’ll Love This Buttermilk Slab Pie Recipe?
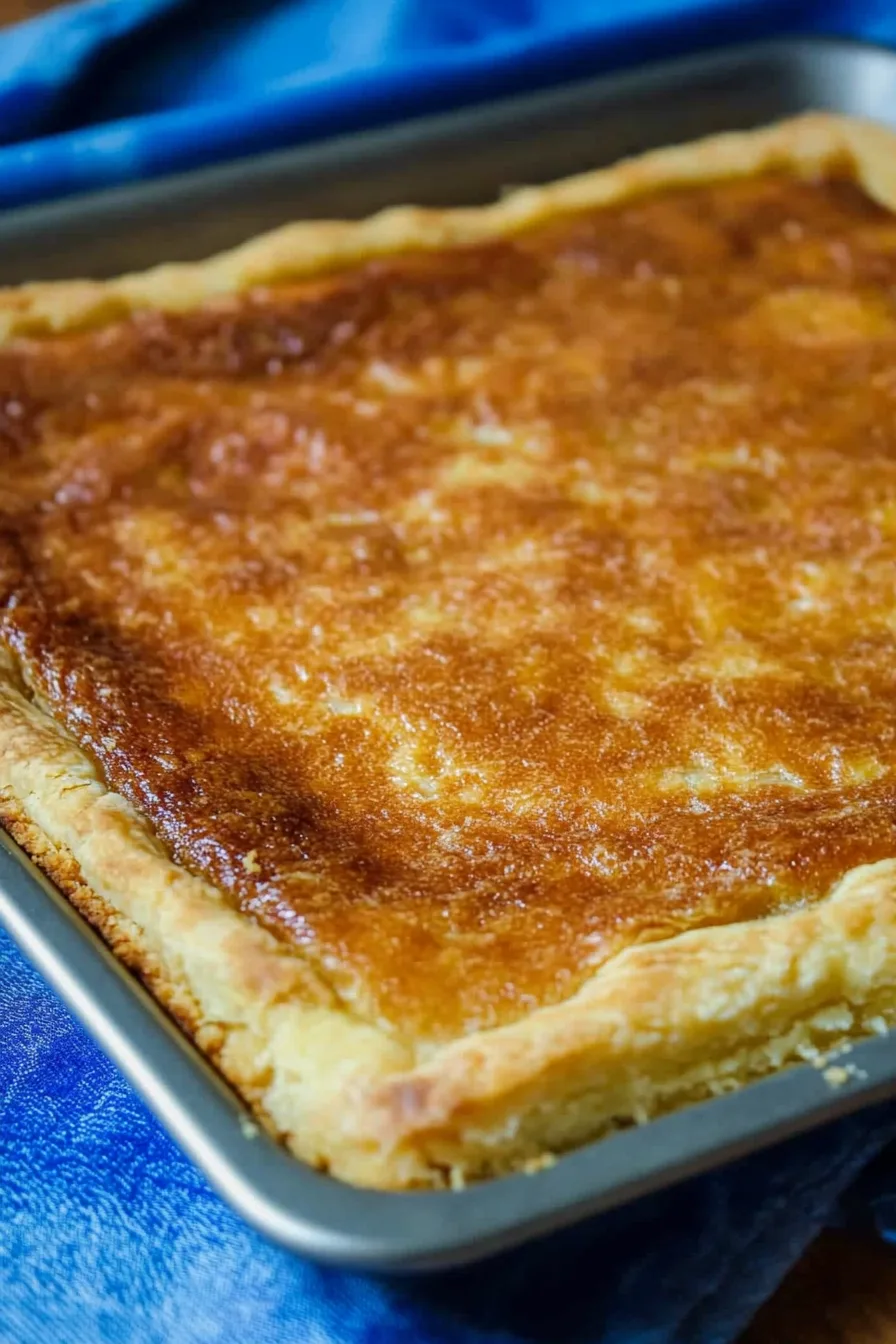
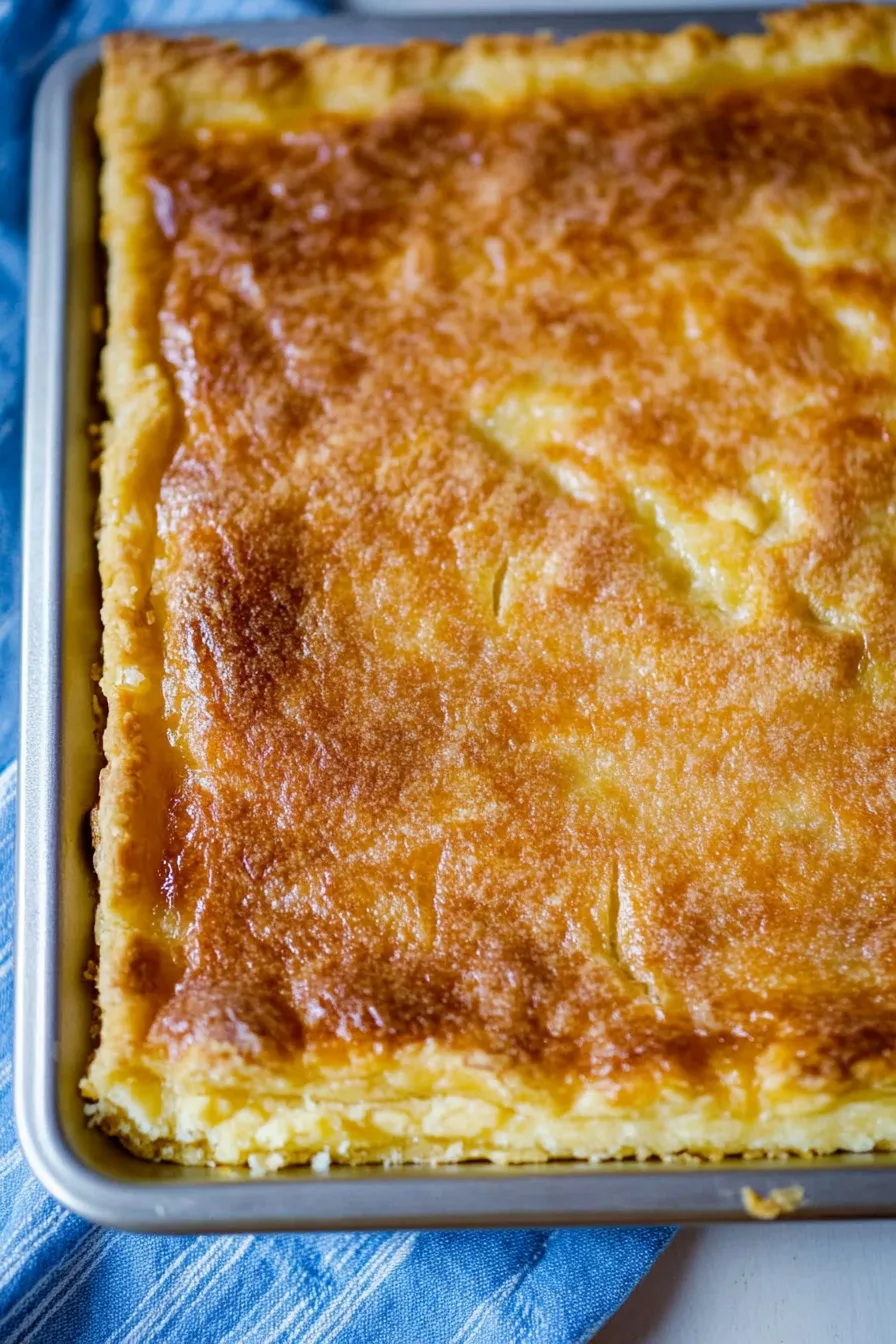
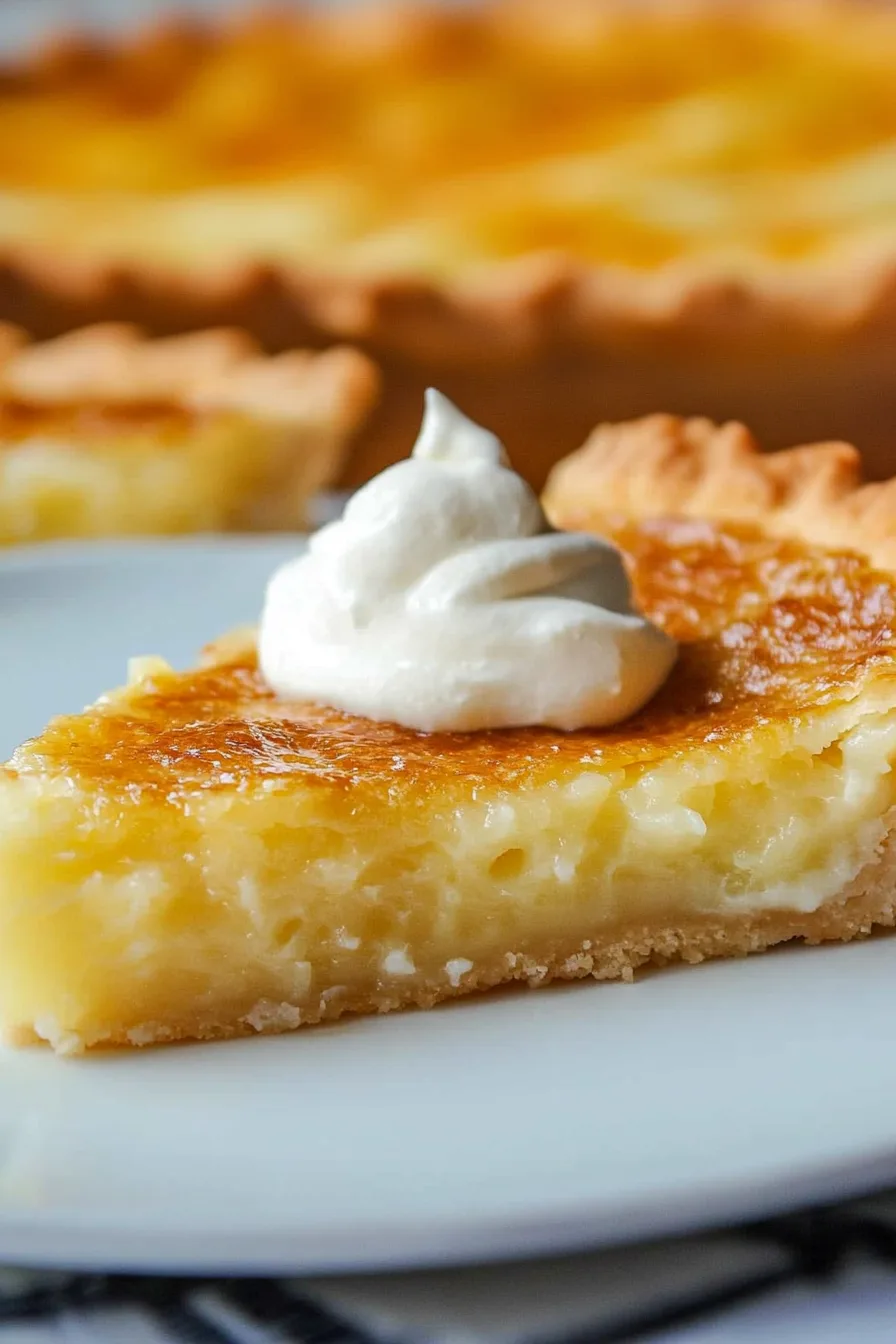
Here’s my honest opinion—it’s not the prettiest pie. The edges don’t always crimp perfectly, sometimes the nutmeg looks like I sneezed it across the top, and yet… when you slice into it? Custardy, silky, sweet with a little tang from the buttermilk. It’s comfort food at its best, with just enough personality to make people ask for the recipe.
And the size. Oh my word, the size. If you’ve ever tried to make dessert for 20+ people, you know the panic. This solves that. One big rectangle of creamy goodness, cut into neat squares like you’re serving pie-brownies. It’s genius, though I can’t take credit for inventing it.
Ingredient Notes:
Let’s get into the guts of it, because simple ingredients deserve their moment too.
-
Pie crusts: I’ll be honest, sometimes I grab the pre-made ones because life’s too short. If you want to flex your homemade crust skills, go for it. Either way, it’s pie. People will eat it.
-
Flour: The unsung hero. Helps the filling not turn into buttermilk soup.
-
Sugar: Four cups. Yeah, I know. But the tang of the buttermilk cuts it down so it’s not sickly sweet.
-
Buttermilk: This is the soul of the pie. Tangy, creamy, and way more interesting than plain milk.
-
Butter: Softened, because we’re not fighting rocks here.
-
Eggs: Six of them. Makes the filling custardy and sliceable.
-
Vanilla: A little warmth, a little sweet. Without it, you’d notice something was missing, even if you couldn’t name it.
-
Salt: Don’t skip it. Salt makes sweet things taste… sweeter.
-
Nutmeg: Sprinkle with abandon. Or not. Up to you. But I like that little hit of spice.
How To Make Buttermilk Slab Pie?
I won’t lie—this looks like a “big project” pie, but it’s honestly just regular pie stretched out. Think yoga pants instead of skinny jeans.
Step 1 – Preheat the oven. 350°F, the universal starting point of half the recipes in the world.
Step 2 – Roll out the crust. Stack your two crusts and roll them into one big rectangle. If it’s not perfect, don’t sweat it. Rustic is in.
Step 3 – Line the pan. Fit the crust into a 10×15-inch jelly roll pan. Tuck it into the corners, crimp (or fork-crush) the edges, and call it done.
Step 4 – Mix the filling. Butter + sugar first, beat until fluffy. Then eggs and flour, then the buttermilk, salt, and vanilla. It’ll look like cake batter, but thinner.
Step 5 – Fill and sprinkle. Pour the filling in, sprinkle nutmeg on top like you’re decorating a latte.
Step 6 – Bake. About 35–40 minutes. The center should jiggle like Jell-O at a church picnic. That’s normal. Don’t keep baking till it’s solid, or you’ll regret it.
Step 7 – Cool and slice. An hour at least. Torture, I know. But once it’s cooled, you can slice neat little squares and pretend you planned this all along.
Want To Save This Recipe?
Storage Options:
Here’s where my laziness shines. You can leave it on the counter overnight (I do, don’t judge), but for safety, stick it in the fridge after a day. It’ll keep for four days chilled. Cold slices are chef’s kiss—like a firmer custard bar. Freezing? Yep, it works. Slice it first, wrap ’em up, and they’ll last a couple months. Perfect for midnight snacking emergencies.
Variations and Substitutions:
Feel like playing around? Go wild.
-
Swap nutmeg for cinnamon if that’s more your vibe.
-
Add lemon zest for brightness.
-
Graham cracker crust if you want a twist.
-
Mini muffin-tin versions for little hand-held pies.
-
Cut the sugar slightly if you’re not a fan of super-sweet.

What to Serve with Buttermilk Slab Pie?
This pie’s great solo, but pairing it makes it shine.
-
A dollop of whipped cream. Always a good idea.
-
Fresh berries for some tart balance.
-
Vanilla ice cream—warm pie + cold ice cream = heaven.
-
Coffee or tea to sip alongside.
-
Or heck, serve it next to another pie. Life’s short.
Frequently Asked Questions:
Can I make this ahead?
Totally. In fact, it might even taste better the next day.
Do I have to use buttermilk?
If you want the real deal, yes. But milk + vinegar does the job in a pinch.
Why’s the middle jiggly when I take it out?
Because it’s supposed to be. Custard pies jiggle when hot and firm up as they cool. Don’t overbake it unless you like dry pie (and who does?).
And that’s the Buttermilk Slab Pie Recipe—part custard, part pie, part “how did I make this much dessert with so little effort?” It’s not fussy, it’s not perfect, but it’s the kind of recipe people remember. Now I’ve gotta ask: would you bring this to your next potluck, or keep the whole pan for yourself?
Keep the Flavor Coming – Try These:
Buttermilk Slab Pie Recipe
Ingredients
- 2 unbaked 9-inch pie crusts
- 6 tablespoons all-purpose flour
- 4 cups granulated sugar
- 2 cups buttermilk
- 1 cup 2 sticks unsalted butter , softened
- 6 large eggs
- 2 teaspoons vanilla extract
- 1/2 teaspoon salt
- Ground or freshly grated nutmeg as needed
Instructions
Preheat the oven.
- Set the oven to 350°F (175°C). Prepare a 10x15-inch rimmed baking sheet (jelly roll pan).
Prepare the crust.
- If using pre-made pie crusts, allow them to soften according to package directions. On a lightly floured surface, stack the crusts and roll into a rectangle approximately 12x17 inches. Transfer to the baking sheet, pressing into corners and along the sides. Trim or fold excess dough to align with the pan’s top edge. Flute or press edges with a fork to secure. Set aside.
Prepare the filling.
- In a large mixing bowl, beat the softened butter and granulated sugar with an electric mixer on medium speed until light and fluffy. Add the flour and eggs, mixing until well combined.
Incorporate liquids.
- Add the buttermilk, vanilla extract, and salt to the mixture, blending until smooth and fully incorporated.
Assemble and bake.
- Pour the prepared filling into the crust. Lightly dust the surface with ground nutmeg. Do not overfill; ensure the mixture reaches no higher than the pan’s edge. Bake for 35–40 minutes, or until the center is set but slightly jiggly. The filling will continue to firm as it cools.
Cool and serve.
- Allow the pie to cool completely in the pan for at least 1 hour before slicing into squares. Serve at room temperature or chilled.
Notes
I’m Bitty, owner of nodashofgluten.com, where I share simple, delicious recipes for all tastes, including gluten-free. Check out my “About Me” page for more info!