
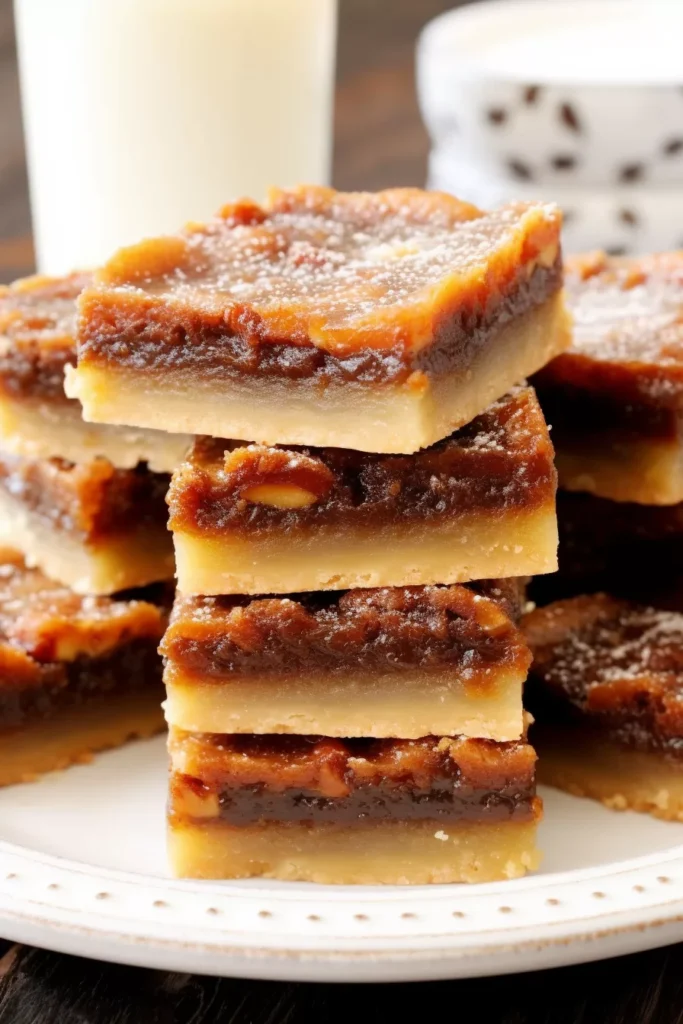
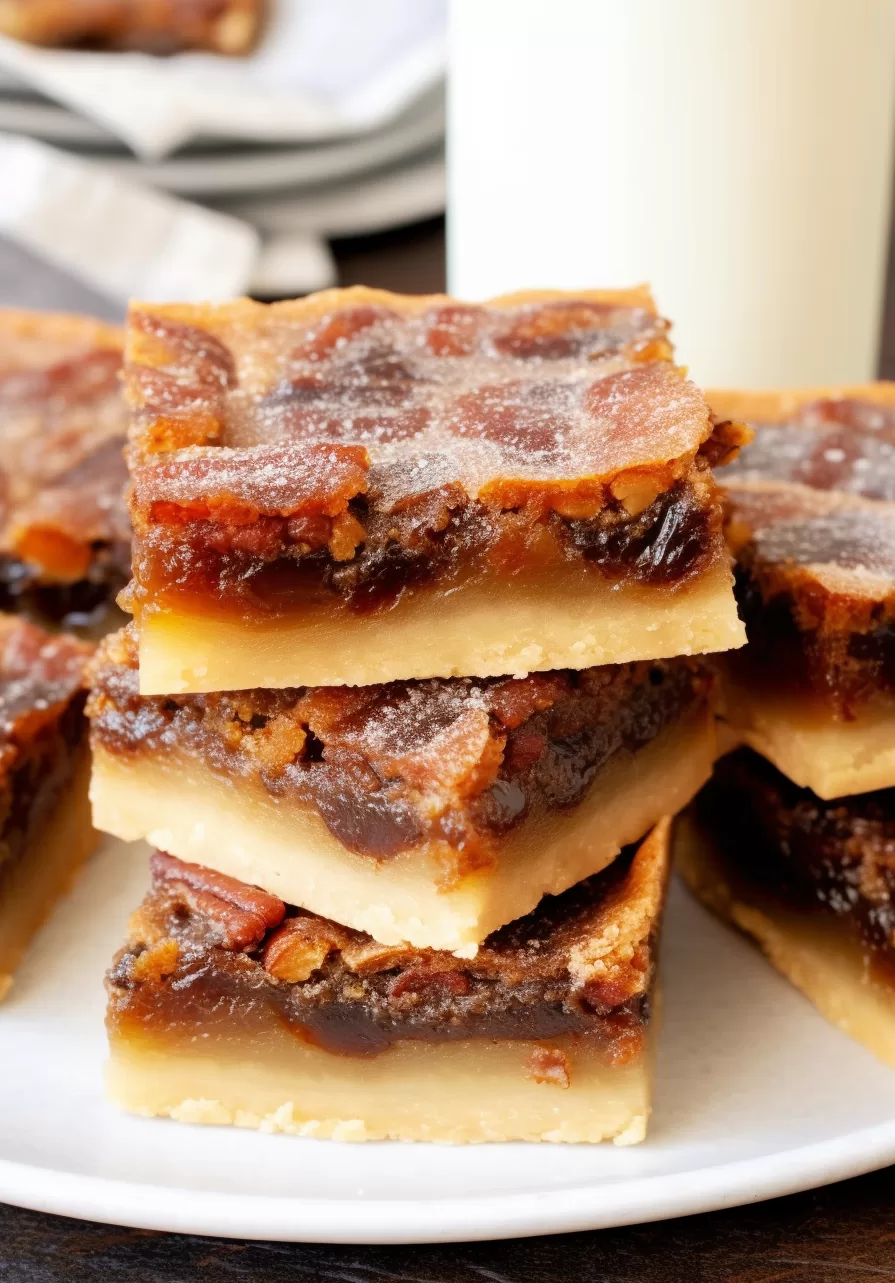
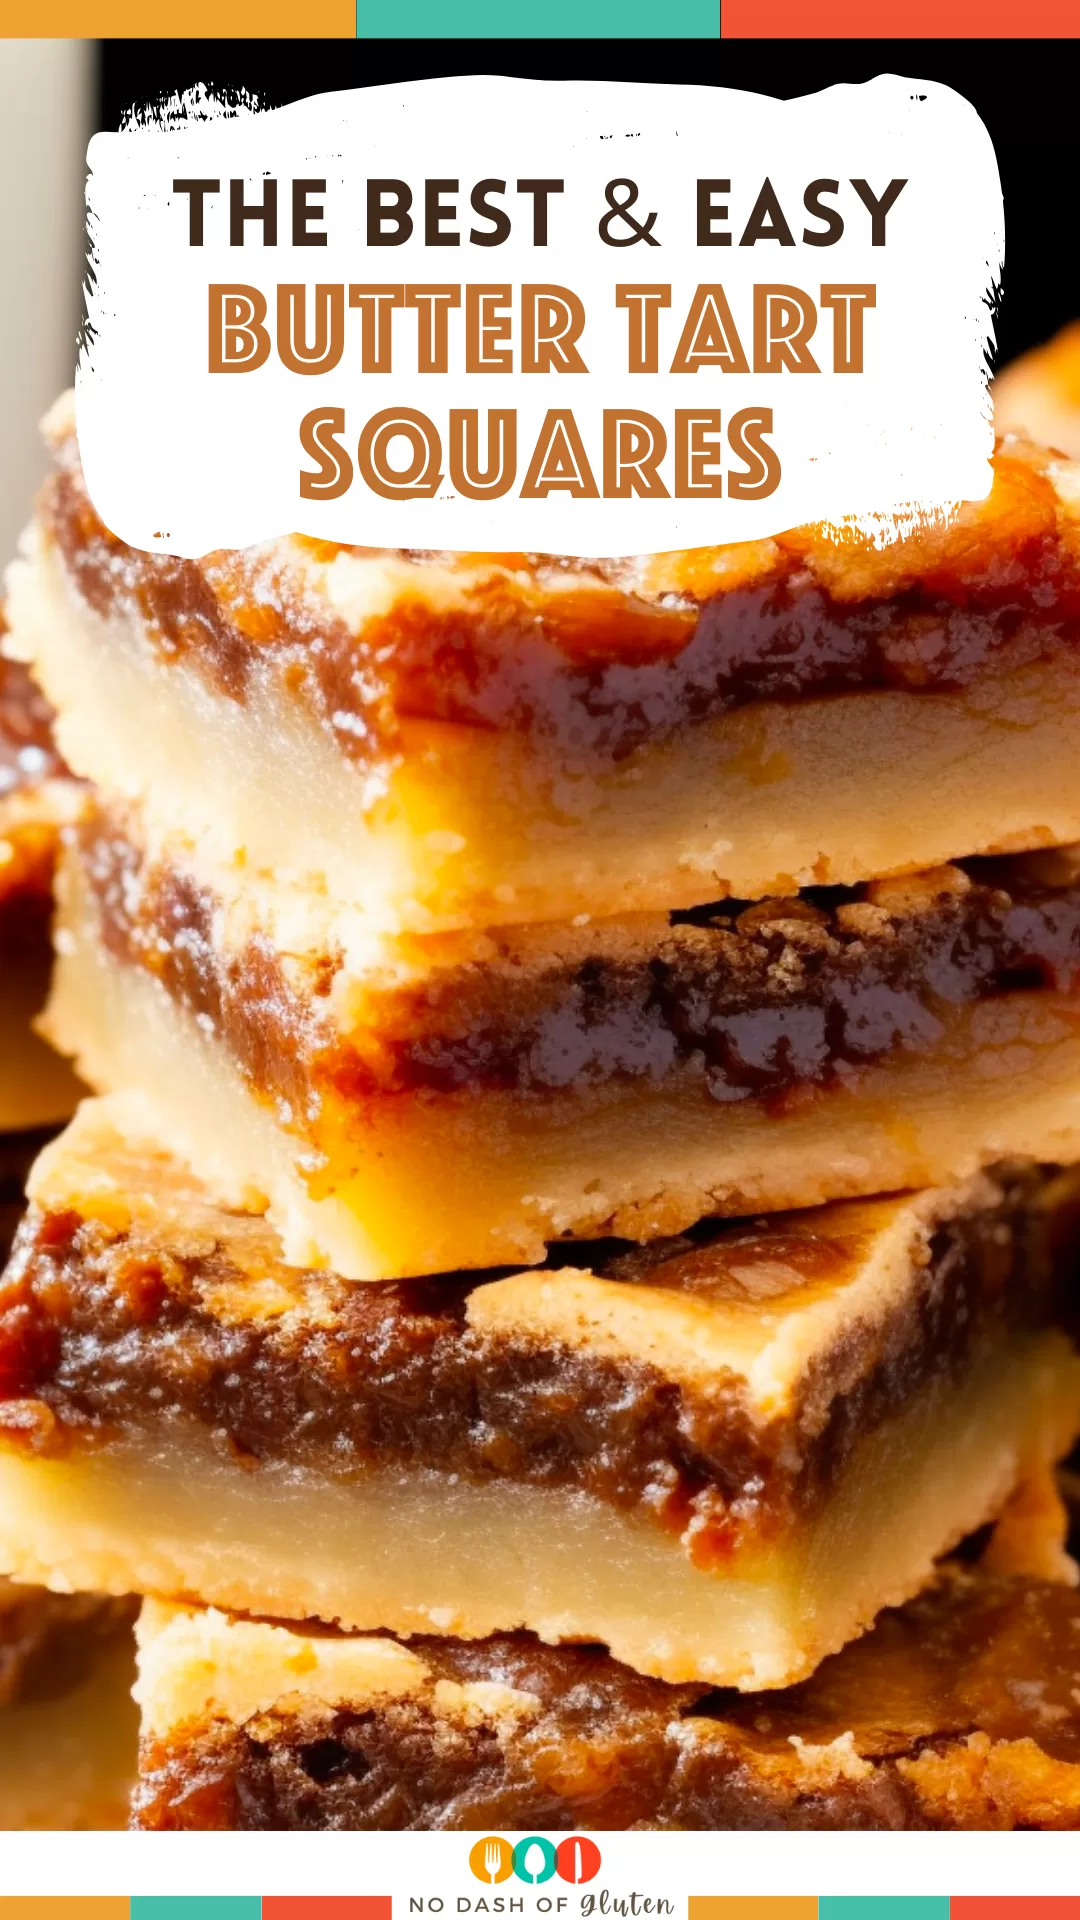
This Butter Tart Squares recipe features butter, brown sugar, corn syrup, eggs, and flour for an easy, gooey treat you’ll want to make again and again!
So, you know how every family has that person? The one who brings the dessert? That wasn’t supposed to be me. I was supposed to be the “store-bought buns” person. Or maybe the “Oh, I brought napkins!” person. Less pressure, you know? But then these Butter Tart Squares happened, and well… here we are.


It was one of those random Sunday afternoons a few years back. Rain was coming down in sheets (classic fall-in-Canada weather), and I was stuck inside, craving butter tarts. But ugh, the thought of rolling dough, cutting circles, and crimping edges? Not gonna lie, I wasn’t feeling it. So I did what any lazy baker with a sweet tooth would do: I made a tray version. No fancy crust, no individual tarts, no stress. Just one big pan of buttery, gooey goodness.
I brought them to my cousin’s baby shower a few days later, and they disappeared before I even made it to the coffee pot. My aunt took three “for the road,” and my mom started introducing me as “our family baker.” And now? If I show up without these squares, people notice. My brother literally checks the dessert table first.
Why You’ll Love This Butter Tart Squares Recipe?
Here’s the thing. This Butter Tart Squares recipe isn’t trying to be fancy. It’s not out here winning awards for plating or showing up on trendy café menus. But honestly? That’s what makes it perfect.
These squares are:
-
Easy. No rolling pins, no pastry drama. Just stir, press, and bake.
-
Reliable. You know those recipes that work every time? This is one.
-
Crowd-pleasing. I’ve yet to meet someone who doesn’t go back for seconds.
-
Customizable. Raisins? Walnuts? Currants? None of the above? You get to decide.
-
The perfect combo of gooey and buttery. If you’re into desserts that leave your fingers sticky (and your soul happy), this one’s for you.
And honestly? They remind me of fall in Ontario. Crisp air, wooly sweaters, and butter tarts at every farmers’ market. Just, you know, without the freezing walk from the car.

Ingredient Notes:
For the Base Layer:
-
2¼ cups all-purpose flour: The sturdy foundation. No one wants a soggy bottom, right?
-
½ cup powdered sugar: It’s like the secret handshake of the shortbread world. Makes everything melt-in-your-mouth.
-
1 cup unsalted butter, softened: This is not the time for margarine. Go big or go home.
For the Filling:
-
4 large eggs: These hold everything together. Think of them as the glue but tastier.
-
2 tsp vanilla extract: You can skip it… but you’ll regret it. Adds warmth.
-
¾ cup dark corn syrup: Makes it sticky-sweet and gooey, the way a butter tart should be.
-
2 tbsp white vinegar: I know. Vinegar? But it cuts the sweetness so you don’t feel like you’re chewing straight-up sugar.
-
½ cup unsalted butter, softened: Yes, more butter. You’re welcome.
-
1 cup brown sugar (light or dark): I like dark for that molasses kick, but light’s fine if that’s what’s in your pantry.
-
2 tbsp all-purpose flour: To thicken the filling so it doesn’t run all over your plate (unless you want it to—no judgment).
-
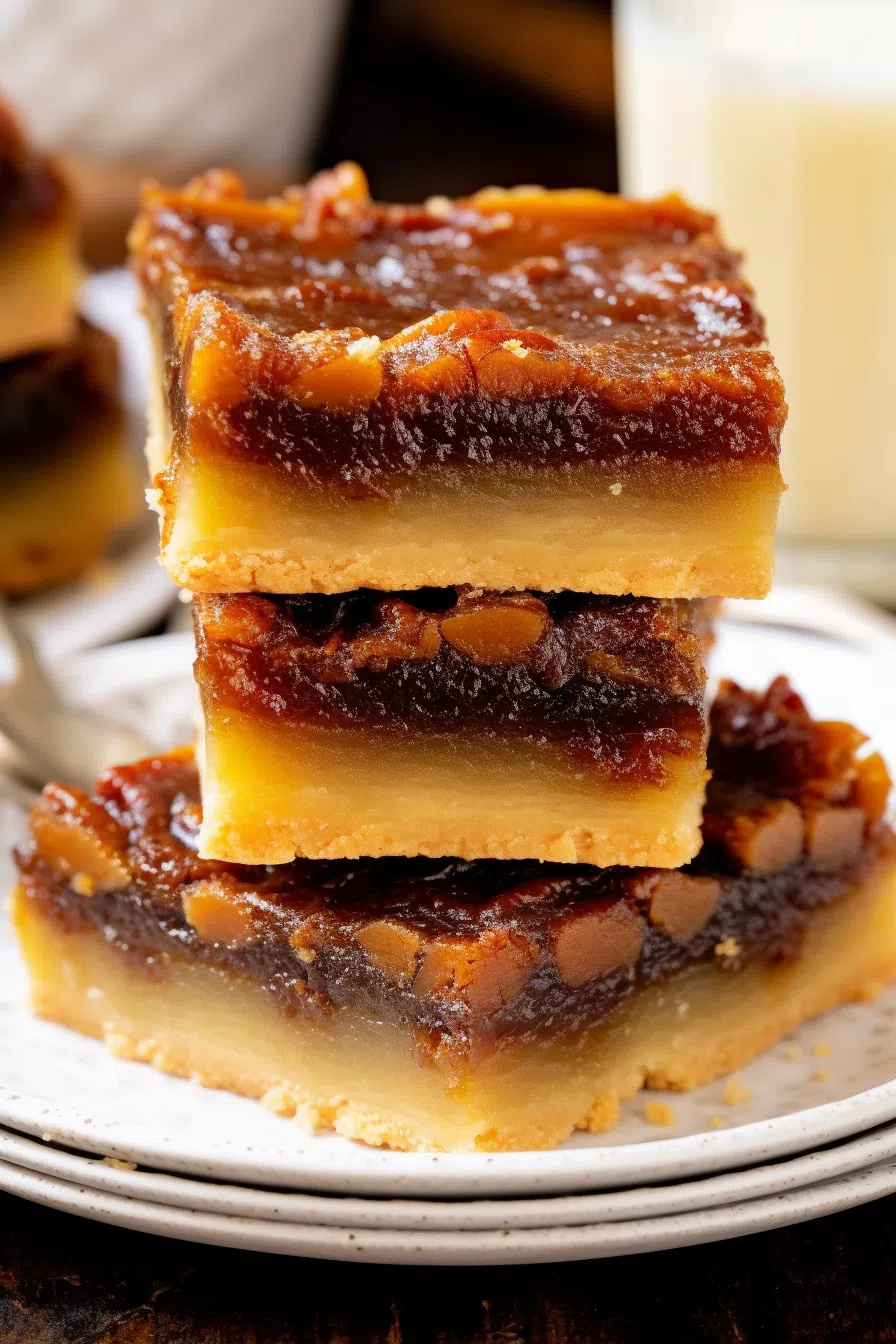
1 cup raisins, currants, or chopped walnuts: Totally optional, but I’m on team walnuts. Less polarizing than raisins. Just saying.
How To Make Butter Tart Squares?
Step 1: Preheat That Oven
Set your oven to 350°F (175°C). Line your pan with parchment paper, leaving an overhang so you can lift the whole thing out later. Otherwise, you’ll be prying them out with a spatula and muttering under your breath (ask me how I know).
Step 2: Make the Base
Beat 1 cup softened butter with ½ cup powdered sugar until fluffy. Not kinda-fluffy. Really fluffy. Then stir in 2¼ cups flour until it comes together like crumbly sand that you can press into shape. Press this mixture into your lined pan and bake for 15-20 minutes, until the edges are just golden. It’ll smell amazing. Try not to nibble the edges. (I fail at this a lot.)
Step 3: Mix Up the Filling
Want To Save This Recipe?
While the base bakes, grab a bowl and cream ½ cup butter, 1 cup brown sugar, and 2 tbsp flour. Add in 4 eggs, one at a time, then stir in 2 tsp vanilla, ¾ cup corn syrup, and 2 tbsp vinegar. At this point, you can fold in raisins, walnuts, currants—or nothing at all. Totally your call.
Step 4: Pour and Bake
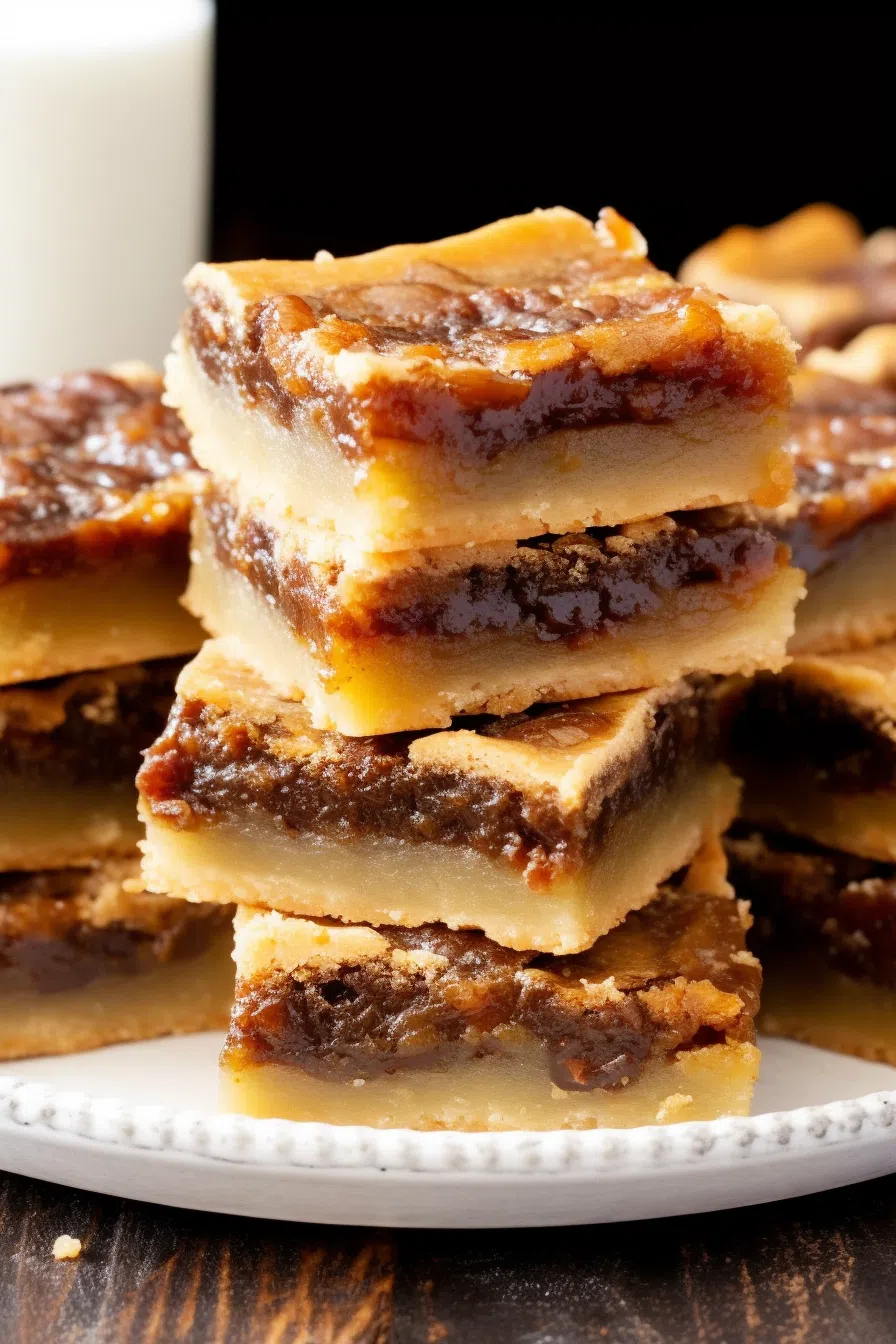
Pour the filling over the baked crust. Spread it out gently—don’t be rough, this isn’t grout. Bake for 30-35 minutes, until the edges are set but the middle is a little jiggly. If it looks too wobbly, give it a few more minutes, but don’t let it turn into caramel brick.
Step 5: Cool and Slice
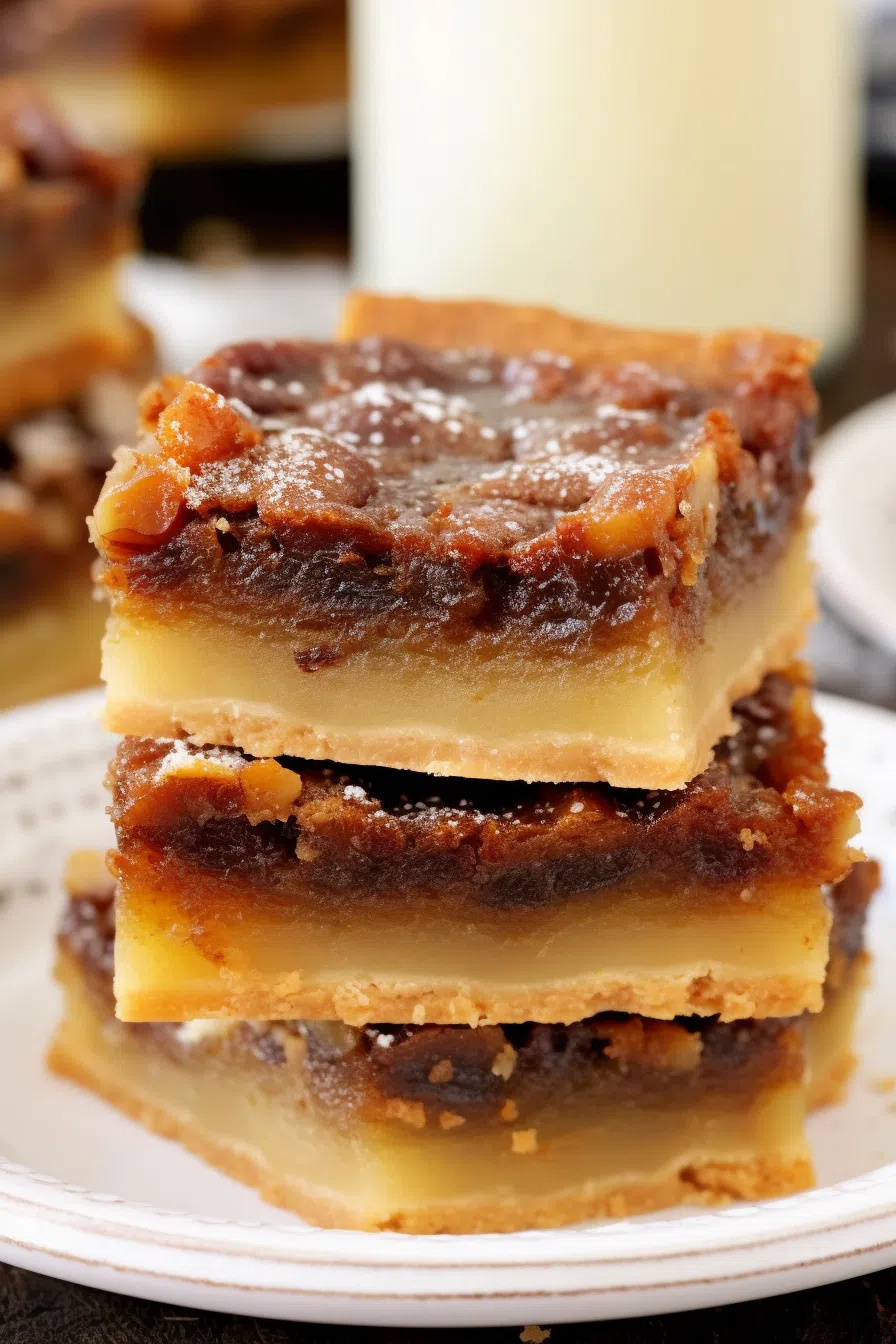
Here’s where patience comes in handy. Let it cool completely in the pan. Completely. Use the parchment to lift it out, then slice it up however you like. Big squares, small bars… or “I’m just gonna nibble this whole row.”

Storage Options:
Room temp in an airtight container? 3-4 days. Fridge? About a week, but let them sit out a bit before eating unless you like your filling chilled and firm. They freeze like champs—up to 2 months, wrapped and layered between parchment.
Pro tip: Frozen butter tart squares are dangerously good. They taste like caramel fudge. You’ve been warned.
Variations and Substitutions:
-
No dark corn syrup? Maple syrup makes them super Canadian (and super tasty).
-
Not into raisins? Skip ‘em. Or swap in chocolate chips for fun.
-
Nut allergy? Leave out the walnuts. Or try toasted sunflower seeds for crunch.
-
Gluten-free? Use a 1:1 gluten-free flour blend. They hold up well!
-
Feeling fancy? Add a pinch of sea salt flakes on top after baking. Trust me.
What to Serve with Butter Tart Squares?
-
Coffee: Black, sweet, or latte. You can’t go wrong.
-
Tea: Something sturdy like Earl Grey, or spicy chai.
-
Vanilla ice cream: Warm squares + melty ice cream = heaven.
-
Whipped cream: Homemade if you can swing it. The canned stuff in a pinch.
Frequently Asked Questions:
Why vinegar?
I get it. Vinegar sounds weird. But it balances the sweet so you’re not biting into a sugar bomb. You won’t taste it. Promise.
Can I skip the add-ins?
You do you. Plain filling is delicious, but if you love raisins or nuts, throw them in!
How do I know they’re done baking?
Edges should be set, but the middle should still have a slight wobble. It’ll firm up as it cools. Don’t overbake or it’ll be dry (still tasty, but not the gooey dream we’re going for).
That’s it! My go-to Butter Tart Squares recipe. Easy, gooey, sweet in all the right ways. Whether you’re making these for a bake sale, a holiday table, or just because it’s Tuesday and you need a pick-me-up, they’ll hit the spot.
If you give them a try, tell me how it goes! Did you team raisin? Did you sneak a square before they cooled? Did you—like me—“accidentally” eat half the batch before guests showed up?
Can’t wait to hear about your butter tart adventures!
Keep the Flavor Coming – Try These:
Butter Tart Squares
Ingredients
Base Layer:
- 2 ¼ c all-purpose flour
- ½ c powdered sugar
- 1 c unsalted butter softened
Butter Tart Filling:
- 4 large eggs
- 2 tsp vanilla extract
- ¾ c dark corn syrup
- 2 tbsp white vinegar
- ½ c unsalted butter softened
- 1 c brown sugar light or dark
- 2 tbsp all-purpose flour
- 1 c raisins currants, or chopped walnuts
Instructions
- First preheat your oven to 350°F (175°C) and line a baking pan with parchment paper.
- In a bowl beat together softened butter (1 cup) and powdered sugar (½ cup) until it becomes light and fluffy.
- Gradually add all-purpose flour (2 ¼ cups) to the mixture. Mix well until everything is combined.
- Press the resulting mixture into the bottom of the pan.
- Place the pan in the oven. Bake for around 15 to 20 minutes or until it turns a golden color. Once baked remove from the oven. Keep the oven on.
- While the base is baking, prepare the filling by beating softened butter, (½ cup) brown sugar (1 cup) and flour (2 tablespoons).
- Add eggs (4 in total) one at a time along with vanilla extract (2 teaspoons). Mix after each addition.
- Next stir in corn syrup (¾ cup), vinegar (2 tablespoons) and if desired you can add raisins, currants or chopped walnuts up to 1 cup.
- Pour this filling over the baked base layer in your pan.
- Put it back into the oven for another 30 to 35 minutes or until the filling sets.
- Allow it to cool completely within the pan before using parchment paper overhangs to lift it out.
- Once cooled down entirely slice, into bars. They are ready to be served.
Notes
I’m Bitty, owner of nodashofgluten.com, where I share simple, delicious recipes for all tastes, including gluten-free. Check out my “About Me” page for more info!

2 Responses
What size pan? The recipe doesn’t say
For this recipe, a 9×13-inch baking pan is recommended.