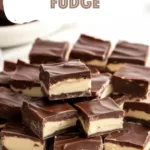
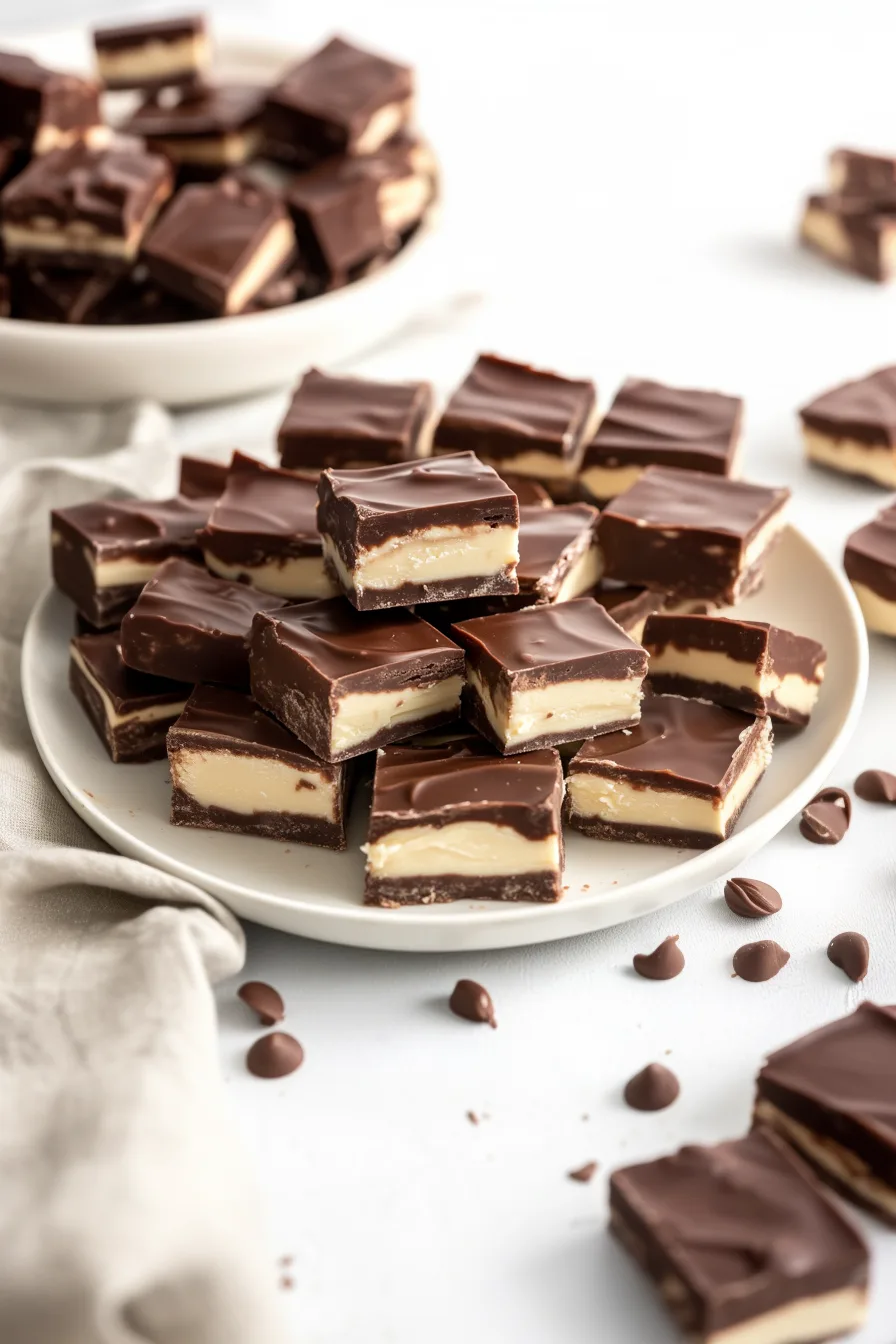
Boston Cream Fudge made with sugar, butter, heavy cream, white chocolate, marshmallow creme, pudding mix, and chocolate topping.
You know how certain desserts just… stick to a memory? Boston cream desserts always remind me of a trip I took to Boston with my aunt—one of those spur-of-the-moment trips where you pack too fast and forget half your socks but somehow everything else goes right. We wandered into a bakery that had this giant Boston cream pie in the window, glossy chocolate dripping down the sides like it was doing it on purpose. I remember thinking, “Is it weird for a cake to flirt with me?” Probably. But something about that classic Boston cream flavor stayed with me.


Years later, when I started tinkering with this Boston Cream Fudge recipe, I kept thinking back to that bakery window. I loved the idea of turning something iconic and… honestly, kinda intimidating, into a dessert you could literally stack in a tin and take to a holiday party. Or a random Tuesday night. No judgment. And when I tasted that first batch—still warm, a little messy—it weirdly made me emotional? Like it had captured this whole mishmash of nostalgia and butter. My husband thought I was being dramatic until he tasted it himself and then suddenly he was like, “Okay yeah, I get it.”
Ever had a recipe do that to you? Like it hits a part of your brain you didn’t even know was open for business?
Why You’ll Love This Boston Cream Fudge Recipe?
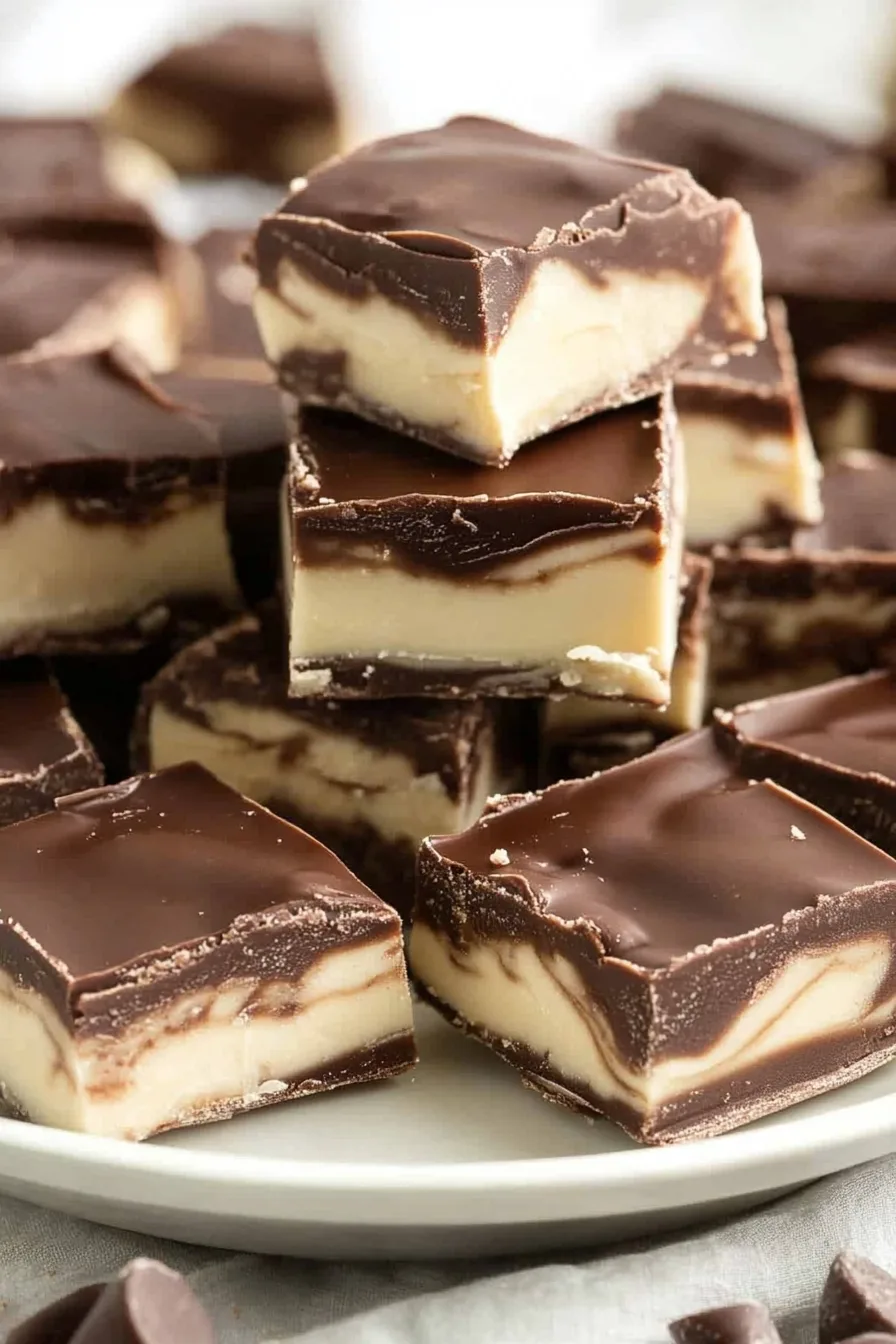
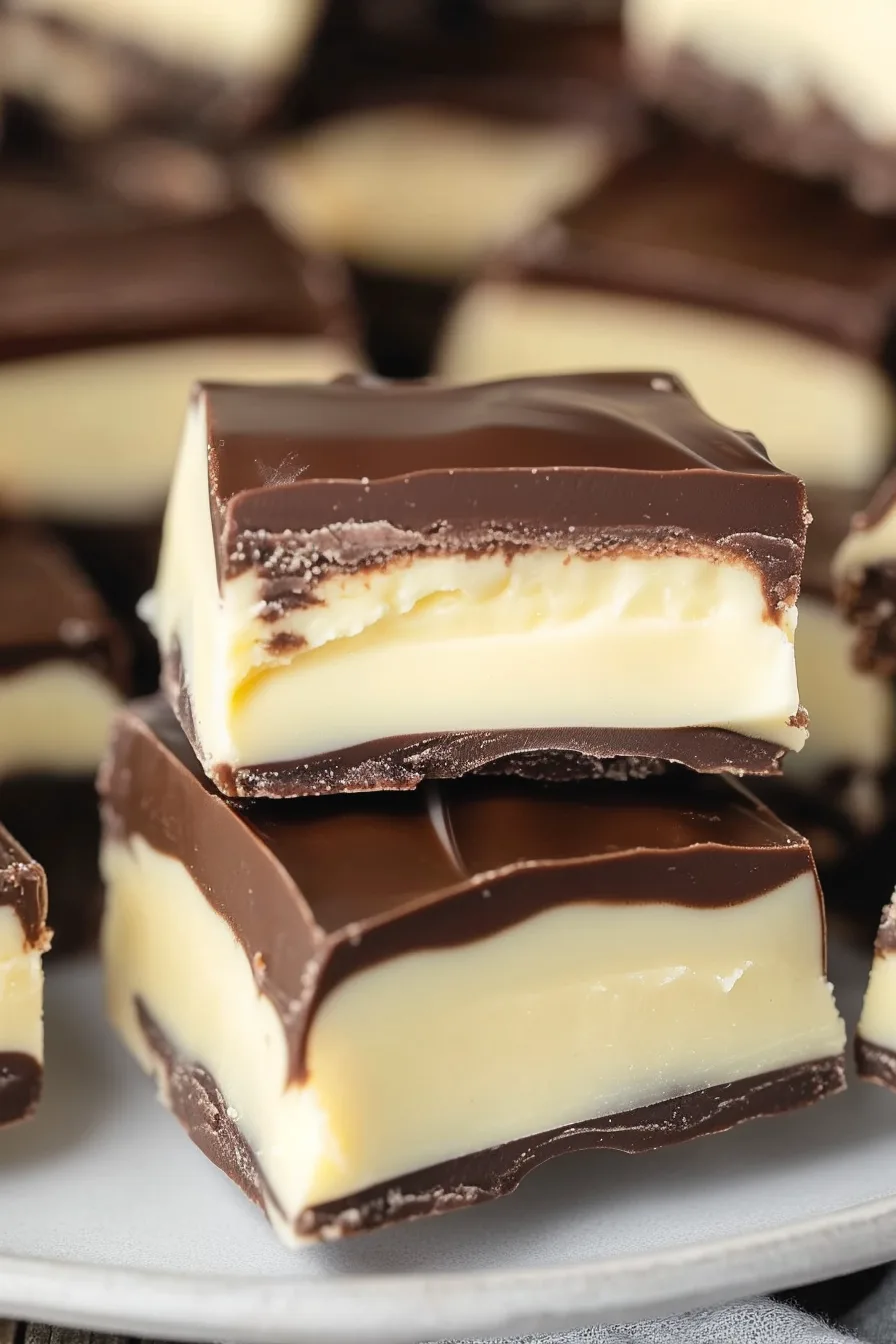
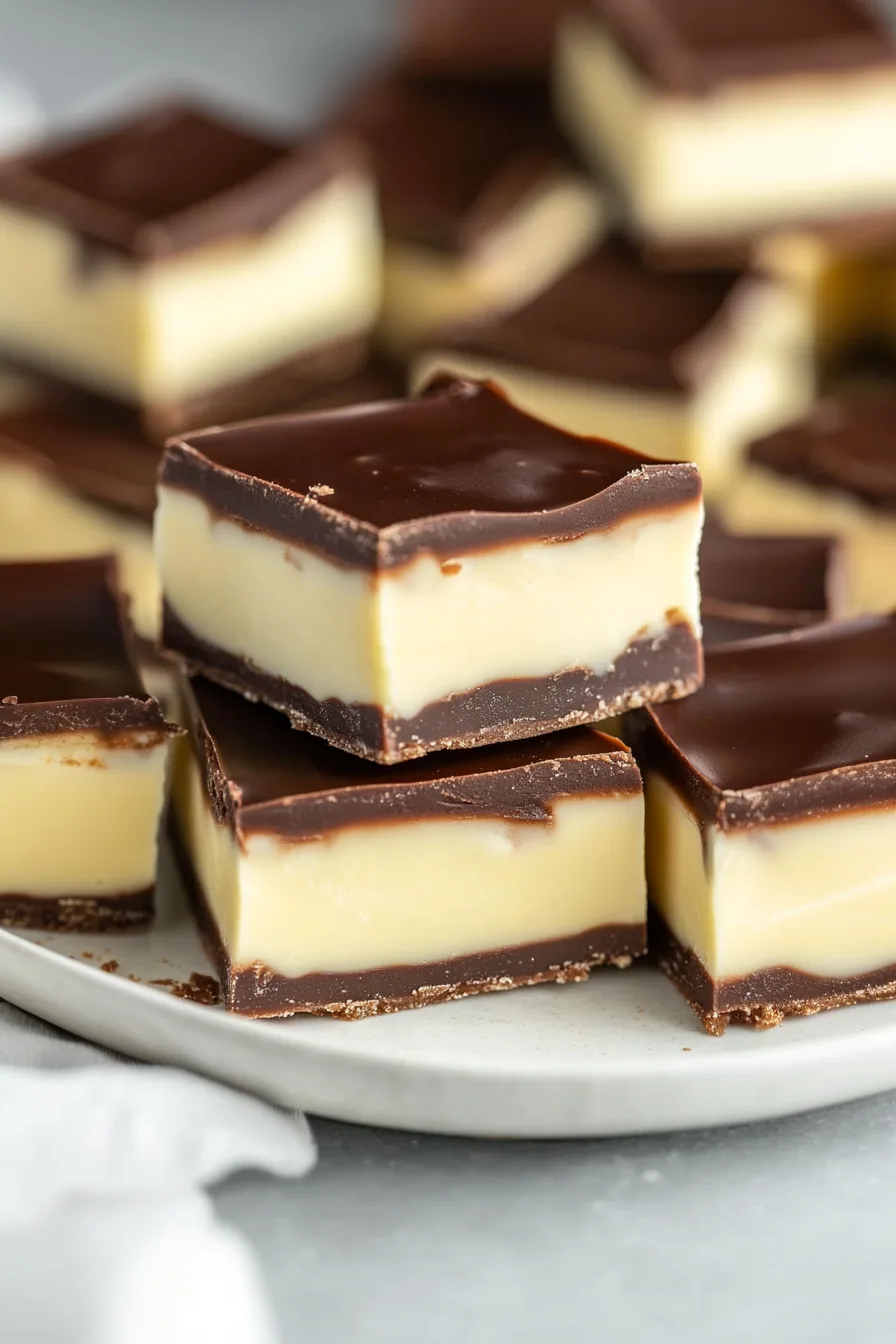
I won’t pretend this Boston Cream Fudge is the fanciest dessert in existence—because it isn’t. It’s simple, in that comforting, slightly chaotic way the best homemade treats usually are. But the thing that really makes this fudge shine is how it captures that Boston cream pie vibe without the fuss. You get the creamy-custardy flavor from the pudding mix, the richness from the marshmallow creme (which honestly feels like cheating but in the best possible way), and then the chocolate swirl that kinda surprises you when you bite into it.
And then—my favorite part—the glossy chocolate dip on top. It feels like something a chocolatier would do, even though it’s literally just you, in your kitchen, heating chocolate in the microwave while debating whether to fold the laundry or just lie down for a bit. The whole Boston Cream Fudge experience feels like a shortcut to nostalgia, if that makes sense. Maybe it does. Maybe I’m overthinking fudge again.
Ingredient Notes:
Before you dive into the mixing and swirling, let’s just be honest about something: this fudge is easy… but it’s also a little particular. Kind of like that one relative at family gatherings who insists everyone take leftovers but refuses to keep any themselves.
Here’s the rundown:
-
Sugar: It’s fudge. Sugar is the entire personality. Reducing it kinda collapses the whole vibe.
-
Unsalted Butter: Makes everything warm, melty, soft—like emotional support butter.
-
Heavy Cream: The VIP of smooth texture. Milk tries, but let’s just say it often fails the audition.
-
White Chocolate Chips: These melt down into that creamy base that Boston Cream Fudge needs.
-
Marshmallow Creme: Honestly feels like a cheat code. It makes everything silky and prevents crystals from forming.
-
Vanilla Instant Pudding Mix: The secret ingredient. The thing that gives the fudge its Boston cream identity. Without it you just have… sweet squares.
-
Vanilla Extract: Softens the edges.
-
Cocoa Powder: For the chocolate layer—kinda like the “plot twist” of the recipe.
-
Semisweet Chocolate Chips + Oil: This topping is like the Boston Cream Fudge version of a mic drop. Shiny. Dramatic. Final.
Sometimes I think ingredients have personalities. Maybe I need more sleep.
How To Make Boston Cream Fudge?
Imagine we’re standing in your kitchen together. You’re stirring the pot, and I’m leaning on the counter trying not to eat the ingredients.
Step 1: Line your pan
Grab parchment paper and lay it in an 8×8 pan with enough overhang to yank the fudge out later. This step always makes me feel like an infomercial chef preparing for a big reveal.
Step 2: Cook the base
Add sugar, butter, and heavy cream to a saucepan. Bring it to a boil—gently. Not aggressively like you’re trying to win an argument. Then lower the heat, stir for about 7 minutes, and watch it bubble into something that smells like the holidays.
It’s kinda meditative, honestly.
Step 3: Add chocolates + marshmallow
Remove from heat and dump in the white chocolate chips. Stir until melted. Add marshmallow creme and mix until you’re staring at something smoother than your life choices.
Step 4: Stir in pudding + vanilla
Now it suddenly looks like warm custard. Pour two-thirds into the pan. Try not to eat it. Or do. I won’t judge.
Step 5: Make the chocolate swirl
Mix cocoa powder into the remaining fudge. Pour it on top and swirl it however your heart feels led. Uneven swirls? Welcome to the club.
Want To Save This Recipe?
Step 6: Let it cool
Walk away. Distract yourself. Maybe scroll your phone. Once it’s set, slice it into squares. Big ones if you’re having “a day.”
Step 7: Make the topping
Melt chocolate chips and oil in short bursts. Don’t overheat or it’ll get grumpy.
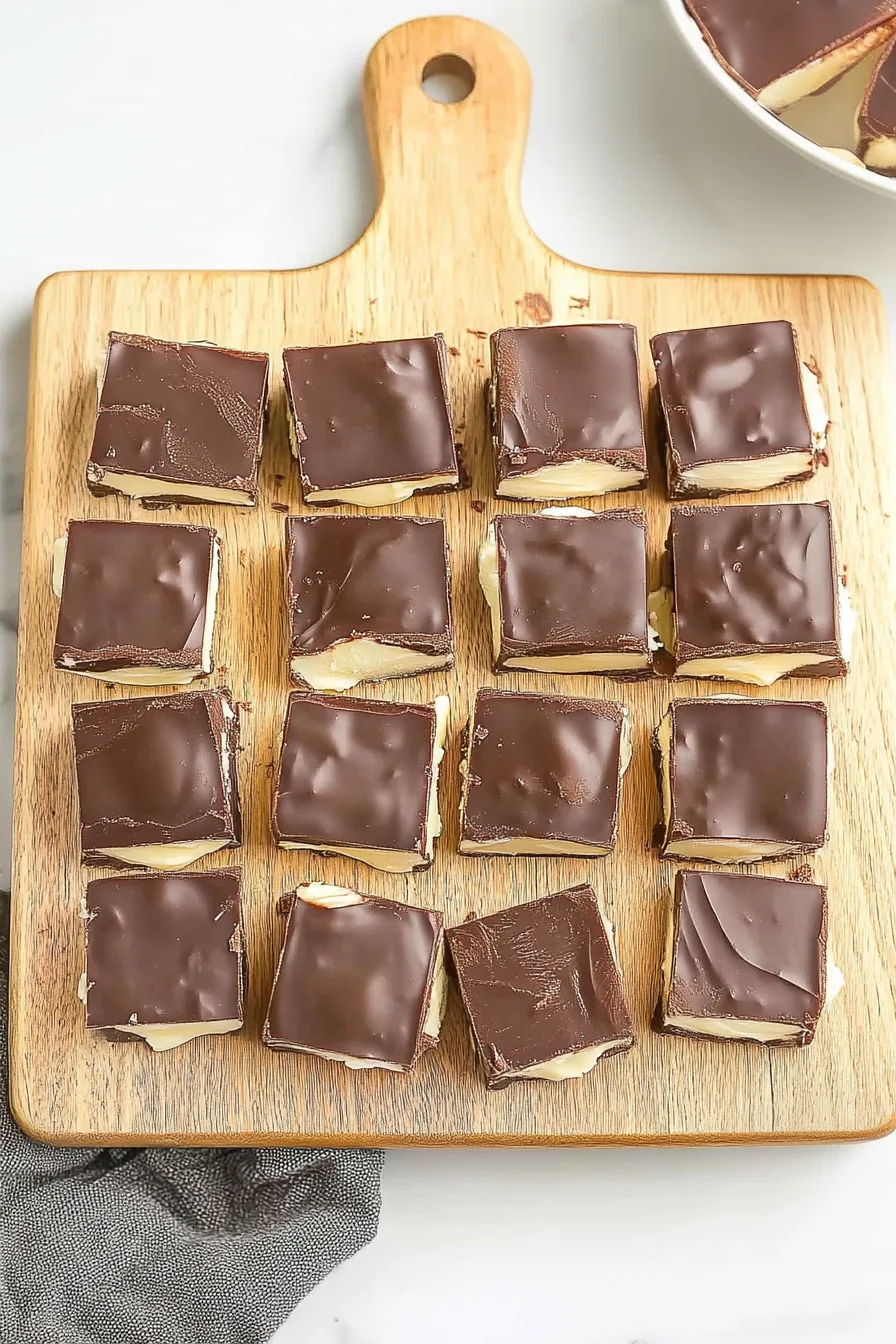
Step 8: Dip each square
Dip the tops gently. This is the part that makes the Boston Cream Fudge feel fancy—like it put on a little black dress for the occasion.
Storage Options:
You can leave this fudge on the counter for about a week, though honestly in my house it barely survives two days because people snack on it like it’s a personality trait. If you like firmer fudge, stick it in the fridge. And yes, you can freeze it for up to three months, though I’ve definitely eaten it straight out of the freezer like some sort of dessert gremlin. No regrets.
Variations and Substitutions:
People love tweaking recipes, and I get it—sometimes you’re feeling creative, sometimes you’re missing half your pantry.
Here’s what actually works:
-
Extra-dark chocolate swirl for when you want that intense cocoa moment.
-
French vanilla pudding if you want the vanilla vibe to hit harder.
-
Gluten-free option: Most versions of this Boston Cream Fudge are naturally GF, just check the pudding mix label.
-
Lemon Boston Cream Fudge: A tiny splash of lemon extract makes it taste like a bakery experiment that accidentally turned out incredible.
-
Neat layers instead of swirls: Maybe you’re tired. Maybe you want clean lines like a fancy dessert bar. Go for it.
What to Serve with Boston Cream Fudge?
Boston Cream Fudge honestly stands alone like the main character it is, but if you want to dress it up:
-
Coffee: That bitterness balances the sweet beautifully.
-
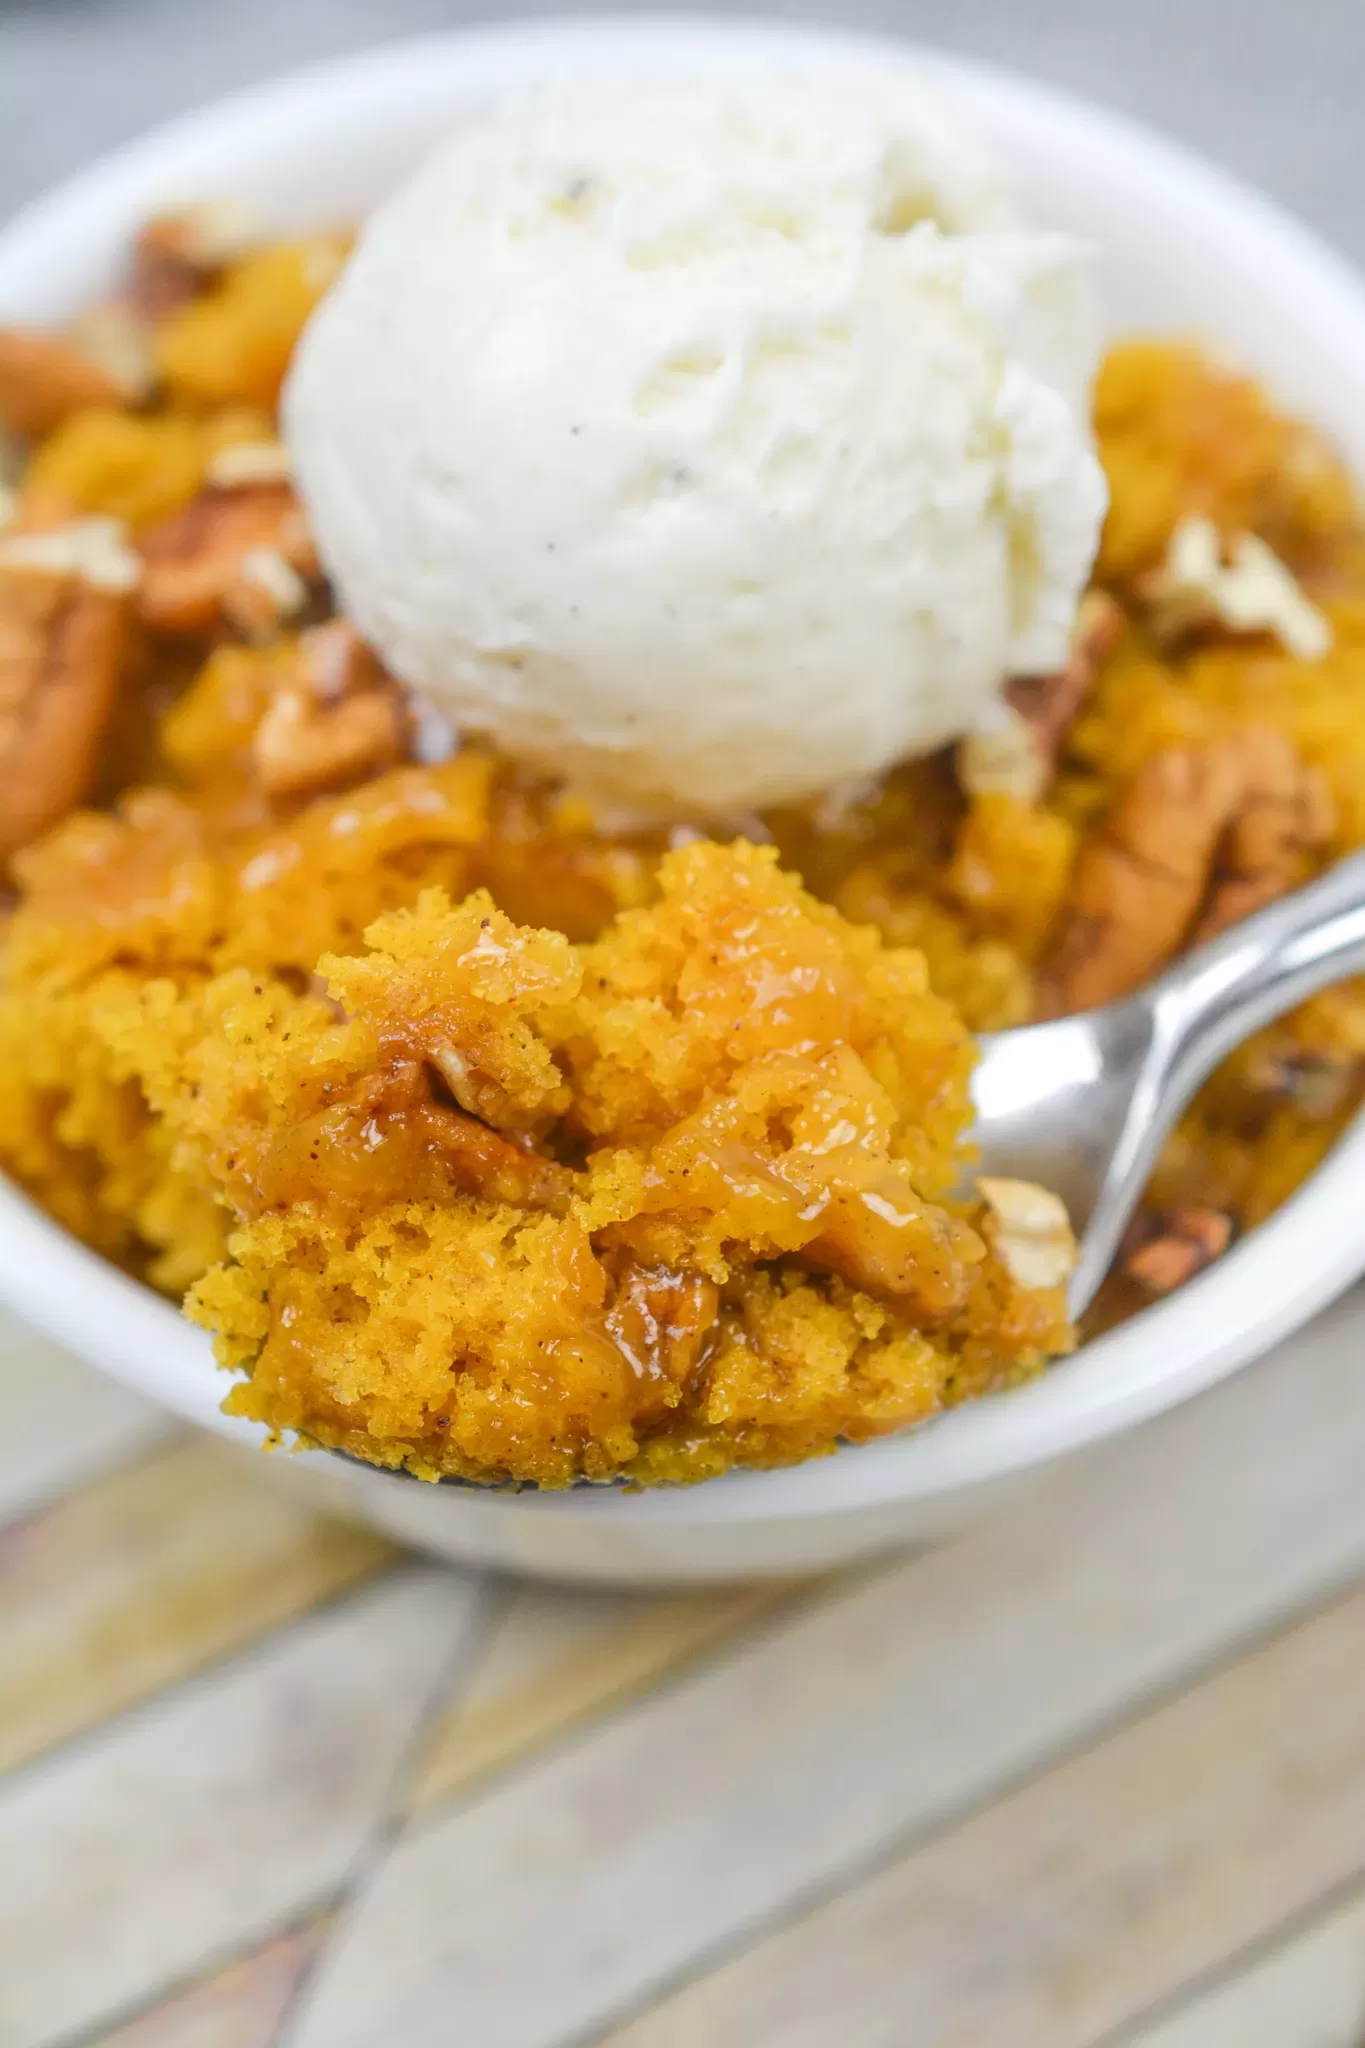
Vanilla ice cream: Put a square on top and tell me it isn’t outrageous.
-
Fresh berries: Especially raspberries—they brighten everything.
-
Milk: Look, sometimes you just want to feel like a kid again.
Do any of those sound like your style?
Frequently Asked Questions:
Why did my fudge get grainy?
Probably sugar crystals. It happens to all of us. Stir more next time, and don’t rush the boil.
Do I have to dip the tops?
No, but dipping gives it the signature Boston cream vibe. A drizzle works too if you’re low on energy—or patience.
Should I refrigerate it?
You don’t have to. But if your kitchen runs warm, the fridge might be a good idea unless you want melty edges. Some people love melty edges though, so… your call.
If you end up making this Boston Cream Fudge, I genuinely hope it gives you the same little spark of nostalgia or joy or “oh wow, that actually worked” feeling it gave me. And seriously—tell me if your family devours it as fast as mine does. I’m always curious.
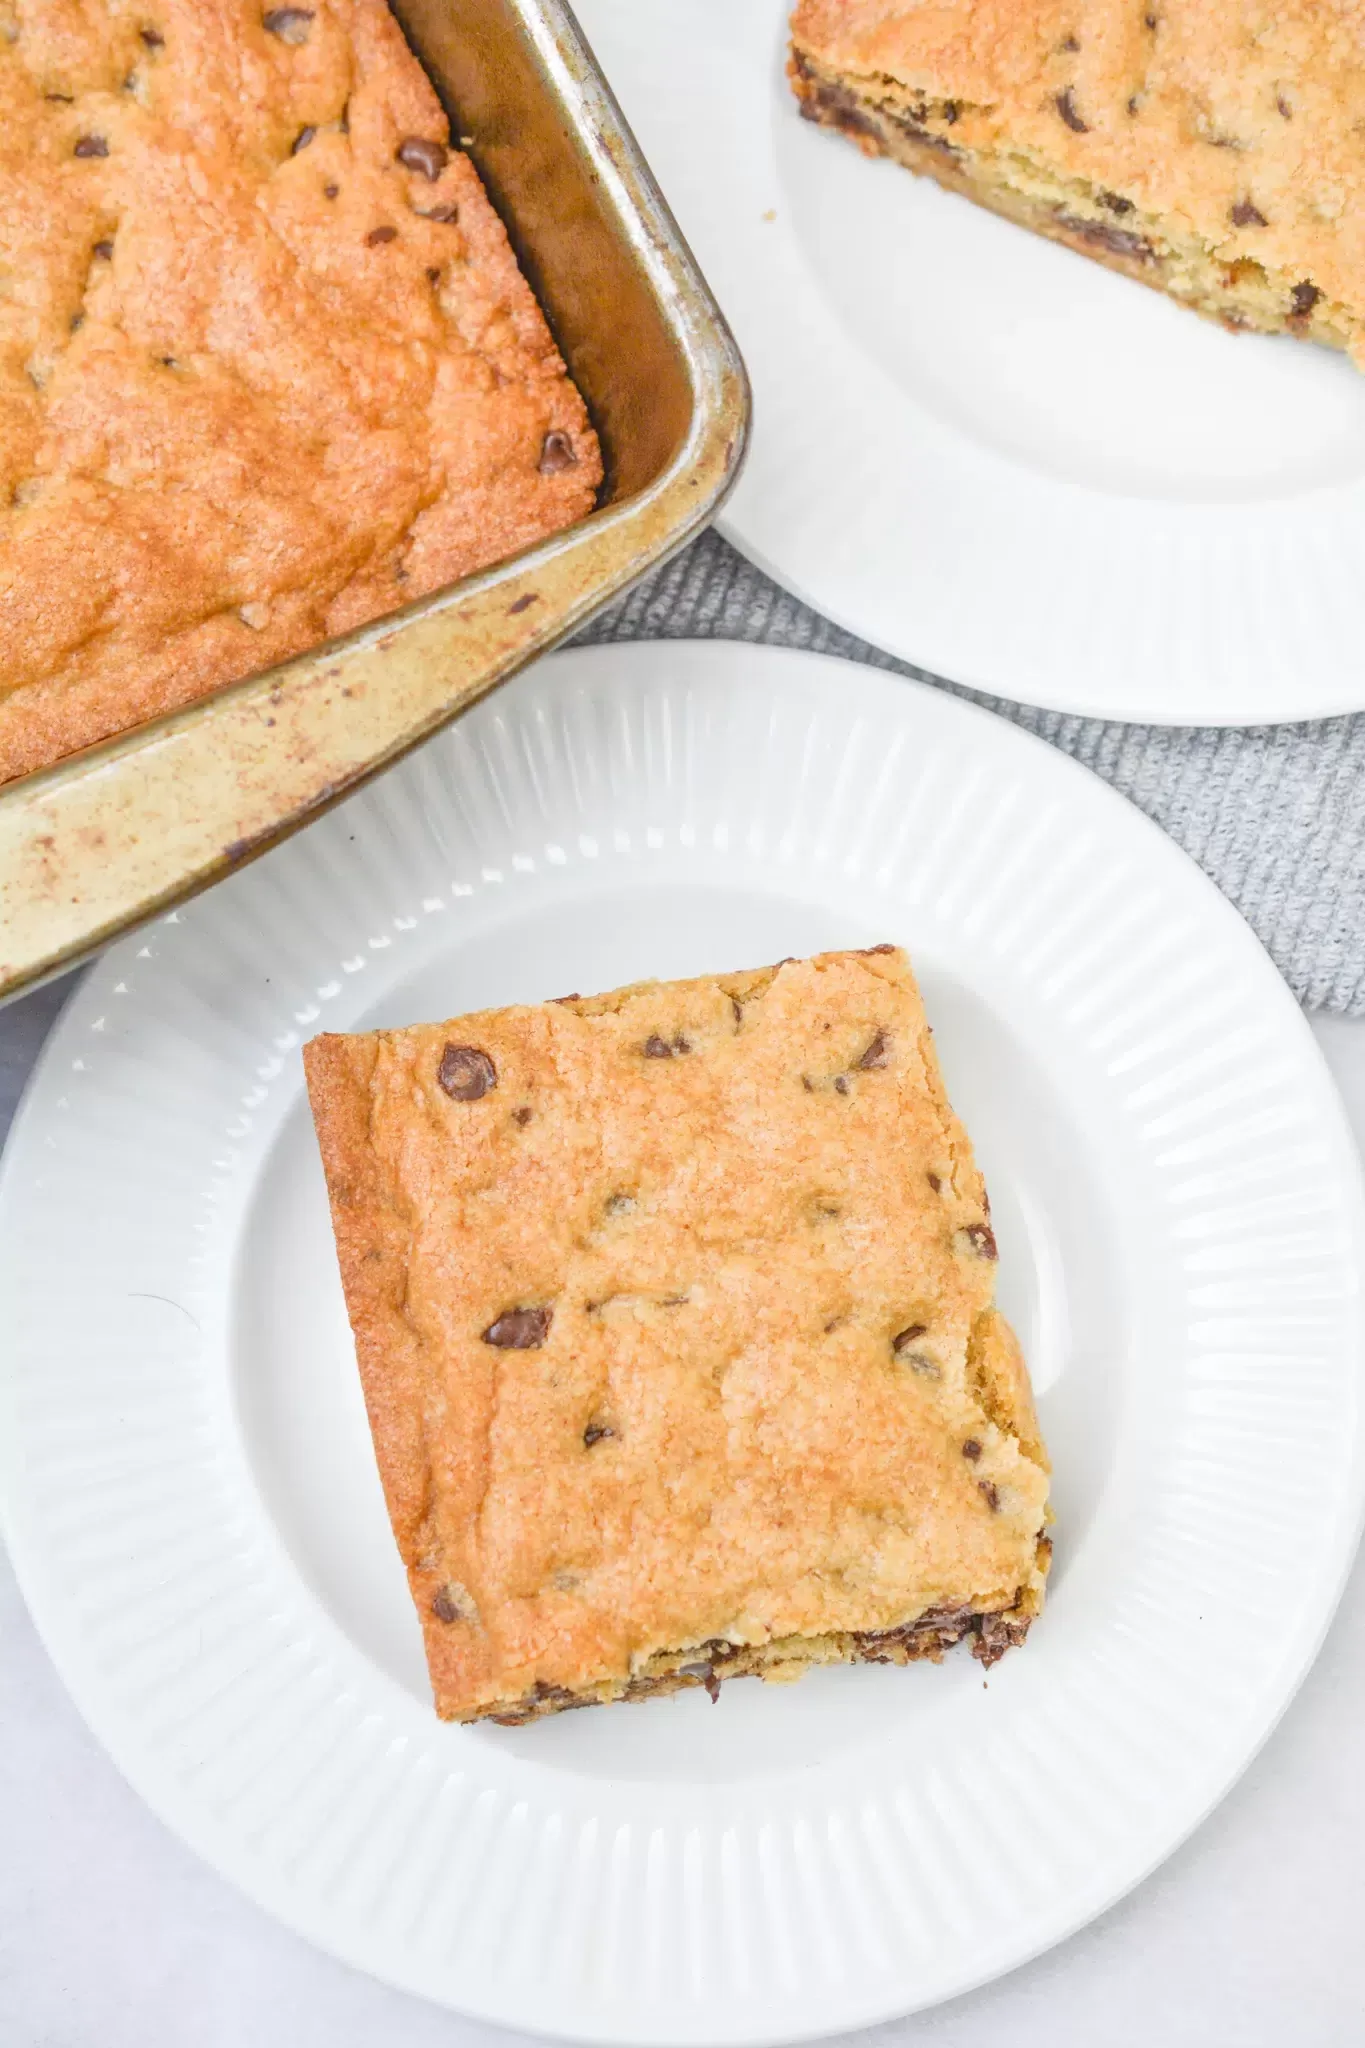
Keep the Flavor Coming – Try These:

Boston Cream Fudge
Ingredients
For the Fudge
- 2 cups granulated sugar
- 4 ounces unsalted butter
- ½ cup heavy cream
- 2 cups white chocolate chips
- 1 7-oz container marshmallow creme
- 3 tablespoons vanilla instant pudding mix
- ½ teaspoon vanilla extract
- 3 tablespoons unsweetened cocoa powder
For the Topping
- 6 ounces semisweet chocolate chips
- 1 tablespoon vegetable oil
Instructions
Prepare the Baking Dish
- Line an 8×8-inch baking dish with parchment paper, ensuring that the paper extends beyond the sides to facilitate easy removal once the fudge has set.
Cook the Sugar Mixture
- In a large saucepan, combine the granulated sugar, unsalted butter, and heavy cream. Bring the mixture to a gentle boil over medium heat.
- Reduce the heat to medium-low and continue cooking for 7 minutes, stirring continuously to prevent scorching. To confirm readiness, drop a small amount of the mixture into a glass of ice water. It should form a soft, fudge-like ball.
Incorporate the White Chocolate and Marshmallow Creme
- Remove the saucepan from the heat. Immediately add the white chocolate chips and stir until fully melted and smooth.
- Add the marshmallow creme and blend thoroughly until the mixture is uniform.
Add the Flavoring Components
- Whisk in the vanilla instant pudding mix and vanilla extract until fully incorporated.
- Pour approximately two-thirds of this mixture into the prepared baking dish, spreading evenly.
Create the Chocolate Layer
- Add the unsweetened cocoa powder to the remaining portion of the fudge mixture and stir until well combined.
- Pour this chocolate mixture over the first layer and use a knife or skewer to create a gentle swirl pattern.
Cool and Slice
- Allow the fudge to cool completely at room temperature. Once fully set, remove it from the pan using the parchment overhang and cut it into squares of the desired size.
Prepare the Chocolate Topping
- In a microwave-safe bowl, combine the semisweet chocolate chips and vegetable oil. Heat in 30-second intervals, stirring between each session, until the mixture is smooth and fully melted.
Dip and Set the Topping
- Allow the melted chocolate to cool for approximately 15 minutes. Dip the top of each fudge square into the chocolate topping.
- Place the dipped pieces on parchment paper, chocolate-side up, and allow them to set for roughly 1 hour.
Notes
I’m Bitty, owner of nodashofgluten.com, where I share simple, delicious recipes for all tastes, including gluten-free. Check out my “About Me” page for more info!