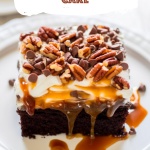


Chocolate Turtle Cake – Satisfy your cravings with our recipe, for Chocolate Turtle Cake. This indulgent dessert brings together the flavors of devil food chocolate cake, sweetened condensed milk, gooey caramel, and a whipped topping. If you’re a fan of chocolate and caramel this is the dessert that will make your dreams come true. With 10 minutes of preparation time and some patience while it chills you’ll be treated to a treat that’s perfect for any occasion.


My journey with this Chocolate Turtle Cake recipe started when I was searching for a dessert to celebrate my husband’s birthday. He absolutely adores chocolate and caramel so I wanted to surprise him with something unforgettable. From the first bite, I knew I had discovered something extraordinary. The combination of moist chocolate cake, creamy caramel, and crunchy pecans was a hit with my family. It quickly became a favorite in our household— for our child who couldn’t get enough of it.
What makes this Chocolate Turtle Cake truly remarkable?
What makes this Chocolate Turtle Cake more remarkable is that it utilizes the convenience of a boxed cake mix as its foundation making it incredibly easy to prepare. Its defining characteristic is how the sweetened condensed milk and caramel topping infuse, into the cake itself creating a level of moistness. The delightful combination of crispy pecans and tiny chocolate chips brings a texture that keeps you wanting more. Additionally, its ability to be prepared in advance makes it an excellent choice, for gatherings and special occasions. You can enjoy every moment with your guests while this delicious dessert patiently waits in the refrigerator ready to amaze them.
What You Need To Make This Chocolate Turtle Cake Recipe?
Devils Food Chocolate Cake Mix: This recipe revolves around the convenience of using a cake mix. While you have the freedom to choose your brand following the instructions on the box guarantees a flavorful cake. It’s important to keep an eye on the baking time; it’s often best to take out the cake a few minutes later than recommended on the box to prevent it from becoming dry.
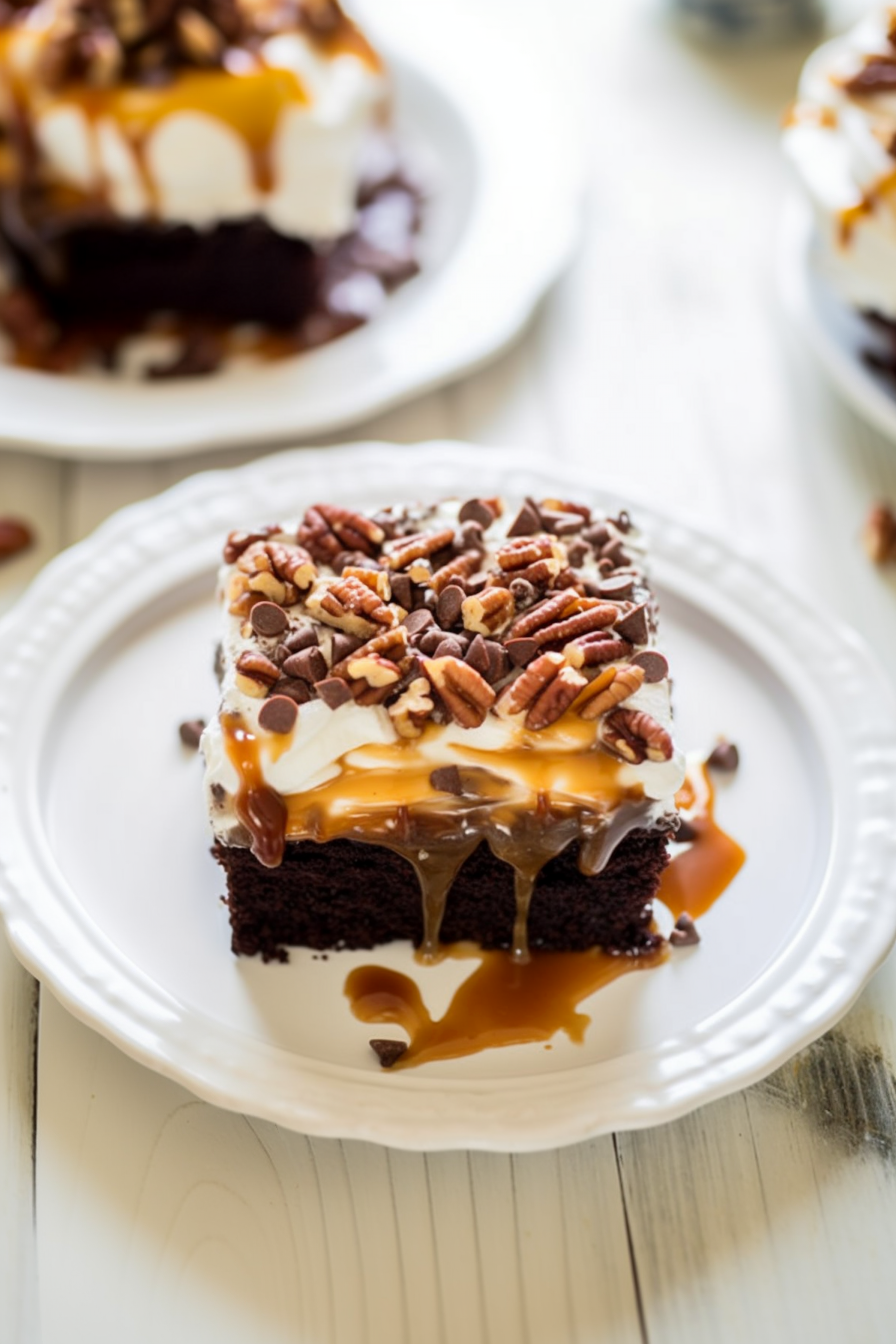
Whipped Topping: For this recipe, you’ll need an 8-ounce container of whipped topping. You can choose between low-fat varieties based on your preference. The whipped topping adds a light texture to the dish.
Salted Caramel Sauce: The choice of caramel sauce plays a role in enhancing the flavor of your Chocolate Turtle Cake. You can opt for store-bought salted caramel sauce. Make your own. If you prefer a sweeter taste regular caramel sauce can be used as well. This allows you to personalize how sweet you want your dessert to be.
Chopped Pecans: Pecans bring a crunch and nutty flavor that perfectly complements the chocolate and caramel elements of this cake. If you have any allergies or preferences when it comes to nuts feel free to experiment with alternatives like walnuts or almonds, for a twist.
Mini semi-sweet chocolate chips: These little morsels of chocolate melt in your mouth and bring a burst of chocolate flavor to each bite. While it’s suggested to use chips if you happen to have full-sized chocolate chips on hand they will still provide the same delicious taste.
Steps To Make Chocolate Turtle Cake:
Step 1: Begin your sweet journey by preheating your oven to 350°F (175°C). While it’s getting all toasty inside, grab a 9×13-inch pan and give it a little aluminum foil hug. A quick spritz of cooking spray ensures our cake doesn’t stick. Set it aside and let the excitement build.
Step 2: Now, let’s talk cake. We’re not making it from scratch here; we’re in it for convenience and flavor. Grab a box of Devil’s Food chocolate cake mix (around 15.25 ounces). Follow the directions on the back, which usually involve adding a few eggs, some water, and a bit of oil. Bake it as per the box instructions, but here’s the secret sauce: take it out just before it’s ‘officially’ done. Trust your gut—it should be mostly clean when you stick a toothpick in the center.
Step 3: While your cake’s baking, let’s prep that caramelicious goodness. Mix together a can of sweetened condensed milk (14 ounces) and a jar of caramel sundae topping (12 ounces) in a medium-sized bowl. Give it a good stir until it’s like they’ve been best friends forever.
Step 4: Once your cake emerges from the oven, it’s time to get creative. Take the handle end of a wooden spoon and let’s poke this cake like there’s no tomorrow. We’re talking about roughly 60 holes evenly spaced across its top. It’s therapeutic, really. Now, slowly pour that caramel and sweetened condensed milk mixture over the holes. Imagine you’re painting a masterpiece – every hole gets a bit of that caramel love.
Step 5: Patience is a virtue, and it’s about to pay off. Pop the cake in the fridge for about 10 minutes to cool down a bit. We don’t want our whipped topping to throw a meltdown party, do we?
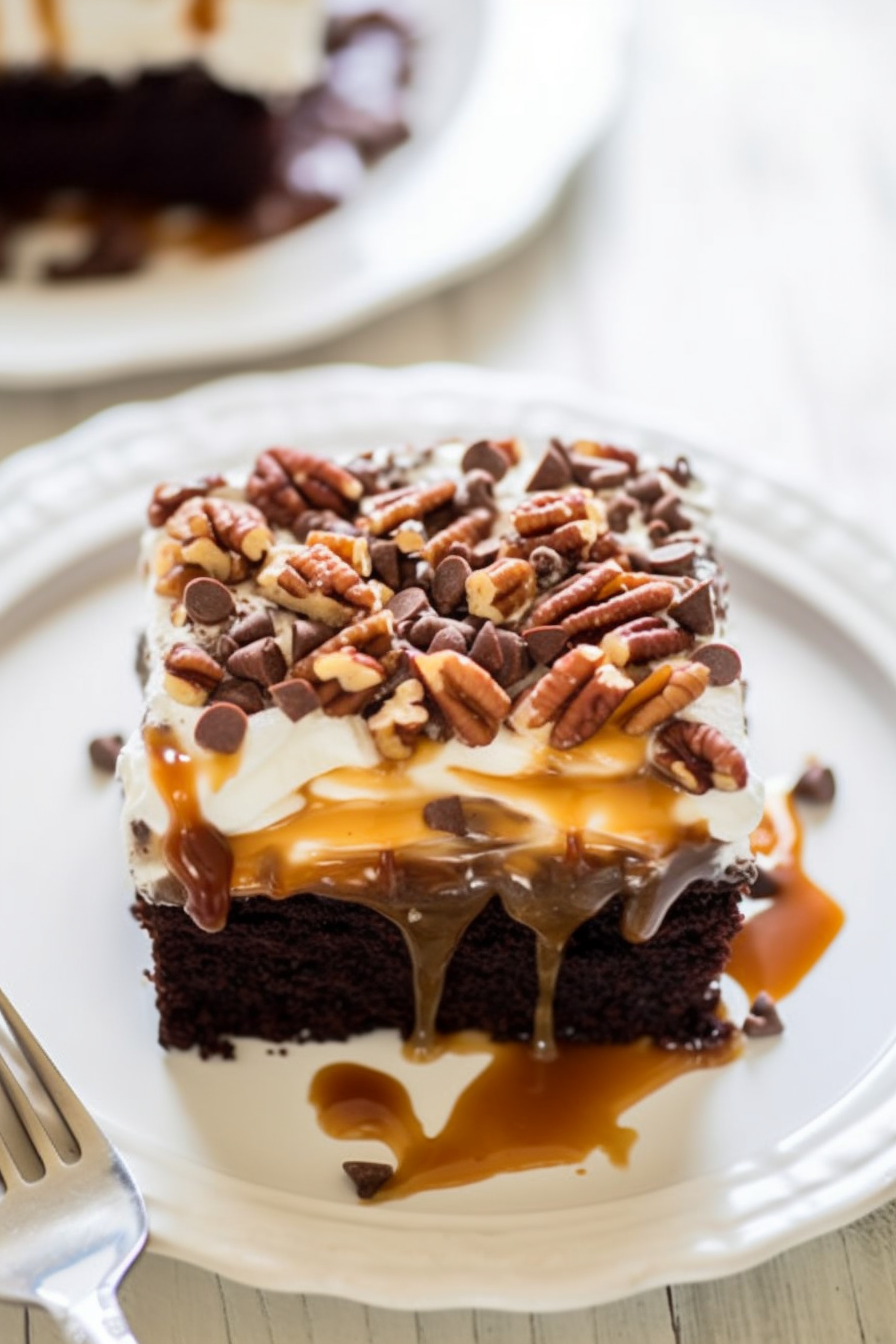
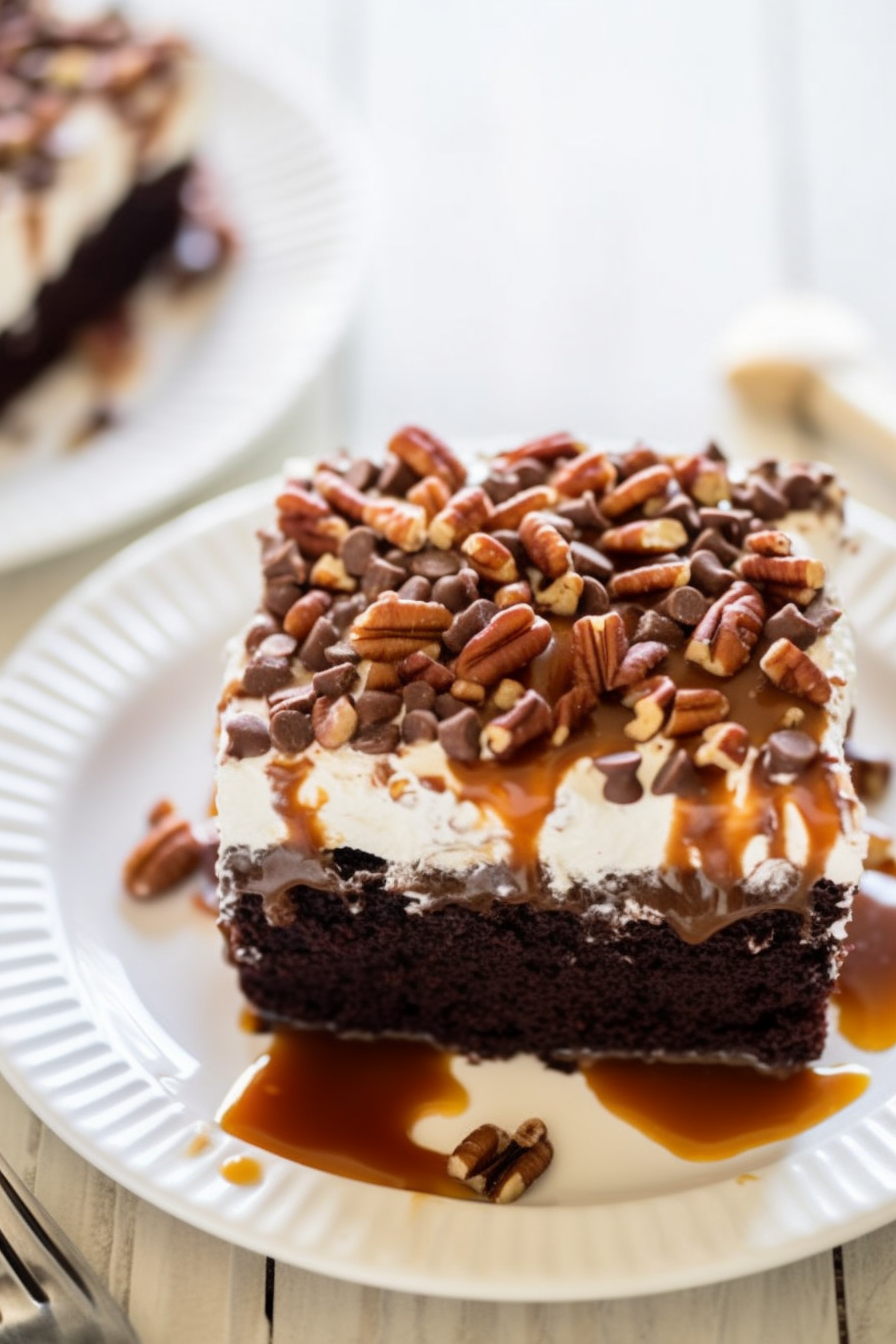
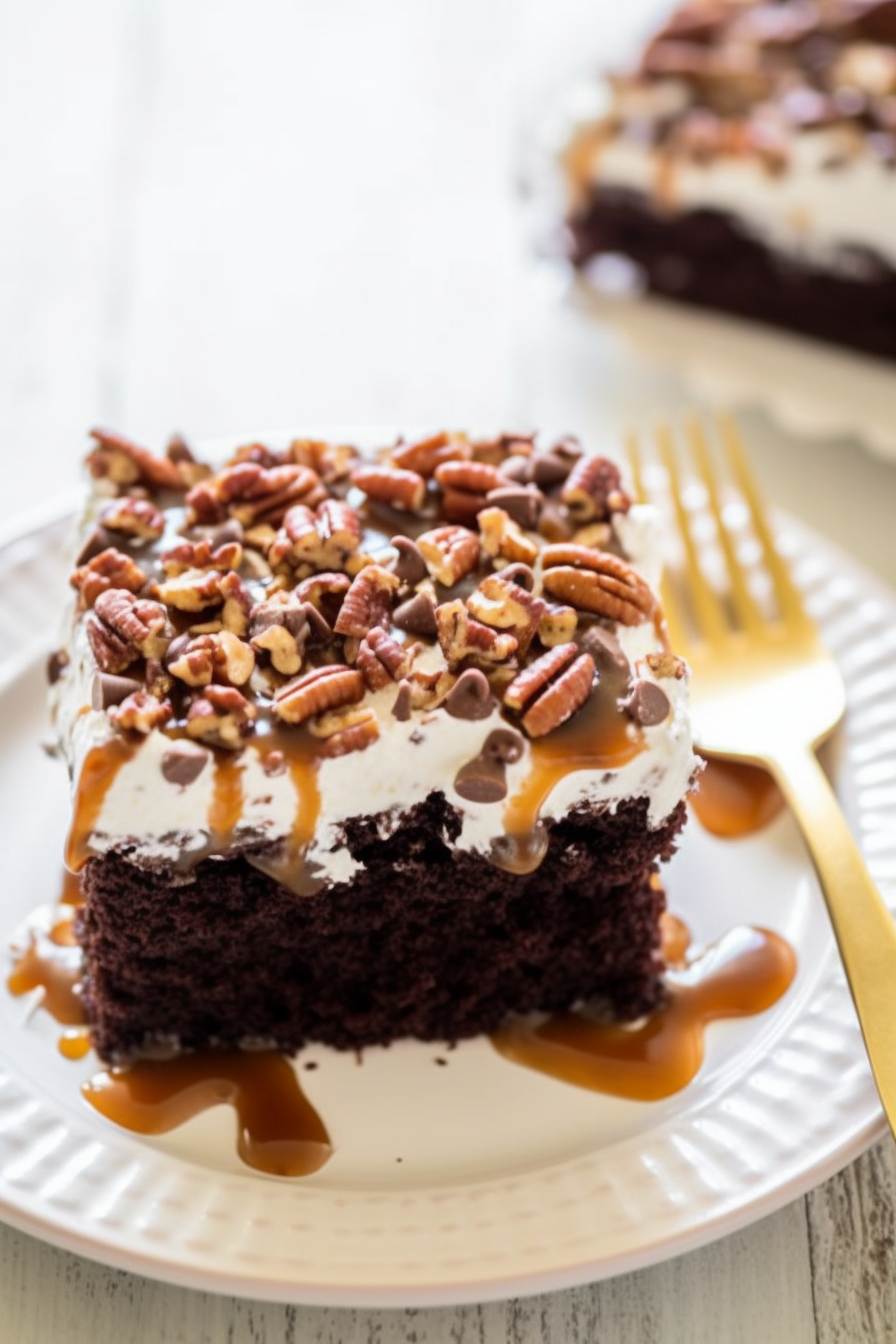
Step 6: Ah, the pièce de résistance! Remove your cake from the fridge and get ready to whip it into shape. Spread that whipped topping (an 8-ounce container, thawed) all over the cake. It’s like giving your cake a comfy blanket. Sprinkle on those chopped pecans and mini chocolate chips. It’s all about adding layers of texture and flavor.
Step 7: Cover your masterpiece and let it chill for at least 2 hours. Overnight is even better if you can bear the anticipation. This time in the fridge lets all the flavors mingle and dance together, making every bite a true celebration.
Step 8: Just before serving, let’s put the cherry on top. Drizzle your salted caramel sauce (about 1/3 cup or to your heart’s content) over the cake. It’s like a sweet, caramel waterfall cascading down a chocolate mountain.
Step 9: And there you have it, a Chocolate Turtle Cake that’s not just dessert; it’s a love story baked with patience and topped with indulgence. Dive in, share it with friends, or savor it all by yourself. It’s a taste of pure happiness!
Tip:
For the results, in achieving a moist and delicious Chocolate Turtle Cake with a caramel flavor it is recommended to let it cool in the refrigerator for at least 2 hours before serving. If you can manage to resist the temptation refrigerating it overnight will enhance the flavor more. This extended time allows the caramel and sweetened condensed milk to fully blend with the cake resulting in an irresistible dessert.
Frequently Asked Questions:
Can I make this cake ahead of time?
Definitely! This cake is ideal, for making ahead of time. In fact, it tastes better after chilling in the refrigerator.
Can I use regular caramel sauce instead of salted caramel?
Absolutely! While salted caramel provides a contrast regular caramel sauce will work as well if you prefer a sweeter flavor.
Can I use different nuts in this recipe?
Certainly! Feel free to get creative with your choice of nuts. Walnuts or almonds can also add a crunch to the recipe.

Chocolate Turtle Cake
Ingredients
- 1 box 15.25 oz. devil’s food chocolate cake mix
- 1 can 14 oz. sweetened condensed milk
- 1 jar 12 oz. caramel sundae topping
- 1 container 8 oz. whipped topping, thawed
- 1/2 c. chopped Fisher pecans
- 1/2 c. mini semi-sweet chocolate chips
- 1/3 c. salted caramel sauce homemade or store-bought
Instructions
- Preheat your oven to 350°F (175°C). Take a 9×13 inch pan line it with aluminum foil and give it a coating of cooking spray.
- For the Cake: Follow the instructions mentioned on the cake mix box, which typically involve adding eggs, water and oil. Bake it as directed being careful not to overbake. The cake is ready when you insert a toothpick, into the center. It comes out mostly clean ( 3 to 5 minutes earlier, than what was mentioned on the box).
- For the Topping: While the cake is baking, mix together sweetened condensed milk and caramel topping in a bowl. Stir until everything is well combined.
- Poke the Cake: Once you take out the cake from the oven use the end of a spoon to create evenly spaced holes all over its surface. Around 60 holes should be good.
- Pouring the Topping: Gradually pour the mixture of sweetened condensed milk and caramel over these holes making sure it's distributed evenly.
- Cooling and Adding Toppings: Let the cake cool in your refrigerator for 10 minutes. This step helps in preventing any melting of whipped topping. After cooling down spread whipped topping evenly across the surface of your cake. Sprinkle chopped pecans and mini chocolate chips on top.
- Chill Again: Make sure to cover the cake and place it in the refrigerator, for a minimum of 2 hours but if you can letting it chill overnight is more preferable. This gives time for the flavors to blend together and for the cake to set perfectly.
- As a touch before serving generously drizzle the salted caramel sauce, over the cake adding an additional layer of indulgence.
Notes
I’m Bitty, owner of nodashofgluten.com, where I share simple, delicious recipes for all tastes, including gluten-free. Check out my “About Me” page for more info!