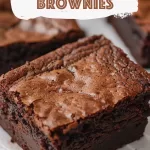

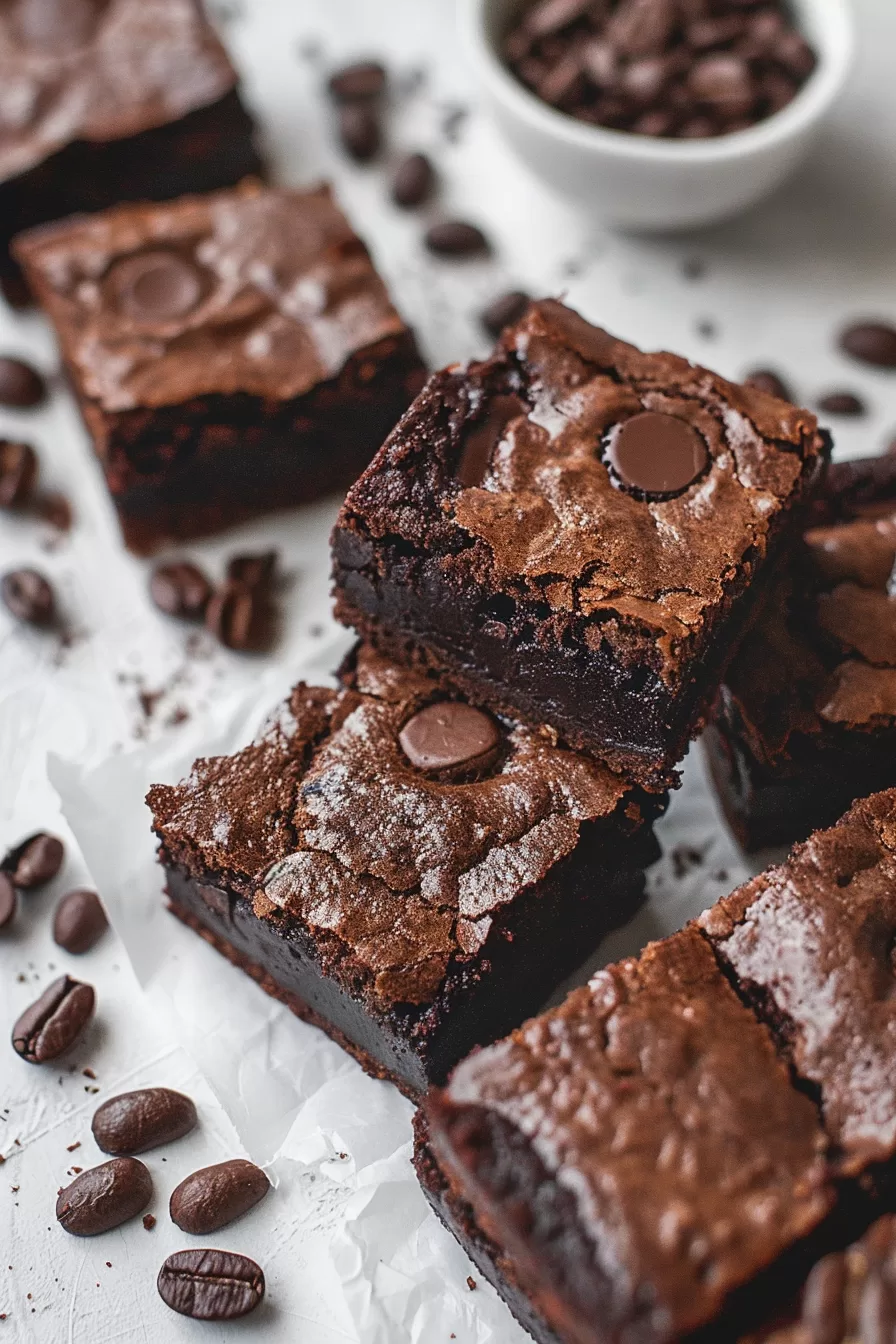
Rich Espresso Brownies – Craving that perfect mix of rich, fudgy chocolate and a hint of bold coffee? These Rich Espresso Brownies are the answer. With a blend of unsweetened cocoa, brewed espresso, and a touch of espresso powder, they’re the ultimate treat for any coffee lover who also has a sweet tooth. Each bite is packed with deep, dark chocolate flavor, made even better by that hint of espresso that sneaks in and makes everything richer. Ideal for dessert, snacks, or just because—trust me, you’ll want to make these over and over again.


The first time I whipped up these brownies, I was looking for a way to combine two of my greatest loves: chocolate and coffee. I remember my husband walking into the kitchen, eyes lighting up as he caught a whiff of that warm, cocoa aroma mingling with freshly brewed espresso. And when he took that first bite? Let’s just say the pan didn’t last the night. Even my little one, who’s usually not a fan of coffee, couldn’t resist the fudgy, crinkly tops and rich, decadent flavor. Now, these brownies are a go-to whenever I need a crowd-pleasing treat or just a little pick-me-up!
What makes this Rich Espresso Brownies truly special?
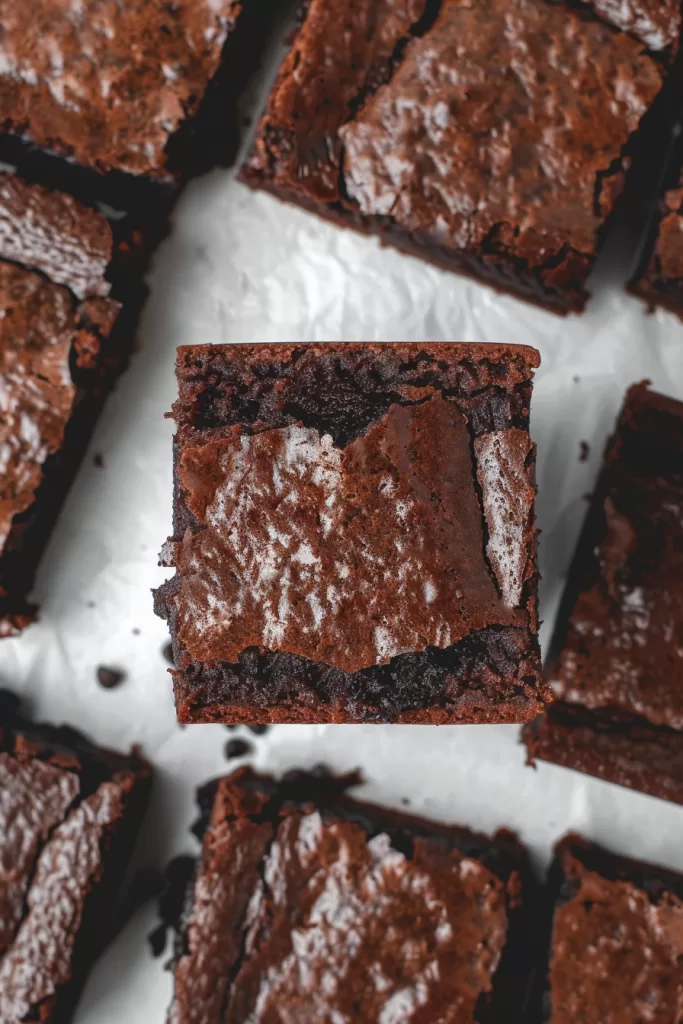
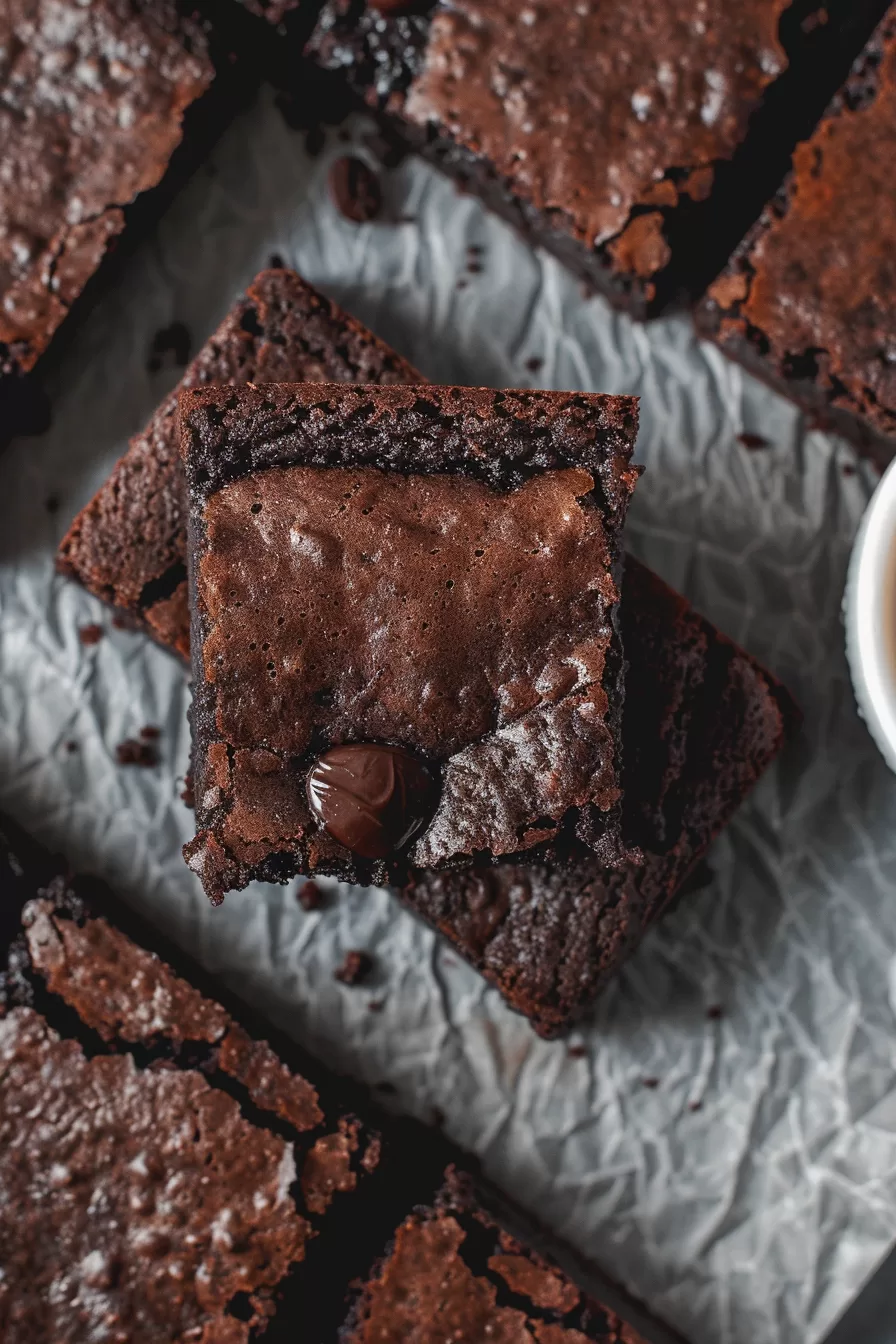
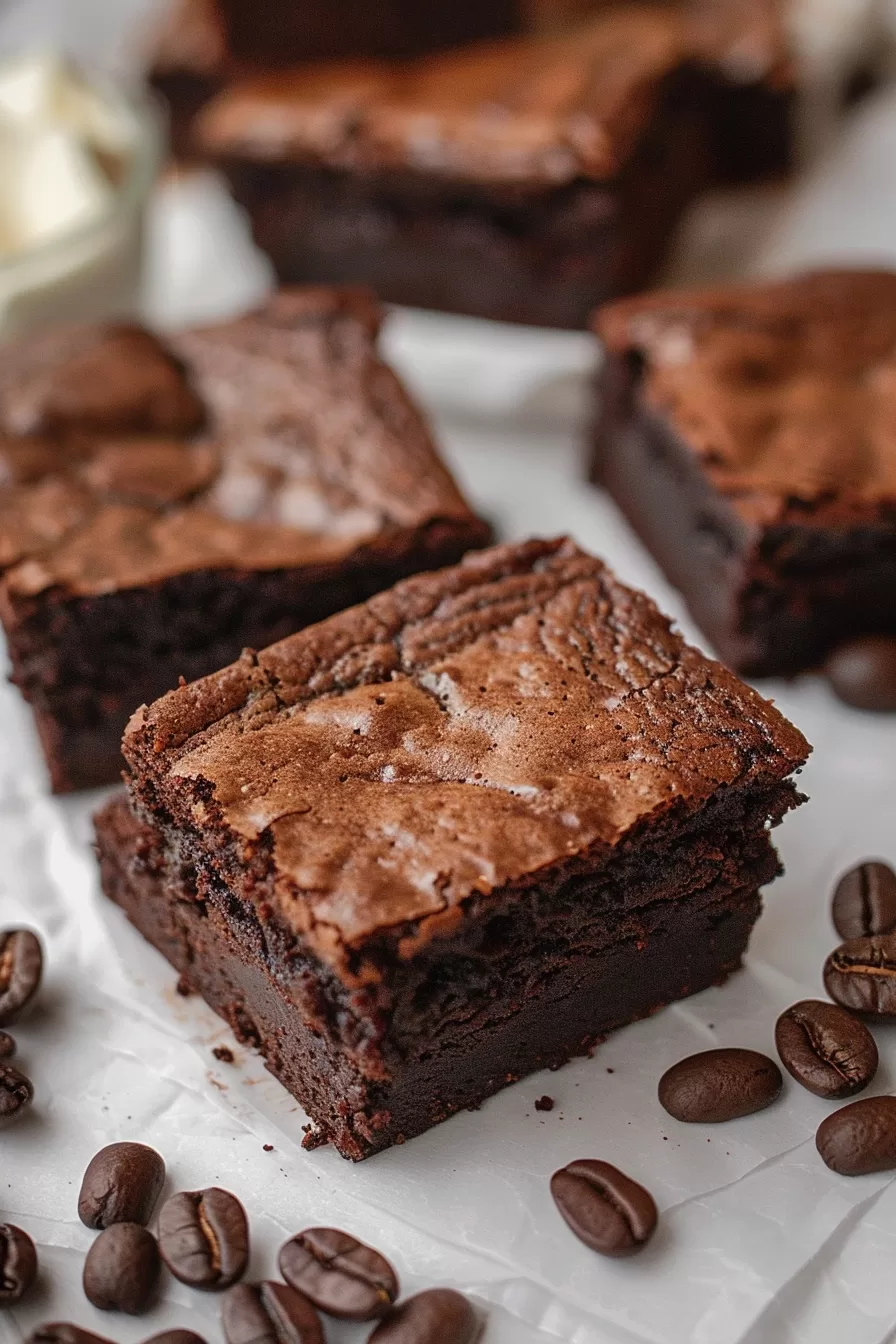
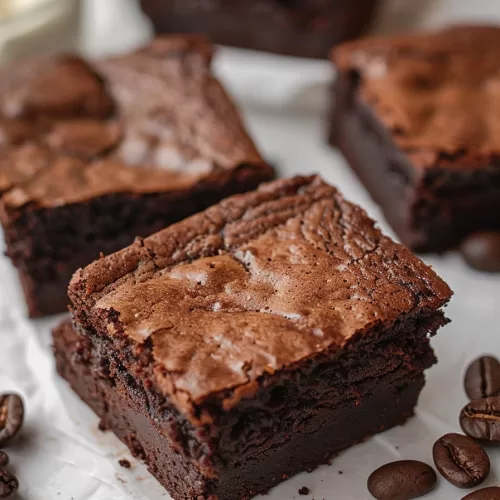
These brownies are everything you want in a dessert: rich, fudgy, and deeply satisfying. The espresso enhances the chocolate, giving it a deeper, more complex flavor, while the combination of cocoa powder and melted butter ensures each bite is soft, chewy, and incredibly moist. Plus, they’ve got that perfect crinkly top that makes you feel like a baking pro! Whether you’re serving them at a party or enjoying one with your afternoon coffee, they’re bound to disappear fast.

What You Need To Make This Rich Espresso Brownies Recipe?
Unsalted Butter: Melted butter is the secret to those gooey, fudgy brownies we all crave. Using unsalted lets you control the saltiness, so the chocolate and espresso really stand out. If all you’ve got is salted butter, no worries—just skip the extra salt later on.
Light Brown Sugar & Granulated Sugar: The Dynamic Duo! Brown sugar adds that soft, chewy texture with a hint of caramel, while granulated sugar helps create those lovely crinkly tops. You need both to get that perfect brownie bite, trust me.
Brewed Espresso & Espresso Powder: Okay, this is where the magic happens. The brewed espresso deepens the chocolate flavor, making it richer and more intense, without screaming “coffee!” The espresso powder? It’s like the backup singer that makes the lead sound even better. Together, they create that beautifully complex flavor that keeps you reaching for just one more piece.
Cocoa Powder: Go for unsweetened cocoa powder here. It’s what gives these brownies their deep, dark chocolate flavor. The richer, the better, so don’t skimp!
Eggs: Room-temperature eggs mix in more smoothly, giving you a consistent batter. Plus, they help whip up a little air into the mix, which leads to those shiny, crinkly tops. Simple trick, big difference.
Vanilla Extract: This isn’t just a little flavor boost—it pulls everything together, making the chocolate taste even deeper. If you can get your hands on pure vanilla extract, it’s worth it, but I won’t judge if you use the good ol’ grocery store stuff.
All-Purpose Flour: We’re keeping it simple here. Just enough flour to give structure without making the brownies cakey. We want fudgy, not fluffy!
Kosher Salt: A tiny bit of salt can do wonders in desserts. It’s like that little nudge that brings out all the other flavors. If you’re using regular table salt, cut the amount down a bit.
Steps To Make Rich Espresso Brownies:
Preheat & Prep the Pan: First things first, set your oven to 350°F. Grab a baking pan and cut a piece of parchment paper a little narrower than the pan’s width. Spray the pan lightly with some vegetable oil spray, lay down the parchment, and smooth it out so it sticks. If you’ve got binder clips handy, use them to hold the paper in place—it makes lifting the brownies out later a breeze.
Mix the Wet Ingredients: In a big mixing bowl, whisk together the melted butter, light brown sugar, and granulated sugar until it’s all combined and smooth. Now, add in the eggs one by one, whisking after each until the batter lightens up a bit. This should take about 4-5 minutes. That’s the secret to getting those crinkly, shiny tops we all love.
Add the Espresso & Vanilla: Pour in the brewed espresso and a splash of vanilla extract. Stir until everything’s nice and smooth. You’ll see the batter start to look a little glossier—that’s what we want!
Fold in the Dry Ingredients: Now, gently fold in the cocoa powder, flour, espresso powder, and salt. Don’t overmix it—just stir until you don’t see any more dry bits. The batter should be thick and dark, and it’ll smell amazing at this point.
Pour & Bake: Pour that rich, chocolatey batter into your prepped pan, spreading it out evenly. Pop it in the oven and bake for 30-45 minutes. Keep an eye on it after the 30-minute mark, and do the knife test: stick a knife into the center, and if it comes out mostly clean (a few moist crumbs are perfect), you’re good to go.
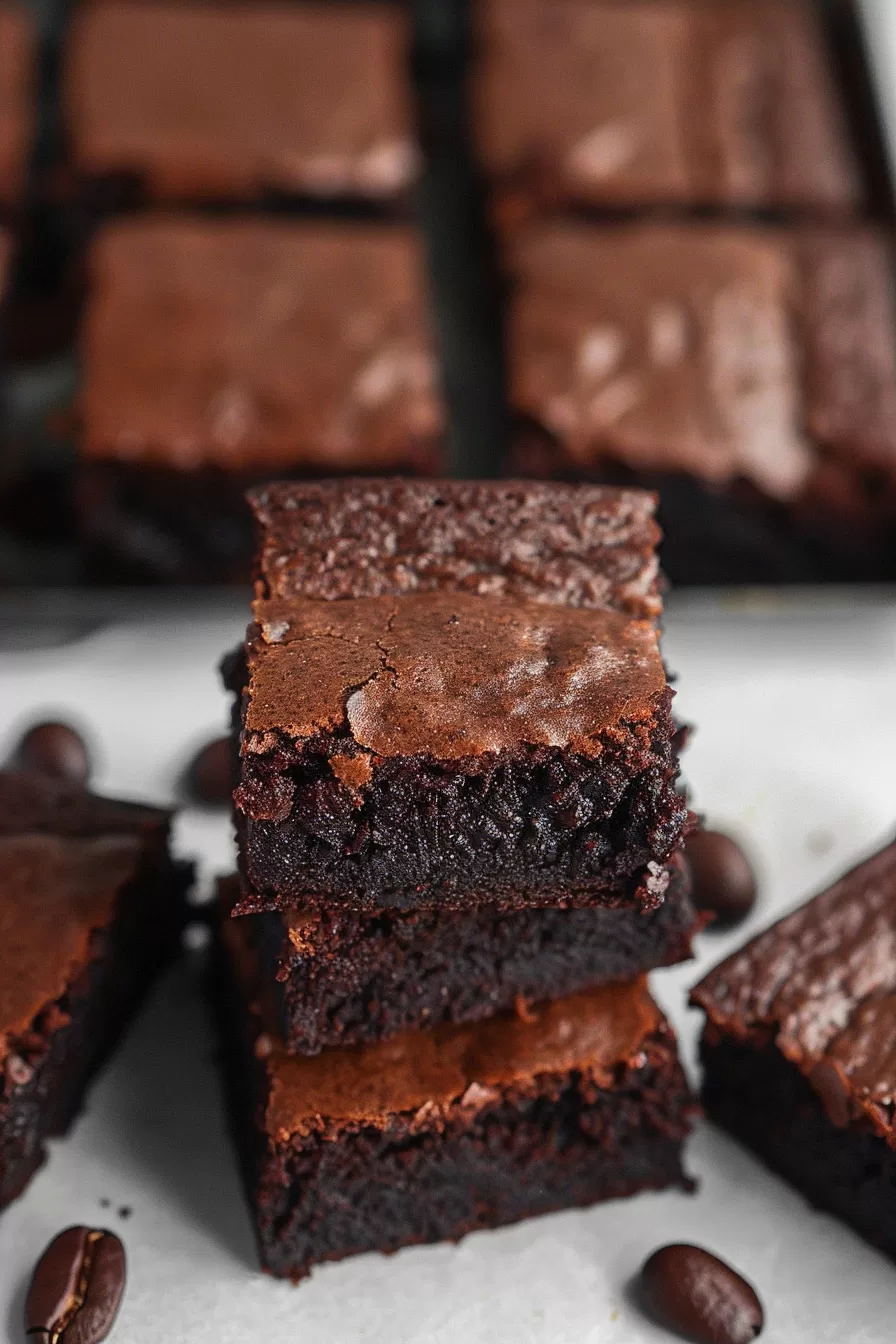
Cool & Slice: Let the brownies cool completely in the pan. Resist the urge to dig in right away—you want them to set up nicely. Once they’re cool, use the parchment to lift them out of the pan and onto a cutting board. Slice them up into 16 pieces, and you’re ready to enjoy. These beauties are best in the first 2-3 days, but they’ll keep in an airtight container at room temp for up to 5 days.
Tip:
Want to take your Rich Espresso Brownies to the next level? Here’s a little trick: make sure your eggs are at room temperature before you start. It might not seem like a big deal, but trust me, it makes a difference. Cold eggs don’t mix as smoothly, and that can mess with the texture of your batter. Room-temp eggs, on the other hand, will blend right in, giving you a smoother, more consistent batter and helping to whip up that beautiful, crinkly top we all crave. Here’s another tip—don’t rush the whisking! Spend a good 4-5 minutes mixing the butter, sugars, and eggs. It’s the air you whip in at this stage that helps create those iconic brownie tops. If you’ve got a hand mixer, even better. Also, for a more intense coffee kick, you can sprinkle an extra half teaspoon of espresso powder into the batter. You’ll get that wonderful coffee aroma every time you take a bite.
Frequently Asked Questions:
Can I use instant coffee instead of espresso powder?
Yes, you can! If you don’t have espresso powder on hand, instant coffee granules will work just fine. Just keep in mind that they may not dissolve as smoothly, so be sure to mix well. If you want a stronger coffee flavor, dissolve the instant coffee in a tiny bit of hot water before adding it to the batter.
Why do my brownies sometimes come out cakey instead of fudgy?
The key to fudgy brownies is not overmixing the batter once you’ve added the dry ingredients. Overmixing can incorporate too much air, which makes them more cake-like. Also, make sure you’re not overbaking. If a knife comes out with a few moist crumbs, they’re ready. Fudgy brownies should be dense and gooey, not fluffy.
Can I add extras like nuts or chocolate chips?
Absolutely! Feel free to throw in chopped walnuts, pecans, or even dark chocolate chunks. Just be careful not to overload the batter. About half a cup to a cup of mix-ins should be enough. It’ll add a nice crunch or melty pockets of chocolate without changing the texture too much.
Rich Espresso Brownies
Ingredients
- 1 c unsalted butter melted
- 1 ½ c light brown sugar
- 1 c granulated sugar
- 4 large eggs at room temp
- 2 tsp vanilla extract
- ¼ c brewed espresso
- 1 ½ c unsweetened cocoa powder
- ¾ c all-purpose flour
- 1 tbsp espresso powder
- ½ tsp kosher salt
Instructions
Preheat & Prep the Pan:
- First things first, set your oven to 350°F. Cut a piece of parchment paper to fit snugly in your baking pan, leaving a little extra overhang on the sides so you can lift the brownies out easily later. Give the pan a light spray with some vegetable oil, lay down the parchment, and smooth it out so it sticks. If you’ve got binder clips, use them to keep the paper in place—trust me, it makes life a lot easier.
Mix the Wet Ingredients:
- In a big mixing bowl, whisk together the melted butter, light brown sugar, and granulated sugar until everything’s smooth and well-blended.
Add the Eggs:
- Now, add the eggs one at a time, whisking each one in until it’s fully mixed and the batter starts to lighten up. This step is key! If you want those lovely, crinkly brownie tops, make sure to keep whisking for about 4-5 minutes.
Blend in the Espresso & Vanilla:
- Pour in the brewed espresso and vanilla extract. Stir until the batter is smooth and everything is evenly mixed.
Fold in the Dry Ingredients:
- Gently fold in the cocoa powder, all-purpose flour, espresso powder, and salt. Mix just until everything’s combined—don’t overdo it. You want that batter thick and rich, but not overworked.
Pour & Bake:
- Go ahead and pour the batter into your pan, then spread it out nice and even so it bakes up perfectly. Pop it in the oven and bake at 350°F for about 30-45 minutes. Start checking around the 30-minute mark—insert a knife into the center, and if it comes out mostly clean (a few crumbs are fine, but no wet batter), you’re good to go.
Cool & Slice:
- Pull the brownies out of the oven and let them chill in the pan until they’re completely cool. Once they’re cool, grab the edges of the parchment and lift them out. Slice them up, and they’re ready to enjoy!
Storage Tip:
- These brownies taste best within the first 2-3 days but will stay fresh in an airtight container at room temperature for up to 5 days.
Notes
I’m Bitty, owner of nodashofgluten.com, where I share simple, delicious recipes for all tastes, including gluten-free. Check out my “About Me” page for more info!