


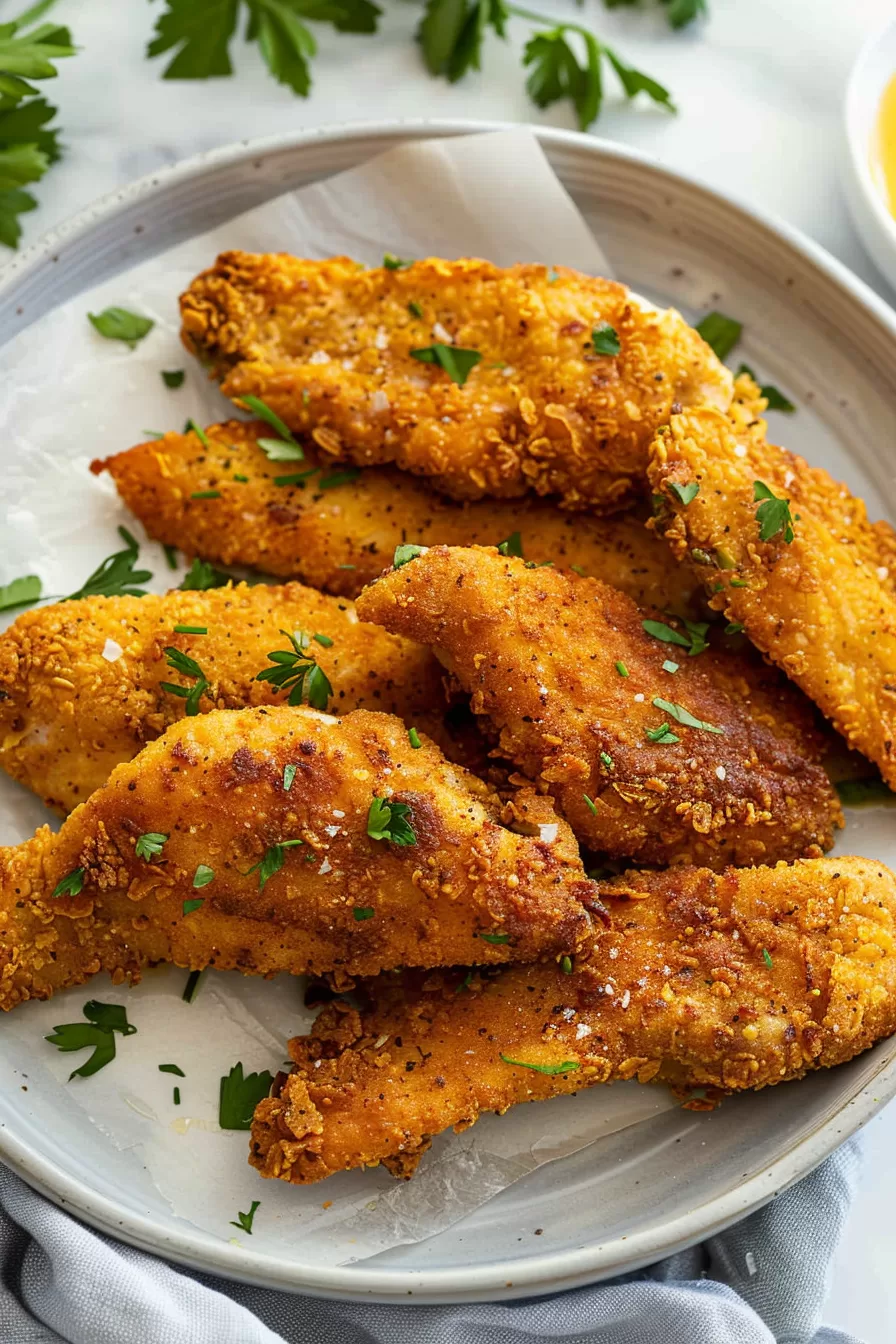
Juicy Oven Fried Chicken – Looking for the perfect balance of crispy and juicy? This Juicy Oven Fried Chicken is exactly what you need! With tender chicken breasts coated in a seasoned flour and panko mix, then baked to golden perfection, this dish is a healthier, oven-baked twist on classic fried chicken. It’s quick to prep and perfect for weeknight dinners that the whole family will love.


The first time I made this Juicy Oven Fried Chicken, I wasn’t sure if it would hold up to the fried version my husband loves. But let me tell you, after that first bite, my worries disappeared. My husband couldn’t believe how crispy it was, and my kid even asked for seconds (which is a big deal in our house!). It’s since become a staple dinner in our weekly rotation because it’s so easy to make and never disappoints. Plus, I love that it’s lighter than traditional fried chicken but still delivers all that crunch we crave.
What makes this Juicy Oven Fried Chicken truly special?
Why will you love this Juicy Oven Fried Chicken? For starters, it’s got that irresistible crunch we all crave. But here’s the kicker: it’s baked, not fried, which means it’s way easier to pull off on a busy weeknight. Plus, you get all that buttery, crispy goodness without standing over a greasy stovetop. And the chicken? It stays juicy and tender every single time. Seriously, once you try this, you’ll never want to go back to frying. Why would you when the oven does all the hard work for you?
What You Need To Make This Juicy Oven Fried Chicken Recipe?
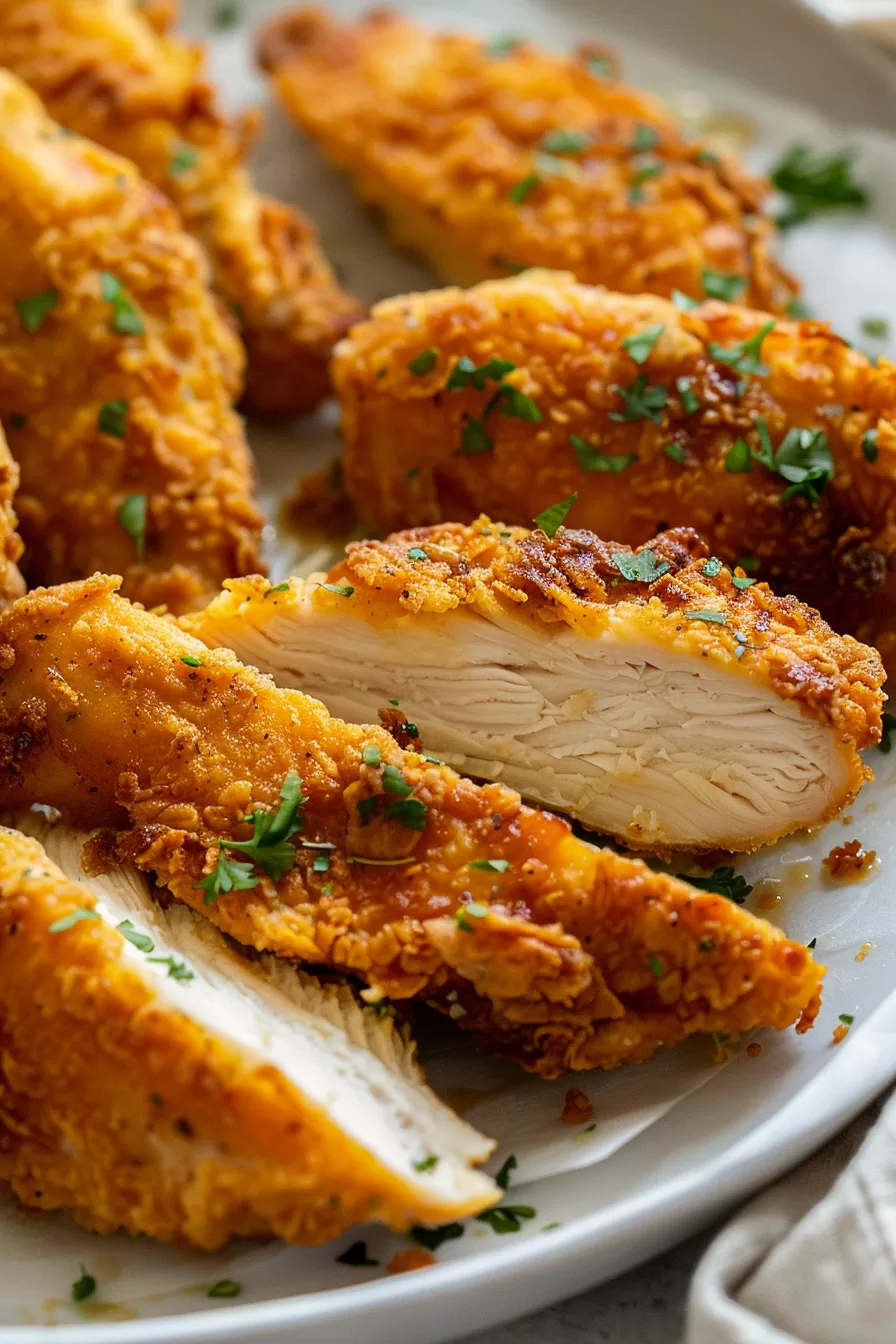
Chicken Breasts: I usually go for boneless, skinless chicken breasts here because they cook up super juicy, but feel free to use thighs if that’s your thing. I slice each breast into about three thick strips, but don’t stress about being perfect. The strips just help everything cook more evenly and give you more of that crispy coating per bite—who doesn’t love that?
Buttermilk (optional): Soaking the chicken in buttermilk isn’t mandatory, but let me tell you, it makes a world of difference. It helps tenderize the meat and gives it a little extra flavor. If you have it, use it—if not, you can skip this step and still get great results.
Melted Butter: I know, I know—six tablespoons of butter sounds like a lot. But trust me on this one. It’s what helps the chicken get that crispy, golden brown finish in the oven. Think of it as the secret ingredient that mimics frying without actually frying.
Flour & Panko: The combo of flour and Panko breadcrumbs is where the magic happens. The flour helps the coating stick, while the Panko gives you that crunch factor we all want. Don’t have Panko? Regular breadcrumbs will work, but the Panko definitely gives you that extra crispiness.
Seasoning Salt & Paprika: Lawry’s seasoning salt is my go-to because it adds just the right amount of flavor without being too overpowering. Paprika adds a subtle smokiness and a nice pop of color. It’s one of those things you don’t think makes a big difference, but once you add it, you’ll notice it’s just better.

Steps To Make Juicy Oven Fried Chicken:
Prep the Chicken: Start by cutting those chicken breasts into thick strips—about three per breast. If you’ve got buttermilk on hand, let the chicken soak in it for a little while. It’s not required, but it does wonders for keeping the chicken extra juicy. If you’re in a rush, don’t worry about it; you can skip this step and still get great results.
Preheat the Oven: Set your oven to 425°F. Now, grab a baking sheet (I like to use one with a rim to catch any juices) and line it with parchment paper. Brush the parchment with the melted butter. Yes, it might seem like a lot, but this is the magic that gets the chicken all crispy in the oven, so don’t skimp!
Want To Save This Recipe?
Bread the Chicken: In a big zip-top bag, mix together the flour, Panko, seasoning salt, paprika, and pepper. Toss in the chicken strips, zip it up, and give it a good shake until each piece is well coated. It’s like a shake-and-bake situation, but better because we’re using real ingredients here.
Bake the Chicken: Place the coated chicken strips on your buttered parchment paper. Make sure they’re not touching—give them a little space to crisp up properly. Bake them for about 10 minutes, then gently flip each piece with a spatula. If the pan looks dry when you flip them, drizzle a tiny bit more oil or butter around the edges. Pop them back in for another 10 minutes or until they’re golden and crispy. Make sure to check the internal temperature—165°F is what you’re aiming for. If they need more time, give them another 4-5 minutes until they’re done but still juicy.
Serve and Enjoy: Once they’re cooked through, transfer the chicken to a plate lined with paper towels to soak up any extra grease. If you want to keep them warm before serving, pop them on a wire rack over a baking sheet and keep them in a 225°F oven until you’re ready to eat. Then, dig in! You’ll have crispy, juicy oven-fried chicken that’s perfect for any meal.
Tip:
Alright, here’s the deal with making sure your Juicy Oven Fried Chicken turns out perfectly crispy every single time: the butter is non-negotiable! Seriously, I know it seems like a lot when you brush it on the parchment, but that’s the secret to mimicking that golden fried crust without actually frying. The butter gives it that rich, crispy layer we all love, and when it bakes, it almost fries the chicken right there in the pan. Another tip—don’t overcrowd the baking sheet. If the chicken strips are too close together, they’ll steam instead of crisping up. Give them some breathing room, so each piece gets that perfect crunch. Oh, and one last thing—if you’re using thicker chicken strips, you might need to add a few extra minutes in the oven. Just keep an eye on the internal temp and make sure you hit that 165°F sweet spot.
Frequently Asked Questions:
Can I use chicken thighs instead of breasts?
Absolutely! Chicken thighs work great in this recipe. They’re naturally a bit juicier than breasts, so you might end up with even more flavor. Just keep in mind that thighs are usually a little thicker, so you may need to adjust the cooking time by adding a few extra minutes. As always, check that the internal temp hits 165°F.
Can I prep the chicken ahead of time?
You bet! If you want to save some time, you can bread the chicken ahead of time and store it in the fridge for a few hours before baking. Just keep it covered so it doesn’t dry out. When you’re ready, bake it up fresh, and it’ll be just as crispy and juicy as if you made it all at once. Perfect for when you’ve got company coming over!
Can I reheat the leftovers and keep them crispy?
Yes, and here’s the trick: reheat the chicken in the oven instead of the microwave. Pop it on a wire rack over a baking sheet at around 350°F for 10-15 minutes. This way, the coating will stay crispy, and the chicken will warm up evenly without getting soggy.

Juicy Oven Fried Chicken
Ingredients
- 2 pounds chicken breasts about 3-4 breasts, cut into strips—I usually get around 3 strips per breast
- 1 c buttermilk totally optional, but great for tenderizing
- 6 tablespoons melted butter
- ¾ c flour
- ½ c Panko breadcrumbs
- 1 tablespoon seasoning salt I like using Lawry’s, but any will work
- ½ teaspoon pepper
- 2 teaspoons paprika
Instructions
- Cut the chicken breasts into thick strips—nothing too fancy, just about three strips per breast. If you have buttermilk on hand, let the chicken soak in it for a bit. This step is optional, but it’ll make the chicken extra tender and juicy.
- Preheat your oven to 425°F. Grab a rimmed baking sheet (something like a 10x15 works well) and line it with parchment paper. Now, brush that parchment with melted butter.
- In a large zip-top bag, mix together the flour, Panko, seasoning salt, paprika, and pepper. Add the chicken strips to the bag, seal it up, and give it a good shake until everything is coated.
- Lay the chicken strips out on your prepared baking sheet, making sure there’s a little space between each one. You don’t want them too close, or they won’t crisp up properly. Bake for 10 minutes, then carefully flip the strips with a spatula. If the pan looks dry when you flip, drizzle a bit of oil to help the bottom side crisp up nicely. Bake for another 10 minutes.
- Check the chicken to make sure it’s fully cooked through—the goal is 165°F on the inside. If the chicken still needs a little more time, bake for another 4-5 minutes.
- Once done, transfer the chicken to a plate lined with paper towels to soak up any extra grease. Serve immediately, but if you need to keep them warm, place the strips on a wire rack over a baking sheet and pop them in a 225°F oven until you’re ready to eat.
Notes
I’m Bitty, owner of nodashofgluten.com, where I share simple, delicious recipes for all tastes, including gluten-free. Check out my “About Me” page for more info!