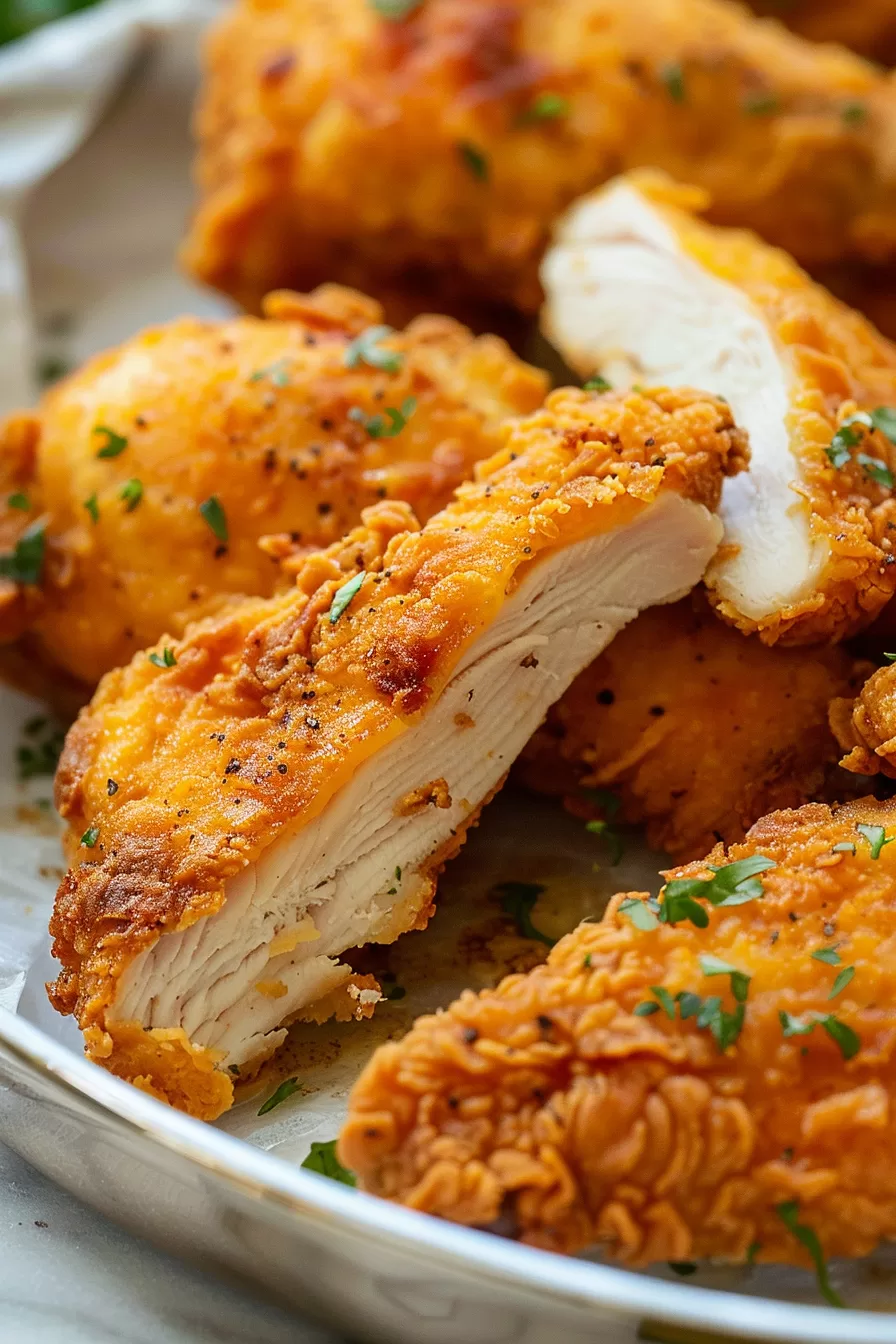
Juicy Oven Fried Chicken
This Juicy Oven Fried Chicken gives you all the satisfaction of fried chicken but without the mess of deep frying. You get tender, juicy chicken that’s coated in a perfectly seasoned, crispy crust, thanks to a combo of flour, Panko breadcrumbs, and just the right amount of butter to crisp it up in the oven. The best part? It's super easy and quick—only 35 minutes from start to finish! Whether it’s for a weeknight feast or a cozy weekend meal, this chicken is bound to be a triumph with everyone at the table.
6 Servings
Ingredients
- 2 pounds chicken breasts about 3-4 breasts, cut into strips—I usually get around 3 strips per breast
- 1 c buttermilk totally optional, but great for tenderizing
- 6 tablespoons melted butter
- ¾ c flour
- ½ c Panko breadcrumbs
- 1 tablespoon seasoning salt I like using Lawry’s, but any will work
- ½ teaspoon pepper
- 2 teaspoons paprika
Instructions
- Cut the chicken breasts into thick strips—nothing too fancy, just about three strips per breast. If you have buttermilk on hand, let the chicken soak in it for a bit. This step is optional, but it’ll make the chicken extra tender and juicy.
- Preheat your oven to 425°F. Grab a rimmed baking sheet (something like a 10x15 works well) and line it with parchment paper. Now, brush that parchment with melted butter.
- In a large zip-top bag, mix together the flour, Panko, seasoning salt, paprika, and pepper. Add the chicken strips to the bag, seal it up, and give it a good shake until everything is coated.
- Lay the chicken strips out on your prepared baking sheet, making sure there’s a little space between each one. You don’t want them too close, or they won’t crisp up properly. Bake for 10 minutes, then carefully flip the strips with a spatula. If the pan looks dry when you flip, drizzle a bit of oil to help the bottom side crisp up nicely. Bake for another 10 minutes.
- Check the chicken to make sure it’s fully cooked through—the goal is 165°F on the inside. If the chicken still needs a little more time, bake for another 4-5 minutes.
- Once done, transfer the chicken to a plate lined with paper towels to soak up any extra grease. Serve immediately, but if you need to keep them warm, place the strips on a wire rack over a baking sheet and pop them in a 225°F oven until you’re ready to eat.
Notes
If you're looking to make this recipe gluten-free, it's totally doable! Just swap the regular flour for a gluten-free flour blend (I like to use one with a 1:1 ratio), and instead of traditional Panko breadcrumbs, grab a gluten-free version. Most grocery stores carry gluten-free Panko these days, and they’re just as crispy. Everything else stays the same, and trust me, the chicken will still turn out crispy and delicious. No one will even notice it’s gluten-free—promise!