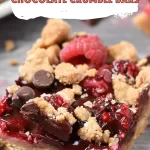

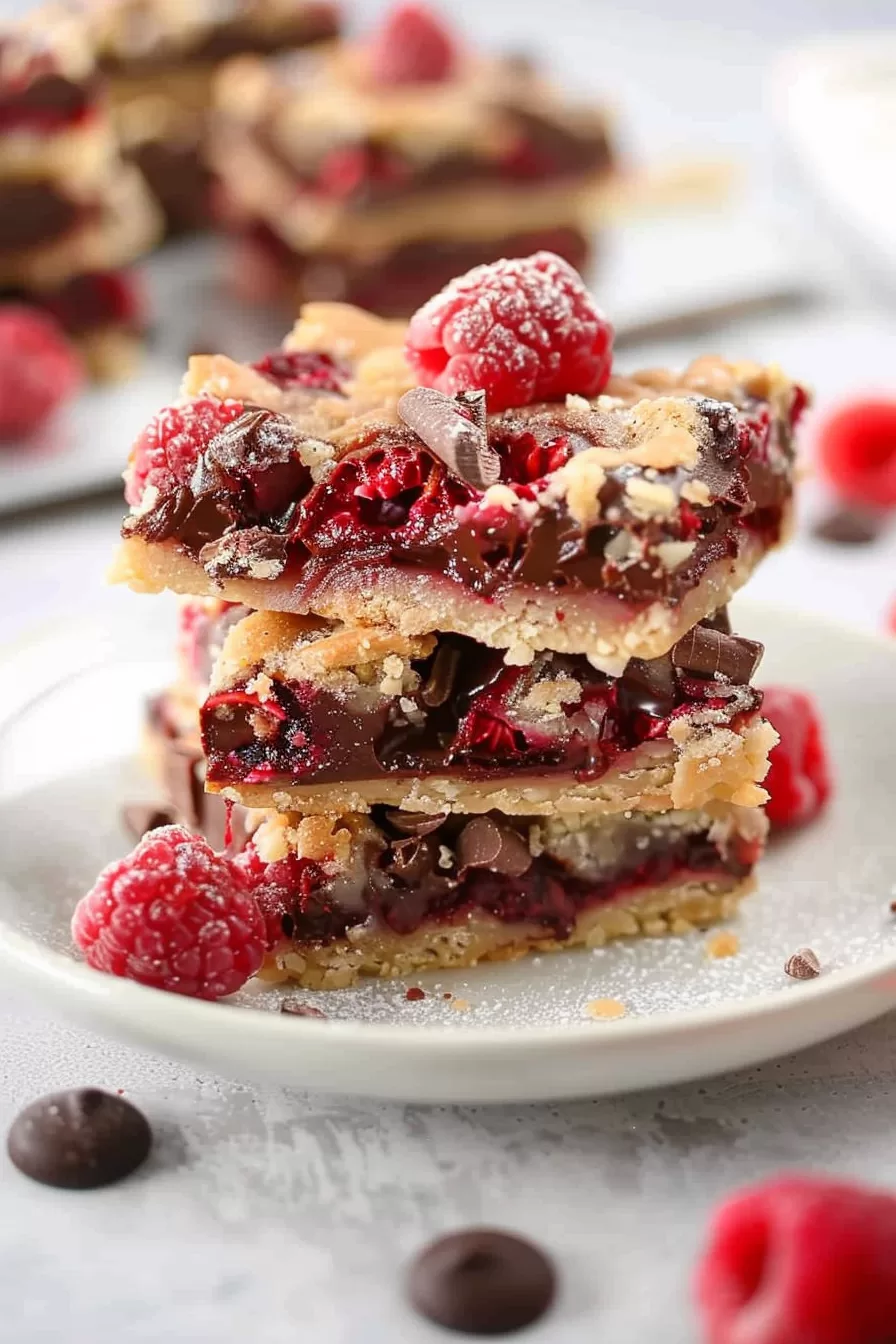
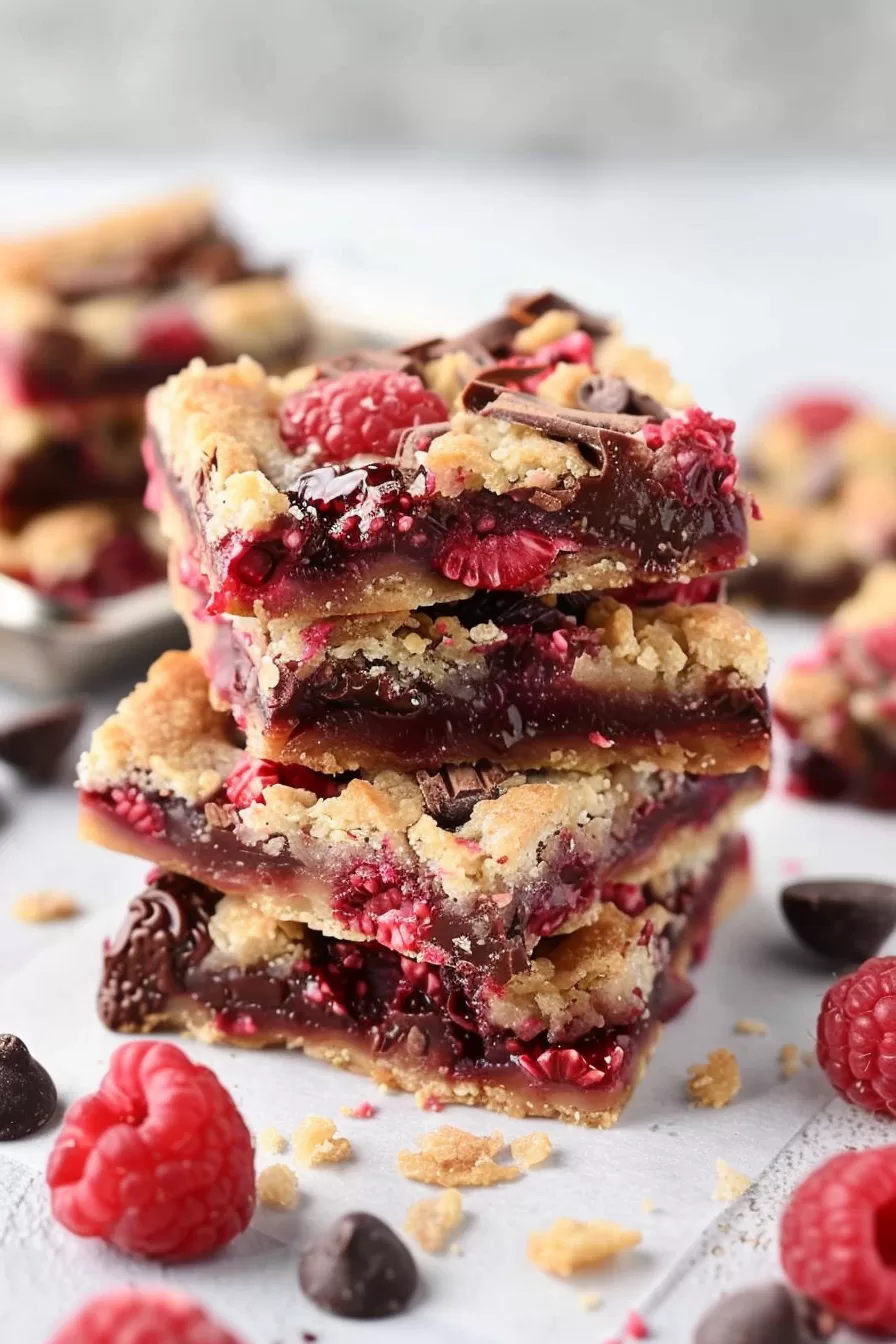
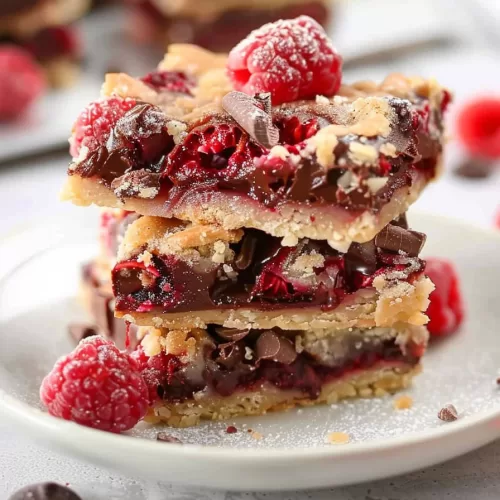
Decadent Raspberry Chocolate Crumble Bars – These Decadent Raspberry Chocolate Crumble Bars are your new dessert obsession. Picture this: buttery crumble, tart raspberries, and rich, melty chocolate all in one bite. Hungry yet? And guess what—it only takes about 10 minutes of prep before your kitchen starts smelling like a bakery. Whether you’re craving something sweet for yourself or want to impress guests, these bars have you covered. Ready to bake? Let’s do this!


The first time I made these bars, I was in one of those “I need something sweet, now” kind of moods. I had some fresh raspberries that were on the verge of going bad, and chocolate chips are always a staple in my pantry. So, I threw them together, crossed my fingers, and hoped for the best. I’ll never forget the look on my husband’s face when he took his first bite—pure bliss. Even my child, who usually avoids anything with fruit, couldn’t resist! Now, these bars have become a regular request in our house, especially when raspberries are in season. They’re ridiculously easy, but taste like you’ve spent way more time on them. I mean, who doesn’t love that?
What makes this Decadent Raspberry Chocolate Crumble Bars truly special?
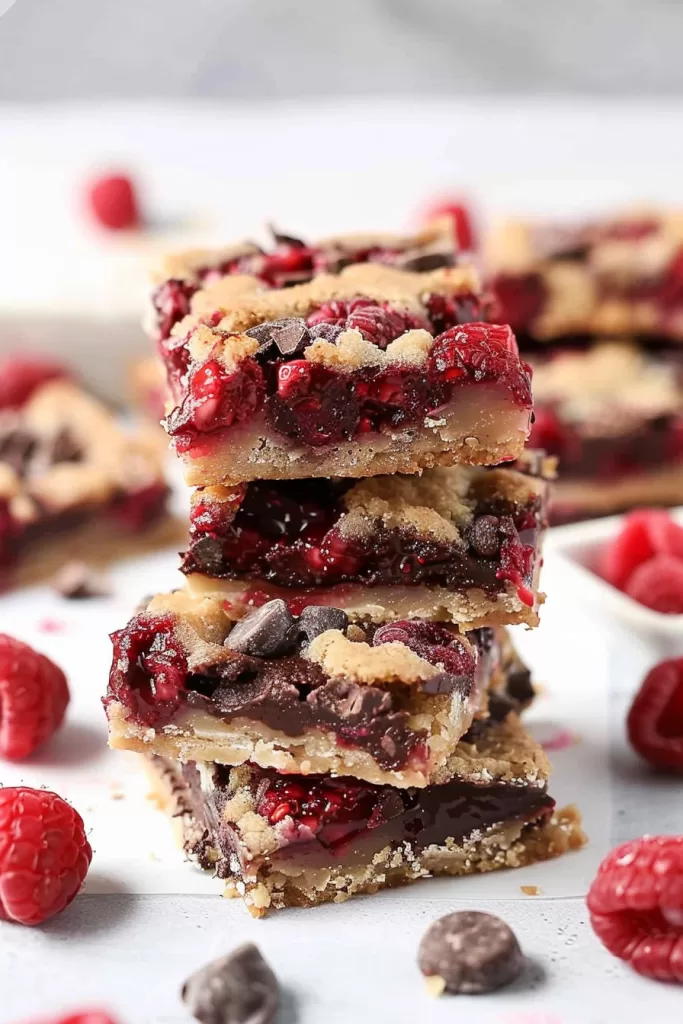
These bars are the ultimate sweet treat. The buttery, cinnamon-spiced crumble melts in your mouth, while the tartness of the raspberries perfectly complements the rich chocolate chips. What makes them truly special is that they hit all the notes: sweet, tart, rich, and buttery, all in one bite. And did I mention how easy they are to make? You don’t need any fancy equipment—just a bowl, a pan, and a little love. Plus, they’re versatile enough to serve at a party or simply enjoy as a mid-week treat. You’ll find yourself making them again and again, I promise.

What You Need To Make This Decadent Raspberry Chocolate Crumble Bars Recipe?
Raspberries: Fresh is best for this recipe. They bring that sweet-tart flavor that balances perfectly with the richness of the chocolate. And let’s be honest, raspberries are kind of fancy, right? If you can get your hands on some ripe ones, you’re golden. But hey, if all you’ve got are frozen raspberries, don’t sweat it—they’ll work too. Just thaw them first, and maybe add a bit more bake time.
Cornstarch: This is your thickening magic. It helps keep the raspberry layer from getting too runny and turns it into that perfect jammy consistency. Without it, you’d end up with a watery mess. Trust me, it’s small but mighty.
Lemon Juice: A little squeeze of lemon juice goes a long way here. It brightens up the raspberries and makes their flavor really pop. Plus, it keeps things from getting too sweet—just the right amount of tangy balance.
All-Purpose Flour: This is the backbone of the crumble. It’s what gives it that nice structure while still keeping things tender. Simple, reliable, and exactly what you need for that buttery, crumbly goodness.
Butter: Cold butter is key here—trust me on this. You want those little pockets of buttery heaven in your crumble. When it melts in the oven, it gives the bars that perfect, rich texture. Make sure it’s diced small so it incorporates nicely.
Chocolate Chips: Dark, semi-sweet, or milk—honestly, you can’t go wrong here. It’s chocolate, after all. But I usually go for semi-sweet because it strikes that perfect balance with the tart raspberries. And when it melts into the fruit? Oh, forget about it—it’s pure bliss.
Cinnamon: Just a hint of cinnamon adds warmth and depth to the crumble. It’s not overpowering, but it’s there, lingering in the background and making everything taste that much cozier. You’ll get those “mmm, what’s that flavor?” moments from anyone who takes a bite.
Steps To Make Decadent Raspberry Chocolate Crumble Bars:
Preheat the oven: Get your oven going at 350°F. Grab an 8-inch square aluminum pan and give it a light spray with some nonstick cooking spray. Trust me, this makes things so much easier later. Then, line the pan with parchment paper, leaving a little extra hanging over the sides to help lift the bars out. Quick tip: Spray the parchment too—no sticking allowed here!
Make the raspberry layer: In a medium bowl, gently toss the raspberries with the cornstarch, lemon juice, and sugar. Give it a good mix until the raspberries are well-coated and starting to get all juicy. Set that aside for a bit while you move on to the crumble.
Crumble time: In another bowl, whisk together the flour, sugar, baking powder, salt, and cinnamon. Now, here comes the fun part—grab that cold, diced butter and use your hands to work it into the flour mixture. You’re aiming for a texture like coarse crumbs. It’ll feel a bit like damp sand, but that’s what you want—no big chunks of butter left behind.
Want To Save This Recipe?
Add the wet ingredients: Stir in the egg yolk, water, and vanilla extract until everything comes together. It’s going to be a bit crumbly, but that’s totally okay. You’re not looking for a smooth dough here.
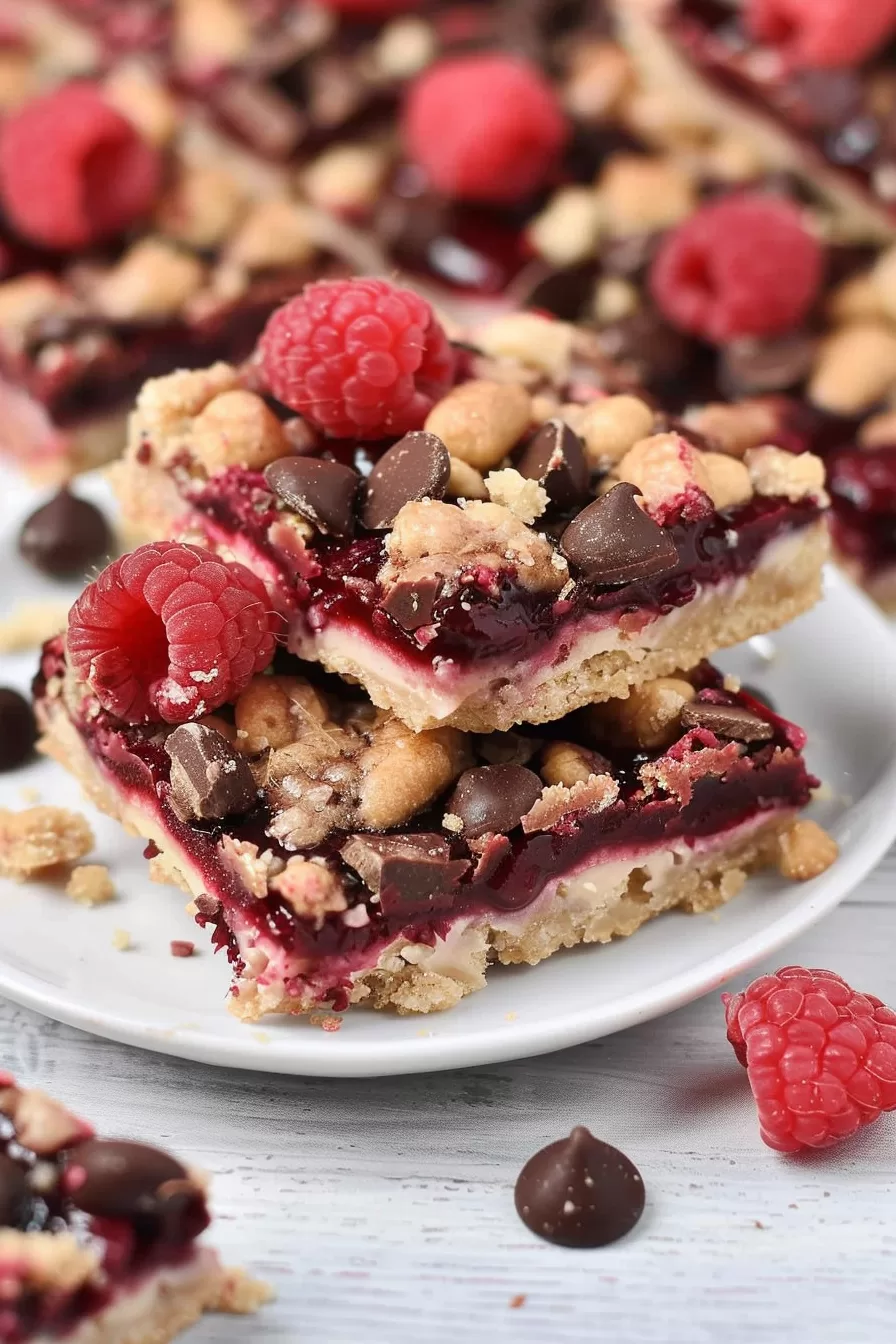
Assemble the bars: Press about two-thirds of the dough into the bottom of your prepared pan. You want to make sure it’s even, so use your hands or the back of a spoon to press it down firmly. Now, pour that juicy raspberry mixture right over the top, spreading it out so the berries cover the crust. Sprinkle the chocolate chips evenly across the raspberries. Finally, crumble the remaining dough over everything—it doesn’t need to be perfect; just scatter it around.
Bake it up: Slide the pan into the oven and bake for about 40 to 50 minutes. You’ll know it’s ready when the raspberries are bubbling and the crumble starts turning a lovely golden brown. The smell in your kitchen? Yeah, it’s going to be amazing.
Cool and chill: Now comes the hard part—waiting! Let the bars cool completely in the pan. I usually leave them for about 2 to 3 hours. If you’re impatient like me, let them cool at room temp for an hour, then stick them in the fridge to speed things up.
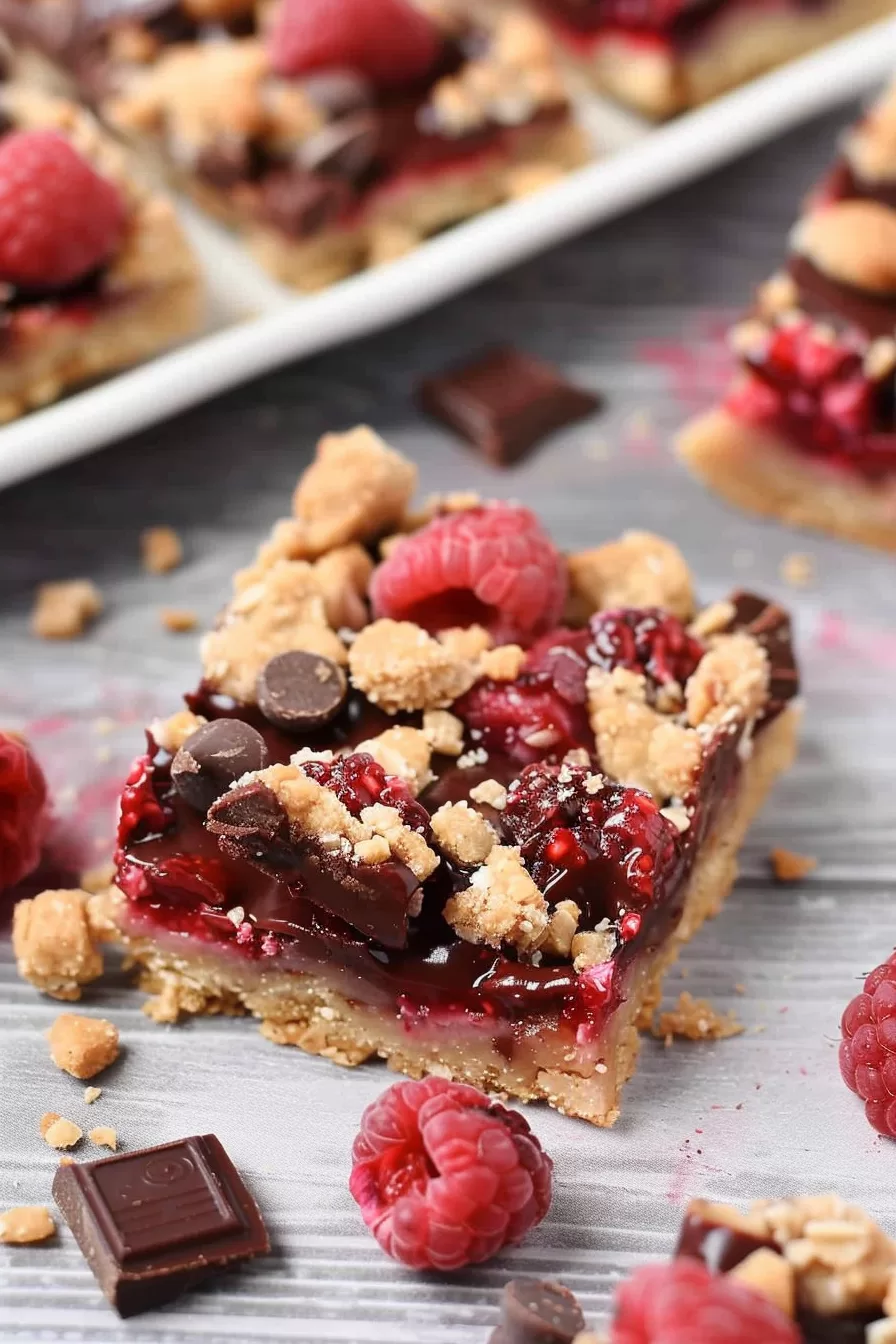
Slice and serve: Once cooled, use that handy parchment paper sling to lift the bars out of the pan. Move them to a cutting board and slice them into 12 squares. And now, finally, you get to enjoy all that raspberry-chocolate-crumble goodness!
Tip:
Here’s a little game-changer for you: before you start making your crumble, toss your butter into the freezer for about 10 minutes. I know it sounds like an extra step, but trust me, it makes all the difference. Cold butter is the secret to that perfect, crumbly texture we all love. When it hits the heat of the oven, the butter slowly melts and creates those delicious pockets of flakiness. Also, after you press the dough into the pan, throw the whole thing in the fridge for about 10-15 minutes before baking. Why? It gives the butter and dough time to firm up, which means your crumble layer will bake up nice and crispy. And, please, don’t skip the parchment paper sling! It’s your best friend when it’s time to pull the bars out. You’ll thank yourself when you see how easy they lift out without breaking apart!
Frequently Asked Questions:
Can I use frozen raspberries instead of fresh?
Yes, totally! Frozen raspberries work just as well, but make sure to thaw them and drain any excess liquid. Otherwise, the bars might get too soggy. You may need to add a couple of extra minutes to the bake time, so keep an eye on them!
How do I store these bars?
You can store these bars in an airtight container at room temperature for about 2 days. If you want them to last longer, pop them in the fridge, where they’ll stay fresh for up to a week. And honestly, I kind of love them chilled—the flavors really come together.
Can I substitute white chocolate or another type of chocolate?
Absolutely! White chocolate gives the bars a sweeter, creamier vibe, while dark chocolate adds a nice bittersweet contrast. You can even mix different kinds of chocolate chips if you’re feeling adventurous. It’s your dessert—make it your own!
Decadent Raspberry Chocolate Crumble Bars
Ingredients
Raspberry Layer:
- 2 c fresh raspberries
- 2 tsps cornstarch
- 1 tbsp lemon juice
- ¼ c granulated sugar
Crumble Crust and Topping:
- 1½ c all-purpose flour
- ½ c granulated sugar
- ½ tsp baking powder
- ¼ tsp salt
- ½ tsp cinnamon
- ½ c unsalted butter cold and diced into ¼-inch cubes
- 1 large egg yolk
- 1 tbsp water
- 1 tsp vanilla extract
- ¾ c chocolate chips dark, semi-sweet, or milk—whatever you prefer
Instructions
- Preheat your oven to 350°F. Grab an 8-inch square pan and give it a light coating of nonstick spray. Then, line it with a sheet of parchment paper, leaving a little extra hanging over the sides so you can easily lift the bars out later. Give that parchment a quick spray too.
- In a medium bowl, gently mix the raspberries, cornstarch, lemon juice, and sugar until everything is well combined. Set it aside for now and let the raspberries do their thing.
- In another bowl, whisk together the flour, sugar, baking powder, salt, and cinnamon. Now, grab your cold, cubed butter and work it into the dry mixture with your hands. Keep mixing until it feels like coarse crumbs—think sandy texture. You don’t want any big chunks of butter left.
- Next, add the egg yolk, water, and vanilla extract to the crumbly mixture. Stir it all together with a fork until it starts to come together as a dough.
- Take about two-thirds of the dough and press it firmly into the bottom of your prepared pan, making sure it’s nice and even. Pour the raspberry mixture over the top and spread it out. Sprinkle the chocolate chips on top of the raspberries, and then crumble the remaining dough evenly over everything.
- Pop the pan in the oven and bake for around 40 to 50 minutes. You’ll know it’s ready when the raspberries are bubbling and the crumble turns a gorgeous golden brown.
- Once out of the oven, let the bars cool completely in the pan. It usually takes about 2-3 hours for them to cool down, though sometimes I get impatient and stick them in the fridge after an hour to speed things up. Once they’re fully cooled, just grab those parchment paper ends and lift the bars out. Slice them up on a cutting board and enjoy!
Notes
I’m Bitty, owner of nodashofgluten.com, where I share simple, delicious recipes for all tastes, including gluten-free. Check out my “About Me” page for more info!