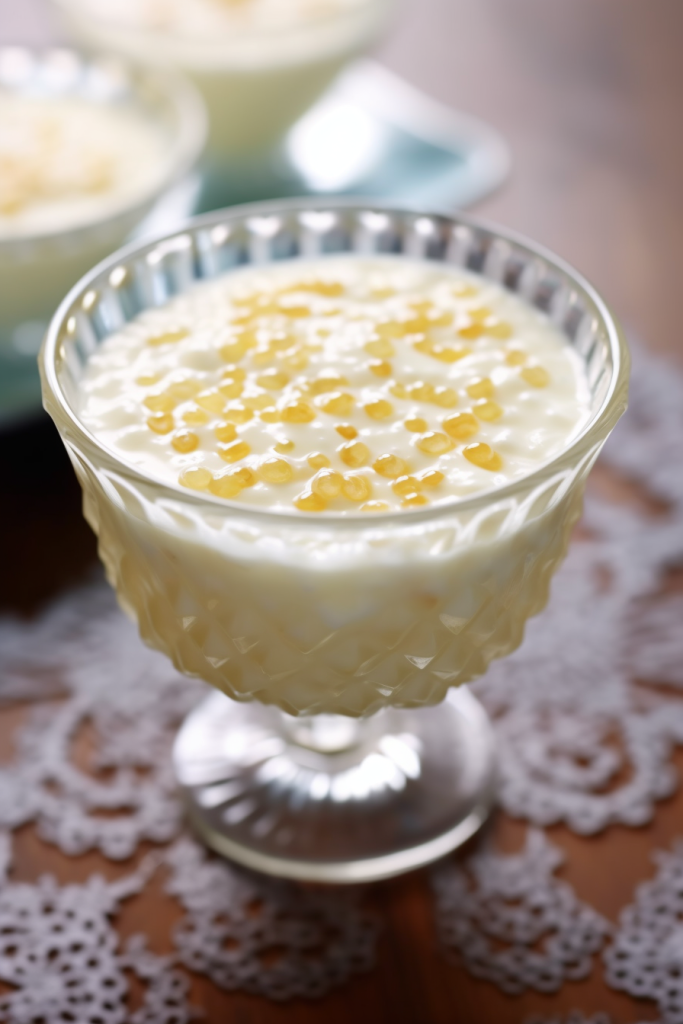
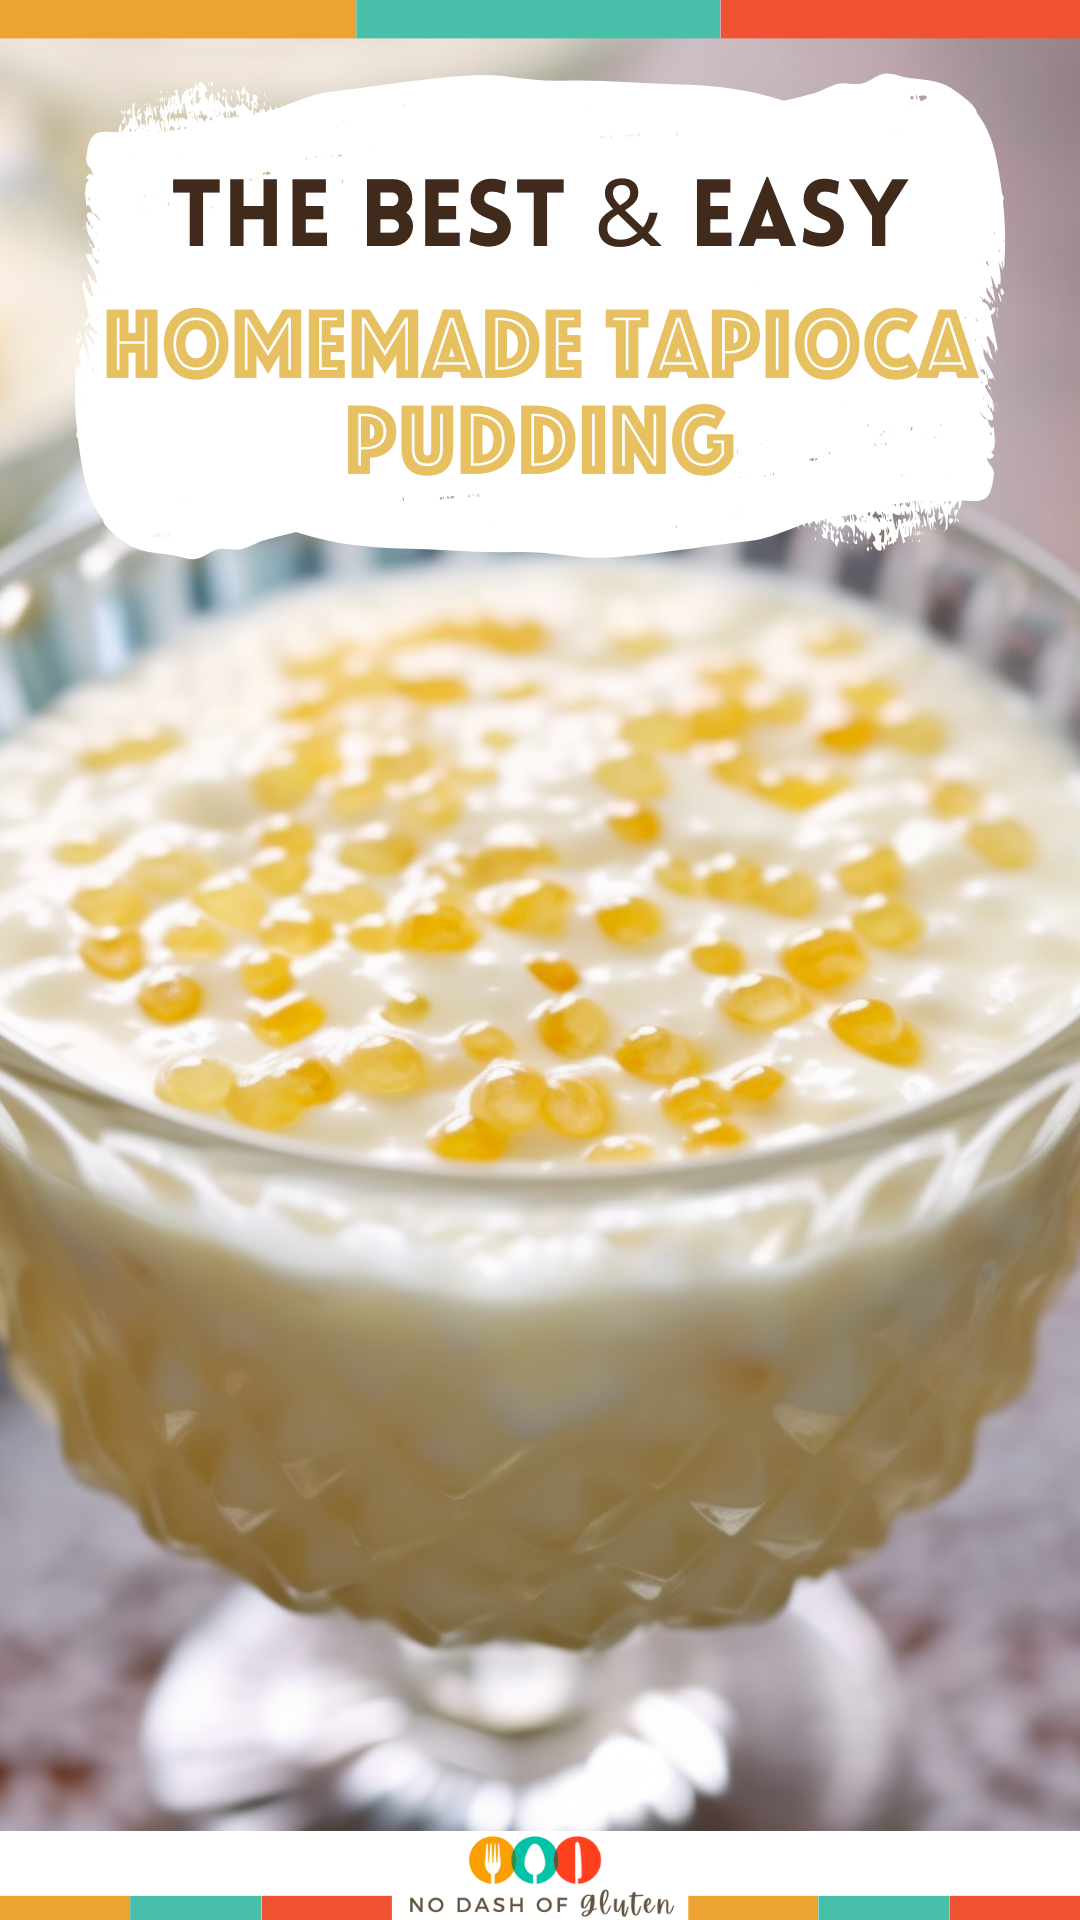
Homemade Tapioca Pudding – There’s something comforting about a bowl of Homemade Tapioca Pudding. This recipe utilizes milk, pearl tapioca and a whiff of vanilla. Making it an excellent extravagance, for anyone with a passion for a creamy pleasure. The key ingredients. Small pearl tapioca, milk, sugar and eggs. Come together to assemble a dessert that’s both uncomplicated and pleasurable.

I remember the first time I made this pudding on an evening when I was seeking warmth for both my heart and stomach. Witnessing the tapioca pearls gradually plump up while the milk transformed into a creaminess felt almost therapeutic. When I finally served it my husband’s eyes lit up with nostalgia. My child eagerly asked for seconds. A special dessert that quickly earned its place as our family favorite.
What makes this Homemade Tapioca Pudding truly special?
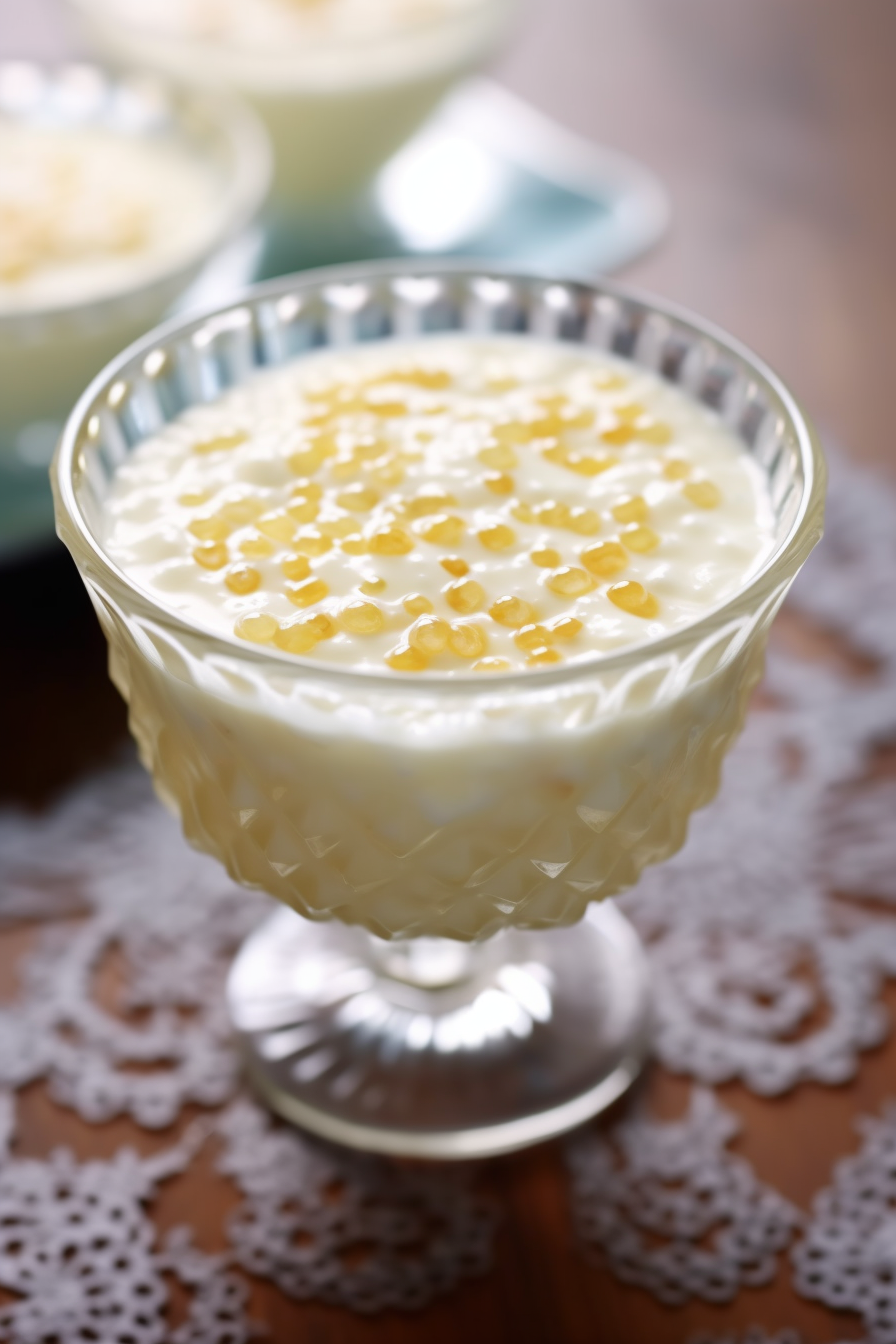
There is a joy in preparing dishes from scratch. The delightful texture of pearl tapioca combined with the richness of milk creates not just an ordinary treat but an extraordinary experience. Moreover it is highly adaptable. Making it an ideal choice, for warming up in the winter or enjoying a refreshing delight during the summer months.
What You Need To Make This Homemade Tapioca Pudding Recipe?
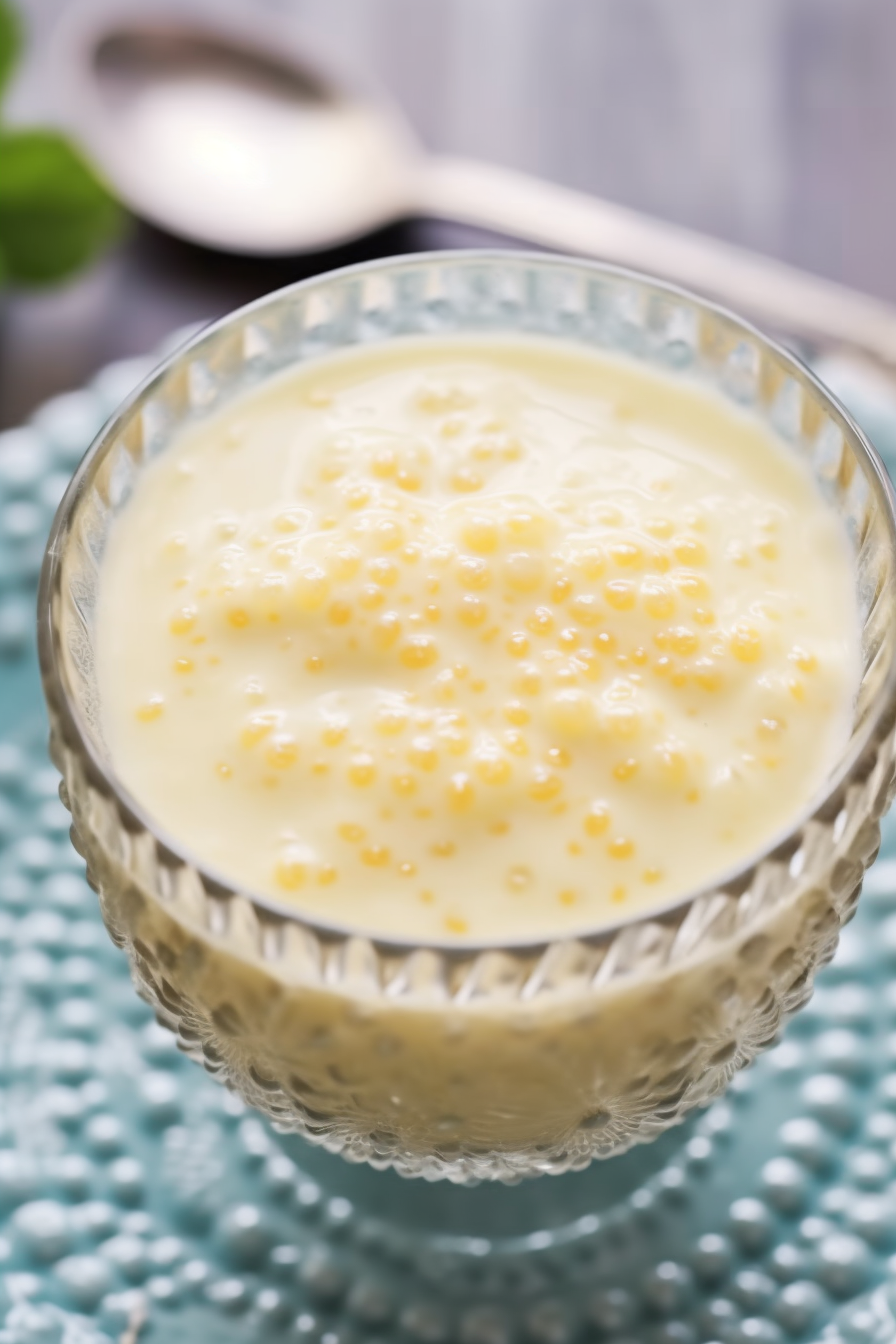
Small Pearl Tapioca: These little pearls are the heart of the pudding. Unlike their instant counterparts, they require patience and care to swell into the perfect texture. It’s like watching tiny pearls of magic slowly come to life in your pot, turning into a creamy, dreamy pudding.
Whole Milk: This is where the creamy magic happens. Whole milk adds a rich, velvety texture that hugs each tapioca pearl in a comforting embrace. If you’re feeling adventurous, a combination of skim milk with a splash of cream can also create a delightful balance – a dance of lightness and richness.
Salt: Just a pinch, but oh, how it elevates the flavors! It’s the unsung hero that brings out the sweetness and depth of the other ingredients. Think of it as a sprinkle of love that ties everything together.
Large Eggs: They’re not just an ingredient; they’re the binders of joy in this pudding. Beating them gently and incorporating them with care ensures your pudding has the perfect custard-like, hug-in-a-bowl consistency.
Sugar: The sweet whispers in your pudding. It’s not just about sweetness; it’s about creating that perfect symphony with the milk and tapioca. Adjust the sugar to your liking – remember, you’re the conductor of this sweet orchestra.
Vanilla Extract: The final flourish, the aromatic essence that adds soul to your pudding. It’s like a drop of pure joy that rounds out all the flavors and leaves a lingering melody of comfort in every spoonful.
Steps To Make Homemade Tapioca Pudding:
Want To Save This Recipe?
Enter your email below and we'll send the recipe straight to your inbox.
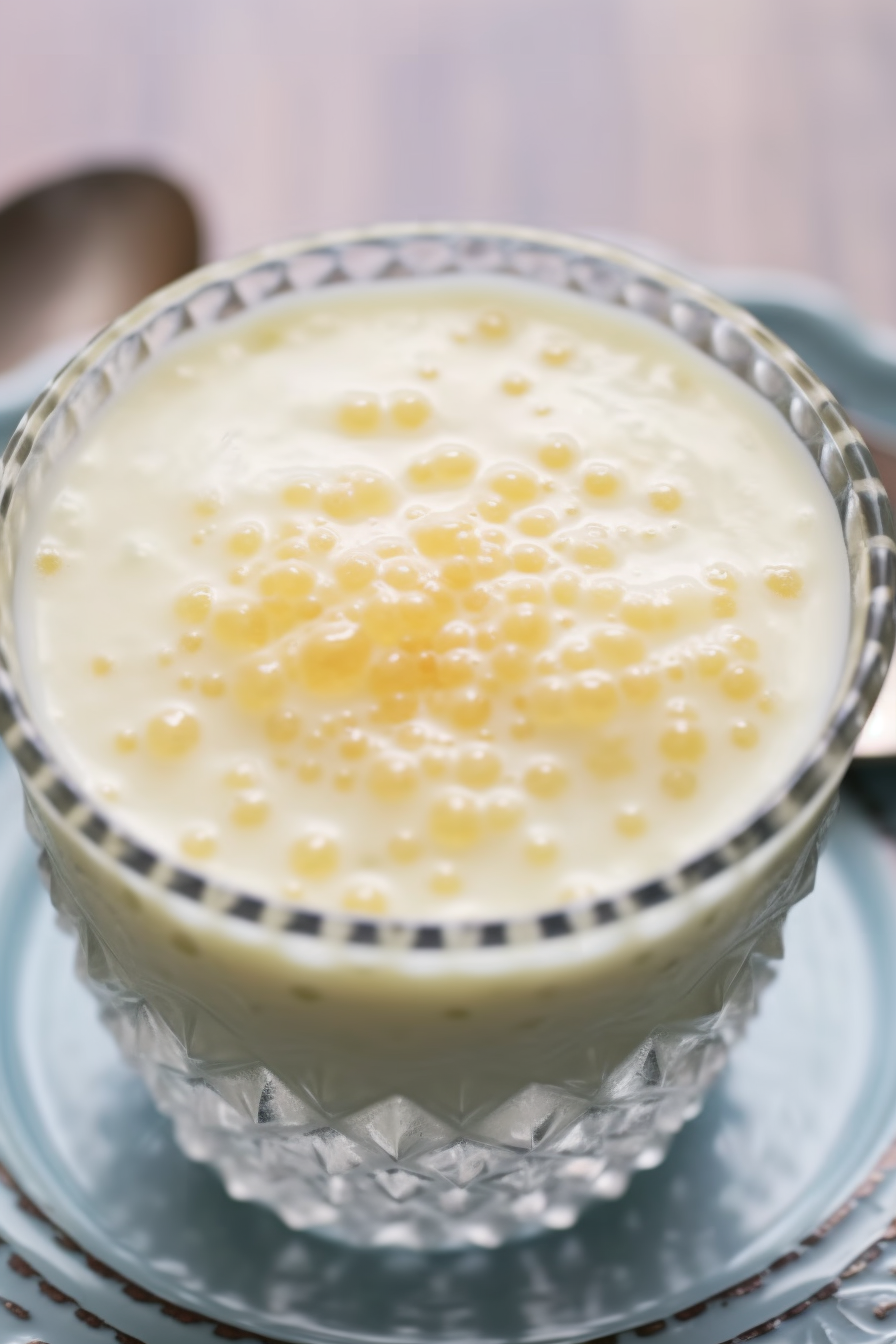
Step 1: In a saucepan combine the tapioca pearls, milk and a pinch of salt. Heat the mixture over medium-high heat while stirring to avoid any sticking. Once it starts simmering reduce the heat to low. The key here is to be patient – allow the pearls to gradually swell up and the mixture to thicken. The time it takes can vary depending on the brand of tapioca ranging from 5 to 45 minutes.
Step 2: Beat the eggs in a bowl. Gradually whisk in some of the hot tapioca mixture. This step is crucial as it helps equalize temperatures and prevents your pudding from turning into scrambled eggs!
Step 3: Gently stir the tempered eggs back, into the saucepan with tapioca. Slightly increase the heat while stirring constantly until you achieve a consistency to that of pudding. Remember not to let it boil!
Step 4: Remove from heat allow it to cool for 15 minutes then stir in some vanilla extract. You have two options, for serving – enjoy it warm like I do or refrigerate for a cold treat.
Tip:
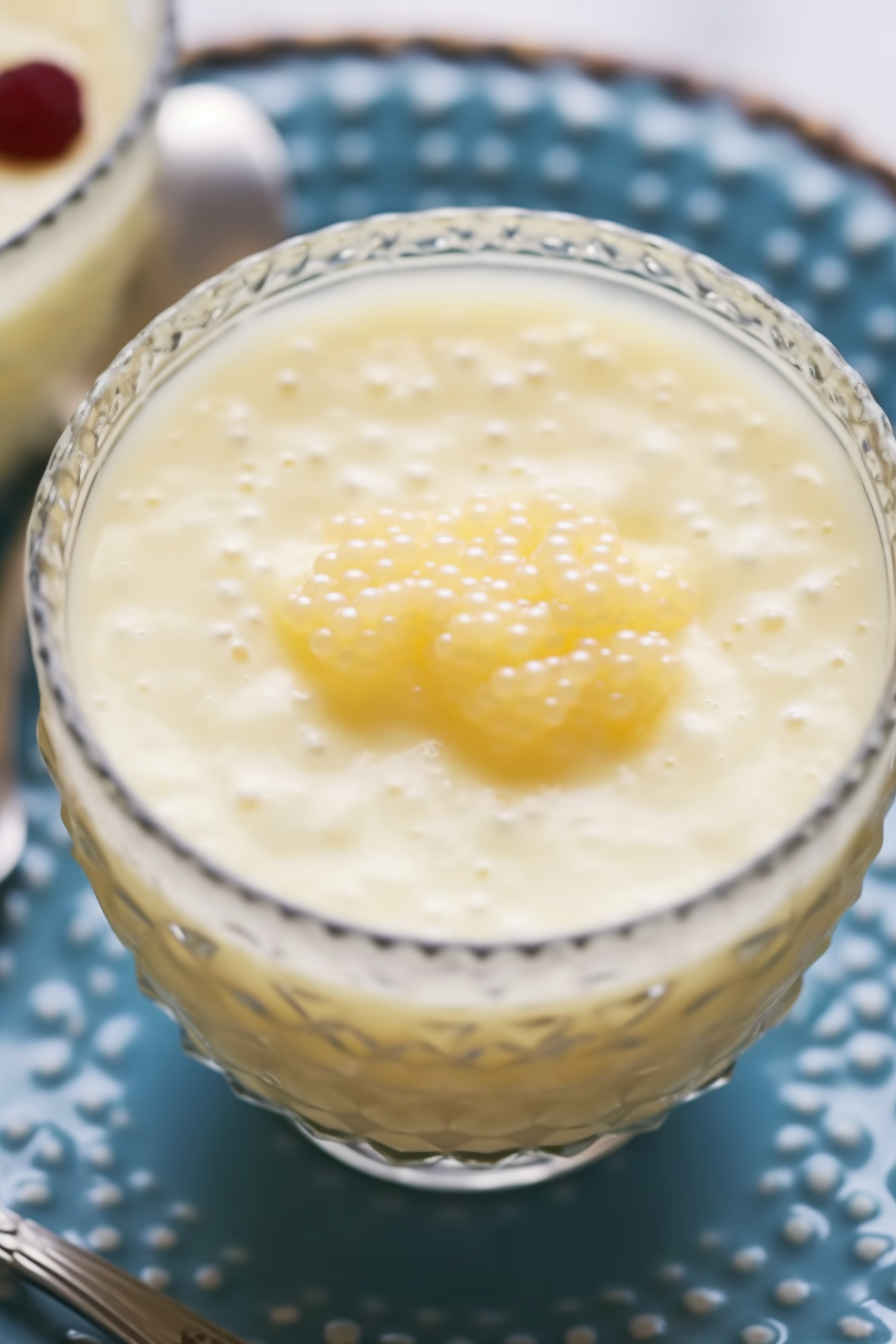
For the results, in making your Homemade Tapioca Pudding incredibly creamy and delightful it’s worth considering soaking the small pearl tapioca in water. This simple technique can have an impact, on both the texture and cooking time of your pudding. Soaking helps the pearls to soften and expand which ultimately reduces the cooking time and ensures that they cook evenly. It also minimizes the chance of ending up with hard tapioca pearls at the center. Just place them in a bowl cover them with water refrigerate overnight and drain before using. This little tip can truly transform your tapioca pudding into a comforting classic treat.
Frequently Asked Questions:
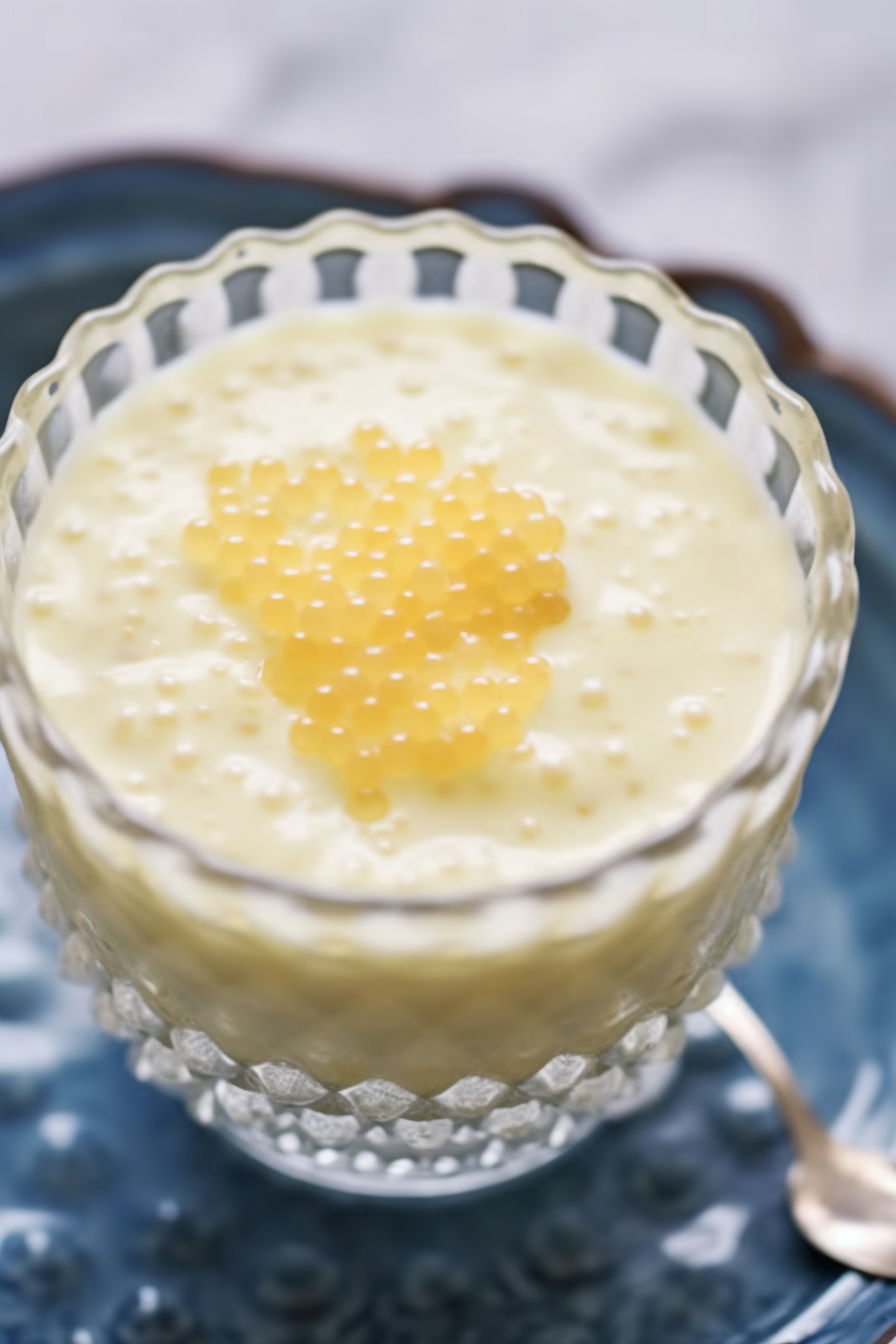
Can I use instant tapioca instead of pearl tapioca?
Sure you can use instant tapioca instead of pearl tapioca but keep in mind that it might not provide the same texture. For the best results it’s recommended to stick with small pearl tapioca.
How can I prevent the pudding from forming a skin as it cools?
To prevent a skin from forming on the pudding as it cools a helpful tip is to place a layer of wrap on the surface of the pudding.
Can this pudding be made vegan?
Definitely! This pudding can easily be made vegan. Just substitute dairy milk with coconut milk. Use a plant-based egg substitute. Enjoy!
<Remember it later>
Planning to try this recipe soon? Pin it for a quick find later!
<Remember it later>
Planning to try this recipe soon? Pin it for a quick find later!
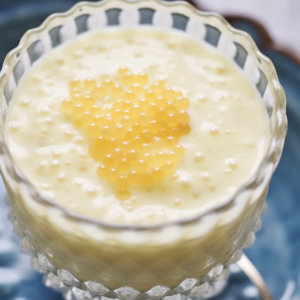
Homemade Tapioca Pudding
Ingredients
- 1/2 c small pearl tapioca
- 3 c whole milk or skim milk with cream added
- 1/4 tsp salt
- 2 large eggs
- 1/2 c sugar
- 1 tsp vanilla extract
Instructions
- Start by combining the tapioca, milk and a pinch of salt, in a pan. Heat the mixture over medium-high heat until it starts to simmer. Then reduce the heat to its setting. Gradually add sugar while stirring.
- Keep cooking on low heat until the tapioca pearls become soft and the mixture thickens. Stir occasionally to prevent it from sticking.
- In a bowl beat the eggs. Slowly add some of the hot tapioca mixture into the eggs while whisking continuously. This helps warm up the eggs without cooking them.
- Gently mix in the tempered eggs back into the tapioca mixture in the pan. Increase heat to medium. Keep stirring until it thickens into a pudding consistency. Be careful not to let it boil.
- Allow it to cool for 15 minutes then stir in some vanilla extract, for added flavor. You can enjoy this treat either warm or chilled.
Notes

I’m Bitty, owner of nodashofgluten.com, where I share simple, delicious recipes for all tastes, including gluten-free. Check out my “About Me” page for more info!


