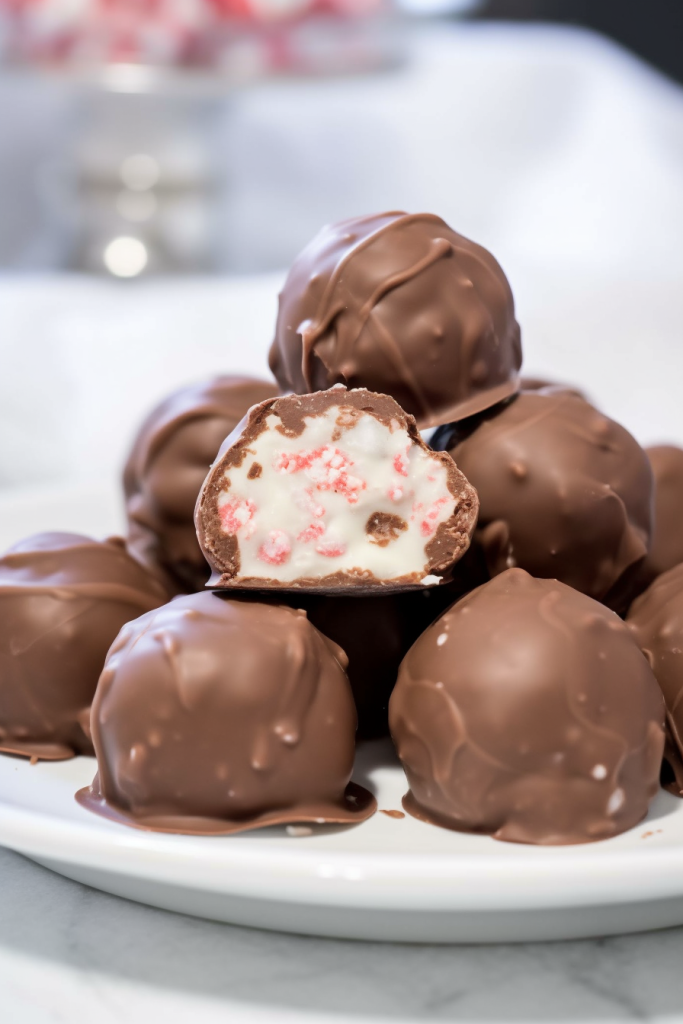
Martha Washington Candies – Experience the timeless pleasure of Martha Washington Candies, a treat that combines the flavors of buttery pecans, sweet coconut, and luscious cherries wrapped in velvety chocolate. This recipe is not an indulgence; it takes you on a journey through an exquisite fusion of textures and flavors that evoke cherished memories while creating new ones.

I can still vividly recall the first time I prepared Martha Washington Candies. It was a chilly evening. I wanted to surprise my loved ones with something special. As I mixed the ingredients together the kitchen filled with the inviting aroma of vanilla and coconut. The true magic unfolded when my husband and our child savored these confections. With each bite, their eyes sparkled with delight etching that moment of joy within my heart.
What makes this Martha Washington Candies truly special?
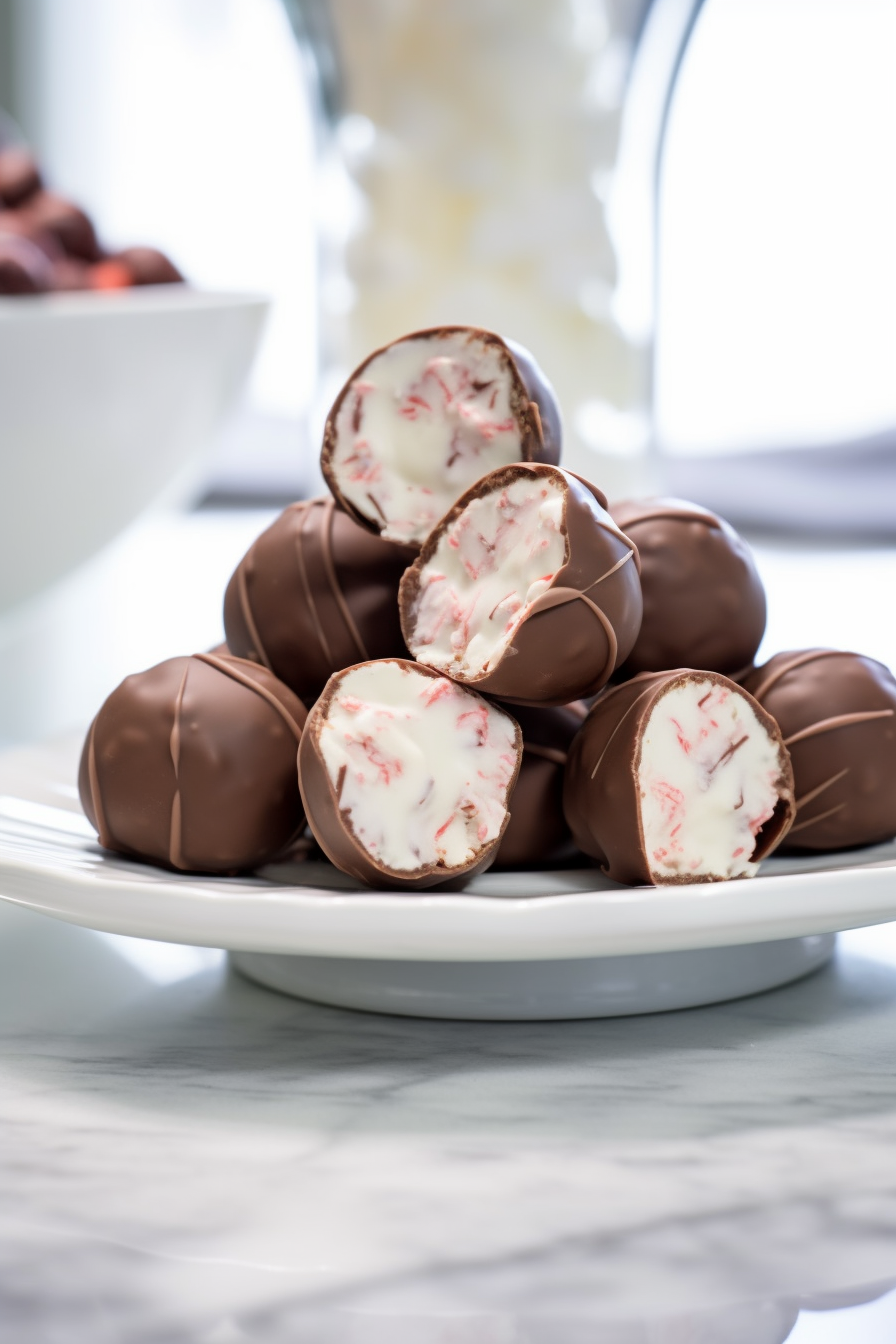
What sets this recipe apart? Firstly it lies in its simplicity – these candies come together effortlessly using ingredients yet taste like gourmet confections. Secondly, it’s all, about the blend of textures – from the crunch of pecans to the delightful chewiness of coconut and cherries enveloped in velvety chocolate – every mouthful offers a truly blissful experience.
What You Need To Make This Martha Washington Candies Recipe?

Unsalted Butter: This isn’t just butter; it serves as the indulgent base, for our delightful candies. When melted to perfection it seamlessly blends, giving our treats that texture that melts in your mouth.
Powdered Sugar: It plays a melody in our confectionery creations. It transforms our mixture from ingredients into a velvety canvas ready to embrace the other flavors.
Vanilla Extract: Consider this as the hero. Just a touch of vanilla brings an aromatic undertone beautifully tying all the flavors together in harmony.
Sweetened Shredded Coconut: Here comes the tropical twist! The coconut is not an ingredient; it’s an experience. Each shred adds a chewy, subtly nutty texture that transports you to a world of flavor with every bite.
Sweetened Condensed Milk: This is the glue that holds our candy world together. It’s not a binder; it’s a sweet nectar that enriches our mixture giving it a luxurious and smooth consistency.
Maraschino Cherries: These little ruby gems scattered throughout the candy offer a contrast to the sweetness. They are, like bursts of joy adding color, distinctive character, and fruity depth.
Pecans: These aren’t only nuts; they are gems, finely chopped to seamlessly blend in. They add a flavor and a satisfying crunch making every bite a truly enjoyable experience.
Chocolate Coating: The finale. This coating isn’t just a layer; it’s, like a warm embrace of chocolate that envelops our candies in a glossy and decadent cloak. It’s the finishing touch that elevates these candies from being simply delicious to divine.
Steps To Make Martha Washington Candies:
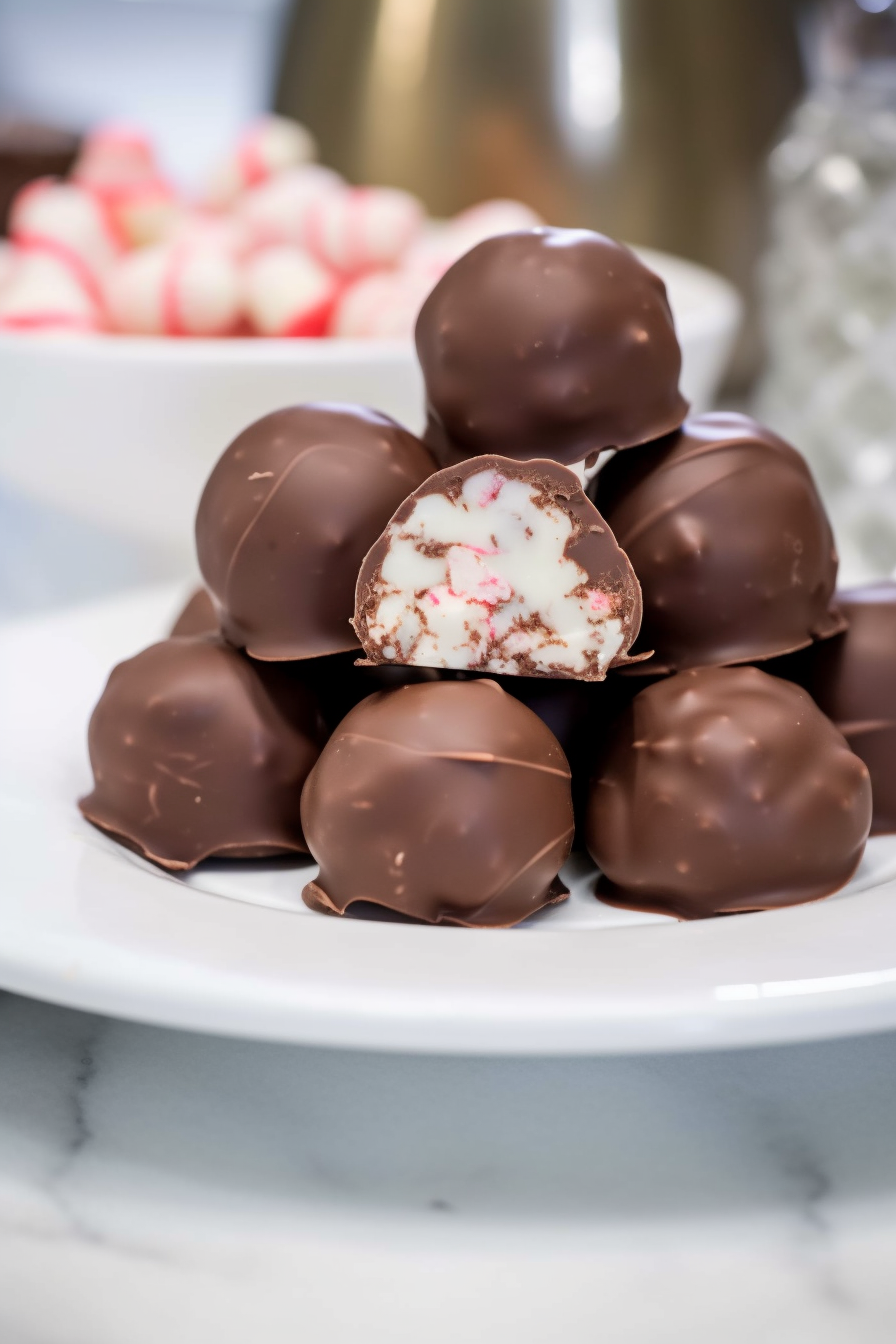
Step 1: Start by preparing a baking sheet and lining it with wax paper. This will be where your candies can rest and set.
Want To Save This Recipe?
Enter your email below and we'll send the recipe straight to your inbox.
Step 2: In a bowl combine the butter, powdered sugar, vanilla extract shredded coconut condensed milk, and chopped pecans. This mixture forms the core of your candies.
Step 3: Gently incorporate the chopped cherries into the mixture to add a burst of color and flavor.
Step 4: Allow the mixture to chill in the refrigerator for a few hours. Patience is key here as this step ensures that your candies will maintain their desired shape.
Step 5: Scoop out portions of the chilled mixture. Roll them into balls of pure joy.
Step 6: Once they have firmed up after being chilled it’s time, for a chocolate bath. Melt some chocolate coating and dip each ball generously to achieve a coating.
Step 7: Place the dipped balls back, on the wax paper. Wait patiently until they have fully set. This may be the hardest part. Believe me it’s worth it to savor these treats!
Tip:
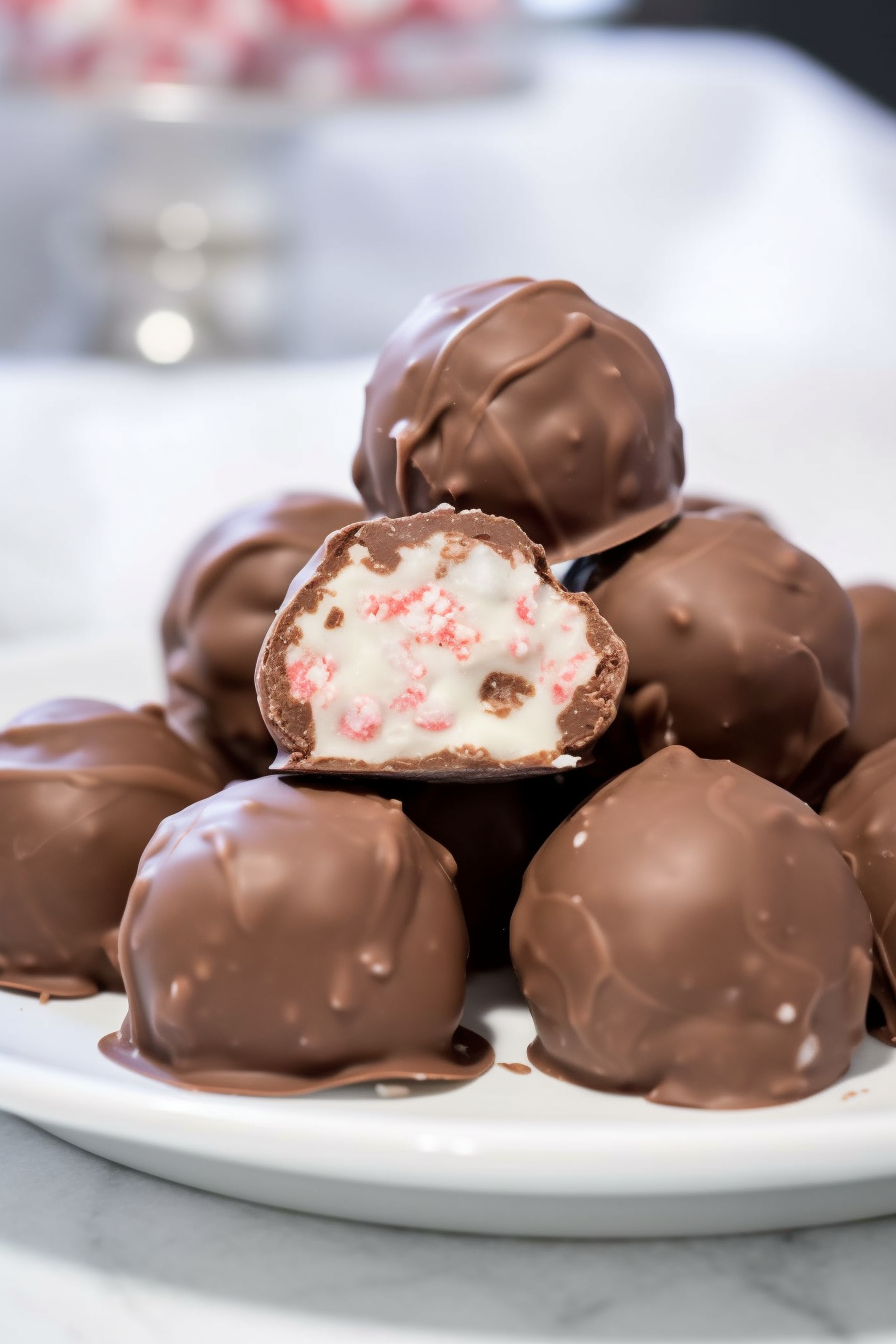
Make sure to chill your formed candies before dipping them in chocolate. Once you’ve rolled the candy mixture into balls place them in the refrigerator, for a period of time longer than the suggested 20 minutes if needed. This chilling ensures that the candies maintain their shape perfectly when they are dipped into the melted chocolate. It prevents them from falling or becoming too soft during the dipping process. The firmer your candies are the more looking your chocolate coating will turn out to be. This simple step can have an impact, on how your delightful treats look and feel in the end.
Frequently Asked Questions:
Can I use different nuts in this recipe?
Of course! Almonds or walnuts would make great substitutes for pecans.
How long can I store these candies?
If you manage to resist them for that long they will remain fresh in an airtight container for, up, to a week!
Can I make these candies without coconut?
Certainly! While it will affect the texture slightly you can omit the coconut if you prefer.

<Remember it later>
Planning to try this recipe soon? Pin it for a quick find later!
<Remember it later>
Planning to try this recipe soon? Pin it for a quick find later!

Martha Washington Candies
Ingredients
- 1 c 2 sticks unsalted butter, melted
- 1 pound powdered sugar
- 1 tbsp vanilla extract
- 1 14 ounces package sweetened shredded coconut
- 1 14 ounces can sweetened condensed milk
- 1 10 ounces jar maraschino cherries, drained and chopped
- 3 c pecans finely chopped
- 16 ounces chocolate coating
Instructions
- Line a baking sheet, with wax paper.
- Combine the following ingredients in a bowl; melted butter, powdered sugar, vanilla extract, coconut condensed milk and finely chopped pecans. Mix them together thoroughly.
- Gently fold in the chopped cherries.
- Place the mixture in the refrigerator for two hours to allow it to firm up.
- Using a scoop shape the mixture into balls. Arrange them on the prepared baking sheet.
- Return the formed candies to the fridge for 20 minutes until they become firm.
- In a microwave bowl melt the chocolate coating according to the instructions on the package.
- Dip each candy ball into the melted chocolate and remove any chocolate. Place them back, onto the wax paper.
- Allow some time for the chocolate to set and for the candies to become firm. Once ready you can enjoy them!
Notes

I’m Bitty, owner of nodashofgluten.com, where I share simple, delicious recipes for all tastes, including gluten-free. Check out my “About Me” page for more info!


