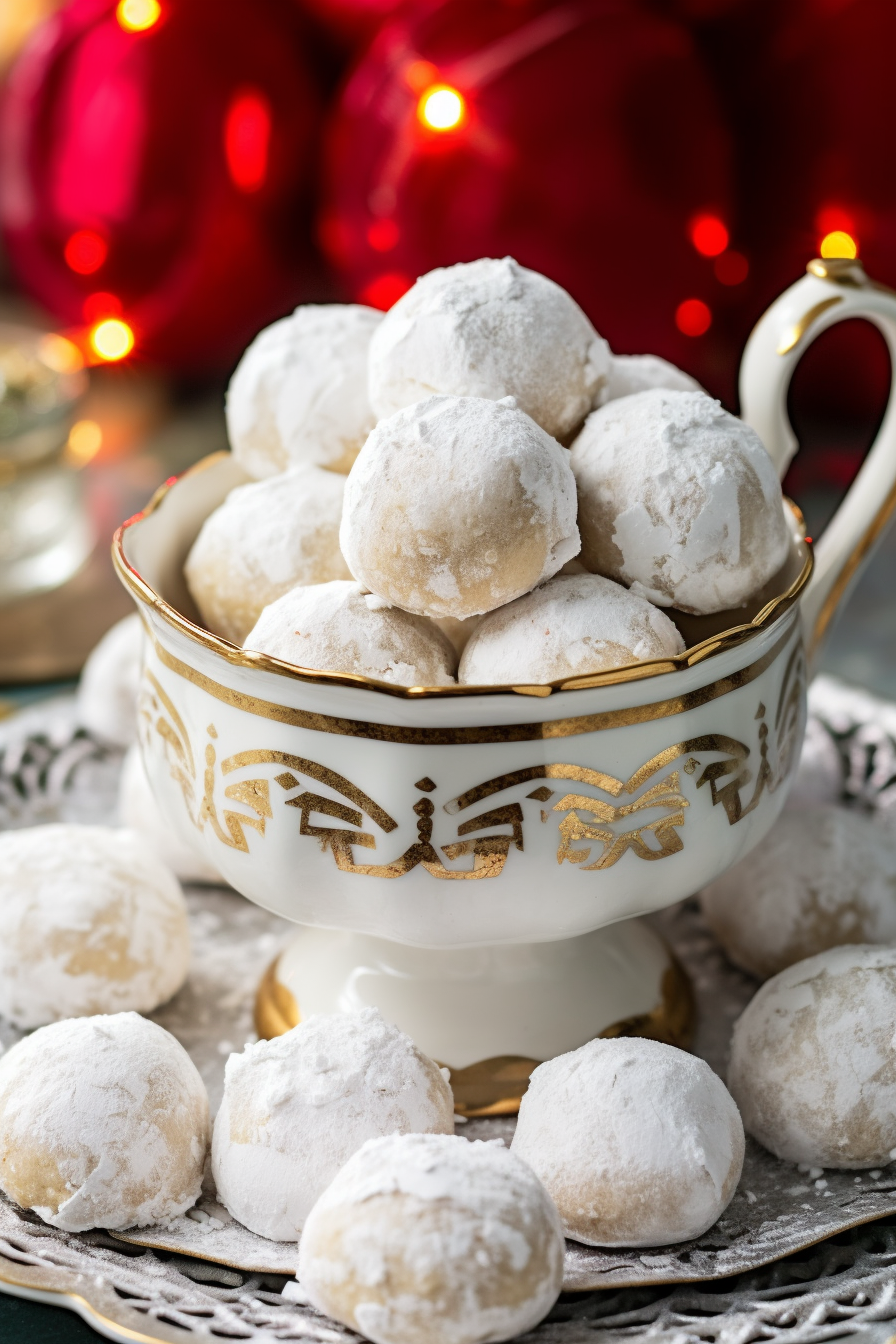
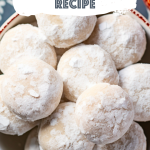
Russian Tea Cakes – Step into the world of indulgence with our recipe, for Russian Tea Cakes! These cookies offer a blend of buttery goodness, crunchy walnuts, and a sweet powdered sugar coating that simply melts in your mouth. Whether you enjoy them as a dessert or as a treat alongside your afternoon tea these cookies embody the comforting warmth of baking. Made with ingredients such as all-purpose flour, walnuts, and confectioners’ sugar these cakes truly capture the magic of baking.

I can vividly recall the first time I prepared these Russian Tea Cakes. It was a chilly afternoon when I decided to whip up something for my beloved family. As soon as those little snowballs emerged from the oven and we took our bite it was pure love! My husband couldn’t stop raving about their buttery texture while my child adored the sweetness bestowed by the powdery coating. Since then they have become a family favorite and an absolute must-have for every holiday gathering.
What makes this Russian Tea Cake truly special?
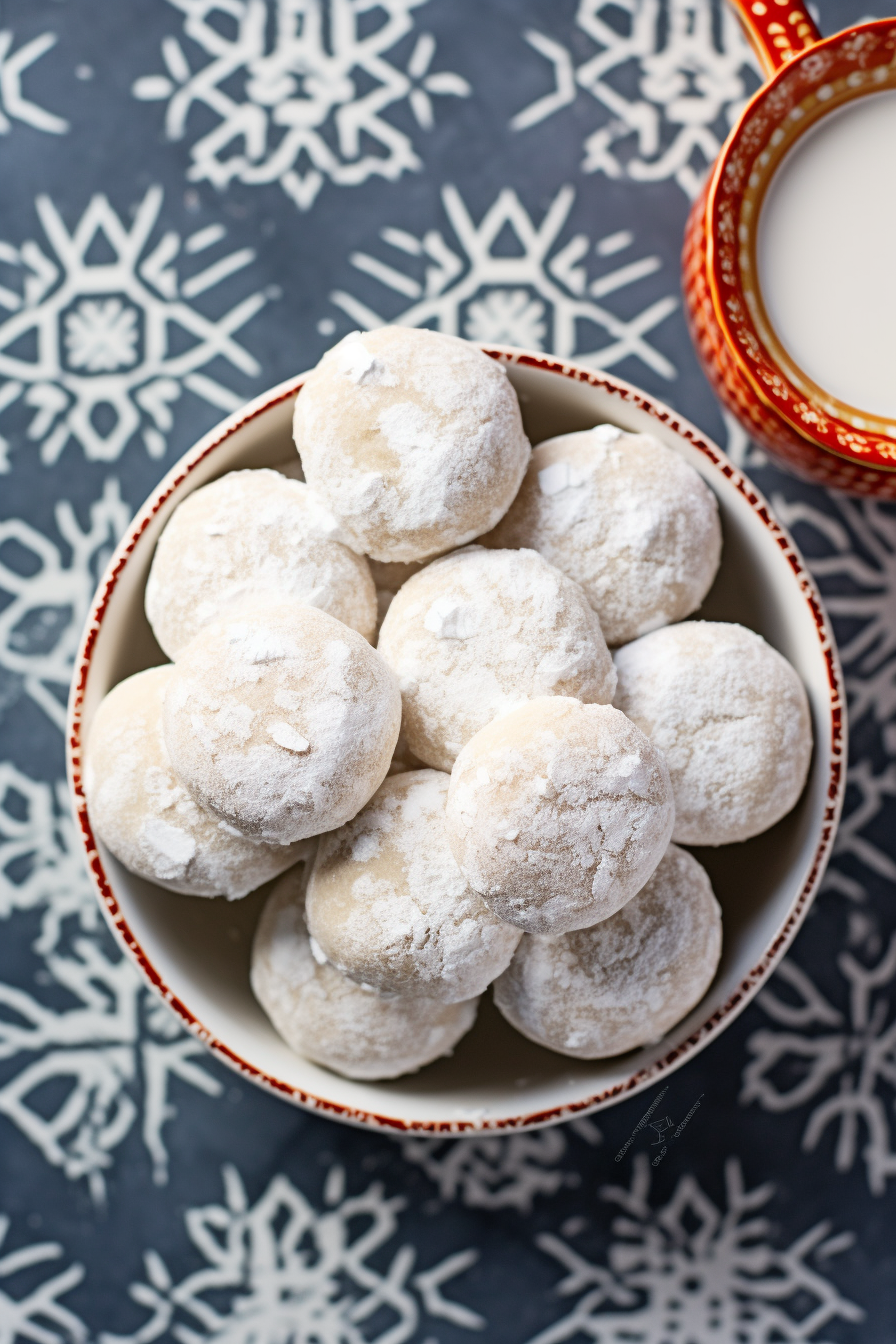
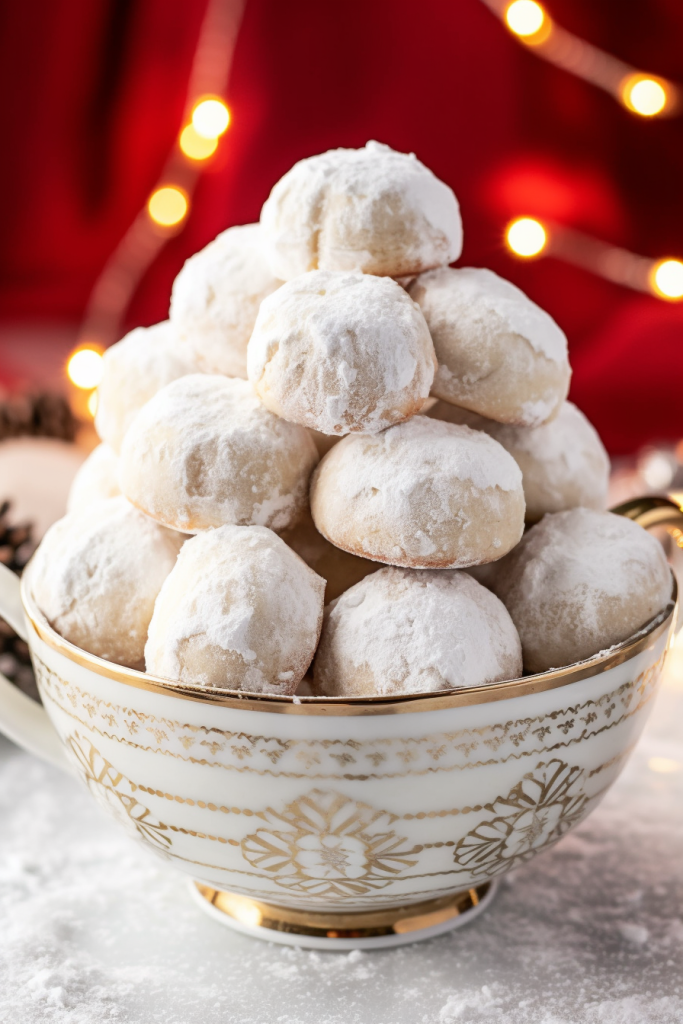
What sets these Tea Cakes apart? Firstly it’s their texture—an interplay between the crunchiness of walnuts and the tender crumb beneath. Secondly, their simple yet elegant appearance resembling snowballs makes them an eye-catching delight. Certainly not the least their versatility— perfect for any occasion whether it’s an intimate family get-together or a grand festive celebration.
What You Need To Make This Russian Tea Cakes Recipe?
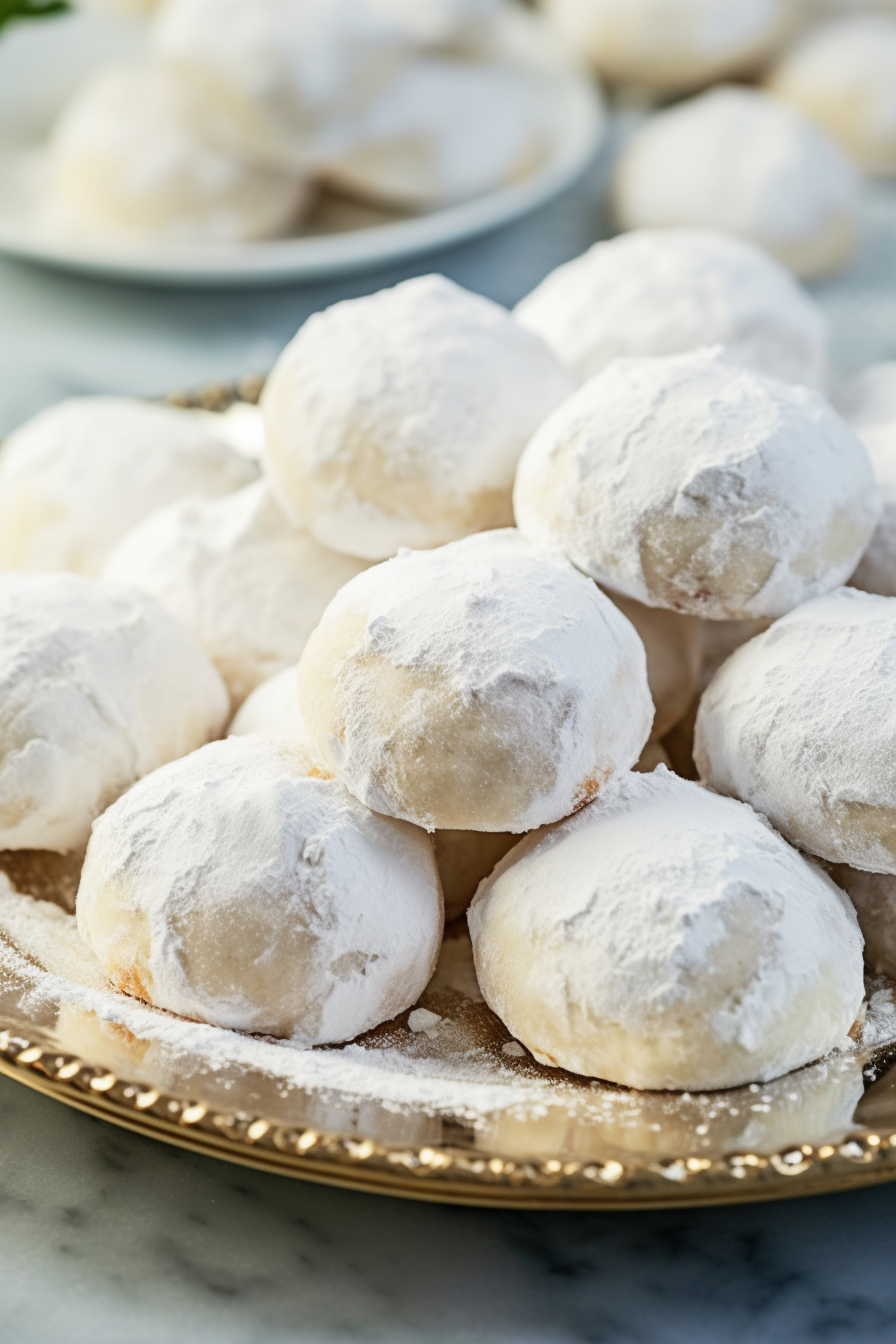
All Purpose Flour: The foundation of our tea cakes. It’s crucial to use all-purpose flour because of its balanced protein content ensuring that the cookies have the perfect texture. Not dense or airy but just right, for a delightful melt-in-your-mouth experience.
Unsalted Butter: The heart and soul of the recipe. Using unsalted butter allows you to control the saltiness and its creamy consistency is essential for achieving that rich texture. Remember to let it reach room temperature for easy mixing.
Walnuts: The Hidden Treasures. Toasting them isn’t just a step; it’s a transformation. Toasting takes the walnut from being a nut to becoming a fragrant and crunchy delight adding depth and a delightful nutty undertone to every bite.
Confectioners Sugar: The enchanted dust. Also known as sugar it has a fineness and lightness that creates an irresistible delicate snowy coating, on these cakes. It gracefully melts in your mouth while blending with the buttery cookie resulting in a velvety finish.
Vanilla Extract: The flavor whisperer. Even though it’s only a teaspoonful its impact is profound. It brings forth a floral aroma that beautifully complements the butter and nuts harmoniously rounding out all the flavors.
Salt: The taste enhancer. A pinch of salt might not seem significant. It plays a role. It enhances the flavors balancing out the sweetness and richness and adding harmony to each mouthful.
Steps To Make Russian Tea Cakes:
Want To Save This Recipe?
Enter your email below and we'll send the recipe straight to your inbox.
Step 1: Let’s start baking! Begin by preheating your oven to 400°F and lining a baking sheet, with parchment paper. Toast the walnuts, in a skillet until they release their aroma. It really enhances their flavors. Now comes the enjoyable part; blend together the butter, 1/2 cup of sugar, and vanilla until you achieve a smooth mixture. Gradually incorporate the flour and salt mixing until you have a perfect dough. Gently fold in those toasted walnuts then shape the dough into 1-inch balls and bake them until they turn golden.
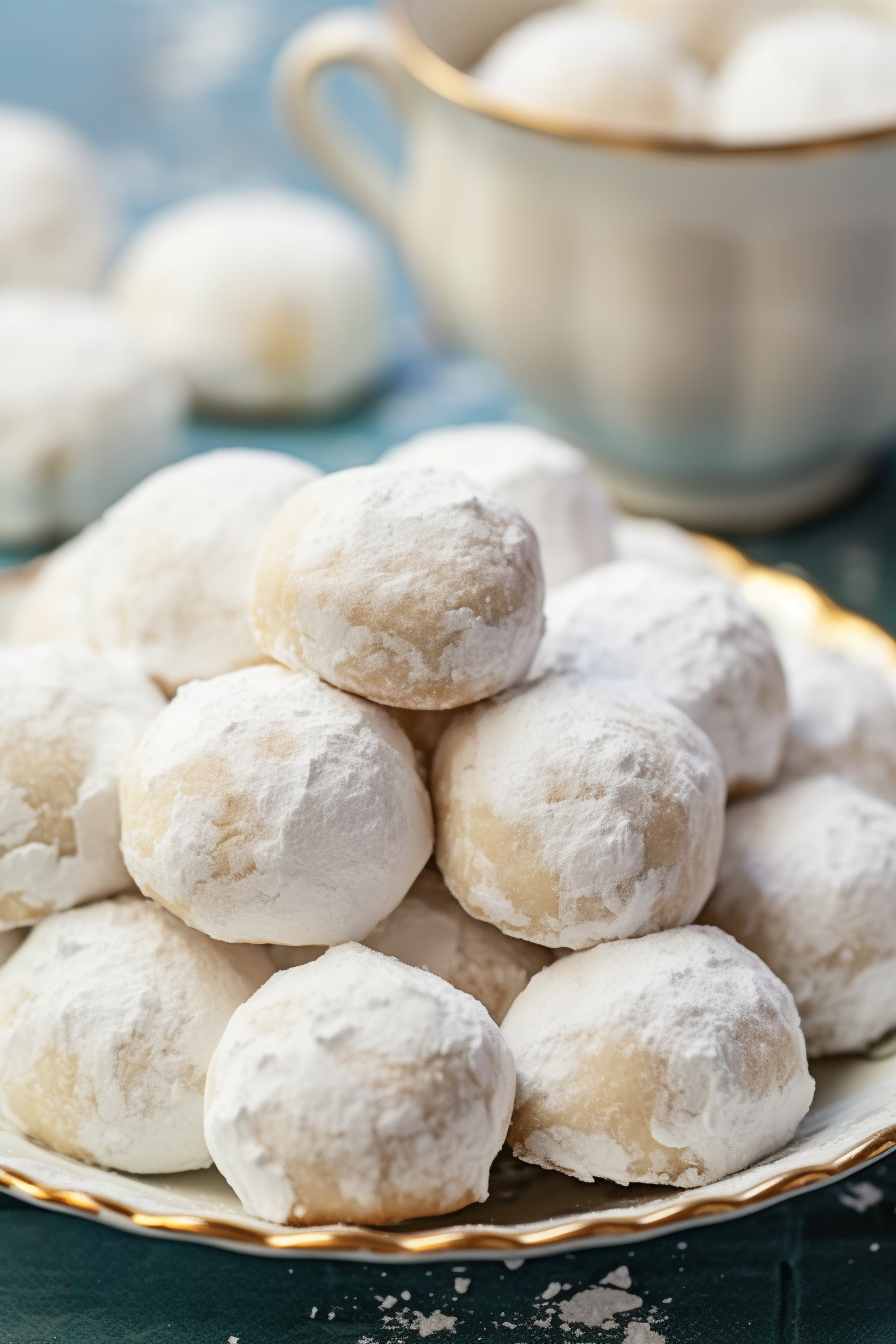
Step 2: While they are still warm roll these treats in sugar. Once they have cooled down completely give them another roll to achieve that snowy appearance. Remember, these delightful treats are not just cookies; they are bundles of happiness!
Tip:
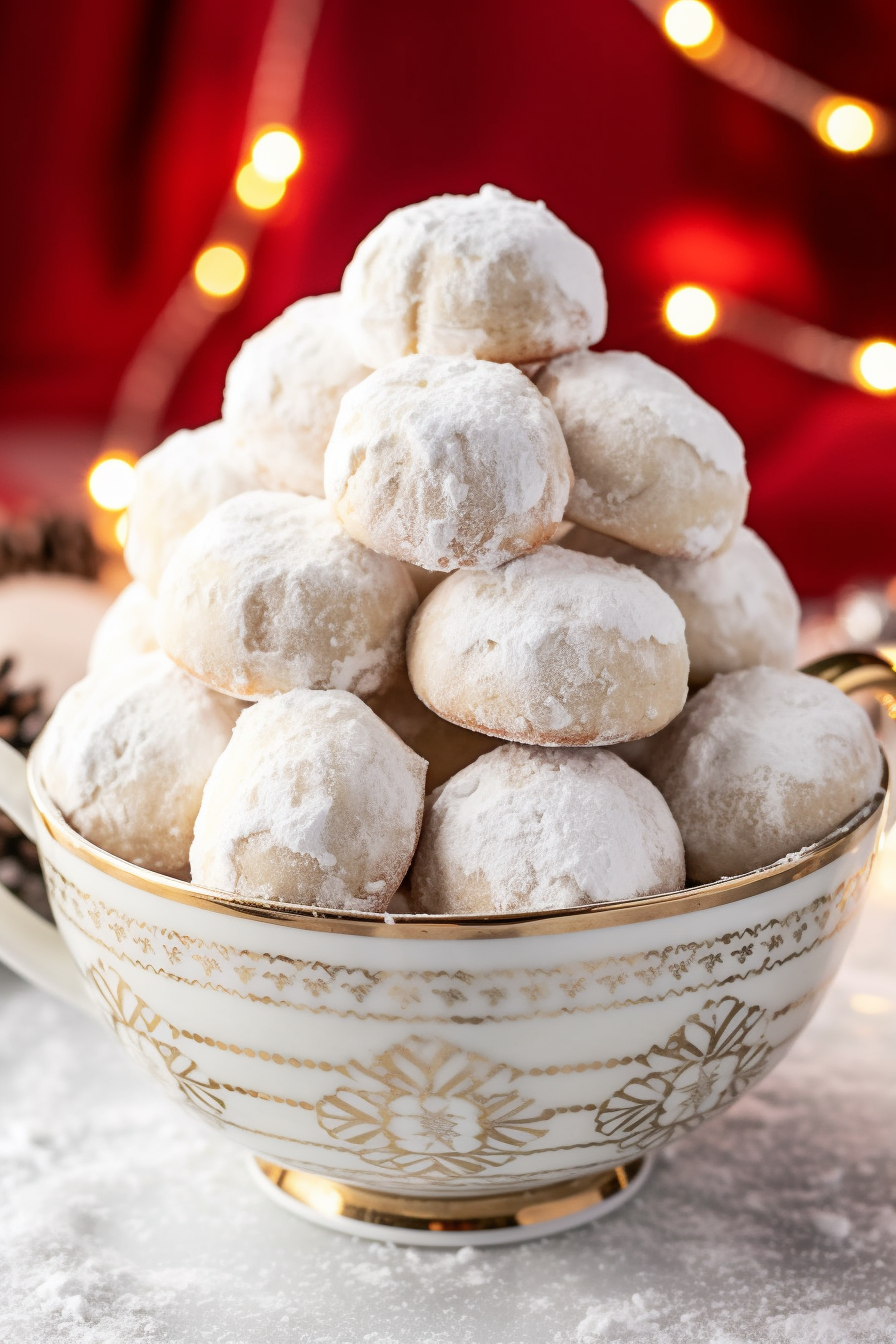
Once you finish mixing the dough you might want to consider popping it into the refrigerator for 30 minutes before forming it into balls. It’s not a mandatory step. But it can make quite a difference. By chilling the dough you allow the butter to firm up which helps maintain the cookie shape during baking and prevents spreading. Additionally, this cooling period makes it easier to handle and shape the dough especially if your kitchen is, on the warm side. On top of all that chilling allows all those delightful flavors to come together harmoniously resulting in cookies, with a richer taste.
Always remember that achieving exceptional baking often lies in these yet influential techniques. This handy little tip will ensure that your Russian Tea Cakes turn out not only delicious but also boast a texture and appearance.
Frequently Asked Questions:
Can I use other nuts in this recipe?
Sure! You can definitely try using types of nuts in this recipe. Almonds or pecans would be alternatives that go well with the flavor.
How long can I store these cookies?
If you store these cookies in an airtight container they should remain delicious for a week.
Can I make the dough ahead of time?
Absolutely! You have the option to prepare the dough ahead of time. Simply refrigerate it for, up to two days. You’ll be all set.
<Remember it later>
Planning to try this recipe soon? Pin it for a quick find later!
<Remember it later>
Planning to try this recipe soon? Pin it for a quick find later!
Russian Tea Cakes Recipe
Ingredients
- 2 c all-purpose flour
- 1/2 pound unsalted butter at room temperature
- 1 c walnuts toasted and coarsely chopped
- ½ c confectioners' sugar powdered sugar, plus 2 c more for rolling cookies
- 1 teaspoon vanilla extract
- ¼ teaspoon salt
Instructions
- Preheat your oven to 400°F (200°C). Line a baking sheet, with parchment paper or a silicone liner.
- Take a skillet. Place the walnuts in it over medium heat. Toast them for 5 minutes tossing them frequently until they become fragrant and turn a golden color. Then roughly chop the walnuts.
- In a bowl use an electric hand mixer to blend the butter at room temperature, ½ cup of powdered sugar and the vanilla extract until you achieve a smooth mixture.
- Add the all-purpose flour and salt to the butter mixture. Stir until the dough is well mixed and there are no streaks of flour left.
- Gently fold in the chopped walnuts so that they are evenly distributed throughout the dough.
- Shape the dough into balls that are 1 inch in diameter. Place these balls onto the baking sheet making sure to leave at least 1 inch of space between each ball.
- Bake in your preheated oven for about 12 to 15 minutes. Until the cookies have set and their bases have turned lightly golden in color.
- Once you remove the cookies from the oven while they are still warm roll them in sugar by placing them in a bowl, with sugar. Let them cool slightly on the baking sheet.
- Once cooled to room temperature roll each cookie again in sugar so that they are fully coated. After you have made the Tea Cakes make sure to store them in a sealed container. They will remain fresh for a week.
Notes

I’m Bitty, owner of nodashofgluten.com, where I share simple, delicious recipes for all tastes, including gluten-free. Check out my “About Me” page for more info!




2 Responses
What if I want to store them for a longer period of time can I keep them longer?
Absolutely, Luisa! For longer storage, keep your Russian Tea Cakes in an airtight container. They’ll last up to 3 weeks at room temperature, 1 month in the refrigerator, or 3 months in the freezer. Just thaw them at room temperature when you’re ready to enjoy. Happy baking!