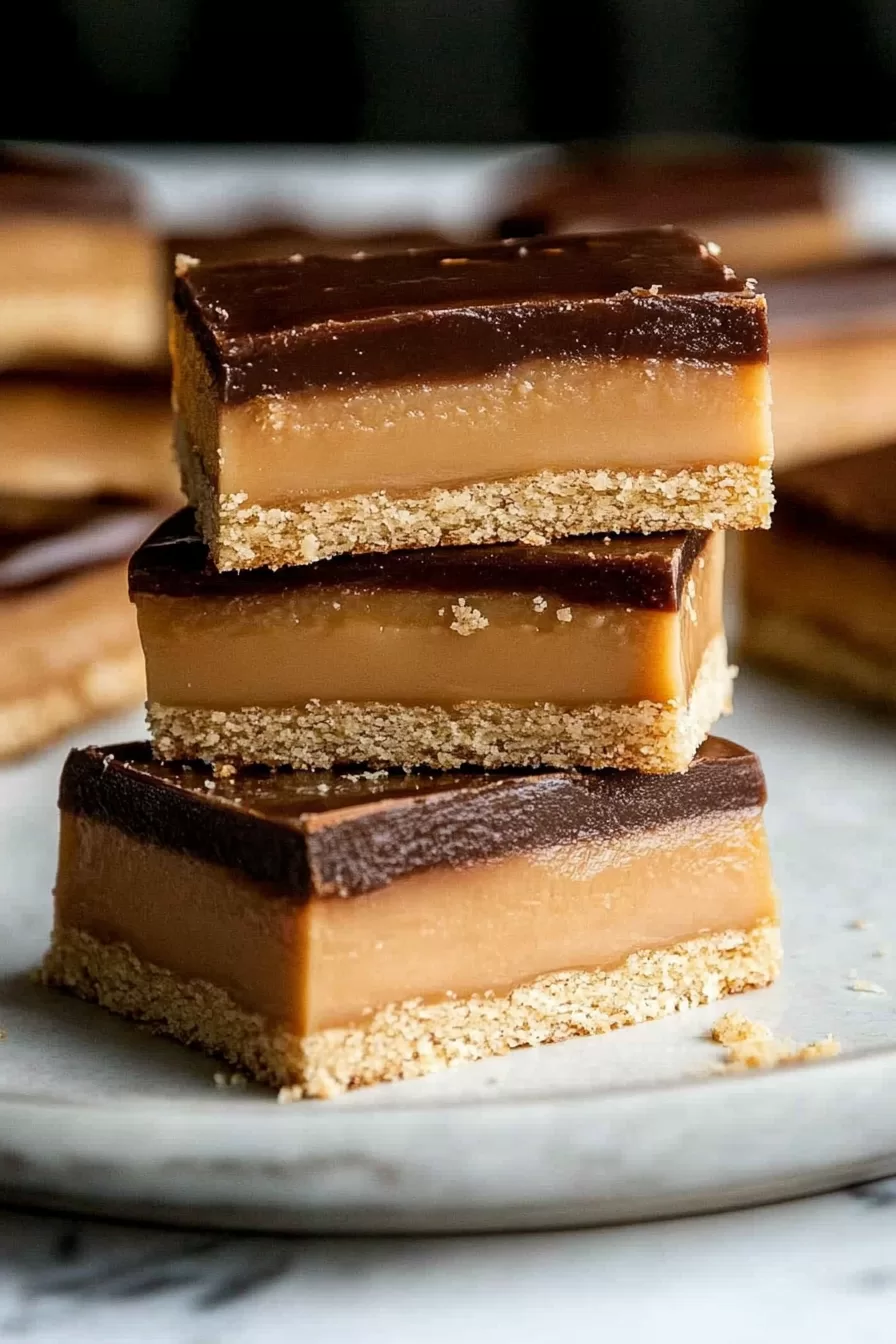
Caramel Slice
Immerse yourself in the layers of our Caramel Slice, a masterpiece that flawlessly combines a crumbly buttery crust with a luscious caramel and is elegantly topped with a shiny chocolate glaze. This indulgent treat guarantees an orchestra of textures and flavors in every mouthful capturing the essence of indulgence. The sweet molasses-like hints of sugar mingle, with the allure of shredded coconut in the crust creating a delightful foundation for the luxurious caramel that ensues. As the velvety caramel layer dances on your taste buds the final touch of silky melt-in-your-mouth chocolate transforms this slice into a delight. Whether it's for occasions or to satisfy your sweet cravings any day this Caramel Slice represents the artistry of baking at its finest and will leave you and your loved ones spellbound and yearning for more.
12 Servings
Ingredients
Base:
- 1 c plain/all-purpose flour
- 1/2 c brown sugar loosely packed
- 1/2 c desiccated coconut US: sweetened finely shredded coconut
- 125 grams 4.5 ounces unsalted butter, melted
Caramel Filling:
- 125 grams 4.5 ounces unsalted butter, roughly chopped
- 1/2 c 80 grams brown sugar, loosely packed
- 1 teaspoon vanilla extract or essence
- 395 grams 14 ounces sweetened condensed milk (approximately 1 can, 300ml)
Chocolate Topping:
- 200 grams 7 ounces dark or milk melting chocolate (US: semi-sweet chocolate chips)
- 1 tablespoon vegetable oil
Instructions
- First, preheat your oven to 350°F (180°C) or 320°F (160°C) if you have a fan oven.
- Next, prepare a baking pan measuring 7" x 11" (28 x 18 cm). Grease it. Line it with parchment paper making sure there's an overhang, for easy removal later.
- In a mixing bowl combine 1 cup of flour, half a cup of sugar, half a cup of coconut and 125g of melted unsalted butter. Mix everything together until well combined.
- Evenly press this mixture into the bottom of the pan.
- Place the pan in the oven. Bake for about 15 minutes or until the surface turns a lovely golden color.
- Once done baking set it aside to cool while you work on making the caramel. If you want to speed up the cooling process you can place it in the fridge.
- Now let's move on to preparing the caramel filling. Reduce your temperature to 320°F (160°C) or 284°F (140°C) if you're using a fan oven.
- In a saucepan, over medium-low heat combine 125g of unsalted butter, half a cup of brown sugar and one teaspoon of vanilla extract.
- Stir the mixture until the butter has completely melted and all the ingredients are thoroughly combined.
- Let the mixture simmer. Then add 395g of sweetened condensed milk.
- Whisk continuously, for 5 minutes until the mixture slightly thickens and you begin to see large slow bubbles forming.
- Carefully pour the caramel over your base tilting the pan as necessary to spread it evenly.
- Place it in an oven for 12 minutes. Don't worry if there are some spots; this is normal and expected.
- Once it's done place the pan on a wire rack to cool for 20 minutes then refrigerate it for 30 minutes. The caramel should set. The pan may still feel slightly warm when touched.
- For the Chocolate Topping, combine 200g of dark or milk chocolate and 1 tablespoon of oil in a bowl that's safe to use in a microwave.
- Heat it in bursts of 30 seconds in the microwave stirring between each burst until the chocolate is completely melted and smooth.
- Pour the chocolate over the layer of caramel using a spatula to spread it evenly.
- Gently knock on the counter with the pan to remove any air bubbles and ensure that its surface is smooth.
- Refrigerate, for an hour. Until the chocolate has set. Once the chocolate is set take it out of the refrigerator. Allow it to sit for 5 minutes. This will help soften the chocolate making it easier to cut.
- Utilize the overhanging parchment paper to lift the slice out of the pan and proceed to cut it into bars or squares.
- Indulge, in your delicious homemade Caramel Slice!
Notes
Transforming this indulgent Caramel Slice into a gluten-free delight is surprisingly simple and doesn’t compromise on its delectable layers of pleasure. Start by swapping the plain flour in the base for your favorite gluten-free all-purpose flour blend. Ensure that it’s a 1:1 substitute to maintain the recipe's integrity. For an added twist and to enhance the texture, consider incorporating a tablespoon of almond meal, which not only contributes a lovely nutty undertone but also adds to the base’s richness. This small tweak not only assembles the recipe unrestricted for those with gluten sensitivities but also presents fun new proportions to the classic delight.