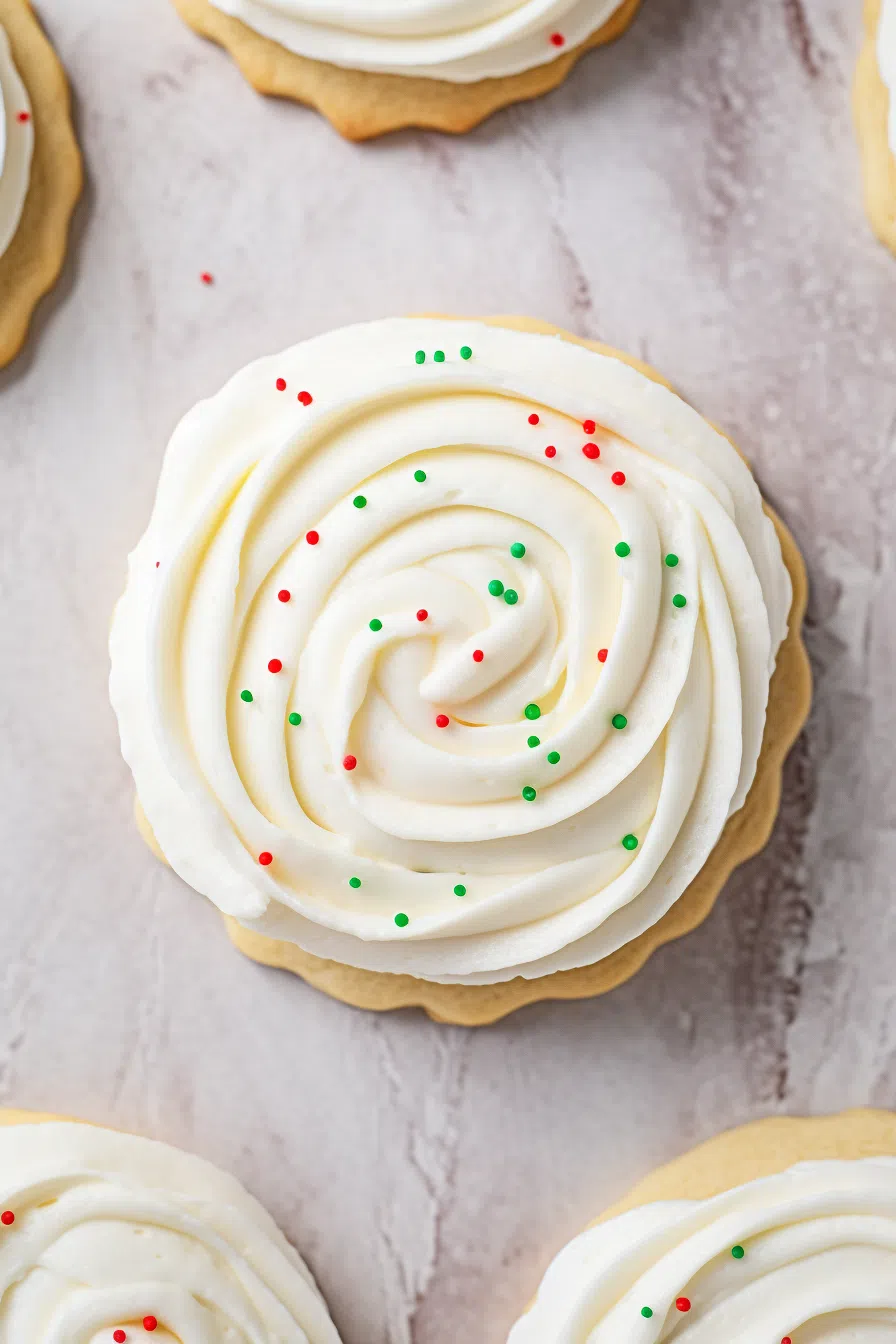
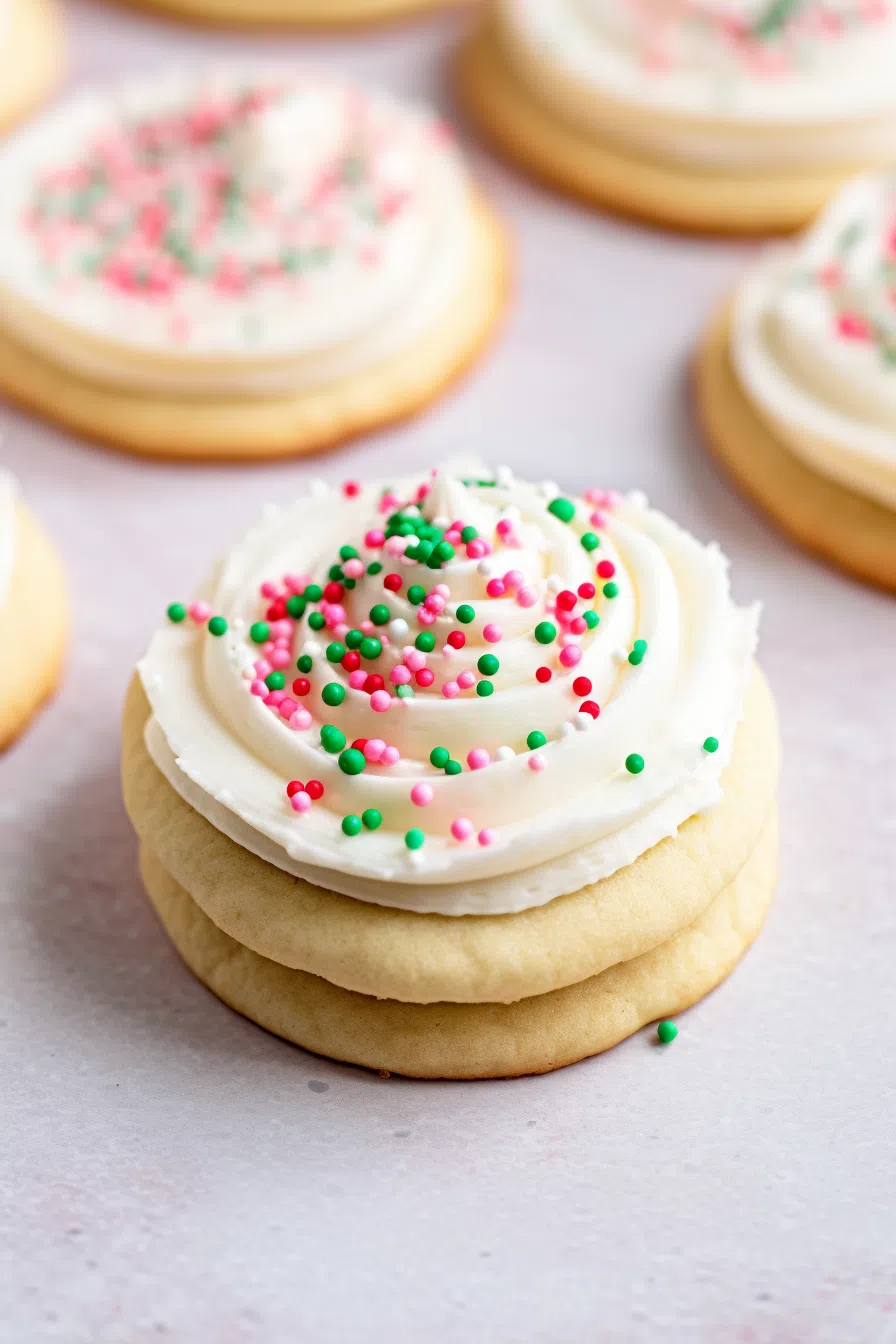
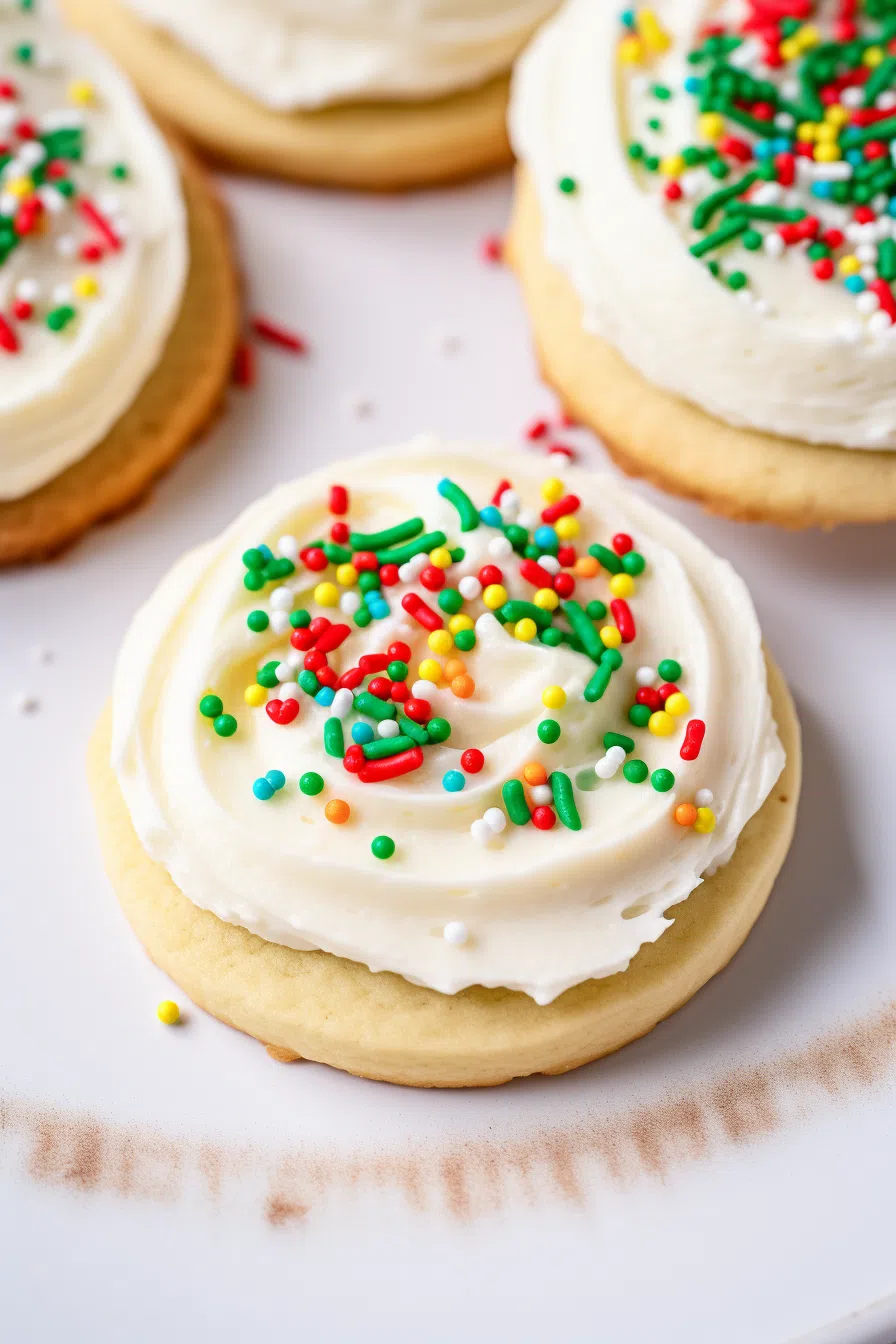
The ultimate Sugar Cookie Buttercream Frosting—rich, creamy, and made with butter, powdered sugar, cream, and vanilla. Your cookies just got a glow-up!

Remember it later!
Planning to try this recipe soon? Pin it for a quick find later!
Remember it later!
Planning to try this recipe soon? Pin it for a quick find later!
Let me tell you about the time I nearly ruined my niece’s birthday cookies. It was one of those frantic late-night baking sessions—you know, when Pinterest inspiration meets real-life chaos. I had the sugar cookies baked and ready, but the frosting? Oh boy. Too runny, then too thick, then back to runny. I was on the verge of giving up when I remembered something my grandma used to say: “Butter solves everything.”
So, I tweaked the recipe. A little more butter, a dash of cream, a pinch of salt—and voilà! The perfect Sugar Cookie Buttercream Frosting was born. Smooth, sweet, and pipes like a dream. Now, it’s my go-to frosting for every cookie-decorating occasion. My niece? She was obsessed. And yes, I took full credit.
Here’s a quick peek at what’s inside:
Table of content
Why You’ll Love This Sugar Cookie Buttercream Frosting Recipe?
- It’s So Fluffy! Seriously, this frosting is like the buttercream version of a cloud.
- Perfect for Decorating: Want sharp piping details or simple swirls? This frosting holds its shape perfectly.
- Sweet, But Not Overpowering: It complements the cookie rather than hijacking the flavor.
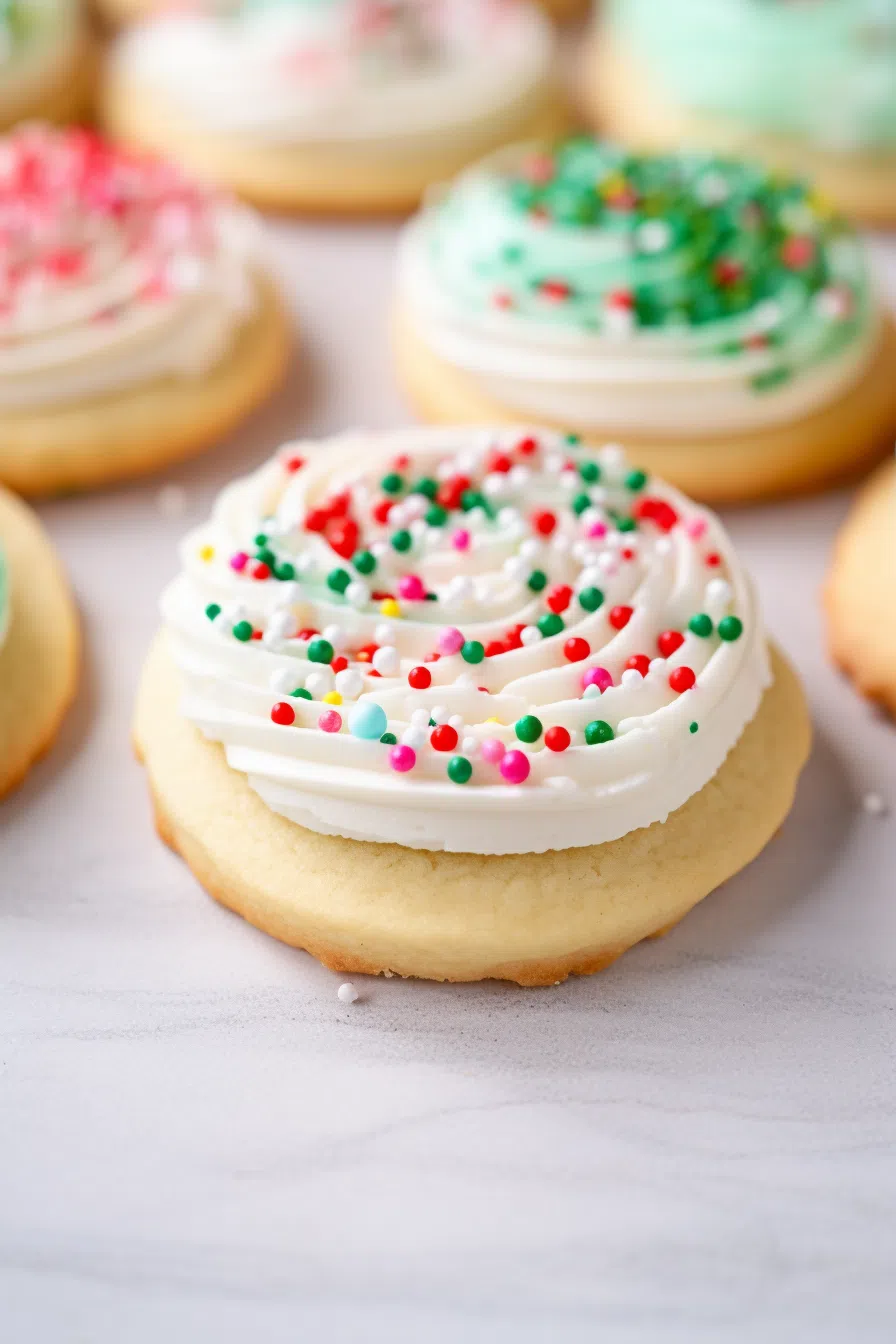
- Customizable: Throw in some food coloring, swap out flavors—make it yours.
- No Melting Drama: Even at room temperature, it holds its own. (Because nobody wants a droopy snowman cookie.)
Ingredient Notes:
Every ingredient in this Sugar Cookie Buttercream Frosting has its role. Here’s the breakdown:
- COLD Unsalted Butter: Using cold butter creates structure and helps the frosting hold up for piping.
- Powdered Sugar: It’s what makes this frosting sweet and gives it that classic, smooth texture.
- Heavy Cream: Adds creaminess and helps reach that just right spreadable consistency.
- Vanilla Extract: Because what’s buttercream without that cozy vanilla vibe?
- Salt: Balances out the sweetness. (Yes, it’s essential—even in frosting.)
- Gel Food Coloring (Optional): For when you want your cookies to pop with color.
How To Make Sugar Cookie Buttercream Frosting?
Step 1. Whip That Butter:
Place the cold, chopped butter into your stand mixer fitted with a paddle attachment. Whip it on high for about 4 minutes until it’s creamy and fluffy. (This is where the magic starts.)
Step 2. Slowly Add Sugar:
Reduce the speed to low and gradually add in the powdered sugar. It’ll look crumbly at first—don’t freak out. Keep going. Scrape down the sides occasionally to make sure it all gets incorporated.
Step 3. Pour in the Cream:
Now, add the heavy cream, one tablespoon at a time. The mixture will come together, becoming smooth and light. If it’s too thick, add a little more cream. If it’s too runny, a bit more powdered sugar will fix it.
Step 4. Flavor and Balance:
Add the vanilla extract and a pinch of salt. This is what rounds out the flavor and makes it taste bakery-fancy.
Step 5. Color (If You Want):
Feeling creative? Add gel food coloring here. Mix until you hit the perfect shade.
Step 6. Frost Away!
Spread or pipe the frosting onto your sugar cookies. It’ll start to firm up after about an hour, so get your designs done before it sets.
Want To Save This Recipe?
Enter your email below and we'll send the recipe straight to your inbox.
Storage Options:
- Fridge: Store leftover frosting in an airtight container in the fridge for up to 1 week. Let it come to room temperature before reusing and give it a quick whip to bring back that fluff.
- Freezer: Freeze it for up to 3 months. Thaw in the fridge overnight, then re-whip before using.
Variations and Substitutions:
- Flavor Twists: Swap vanilla for almond extract, lemon zest, or even peppermint for the holidays.
- Dairy-Free: Use a plant-based butter and coconut cream to make it vegan-friendly.
- Less Sweet: Reduce the powdered sugar by half a cup and add more cream for a milder flavor.
What to Serve with Sugar Cookie Buttercream Frosting?
- Classic Sugar Cookies: Because duh.
- Cupcakes: It pipes beautifully onto cupcakes for the perfect bakery look.
- Brownies: Spread a thick layer over brownies for a sweet twist.
- Graham Crackers: For a quick, sweet snack (or when you “accidentally” make too much frosting).
Frequently Asked Questions:
Can I make this frosting in advance?
Absolutely! Store it in the fridge and re-whip before using for the best texture.
Why is my frosting too stiff?
No worries—just add more heavy cream, one teaspoon at a time, until it softens up.
Can I use this frosting for cakes too?
Totally. It’s perfect for piping borders or covering cupcakes. For layered cakes, though, you might want something a bit sturdier.
There you have it—fluffy, dreamy, cookie-perfect Sugar Cookie Buttercream Frosting. Get baking, get decorating, and don’t forget to snap a pic before you devour those cookies. I’d love to see what you create!
Remember it later!
Planning to try this recipe soon? Pin it for a quick find later!
Remember it later!
Planning to try this recipe soon? Pin it for a quick find later!
Keep the Flavor Coming – Try These:

Sugar Cookie Buttercream Frosting
Ingredients
- 12 tablespoons COLD unsalted butter chopped into about 8 pieces
- 5 cups powdered sugar
- 5 tablespoons heavy cream
- 3 teaspoons vanilla extract
- 1/4 teaspoon salt
- Gel food coloring as needed
Instructions
- Put 12 tablespoons of butter (cut into 8 pieces) into the bowl of your stand mixer.
- Attach the paddle attachment to your mixer. Whip the butter, on high speed for about 4 minutes until it becomes creamy.
- Reduce the speed to low and gradually add 5 cups of sugar to the bowl making sure to scrape down the sides. Mix for 2 to 3 minutes until everything is well combined. Don't worry if the mixture looks clumpy at this stage.
- Keep mixing. Add 5 tablespoons of cream, one tablespoon, at a time until the frosting becomes smooth.
- Now add in 3 teaspoons of vanilla extract and a quarter teaspoon of salt. Beat for a few seconds to ensure that everything is thoroughly mixed together.
- If you want to color your frosting you can add gel food coloring at this point. Mix it well until you achieve your desired hue.
- Use the frosting away to spread or pipe onto your sugar cookies. Keep in mind that after an hour or two the frosting will start to harden so it is best to work quickly.
Notes

I’m Bitty, owner of nodashofgluten.com, where I share simple, delicious recipes for all tastes, including gluten-free. Check out my “About Me” page for more info!







2 Responses
Would you happen to have a favorite cut-out cookie recipe to share that goes well with this delicious looking frosting?
Hi Jenn,
I actually have a favorite cut-out cookie recipe I use, and I found it with my “Christmas Cookie Cutter Set” on Amazon! Just search for “Christmas Cookie Cutter Set” and you’ll find them right away. It’s the perfect combo to pair with that delicious frosting!
Happy baking!