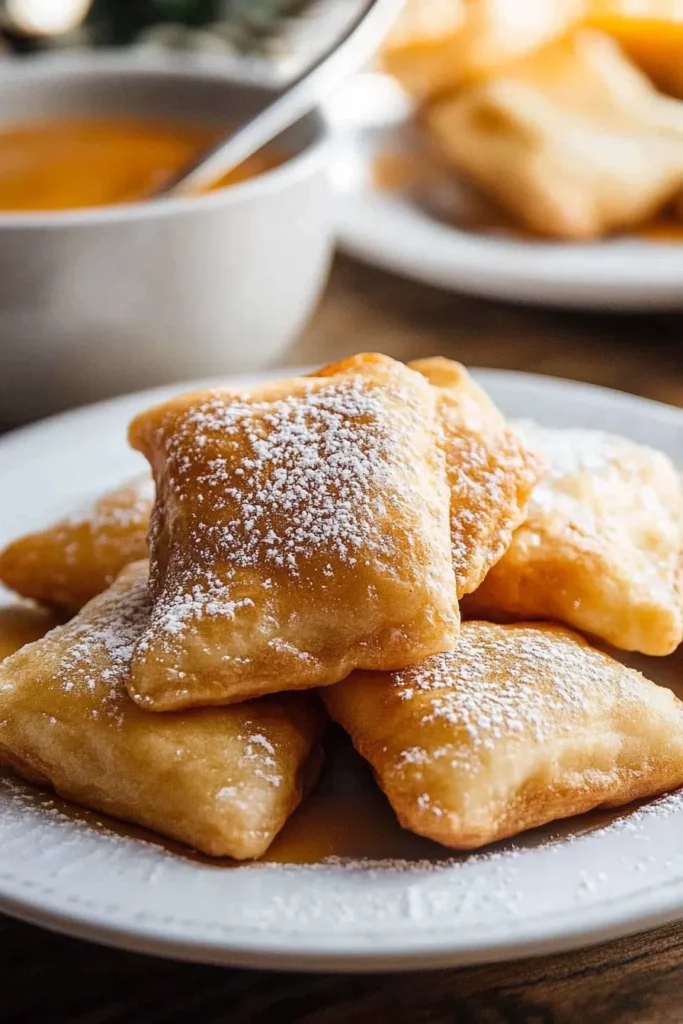
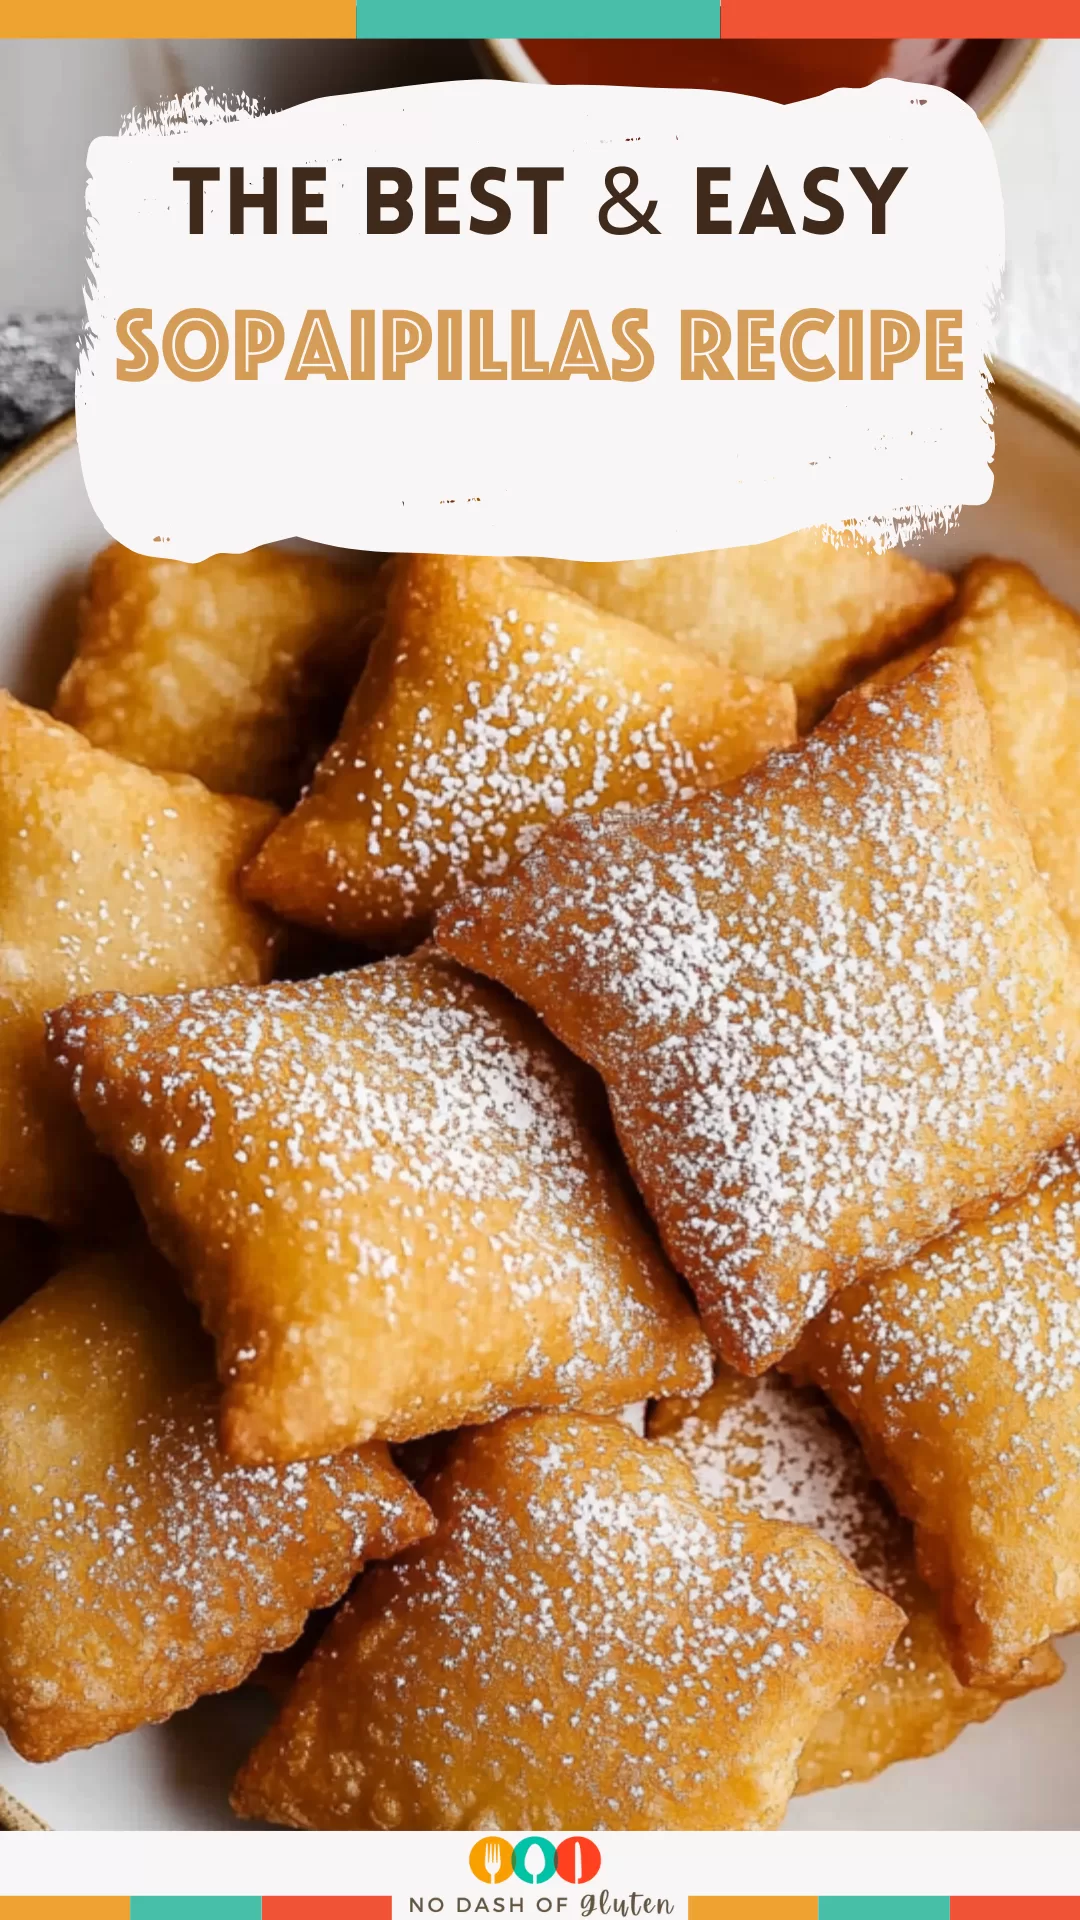
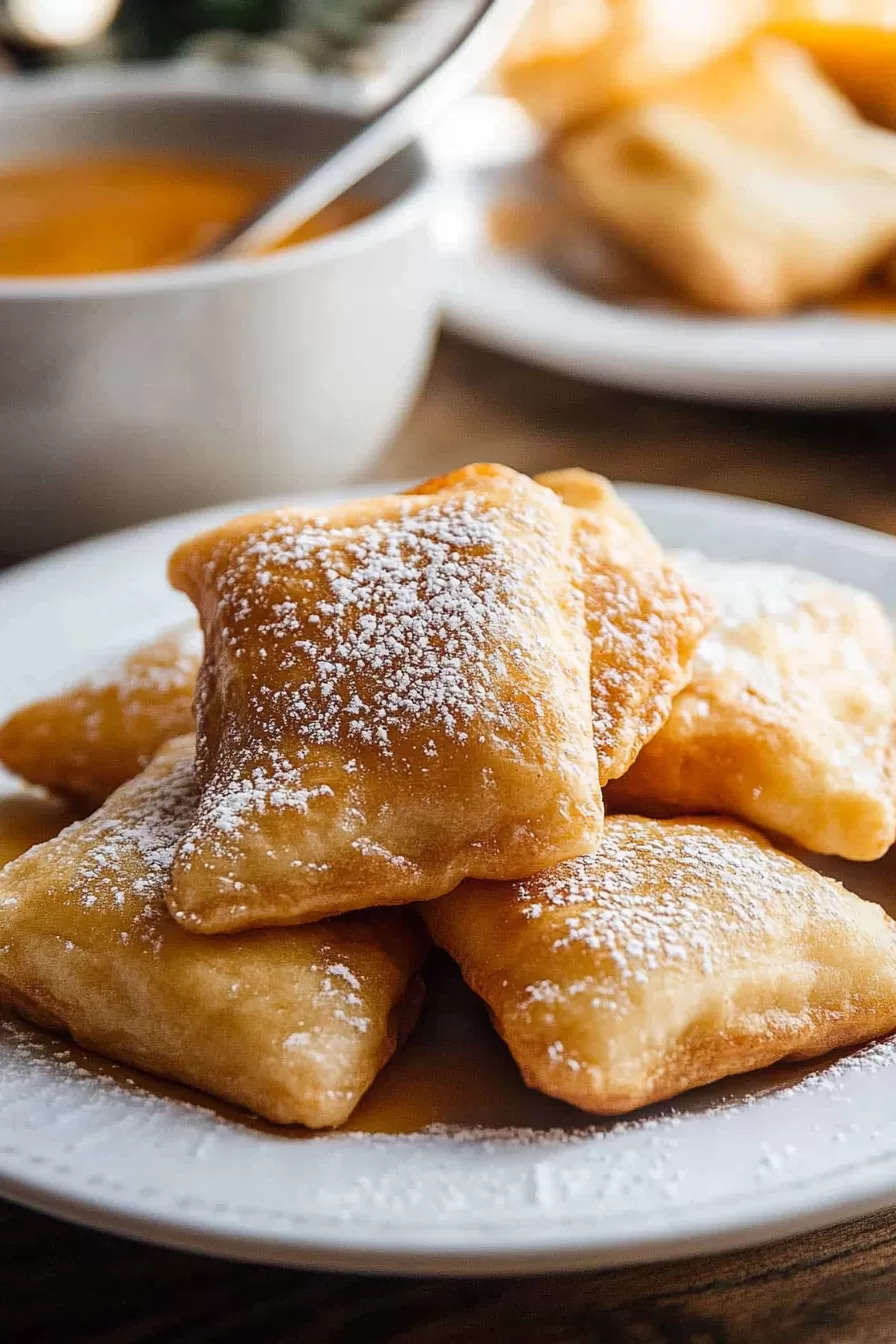
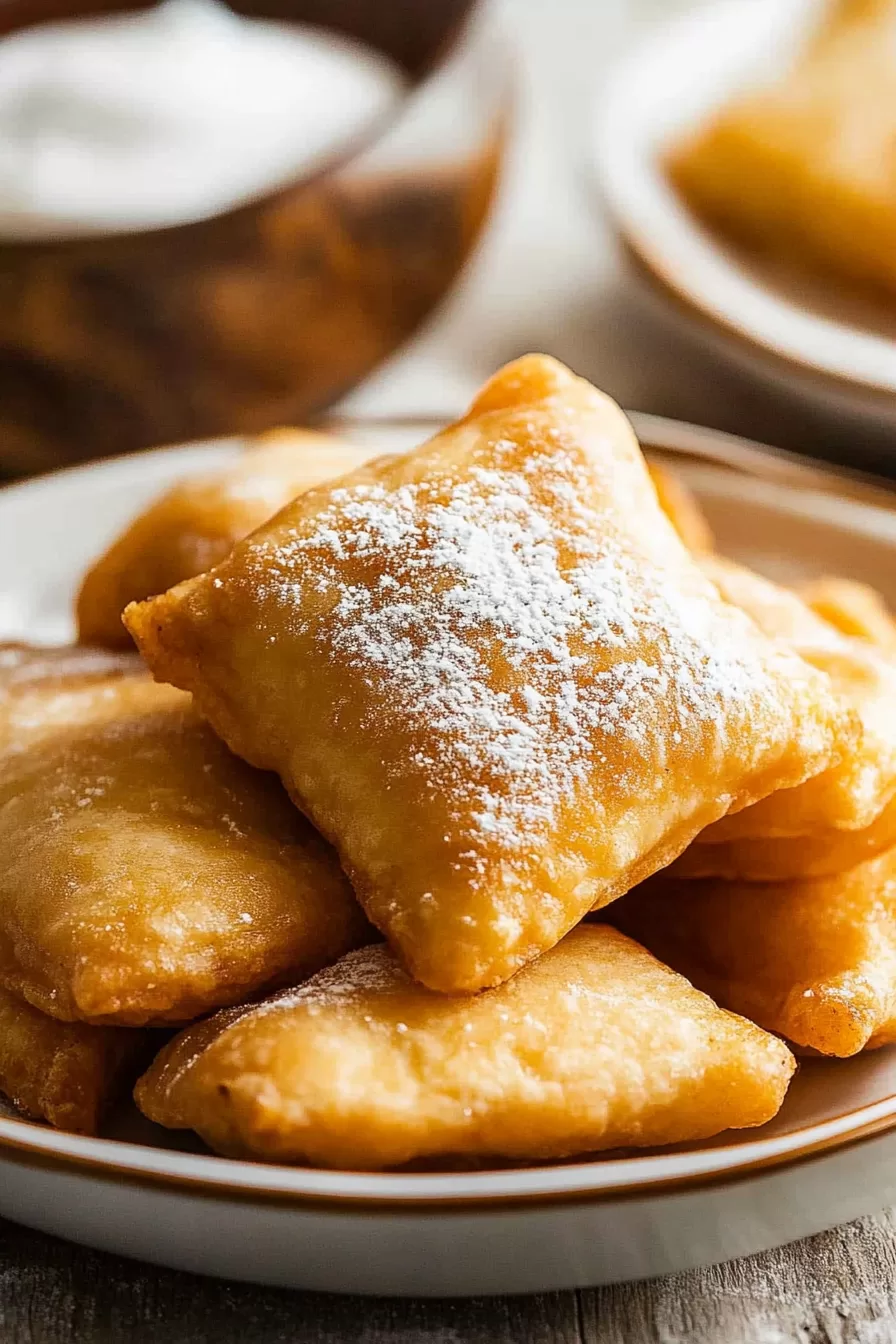
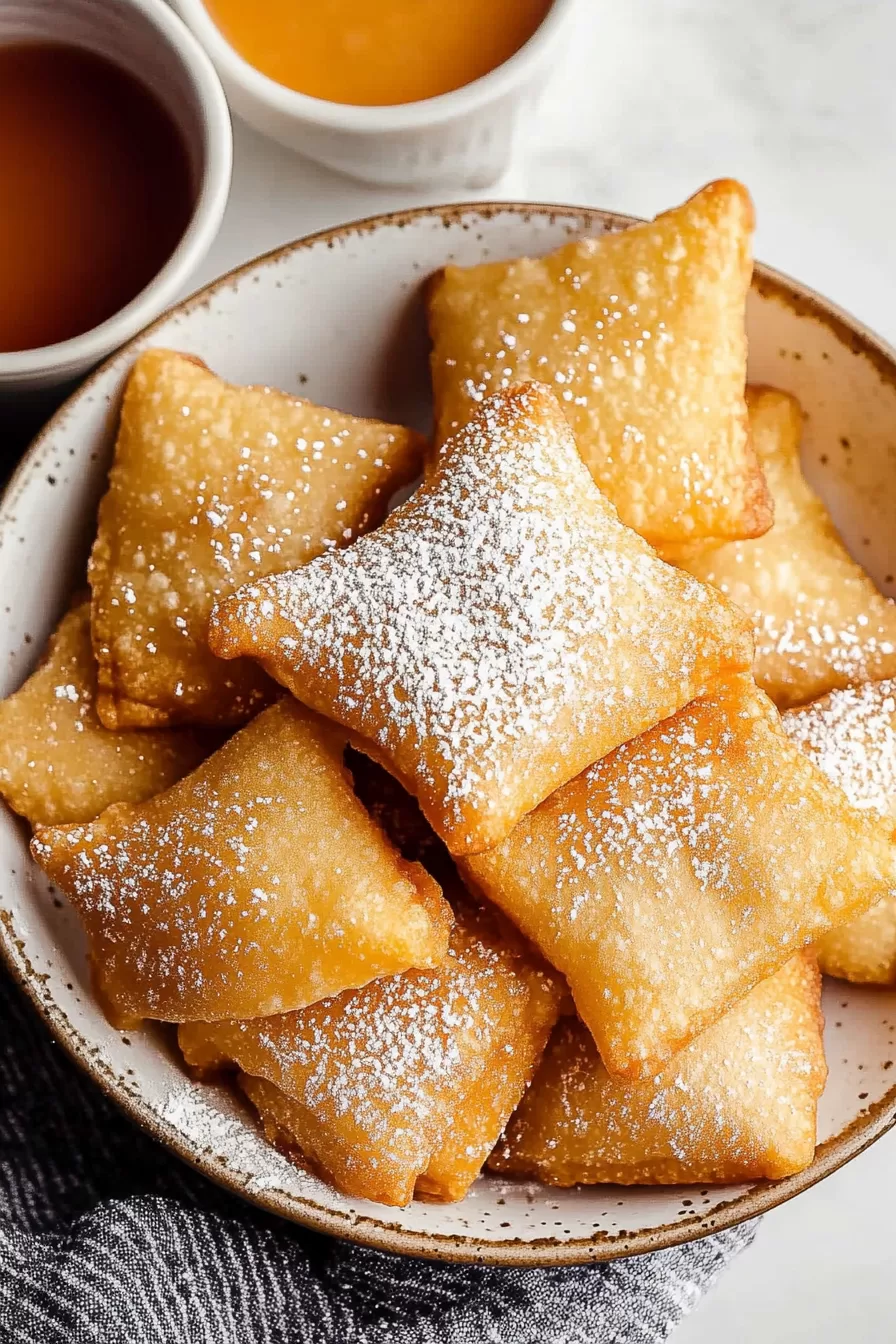
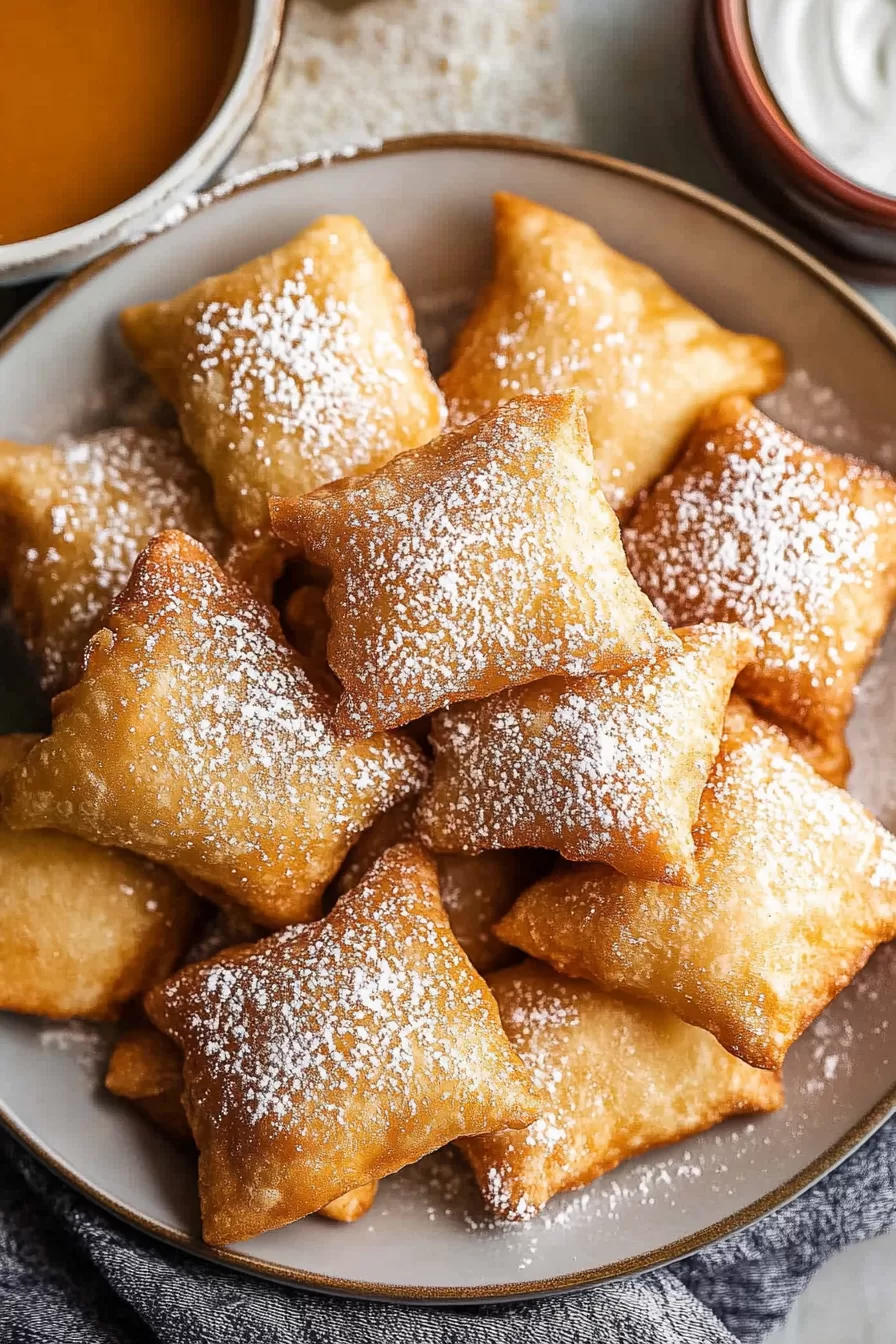
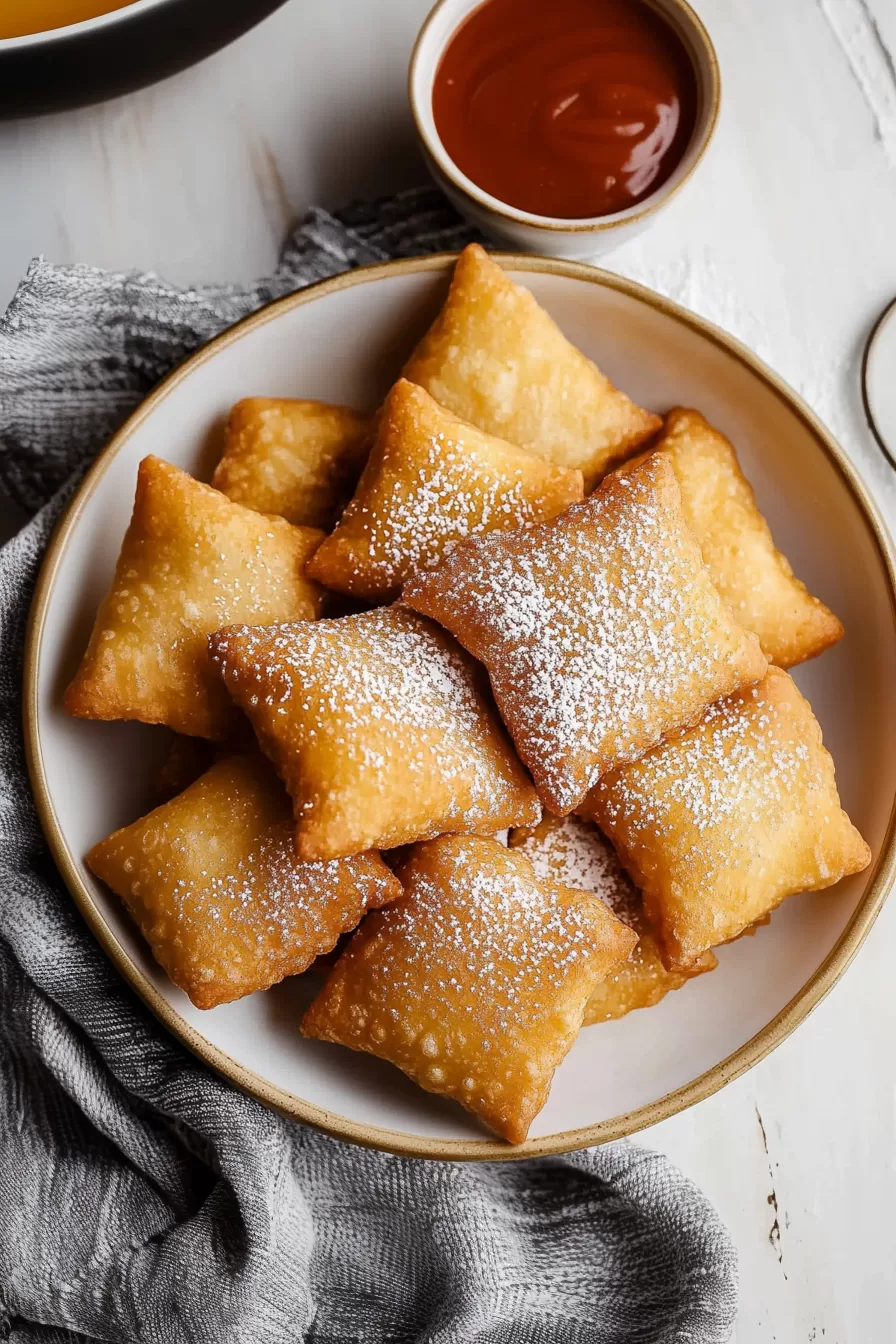
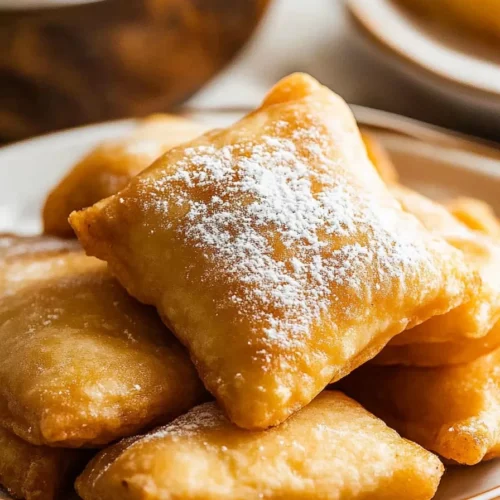
Sopaipillas – Ever tried a sopaipilla? If not, you’re in for a treat with this Sopaipillas Recipe! These golden, puffy little pillows are like a cross between fried dough and heaven. Made with simple ingredients like flour, shortening, and baking powder, they come together quickly and are perfect for dipping in honey, dusting with sugar, or even pairing with something savory. In just 45 minutes, you’ve got a batch of warm, crispy bites ready to share (or not!).

Remember it later!
Planning to try this recipe soon? Pin it for a quick find later!
Remember it later!
Planning to try this recipe soon? Pin it for a quick find later!
The first time I created these, I had no concept of what to expect. I’d always thought frying at home would be a big, messy production, but honestly, it turned out way easier than I thought! My husband? He’s the kind who usually raises an eyebrow at my frying experiments, but one bite, and he was sold. And my kid—don’t even get me started! The second these hit the table, they were grabbing them by the handful. Now, it’s become a little tradition in our home, especially on those nights when we just want a simple, comforting treat.
Here’s a quick peek at what’s inside:
Table of content
What makes this Sopaipillas truly special?
These sopaipillas are light, crispy, and so versatile! You can assemble them sweet with honey or powdered sugar, or go for a savory twist by helping them with salsa or queso. The best part? They’re super easy to whip up, and the dough is very forgiving, so it’s hard to go wrong. Whether you’re looking for a snack, dessert, or something extraordinary to wow guests, these little treats fit all the boxes. Once you taste that golden, fluffy goodness, you’ll see why we keep coming back for more!
What You Need To Make This Sopaipillas Recipe?
All-Purpose Flour: This is the base of our sopaipillas, giving them that perfect texture that’s light but still a little chewy. All-purpose is just right here—no need for anything fancy. If you’re feeling adventurous, you could mix in a bit of whole wheat flour for a nuttier taste, but it’s totally optional!
Shortening: This helps make the dough nice and tender, which is key for that melt-in-your-mouth feel. If you don’t have shortening, you could use butter, though it’ll give the dough a slightly different taste. Shortening keeps things neutral and gives that classic texture.
Baking Powder: This is where the magic happens! Baking powder makes the sopaipillas puff up in the oil, so you get those beautiful, airy pockets inside. Without it, they’d be pretty flat. So don’t skip this one—it’s what makes them light and pillowy.
Salt: Just a bit goes a long way. It balances out the flavors and makes sure your sopaipillas don’t end up tasting too bland. Plus, if you decide to dip them in something sweet, that little hint of salt makes a nice contrast.
Warm Water: You’ll need warm (not hot!) water to bring the dough together and help the baking powder get to work. Think of it like coaxing the dough to rise a little. If the water’s too cold, it’ll be harder to mix, and if it’s too hot, it could mess with the texture.
Oil for Frying: You’ll need enough oil to get these beauties floating so they fry up evenly. Go for a neutral oil like vegetable or canola—they won’t add any extra flavor, so the sopaipillas’ light, simple taste shines through. Just keep an eye on the temperature to make sure they puff up perfectly!
Steps To Make Sopaipillas:
Get Everything Ready: Start by gathering all your ingredients. Trust me, it makes things go so much smoother when you’re not hunting around mid-recipe! You’ll need your flour, shortening, baking powder, salt, warm water, and oil.
Mix Up the Dough: In a big bowl, stir together the flour, shortening, baking powder, and salt. Once it’s all combined, slowly pour in the warm water. Keep stirring until it all comes together into a nice, smooth dough. You don’t want it too sticky, just soft enough to hold together. Now, cover the bowl with a towel and let it sit for about 20 minutes. This little break helps the dough relax, making it easier to roll out (and gives you a chance to grab a quick coffee!).
Heat Up the Oil: While the dough’s resting, go ahead and pour your oil into a deep fryer or a heavy pot. Heat it up to about 375°F. If you’ve got a thermometer, great; if not, just drop a tiny piece of dough in to test. When it sizzles and floats up, you’re good to go!
Want To Save This Recipe?
Enter your email below and we'll send the recipe straight to your inbox.
Roll Out the Dough: Once your dough’s rested, sprinkle a little flour on your countertop, and roll it out to about 1/8 to 1/4 inch thick, depending on how puffy you like your sopaipillas. Thicker for softer pillows, thinner for a crispier bite—it’s up to you! Cut the dough into 3-inch squares (or whatever shape you feel like; no need for perfection here).
Fry ‘Em Up: Carefully drop a few squares into the hot oil. They should puff up almost right away—kind of magical, right? Let them cook for a minute or two, then flip them over so both sides get that golden brown color. Once they’re ready, lift them out with a slotted spoon and set them on a paper towel to drain off any extra oil.
Enjoy: Now, here’s the best part—eating them! These are amazing served hot, right out of the fryer. Try them with a drizzle of honey, a dusting of powdered sugar, or even some salsa if you’re in a savory mood. Dig in and enjoy every warm, crispy bite!
Tip:
Here’s a little secret that can make all the difference: let the dough rest before you fry! I know it’s tempting to skip this step and jump right to frying, but giving the dough about 20 minutes to sit makes it so much easier to work with and helps those sopaipillas puff up perfectly. This resting time allows the gluten to relax, which means the dough rolls out more smoothly and cooks more evenly. Also, when frying, keep an eye on the oil temperature. If it’s too low, the sopaipillas will soak up the oil and get greasy instead of light and crispy. But if the oil’s too hot, they’ll brown too fast and might not puff up as much. I like to use a thermometer to keep the oil right around 375°F, but if you don’t have one, try dropping a small piece of dough in to test. It should sizzle and rise to the top pretty quickly. And remember, don’t overcrowd the pot—frying a few at a time helps them cook up golden and perfect!
Frequently Asked Questions:
Can I make the dough ahead of time?
Yes, you can! If you’re planning to make the dough ahead, wrap it up tightly in plastic wrap and store it in the fridge for up to a day. When you’re ready to fry, just let it come to room temperature and give it a quick knead before rolling it out. Chilled dough might need a few extra minutes to relax before rolling, but it should still turn out great.
Can I use a different type of oil for frying?
Definitely. While vegetable oil or canola oil are popular choices because of their neutral flavor and high smoke points, you can also use other oils like peanut or sunflower oil if you prefer. Just avoid oils with a low smoke point, like olive oil, as they might burn before your sopaipillas are ready.
How can I keep the sopaipillas warm if I’m making a big batch?
Easy fix! Just place a baking sheet in your oven and keep it at a low temperature, around 200°F. As each batch finishes frying, pop the sopaipillas onto the baking sheet in the oven. This way, they stay warm and crispy while you finish the rest, so everyone gets to enjoy them hot and fresh.
Remember it later!
Planning to try this recipe soon? Pin it for a quick find later!
Remember it later!
Planning to try this recipe soon? Pin it for a quick find later!
Keep the Flavor Coming – Try These:
Sopaipillas Recipe
Ingredients
- 4 c all-purpose flour
- 4 tbsp shortening
- 2 tsp baking powder
- 1 tsp salt
- 1 ½ c warm water
- 2 qt oil for frying
Instructions
- Gather Your Ingredients: First, make sure you have everything laid out and ready—flour, shortening, baking powder, salt, water, and oil. It’s always easier when everything’s within reach!
- Mix the Dough: In a large bowl, combine the flour, shortening, baking powder, and salt. Slowly pour in the warm water, stirring bit by bit, until the dough starts to come together and feels smooth and soft. Once mixed, cover the bowl with a towel and let the dough rest for about 20 minutes. This quick break helps make the dough easier to roll out.
- Heat the Oil: In a deep fryer or a large pot, heat the oil to 375°F (190°C). If you have a thermometer, great! If not, test with a small piece of dough—it should sizzle and rise to the top pretty quickly.
- Roll Out the Dough: Lightly flour your surface and roll out the dough to about 1/8 to 1/4 inch thickness. Go with whatever thickness you prefer—thinner dough will be a bit crisper, thicker will be a bit softer. Cut into 3-inch squares.
- Fry the Dough: Carefully drop a few squares into the hot oil, making sure not to overcrowd the pot. Fry until they’re golden brown on both sides, flipping halfway through.
- Drain and Serve: Remove the sopaipillas with a slotted spoon and drain on paper towels. Serve them hot and enjoy!
Notes

I’m Bitty, owner of nodashofgluten.com, where I share simple, delicious recipes for all tastes, including gluten-free. Check out my “About Me” page for more info!


