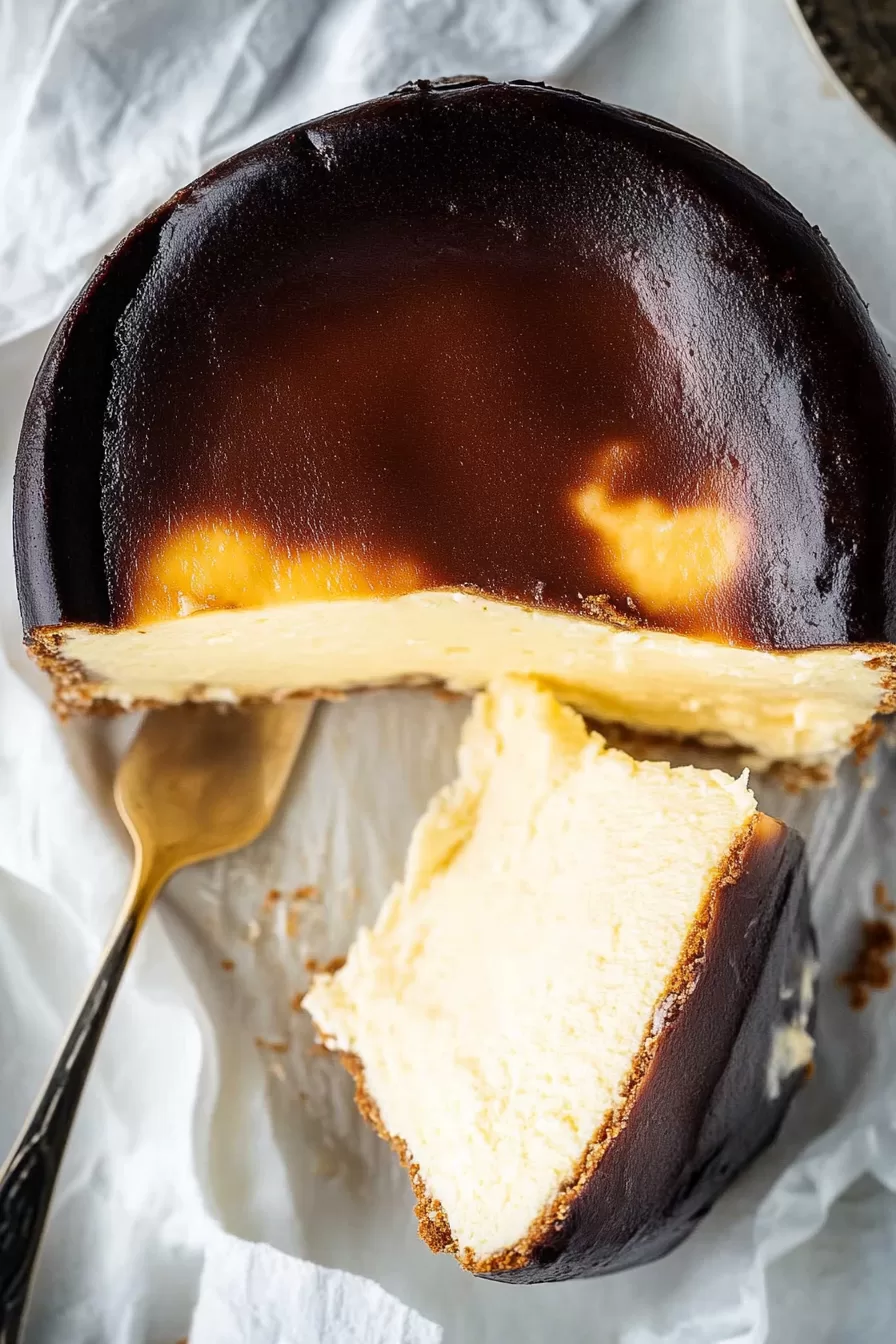
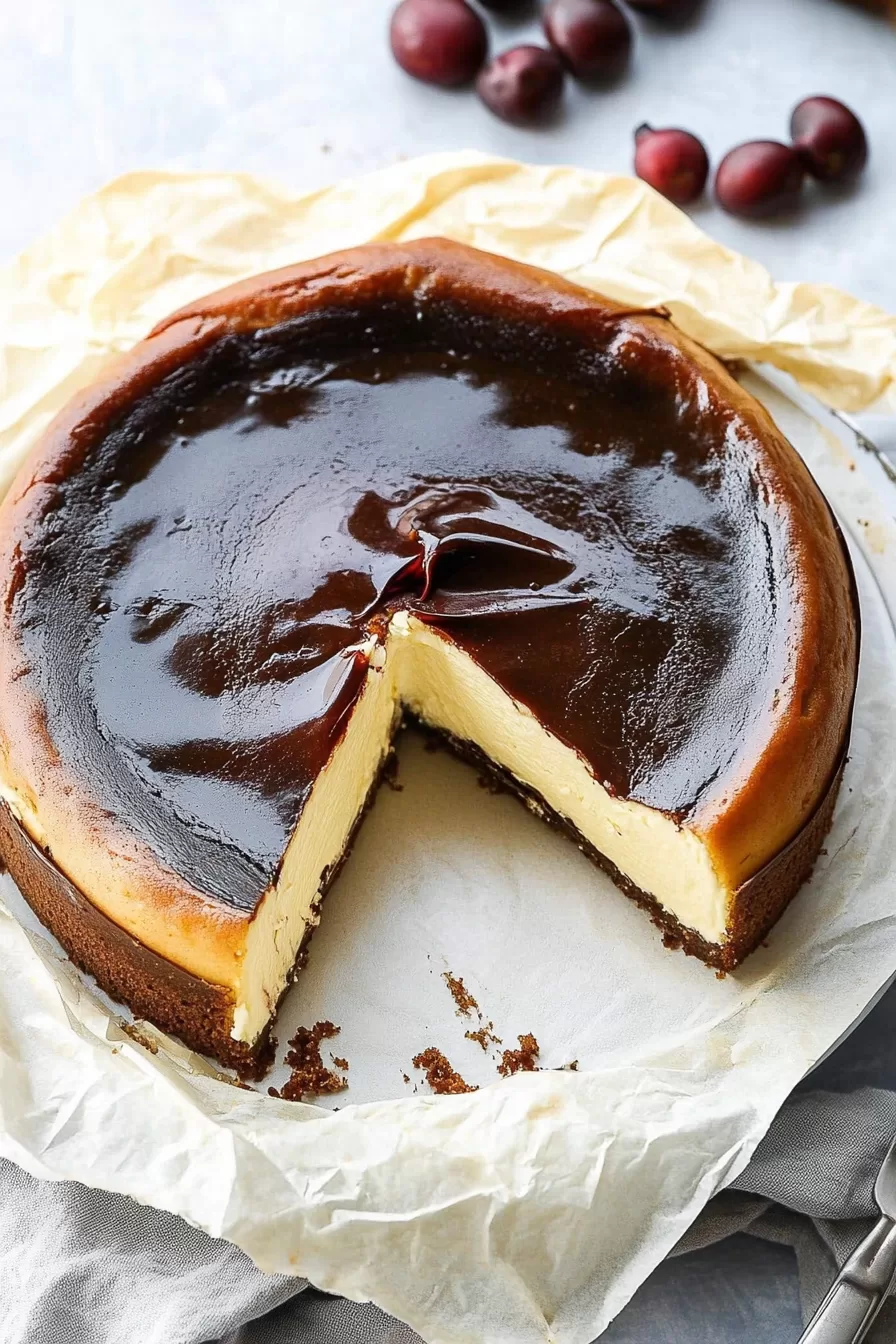
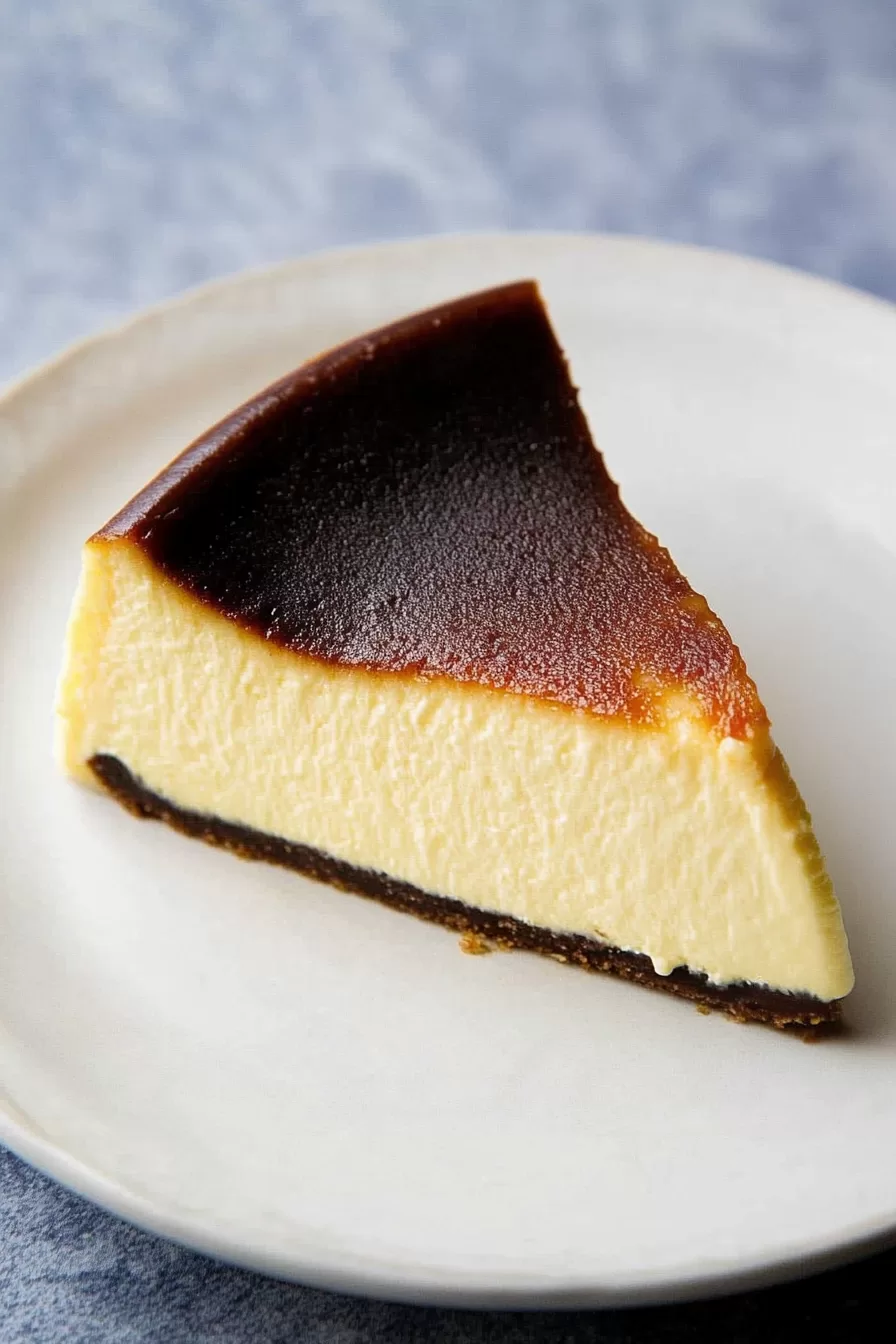
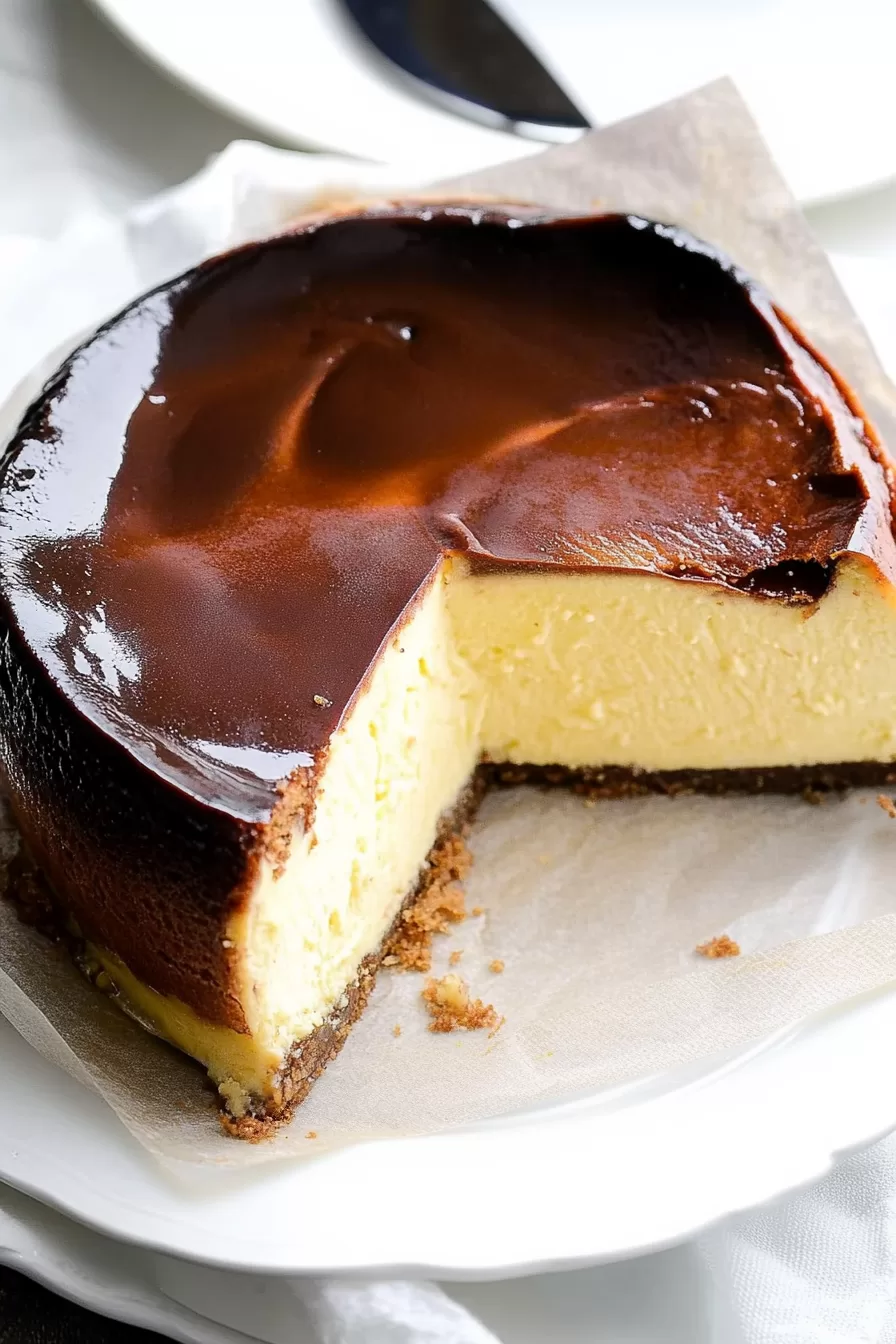
San Sebastian Cheesecake is an effortlessly creamy dessert made with cream cheese, sugar, eggs, and heavy cream. Rustic, caramelized, and irresistible!
The first time I made San Sebastian Cheesecake, I honestly had no idea what I was doing. The recipe called for this “burnt” look, and I kept thinking, Who burns their cheesecake on purpose? But then I remembered a little café in Spain where I had my first taste of this rustic wonder. It was love at first bite—smooth, custardy, with just the right amount of sweetness, and that caramelized top was chef’s kiss.

Remember it later!
Planning to try this recipe soon? Pin it for a quick find later!
Remember it later!
Planning to try this recipe soon? Pin it for a quick find later!
When I tried recreating it at home, I nervously watched as the cheesecake browned in the oven. Would it taste right? Would my family think I’d ruined dessert? Spoiler alert: it turned out better than I could’ve imagined. Now, every time I bake it, I’m transported back to that Spanish café with its cozy charm. This cheesecake has become a favorite in my house—and I have a feeling it’ll become one in yours too.
Here’s a quick peek at what’s inside:
Table of content
Why You’ll Love This San Sebastian Cheesecake Recipe?
- No-Fuss Perfection: Forget water baths and finicky crusts—this recipe is refreshingly simple.
- Unique Look: That burnt, caramelized top? It’s not a mistake; it’s the star of the show.
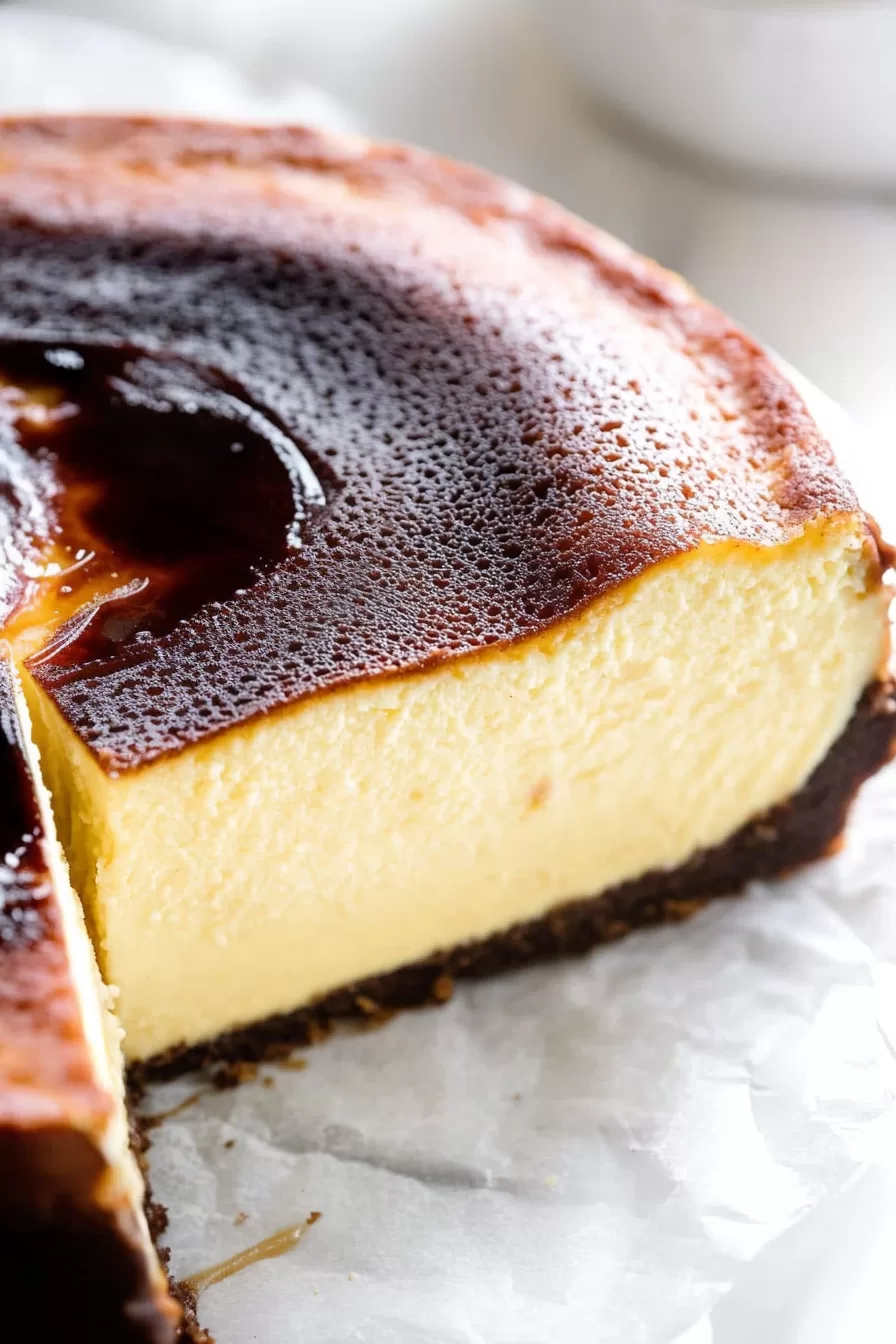
- Velvety Center: The creamy, custard-like middle makes every bite pure magic.
- Crowd-Pleaser: Whether it’s a family gathering or a solo treat, this cheesecake fits every occasion.
Ingredient Notes:
Before we dive in, let’s talk about what makes each ingredient essential for this cheesecake masterpiece:
- Full-Fat Cream Cheese: Don’t skimp here. The richness depends on it. Light cream cheese? Not today.
- Granulated Sugar: Sweetens the batter and helps create that caramelized top we all crave.
- Eggs: The backbone of this recipe, adding structure and smoothness.
- Heavy Cream: A.K.A. double cream, it’s the secret to that dreamy texture.
- Vanilla Extract: Just a teaspoon or two transforms the flavor into something warm and inviting.
- Cornstarch: Helps the cheesecake set without losing that silky consistency.
How To Make San Sebastian Cheesecake?
Step 1: Line the Pan
Grab some
Step 2: Preheat the Oven
Set your oven to 220°C (425°F). High heat is the secret to that deep golden crust.
Step 3: Beat the Cream Cheese
In a large bowl, beat the cream cheese until it’s smooth and lump-free. It’s worth taking a little extra time here—trust me, it’s the foundation of everything.
Step 4: Add Sugar and Eggs
Sift in the sugar and mix until fully incorporated. Add the eggs one by one, ensuring each is mixed in completely before moving to the next.
Step 5: Mix in the Cream and Vanilla
Pour in the heavy cream and vanilla extract. Give it a good mix until the batter looks silky and luxurious.
Step 6: Incorporate Cornstarch
Sift in the cornstarch and stir until smooth. Scrape down the sides of the bowl to make sure every last bit is combined.
Step 7: Bake
Pour the batter into your prepared tin. Tap it gently on the counter to pop any air bubbles, then bake for 30–40 minutes. The top should be dark brown, and the center will still jiggle slightly—that’s exactly how it should be.
Step 8: Cool and Chill
Let the cheesecake cool completely in the tin. Once it’s at room temperature, pop it in the fridge for at least 2 hours (overnight is even better).
Want To Save This Recipe?
Enter your email below and we'll send the recipe straight to your inbox.
Storage Options:
This cheesecake is best stored in the fridge in an airtight container, where it’ll stay fresh for up to 4 days. Want to freeze it? Wrap it tightly in plastic wrap and foil, then freeze for up to a month. To serve, let it thaw in the fridge overnight.
Variations and Substitutions:
- Citrus Twist: Add some lemon or orange zest for a fresh, tangy flavor.
- Chocolate Version: Stir in a tablespoon of cocoa powder for a chocolatey spin.
- Gluten-Free Option: Swap the cornstarch with a gluten-free alternative.
What to Serve with San Sebastian Cheesecake?
- Fresh Fruit: Raspberries, strawberries, or blackberries add a lovely tartness.
- Drizzled Sauce: Caramel or berry compote takes this cheesecake to the next level.
- Espresso: A strong shot of espresso or a cup of black coffee balances the creamy richness.
Frequently Asked Questions:
Can I make this ahead of time?
Absolutely! This cheesecake tastes even better after a day in the fridge.
My cheesecake cracked on top—is that okay?
It’s more than okay—it’s part of the charm! Embrace the rustic look.
Why is my center still jiggly after baking?
That’s exactly how it should be. It’ll firm up as it cools.
There you have it—San Sebastian Cheesecake in all its rustic, caramelized glory. Ready to try it for yourself? Go ahead, grab your ingredients, and let me know how it turns out. I can’t wait to hear about your cheesecake adventures!
Remember it later!
Planning to try this recipe soon? Pin it for a quick find later!
Remember it later!
Planning to try this recipe soon? Pin it for a quick find later!
Keep the Flavor Coming – Try These:
San Sebastian Cheesecake
Ingredients
- 600 g full-fat cream cheese room temperature
- 200 g granulated sugar
- 3 large eggs room temperature
- 300 ml heavy cream double cream
- 2 tsp vanilla extract
- 30 g cornstarch
Instructions
Prepare the Baking Tin
- Line a round baking tin with parchment paper, ensuring there is at least a 2-inch overhang above the rim. This will help achieve the rustic look characteristic of San Sebastian Cheesecake.
Preheat the Oven
- Preheat the oven to 220°C (425°F).
Beat the Cream Cheese
- In a large mixing bowl, beat the cream cheese using a hand or stand mixer until smooth and lump-free.
Incorporate the Sugar
- Sift the granulated sugar into the cream cheese, then beat for approximately 3 minutes until the mixture is well-blended and creamy.
Add the Eggs
- Crack the eggs in one at a time, mixing thoroughly after each addition to ensure complete incorporation.
Mix in the Heavy Cream and Vanilla
- Pour in the heavy cream and vanilla extract, and continue mixing until the batter is smooth and silky.
Add the Cornstarch
- Sift the cornstarch into the mixture and stir until fully combined. Use a spatula to scrape the sides of the bowl and ensure the batter is homogeneous.
Transfer to the Baking Tin
- Pour the cheesecake batter into the prepared tin and tap it gently on a flat surface to release any trapped air bubbles.
Bake
- Place the tin in the preheated oven and bake for 30–40 minutes. The top should develop a deep caramelized color, and the center will remain slightly jiggly. This is intentional, as the cheesecake will set while cooling.
Cool and Chill
- Remove the cheesecake from the oven and allow it to cool completely in the tin. Once cooled, refrigerate for at least 2 hours, preferably overnight, to achieve the desired texture.
Notes

I’m Bitty, owner of nodashofgluten.com, where I share simple, delicious recipes for all tastes, including gluten-free. Check out my “About Me” page for more info!


