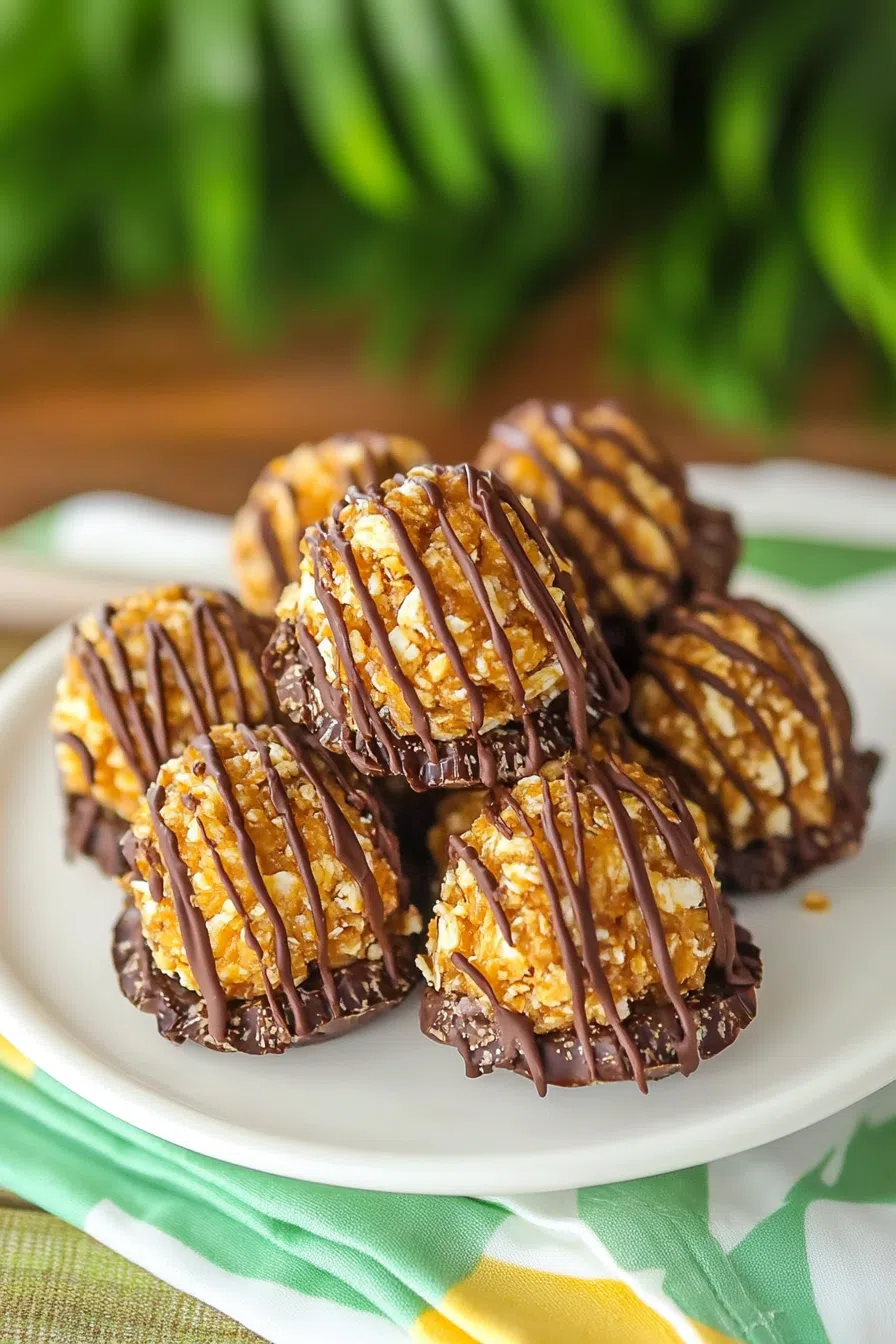
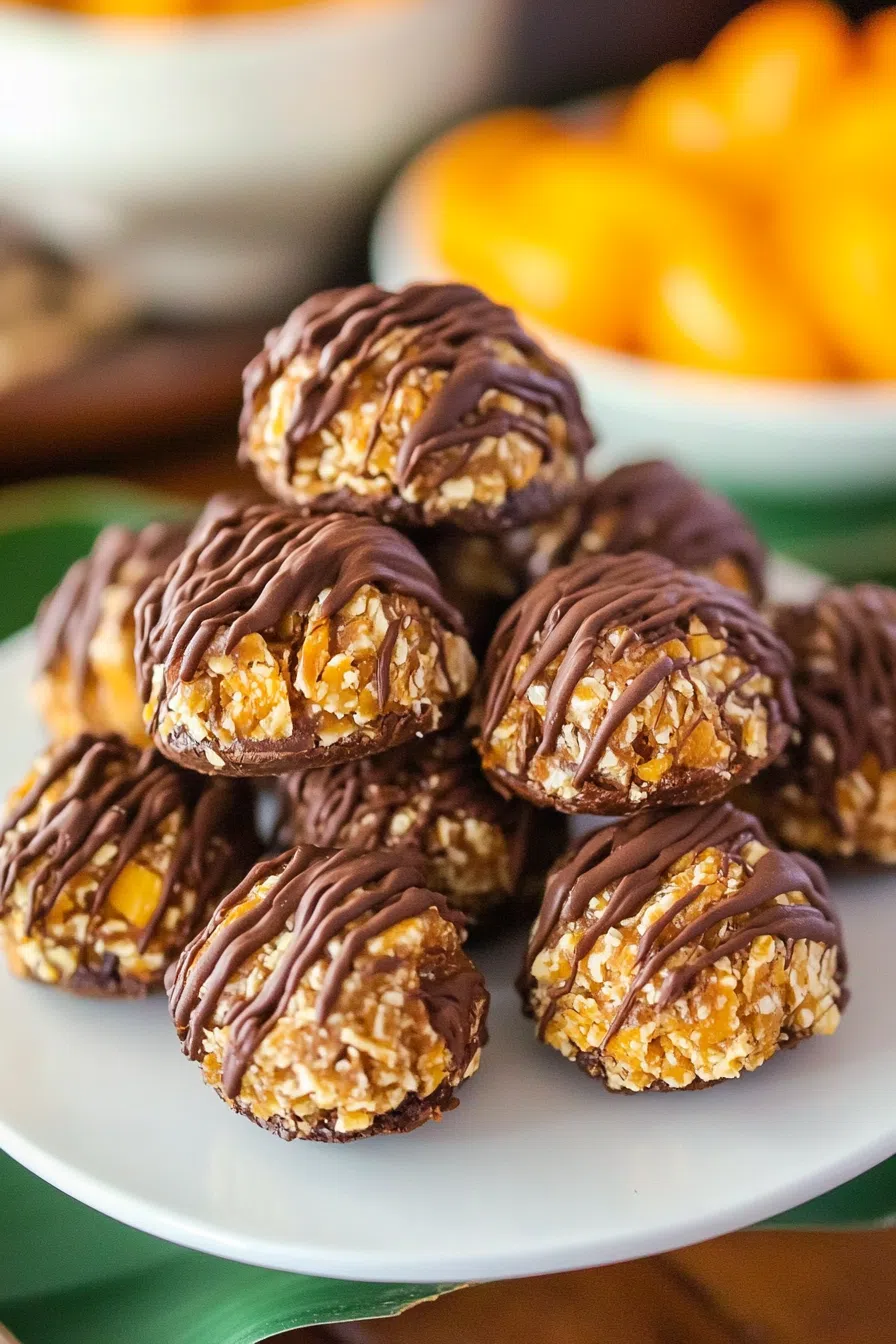
Sweetened shredded coconut, dulce de leche, crushed Nilla wafers, and dark chocolate combine to make this easy no-bake Samoa Truffles recipe.
I’m going to be real with you—I have a serious sweet tooth. And if you’re here, I’m guessing you do too? The kind of sweet tooth that hits right after dinner. Or, honestly, sometimes before dinner. No judgment.


This all started one night when I was desperately searching the pantry for something sweet. I was practically elbow-deep in a box of stale crackers when I remembered the glorious taste of Samoa Girl Scout Cookies. You know the ones—chewy coconut, caramel goodness, draped in chocolate? Yeah, those. But there were zero cookies in the house (rookie move on my part).
So, I did what any sugar-fueled genius would do. I made my own Samoa Truffles. And I have to say… they might just be better than the real deal. Gasp! Did I really just say that? I did. And you’ll see why soon enough.
Why You’ll Love This Samoa Truffles Recipe?
Okay, where do I even begin? These Samoa Truffles are everything I want in a dessert: easy, indulgent, and guaranteed to impress.
- No baking required. Which means no babysitting the oven or worrying about burning a batch because you got distracted scrolling TikTok (we’ve all been there).
- Five simple ingredients. That’s it. No weird stuff you need to special order or trek across town for.
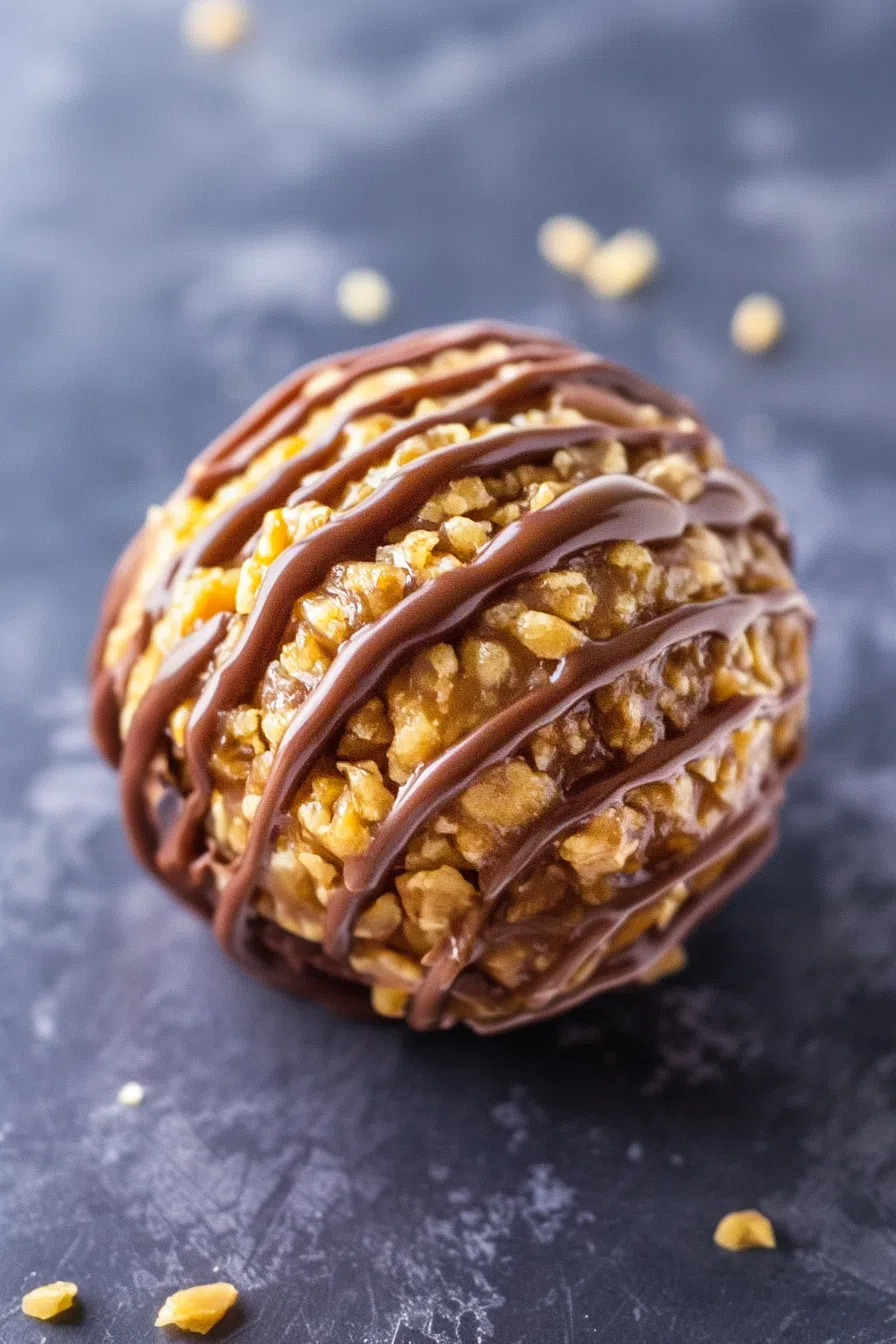
- Big on flavor. Toasted coconut, caramel vibes from the dulce de leche, that creamy sweetened condensed milk… oh, and chocolate. Loads of chocolate.
- Make-ahead magic. They freeze like a dream, so you can stash them away and pull them out for emergency cravings. (Or share them. If you’re feeling generous.)
Ingredient Notes:
Let’s break it down! Here’s a little insight into why these ingredients work so darn well together.
- Sweetened Shredded Coconut (7 oz): Toast it. Seriously. You could skip this step, but you’d miss out on that nutty, golden flavor that makes these truffles taste gourmet.
- Dulce de Leche (14 oz can): This sticky, caramel-y magic binds everything together and adds that rich Samoa cookie flavor. You can make your own, but I totally cheat with the canned version.
- Sweetened Condensed Milk (14 oz can): Adds extra gooeyness. I like to think of it as the glue that holds the party together.
- Nilla Wafers (about 2 cups, crushed): These give a soft cookie bite without stealing the show. Smash ‘em in a Ziploc with a rolling pin—it’s oddly therapeutic.
- Ghirardelli Dark Chocolate Wafers (16 oz): Melty, silky, and rich. If you’re feeling fancy, sprinkle a little flaky sea salt on top after drizzling. Trust me.
How To Make Samoa Truffles?
Step 1: Toast the Coconut
Pop your oven on at 350°F. Spread the coconut out on a baking sheet and toast it for about 10-15 minutes. Stir it every 5 minutes, or it’ll burn while you’re scrolling your phone. Been there. It should be a lovely golden brown.
Step 2: Mix It Up
In a big ol’ bowl, combine the toasted coconut, dulce de leche, sweetened condensed milk, and crushed Nilla wafers. Stir it like you mean it. It’s going to get sticky—embrace it. This is where the magic happens.
Step 3: Scoop and Freeze
Line a baking sheet with
Step 4: Chocolate Time
Want To Save This Recipe?
Melt your chocolate wafers in the microwave. I do 30-second bursts and stir in between because no one likes burnt chocolate. Dip the bottoms of your truffles, then drizzle the rest over the top. If they don’t look perfect—who cares? They’re still delicious.
Step 5: Chill and Devour
Let them set up in the fridge. Or don’t. I’ve definitely eaten them half-set before. No regrets.
Storage Options:
If you somehow have leftovers (how?), pop them in an airtight container. They’ll hang out happily in the fridge for up to a week. Or stash them in the freezer for 2-3 months. I may or may not eat them frozen. They’re that good.
Variations and Substitutions:
- Milk Chocolate Instead of Dark: Sweeter, but still awesome.
- Add Nuts: Chopped pecans or almonds work great. Bonus crunch.
- Go Gluten-Free: Swap Nilla wafers for gluten-free vanilla cookies. No one will know.
- Salted Caramel Vibes: Sprinkle sea salt on top. It’s fancy and makes people think you’re a pro.
What to Serve with Samoa Truffles?
- Coffee or Espresso: Trust me on this. The bitter bite of coffee balances the sweet.
- Vanilla Ice Cream: Chop a few truffles up and throw them on top. Boom. Dessert hero status.
- A Tall Glass of Milk: Classic, because why mess with perfection?
Frequently Asked Questions:
Do I have to toast the coconut?
No… but I’ll be silently judging you if you don’t. Kidding! (Kind of.) But it really brings out the flavor.
Can I make these ahead?
Oh yeah. They get even better after chilling. I swear they develop superpowers overnight.
Are they crazy sweet?
Yep. In the best way. If you don’t have a sweet tooth, you might want to cut back a little on the condensed milk. But me? I’m all in.
These Samoa Truffles are dangerously easy and totally crave-worthy. Whether you’re making them for a party, a gift, or just for yourself (no shame!), they’re guaranteed to get rave reviews. If you whip up a batch, let me know! Did you get creative with toppings? Eat them all before sharing? Tell me everything.
Now, go grab those ingredients and make some truffle magic! Can’t wait to hear how it goes.
Keep the Flavor Coming – Try These:

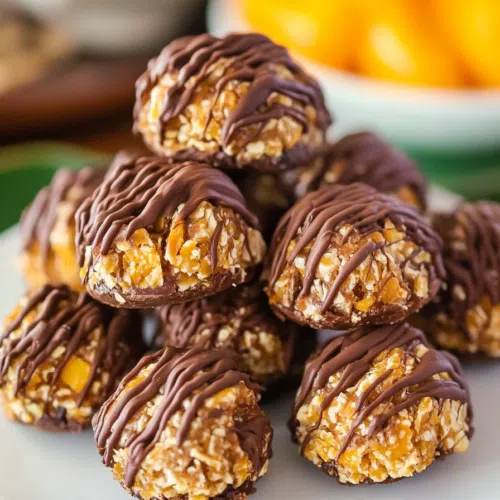
Samoa Truffles
Ingredients
- 7 ounces of sweetened shredded coconut
- 14 ounces of dulce de leche one can
- 14 ounces of sweetened condensed milk one can
- 11 ounces of Nilla Wafer cookies crushed (approximately 2 cups)
- 16 ounces of Ghirardelli dark chocolate wafers
Instructions
- Toasting the Coconut: Preheat your oven to 350 degrees Fahrenheit. Spread the sweetened shredded coconut evenly on a large baking sheet. Place the sheet in the oven and toast the coconut for 10 to 15 minutes, ensuring to turn and flip it every 5 minutes for even browning. Once lightly browned, remove the coconut from the oven and allow it to cool.
- Preparing the Truffle Mixture: In a mixing bowl, combine the toasted coconut, dulce de leche, sweetened condensed milk, and crushed Nilla Wafer cookies. Stir the mixture thoroughly until all ingredients are well incorporated.
- Shaping the Truffles: Line a separate baking sheet with parchment paper. Using a tablespoon, scoop the mixture and place each scoop onto the lined baking sheet, forming individual truffle portions. Once all the mixture has been scooped, transfer the baking sheet to the freezer. Freeze the truffles for approximately 30 minutes to solidify.
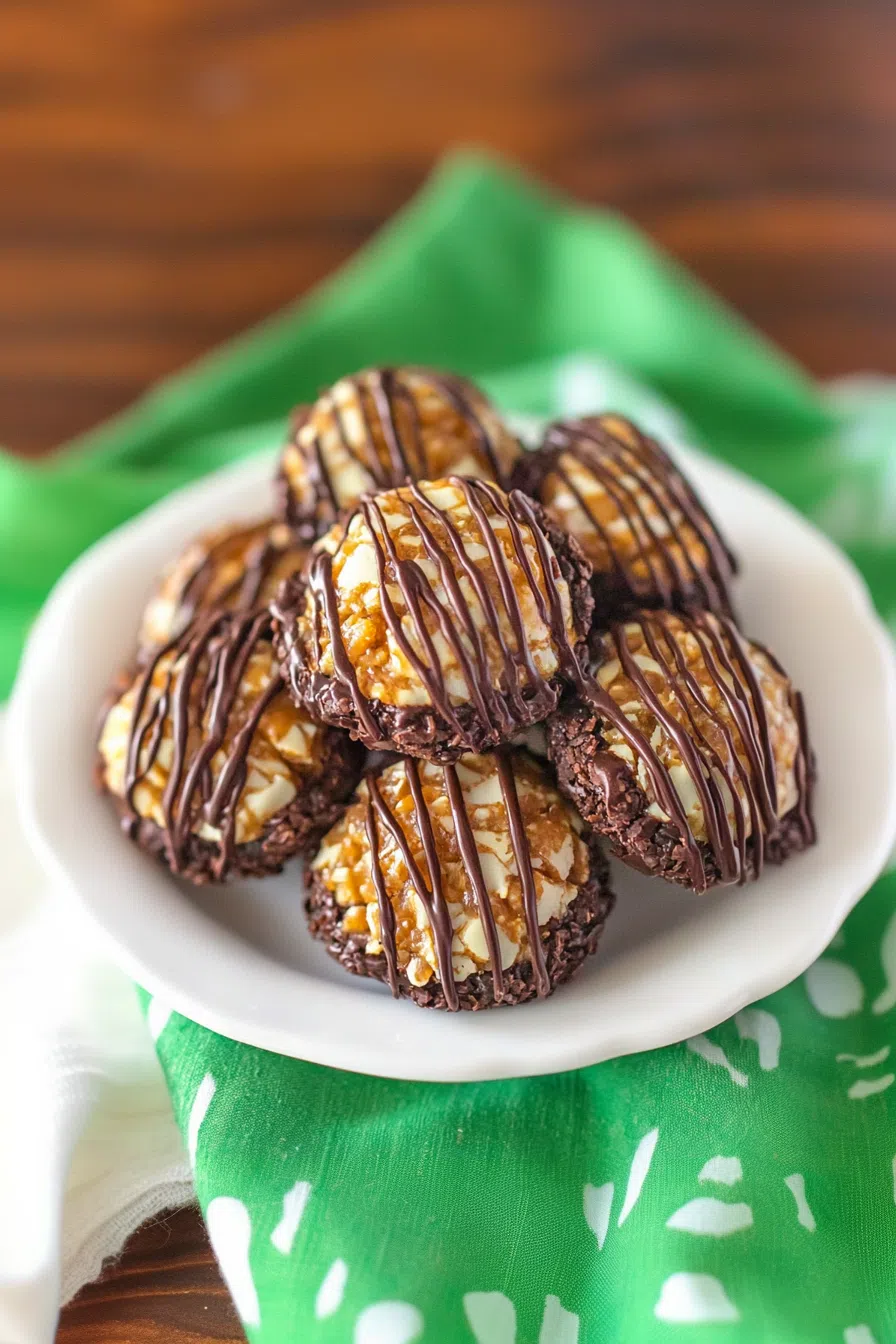
- Chocolate Coating: Melt the Ghirardelli dark chocolate wafers according to the package instructions. Typically, this involves heating them in a microwave for about 1 and a half minutes, stirring every 30 seconds to ensure even melting. Once melted, dip the bottom of each truffle into the chocolate and then place them back onto the parchment paper.
- Final Touches: After all the truffles have been dipped in chocolate, transfer the remaining melted chocolate into a small ziplock bag. Cut off a tiny corner of the bag to create a small opening. Use this to drizzle the remaining chocolate over the truffles in a decorative pattern.
- Storage: Store the completed Samoa Truffles in an airtight container. They can be kept in the refrigerator for immediate consumption or in the freezer for longer storage.
Notes
I’m Bitty, owner of nodashofgluten.com, where I share simple, delicious recipes for all tastes, including gluten-free. Check out my “About Me” page for more info!