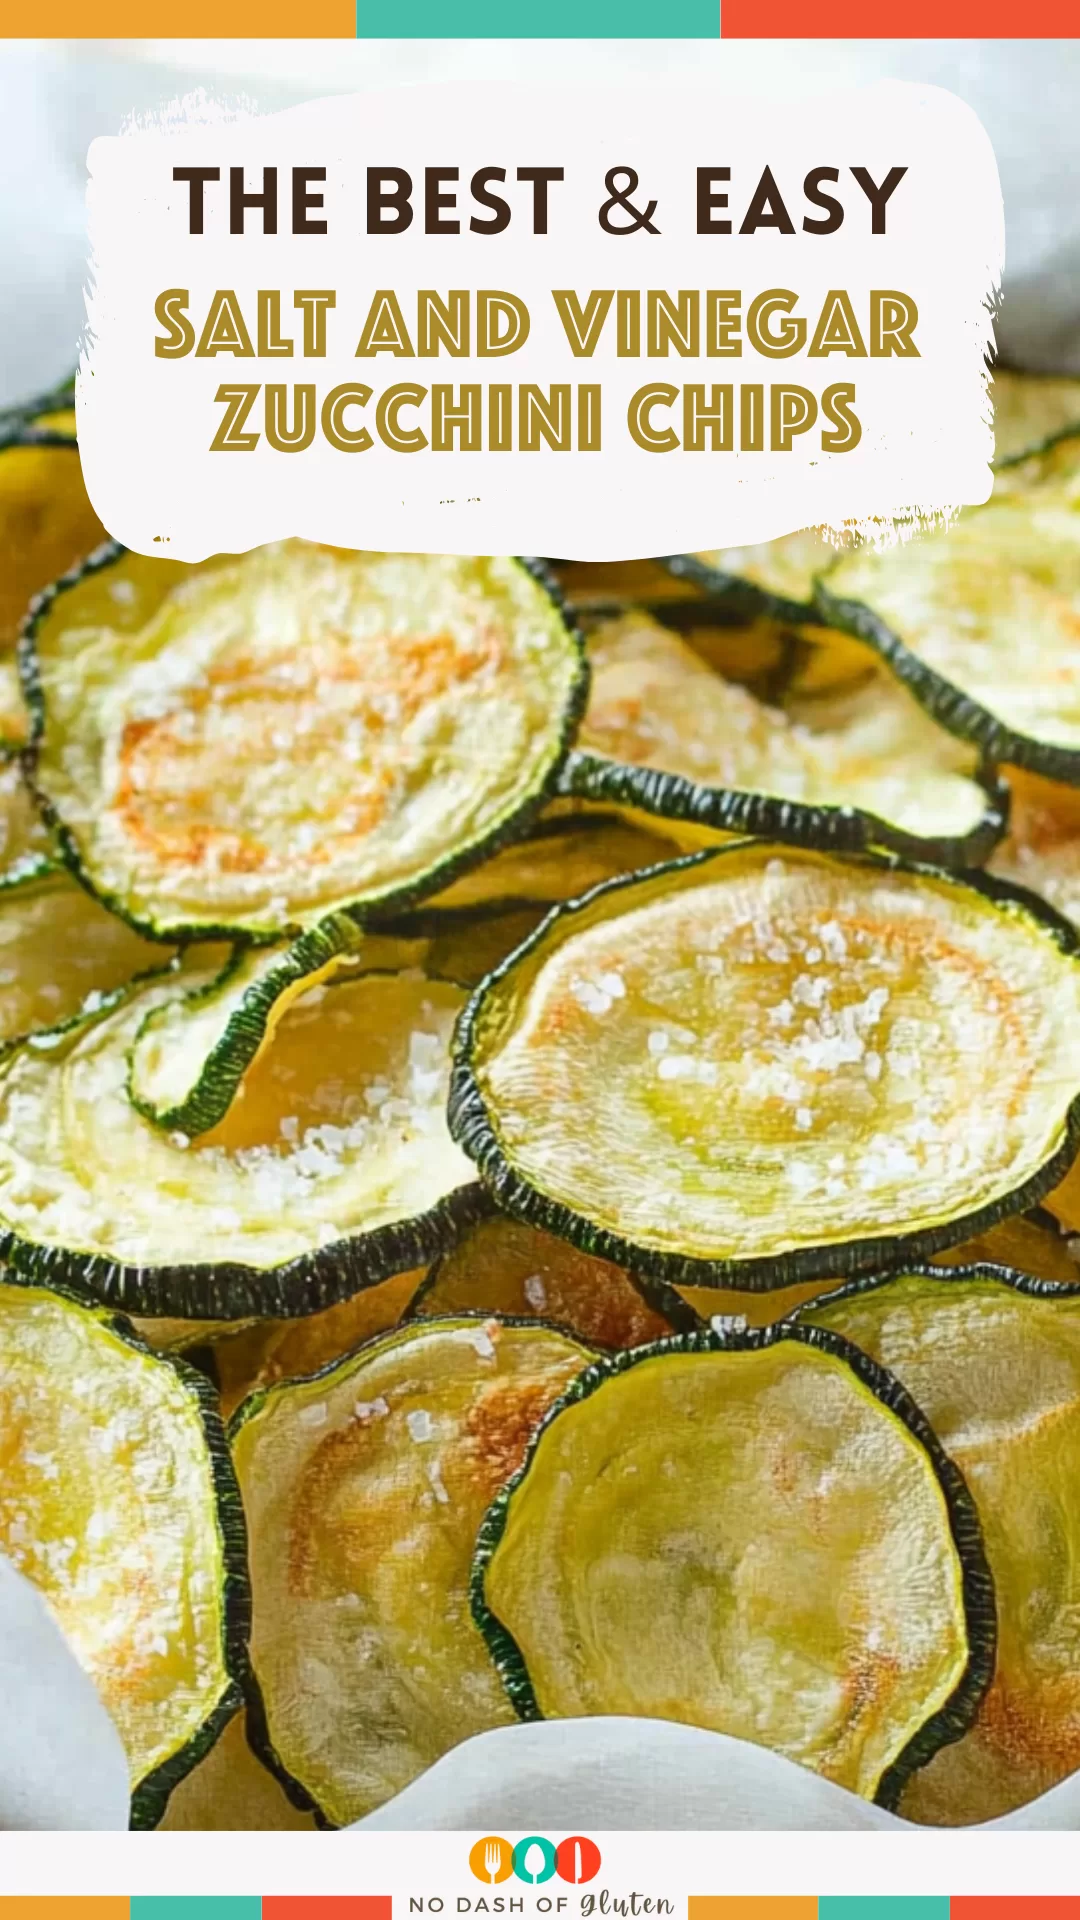
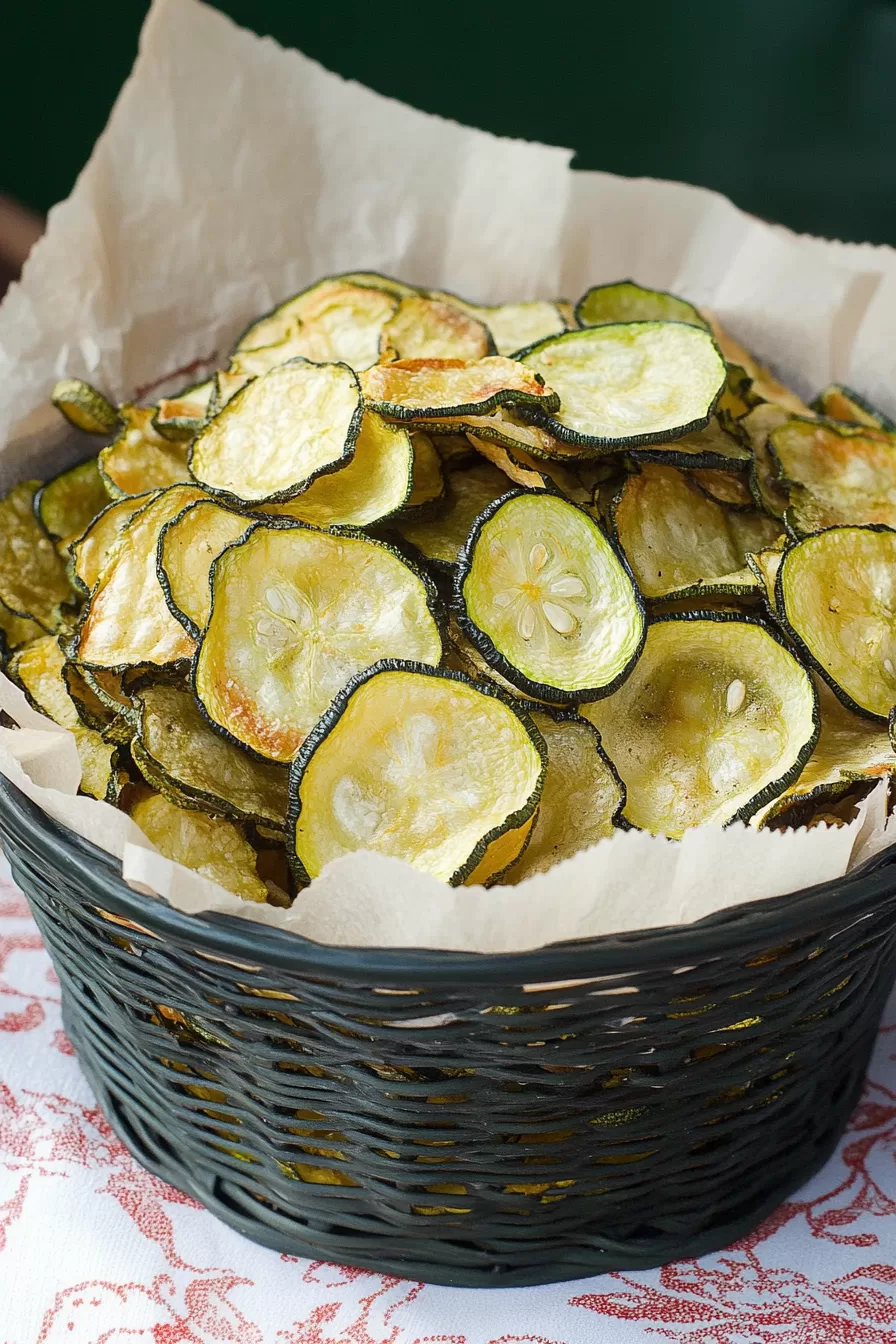
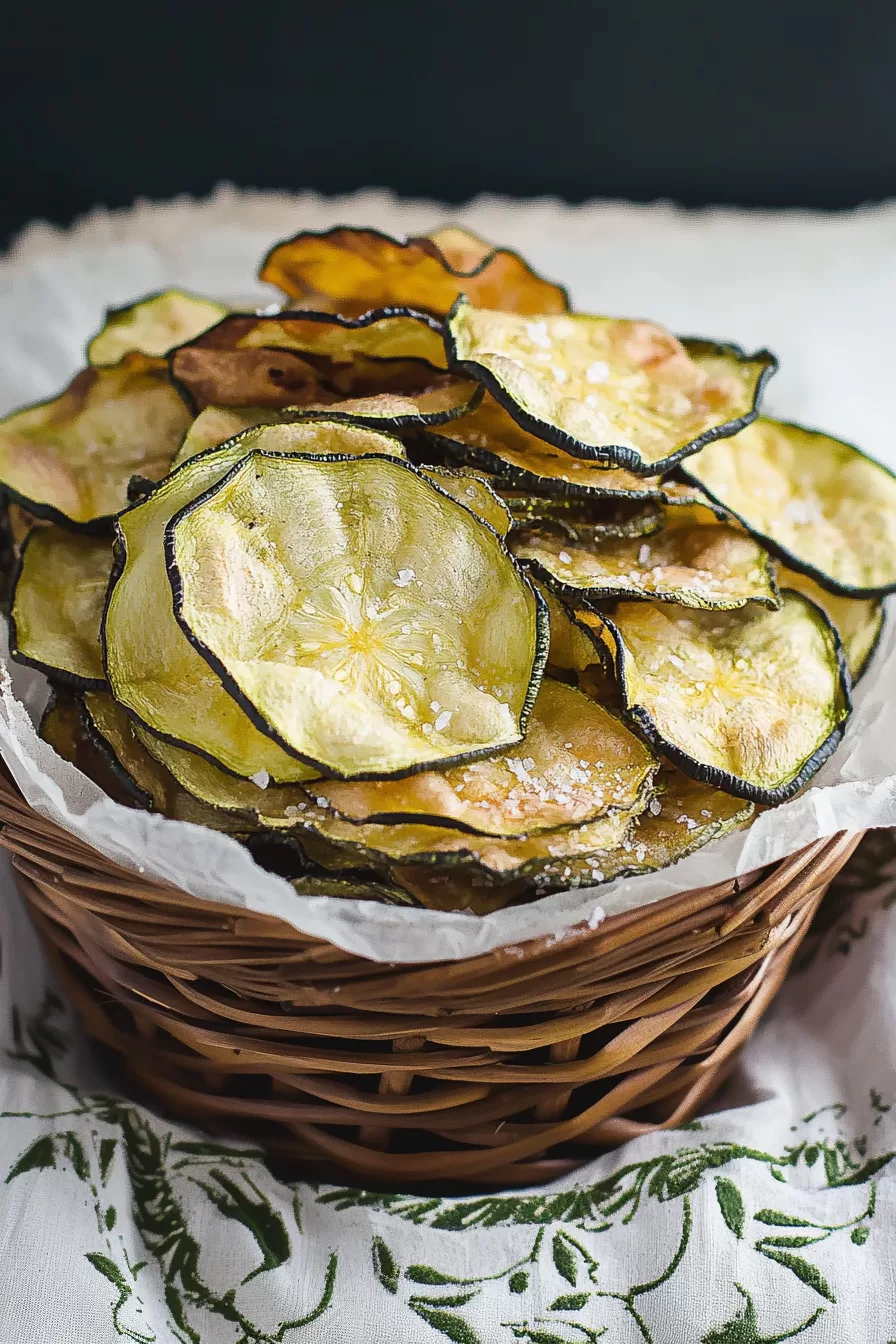
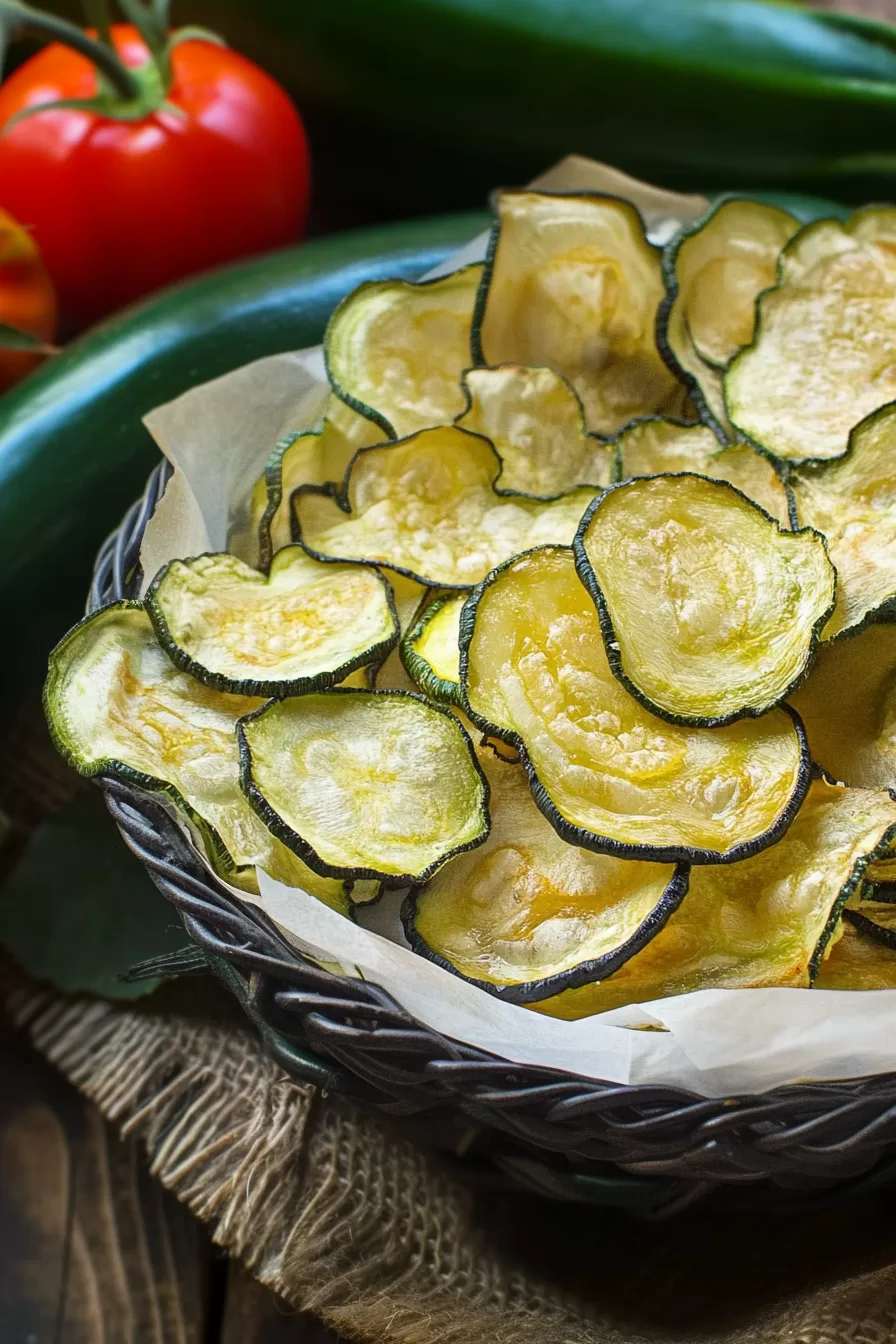
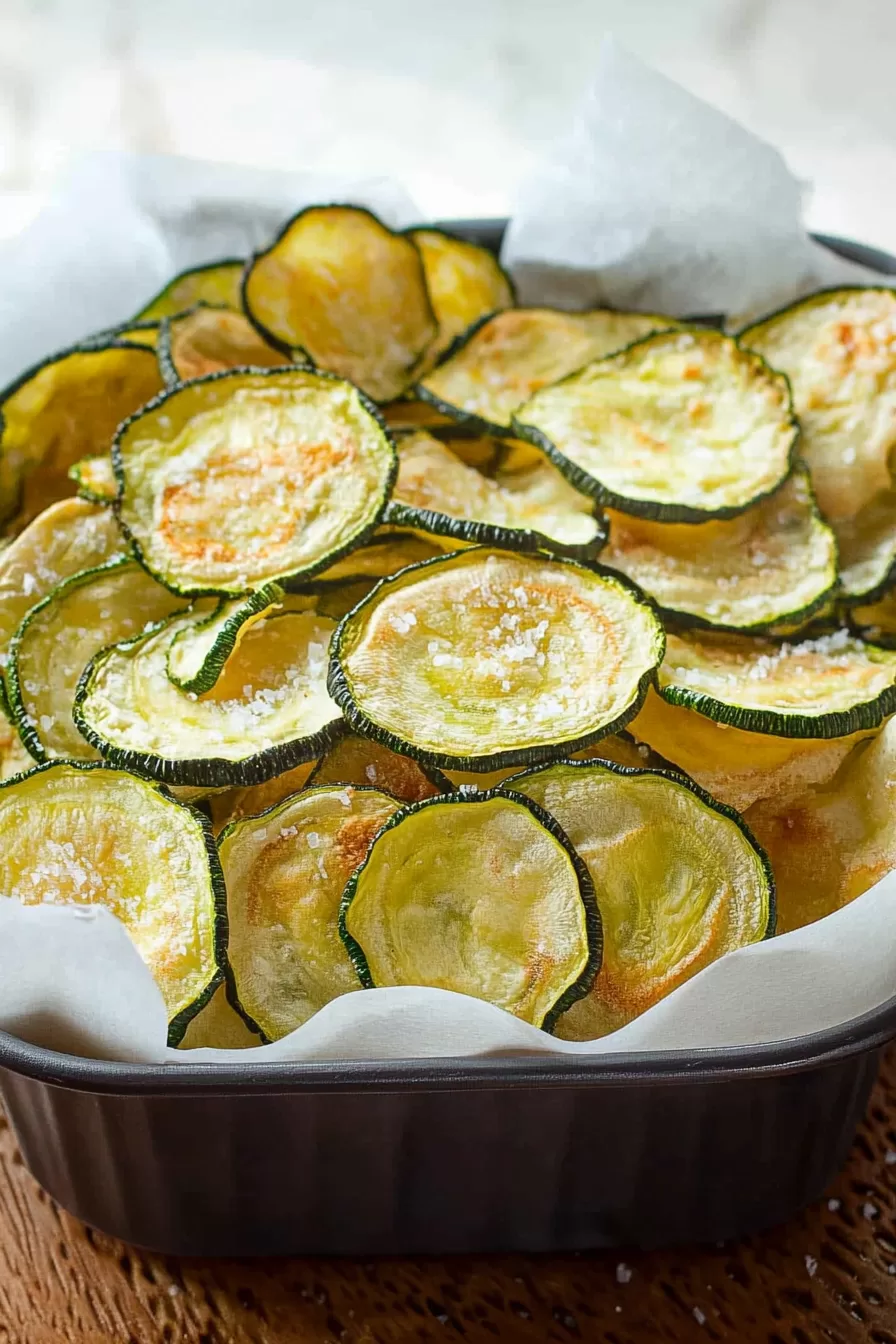
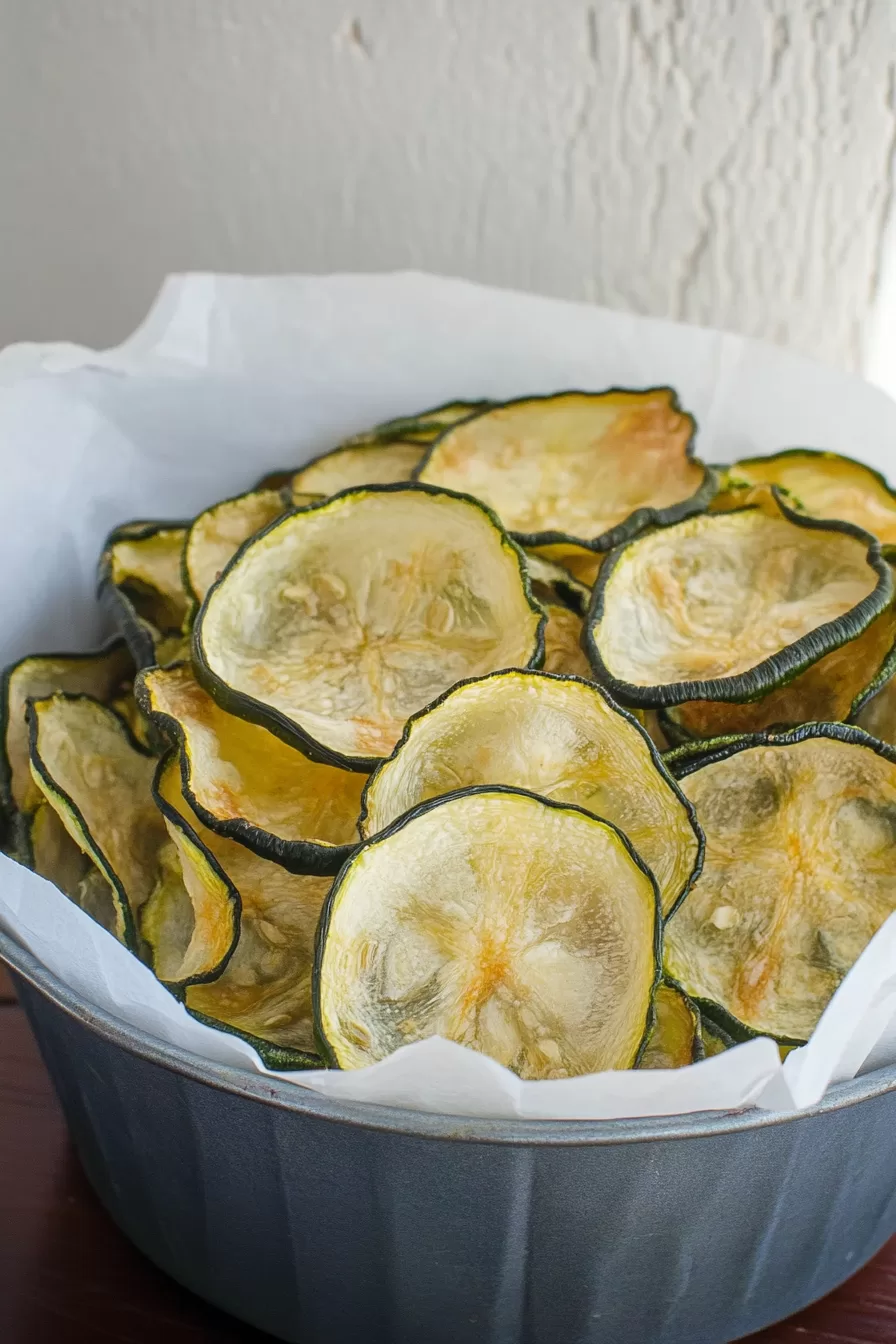
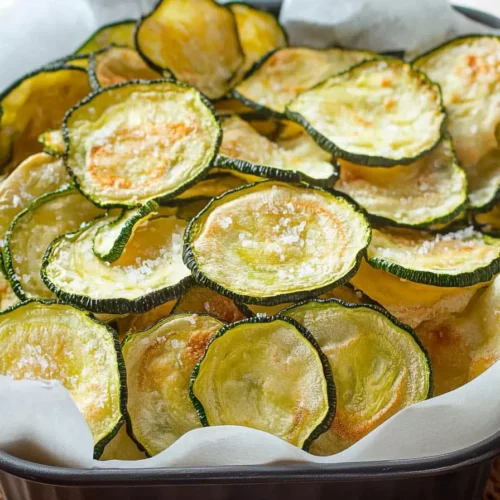
Salt and Vinegar Zucchini Chips – So, let me set the scene for you. I’d just harvested a ton of zucchini from my garden, and you know how zucchini is—it practically grows overnight! My counter was overflowing, and I thought, “Okay, I have to come up with something other than the usual stir-fry or zucchini bread.” Enter Salt and Vinegar Zucchini Chips. I’d been craving something salty and tangy, and regular salt-and-vinegar chips were calling my name… but I wanted to try something lighter. I’ll be honest; I wasn’t even sure if zucchini could get crispy, but I figured, why not? If it worked, I’d have a new go-to snack; if not, at least I’d tried, right?

Remember it later!
Planning to try this recipe soon? Pin it for a quick find later!
Remember it later!
Planning to try this recipe soon? Pin it for a quick find later!
The first batch was a bit of trial and error—some were over-baked, others not crispy enough. But once I nailed it, wow, these chips were like nothing I’d expected. They had that perfect crunch and a tangy kick that made me forget they were even made from zucchini. Now I’m totally hooked, and these chips have become my go-to for everything from lazy afternoons to Netflix marathons. Have you ever turned a veggie you had way too much of into something unexpectedly delicious? This is definitely one of those recipes!
Here’s a quick peek at what’s inside:
Table of content
Why You’ll Love This Salt and Vinegar Zucchini Chips Recipe?
These aren’t your average chips, folks. If you’re a salt-and-vinegar fan, these zucchini chips will hit all the right notes without the guilt. They’re light, crispy, and so packed with flavor that you might not believe they’re actually zucchini. The best part? They’re baked, not fried, so you don’t end up with greasy fingers—just a clean, satisfying crunch. And let’s talk about that flavor. It’s salty, it’s tangy, and it’s so good you’ll probably eat the whole batch. I mean, at least it’s zucchini, right?
Ingredients Notes:
Here’s a little breakdown of the ingredients and why each one makes these Salt and Vinegar Zucchini Chips so good.
- Zucchini: Fresh zucchini makes the perfect veggie base for chips. It’s mild, and when baked, it transforms into a crunchy little snack that still feels fresh. Plus, you’re sneaking in veggies while enjoying your chips.
- Olive Oil: Just a light brush of olive oil helps the zucchini crisp up. We’re not talking a greasy amount—just enough to bring out that golden-brown crunch.
- Garlic Powder: Adds a little kick of savory flavor without overwhelming the salt and vinegar combo. It’s like a subtle background note that makes you go, “Mmm, what’s that?”
- Dried Dill and Parsley: These herbs bring a fresh, herby flavor that works so well with the tangy vinegar. They make the chips taste a little more gourmet without any extra work.
- Onion Powder: Balances out the garlic and adds a tiny hint of sweetness, which somehow makes the tangy flavor pop even more.
- Sea Salt: Ah, the star of any chip! Sea salt adds that crave-worthy salty crunch. Sprinkle it on at the end, so the chips stay crisp without drawing out moisture.
How To Make Salt and Vinegar Zucchini Chips?
This recipe is simple, but there are a few tricks to get that perfect crunch. Trust me, it’s worth it!
- Prep the Zucchini and Oven: First, preheat your oven to 225°F. Then wash and dry your zucchini. Slice them as thin as you can, around 1/16 inch thick. This is one of those times when a mandoline slicer makes life easier, but if you’re like me and don’t always have fancy gadgets on hand, just use a sharp knife. Lay the slices on a layer of paper towels, put another towel on top, and press down to soak up some of that zucchini water.
- Arrange on a Baking Sheet: Line a baking sheet with
parchment paper , and place the zucchini slices in a single layer. Brush each slice lightly with olive oil. Don’t go overboard here—a little goes a long way in helping them crisp up. - Season the Chips: In a small bowl, mix the garlic powder, dried dill, parsley, and onion powder. Sprinkle this mix evenly over the zucchini. Give each slice a little seasoning love!
- Bake Low and Slow: Bake for about an hour at 225°F. Baking at a low temperature is key here—it helps the zucchini dry out slowly without burning. After the hour, pull them out and sprinkle with sea salt.
- Finish with a Higher Temperature: Now, raise the oven temp to 275°F and put the chips back in. This is where the magic happens, so keep an eye on them. Check every 10–15 minutes because once they start browning, they can go from crispy to overdone quickly. When they’re golden brown and crispy, take them out and let them cool. If some chips aren’t fully crispy yet, just remove the ones that are done and give the rest a few more minutes.
Storage Options:
If you don’t eat them all in one go (but hey, no judgment if you do), store these zucchini chips in an airtight container at room temperature for up to 2–3 days. Keep them in a dry spot to help maintain that crunch. If they soften up, you can re-crisp them by popping them back in the oven at 275°F for a few minutes. But honestly, these are best when they’re fresh from the oven!
Variations and Substitutions:
Feeling adventurous? Here are some fun ways to switch things up:
- Apple Cider Vinegar – If you like a slightly sweeter tang, try apple cider vinegar instead of regular vinegar. It changes the flavor but keeps that addictive salt-and-vinegar vibe.
- Switch up the Herbs – Instead of dill and parsley, try rosemary, thyme, or even Italian seasoning. Each herb gives the chips a unique twist.
- Spicy Zucchini Chips – Add a pinch of cayenne or chili powder to the seasoning for a spicy kick.
- Try Different Oils – Olive oil is great, but you could experiment with avocado oil or even a tiny bit of melted coconut oil for a slightly different taste.
Want To Save This Recipe?
Enter your email below and we'll send the recipe straight to your inbox.
What to Serve with Salt and Vinegar Zucchini Chips?
These chips are so good on their own, but if you’re looking to make them part of a spread, here are a few ideas:
- Dips – They’re fantastic with ranch, tzatziki, or a garlic aioli. Dipping adds a little extra flavor and texture.
- Salads – Toss a few on top of your salad for some added crunch, kind of like a healthy crouton alternative.
- Sandwiches – Pair these with a sandwich or wrap as a light, crunchy side.
- Soups – Serve these alongside a bowl of tomato or vegetable soup for a warm, comforting combo.
Frequently Asked Questions:
Can I make these chips in an air fryer?
Definitely! Set your
How thin should I slice the zucchini?
Ideally, around 1/16 inch. Consistency is key here, so if you have a mandoline slicer, it’ll make things easier. If not, just try to keep your slices as even as possible.
Why didn’t my chips get crispy?
Zucchini has a lot of water, so make sure to pat them dry before baking. Also, try not to crowd the baking sheet—giving them space helps them crisp up evenly.
So, are you ready to give these Salt and Vinegar Zucchini Chips a go? Let me know if you try any of the variations or if you’ve got a favorite dip to pair them with. I’d love to hear what you think—happy snacking!
Remember it later!
Planning to try this recipe soon? Pin it for a quick find later!
Remember it later!
Planning to try this recipe soon? Pin it for a quick find later!
Keep the Flavor Coming – Try These:
Ingredients
- 2 –3 medium zucchini thinly sliced (approx. 1/16 inch)
- 2 tablespoons olive oil
- 1/2 teaspoon garlic powder
- 1/2 teaspoon dried dill
- 1/2 teaspoon dried parsley
- 1/4 teaspoon onion powder
- 1 teaspoon sea salt
Instructions
Prepare the Oven and Zucchini Slices:
- Preheat your oven to 225°F (110°C). Wash and thoroughly dry the zucchini. Using a mandoline slicer or a sharp knife, slice the zucchini into thin rounds, approximately 1/16 inch thick. Lay the slices in a single layer on a paper towel, cover with an additional paper towel, and gently press to remove excess moisture.
Arrange on the Baking Sheet:
- Line a baking sheet with parchment paper. Place the zucchini slices in a single layer on the prepared baking sheet. Lightly brush each slice with olive oil, ensuring even coverage without excess.
Season the Chips:
- In a small bowl, mix the garlic powder, dried dill, parsley, and onion powder until combined. Sprinkle the seasoning mixture evenly over the zucchini slices.
Initial Bake:
- Place the baking sheet in the preheated oven and bake for 1 hour at 225°F. This low-temperature bake will allow the zucchini slices to dry out without burning.
Add Salt and Increase Temperature:
- After 1 hour, remove the baking sheet from the oven. Sprinkle the sea salt evenly over the zucchini chips. Increase the oven temperature to 275°F (135°C) and return the baking sheet to the oven.
Finish Baking:
- Continue baking at 275°F, checking every 10–15 minutes, until the chips are golden brown and crispy. This may take an additional 20–30 minutes, depending on the thickness of the slices. Remove chips from the oven as they reach desired crispness. Allow chips to cool on the baking sheet.
Notes

I’m Bitty, owner of nodashofgluten.com, where I share simple, delicious recipes for all tastes, including gluten-free. Check out my “About Me” page for more info!


